Most people searching how to choose a monitor arm for trading start in the wrong place. They start with a brand, or with a photo of a six-screen wall, or with a screen count. The two numbers that actually decide the purchase are the weight of your heaviest panel with its VESA plate attached, and the VESA pattern on the back of that panel. When you choose a monitor arm for trading, you are solving a static load problem that happens to sit eight inches from your face for eight hours a day. Get the load wrong and the arm creeps.
A trading desk is not a gaming desk with more screens bolted on. It is a setup where three to six panels need to hold the same height and the same angle through a full session, where a cable that tugs on the arm rotates a chart window by Friday, and where the difference between a good afternoon and a headache is whether the top bezel sits level with the one beside it. Nobody notices a creeping joint on day one. Everybody notices it on day thirty, usually mid-session, usually with a position open.
I have set up enough desks to know the arm is the cheapest place to be right and the most annoying place to be wrong. This guide is the order I work in: measure the panel, measure the desk, then pick the arm. Below are the three arms I would mount in a trading room, followed by the eight-step workflow that gets one onto a desk once, correctly, without drilling a second hole.
Why you should trust me
Nine years as a facilities manager for a company that filled 400-person floors, then six years running a two-person desk setup service that has built out 310 home offices. In that time I have bolted a lot of arms to a lot of desktops, and I have watched them fail in the same three ways: a clamp that crushed a hollow-core top, a joint that could not hold a panel at the top of its weight range, and a cable channel that pulled a monitor out of square within a week.
I keep a notebook. Every desk I build gets its height range written down, every panel gets its weight and its hole spacing written down, and every arm gets a note about whether it drifted after seven days. I measure with a tape and a hanging scale, not with a spec sheet, because spec sheets round and my clients do not. When I recommend an arm for a trading setup, I can tell you the weight it holds, the panel size it fits, and who should skip it.
How I picked and how I tested
This is not a list of every arm on the market. It is the short list of arms I would put on a trading desk, and most of the filtering happened before the writing.
First filter: the stated weight capacity has to cover a realistic panel with room left over. An arm rated to exactly your panel weight is an arm working at its limit, and limits are where drift lives. Second filter: the mounting hardware has to offer both a clamp mount and a grommet mount, because a desk with a crossbar under the top will refuse a clamp and you will not find out until you are on the floor with a flashlight. Third filter: the VESA plate has to fit a standard 75×75 or 100×100 hole pattern without a third-party adapter, since adapters add standoff and standoff adds wobble.
Then the checks. I weigh the panel with its plate on a hanging scale, mount the arm on a one-inch top and a 1.5-inch top, run the joint through its full tilt range and swivel, and route a display cable and a power cable through the cable channel to see whether either one binds at the extremes. Finally I bump the desk, because a trading desk gets bumped, and I watch the top bezel against a level line. If you are running a dual monitor setup, the same checks apply twice, and the pair has to match in height.
The three arms below passed. Everything else I looked at failed on one of those three filters.
How to choose a monitor arm for trading: the three arms I'd mount
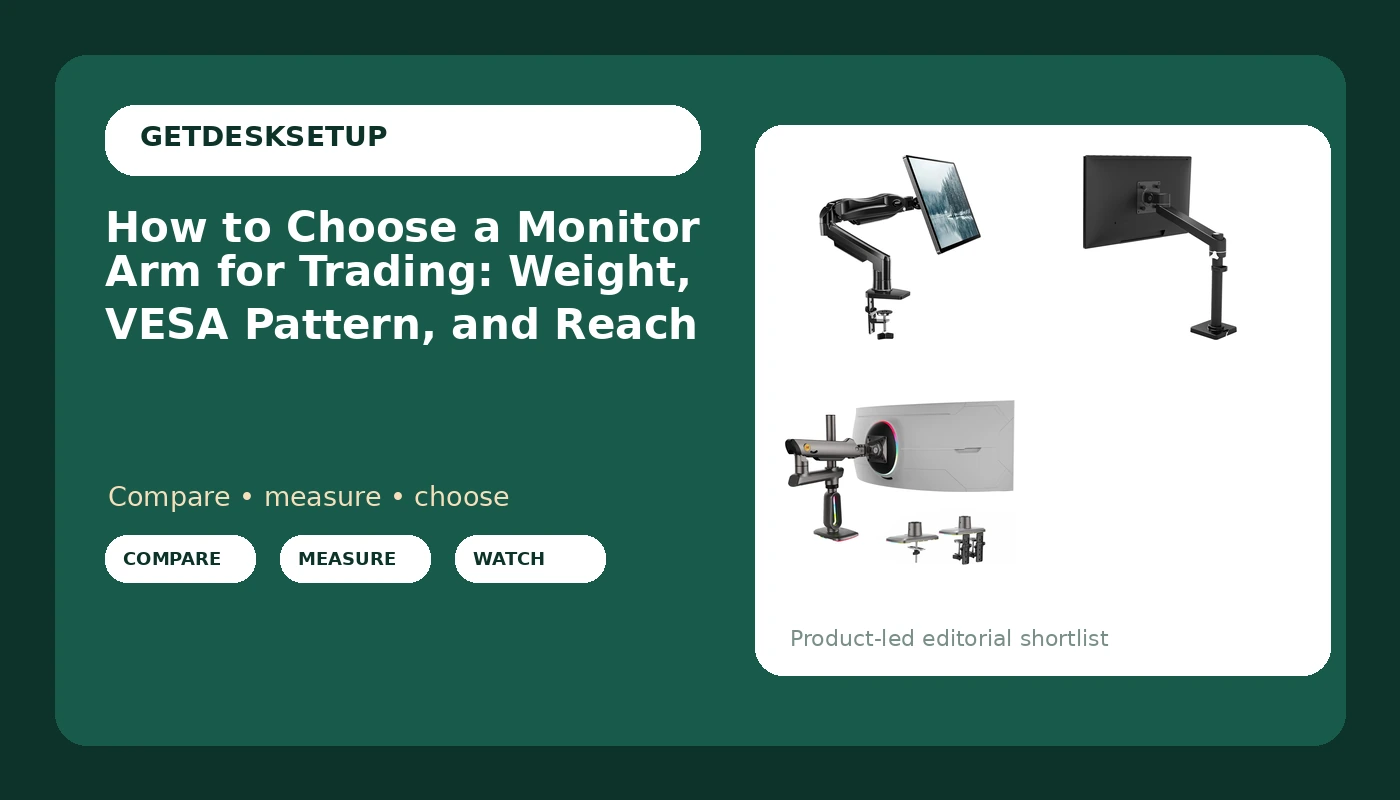
Three tiers, three jobs. One is the value pick for a pair of mid-size panels, one is the single-arm pick for a 34-inch class display, and one is the heavy lifter for a big panel or a desk that spends part of the day standing.
Budget pick: HUANUO 2 Pack Monitor Arm for Dual Monitor Setup, Single Monitor Mount for 13 to 32 Inch Screens, Adjustable VESA Monitor Stand with Clamp and Grommet Base, Each Arm Holds 4.4 to 19.8 lbs
Budget pick
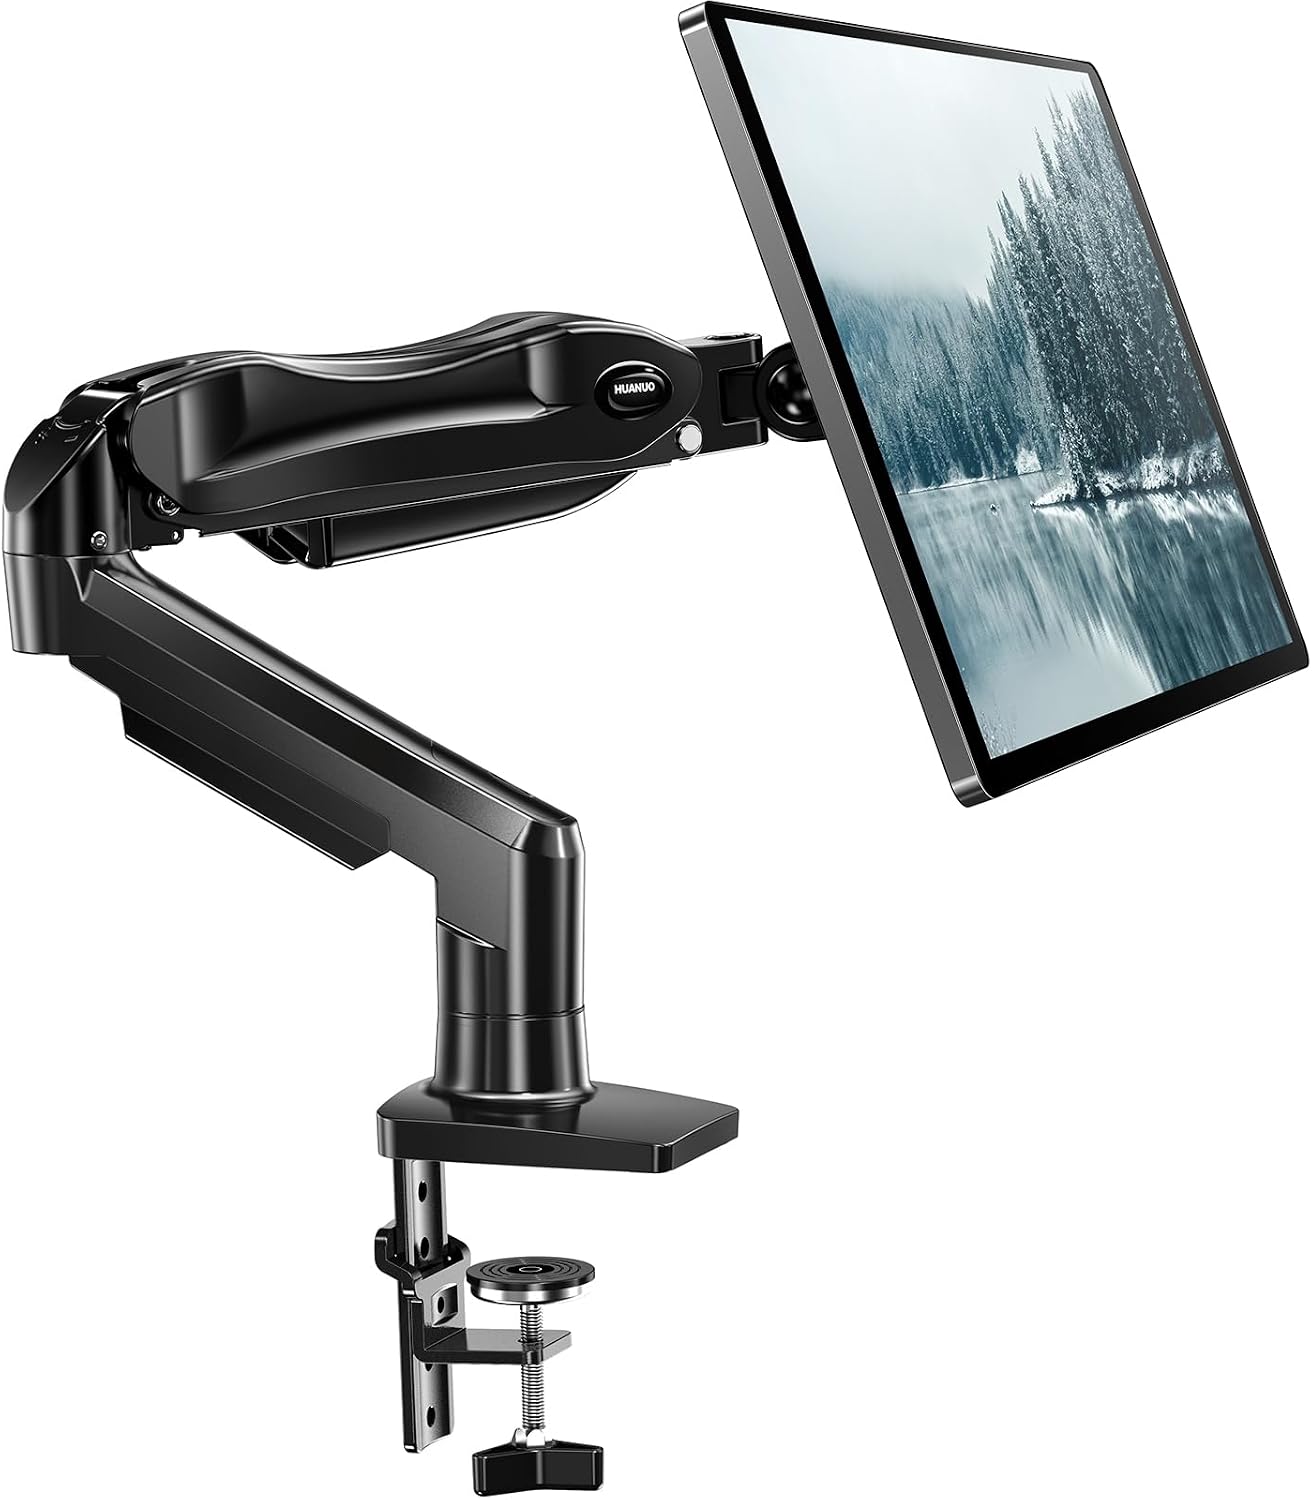
HUANUO 2 Pack Monitor Arm for Dual Monitor Setup, Single Monitor Mount for 13 to 32 Inch Screens, Adjustable VESA Monitor Stand with Clamp and Grommet Base, Each Arm Holds 4.4 to 19.8 lbs
Check current Amazon price.
This is the two-pack, and that is the point: two arms, one box, one purchase, and a matched pair for a dual monitor setup. Each arm covers 13 to 32 inch screens and holds 4.4 to 19.8 lbs, which covers the 24 and 27 inch panels most trading desks actually run. Both a clamp mount and a grommet mount are in the box, so if your desk already has a grommet or a crossbar that blocks a clamp, you are not stuck.
Where it earns its place: the lower bound of 4.4 lbs means it will still hold a light panel without you fighting the joint. A lot of cheap arms assume a heavy screen and either sag or spring on anything light, which is exactly the kind of panel a trader keeps on the side for chat and order entry.
Where it loses: the ceiling. 32 inches and 19.8 lbs per arm is a real limit, and if your main chart panel is a heavy 32-inch or a 34-inch ultrawide, this is the wrong box. Buy one strong arm for the main screen and one of these for the side screen. Budget time for cable routing too, because two arms mean twice the cable channel to fill.
Flaws but not dealbreakers: The arms have a shorter reach than a long-extension model. Measure how far forward you want the panel to sit before you buy.
Anyone building a two-screen trading desk on a standard top, with panels under 32 inches, should start here.
Our pick: Ergotron, NX Single Monitor Arm, VESA Desk Mount, for Monitors Up to 34 Inches, 0 to 18 lbs, Matte Black
Our pick
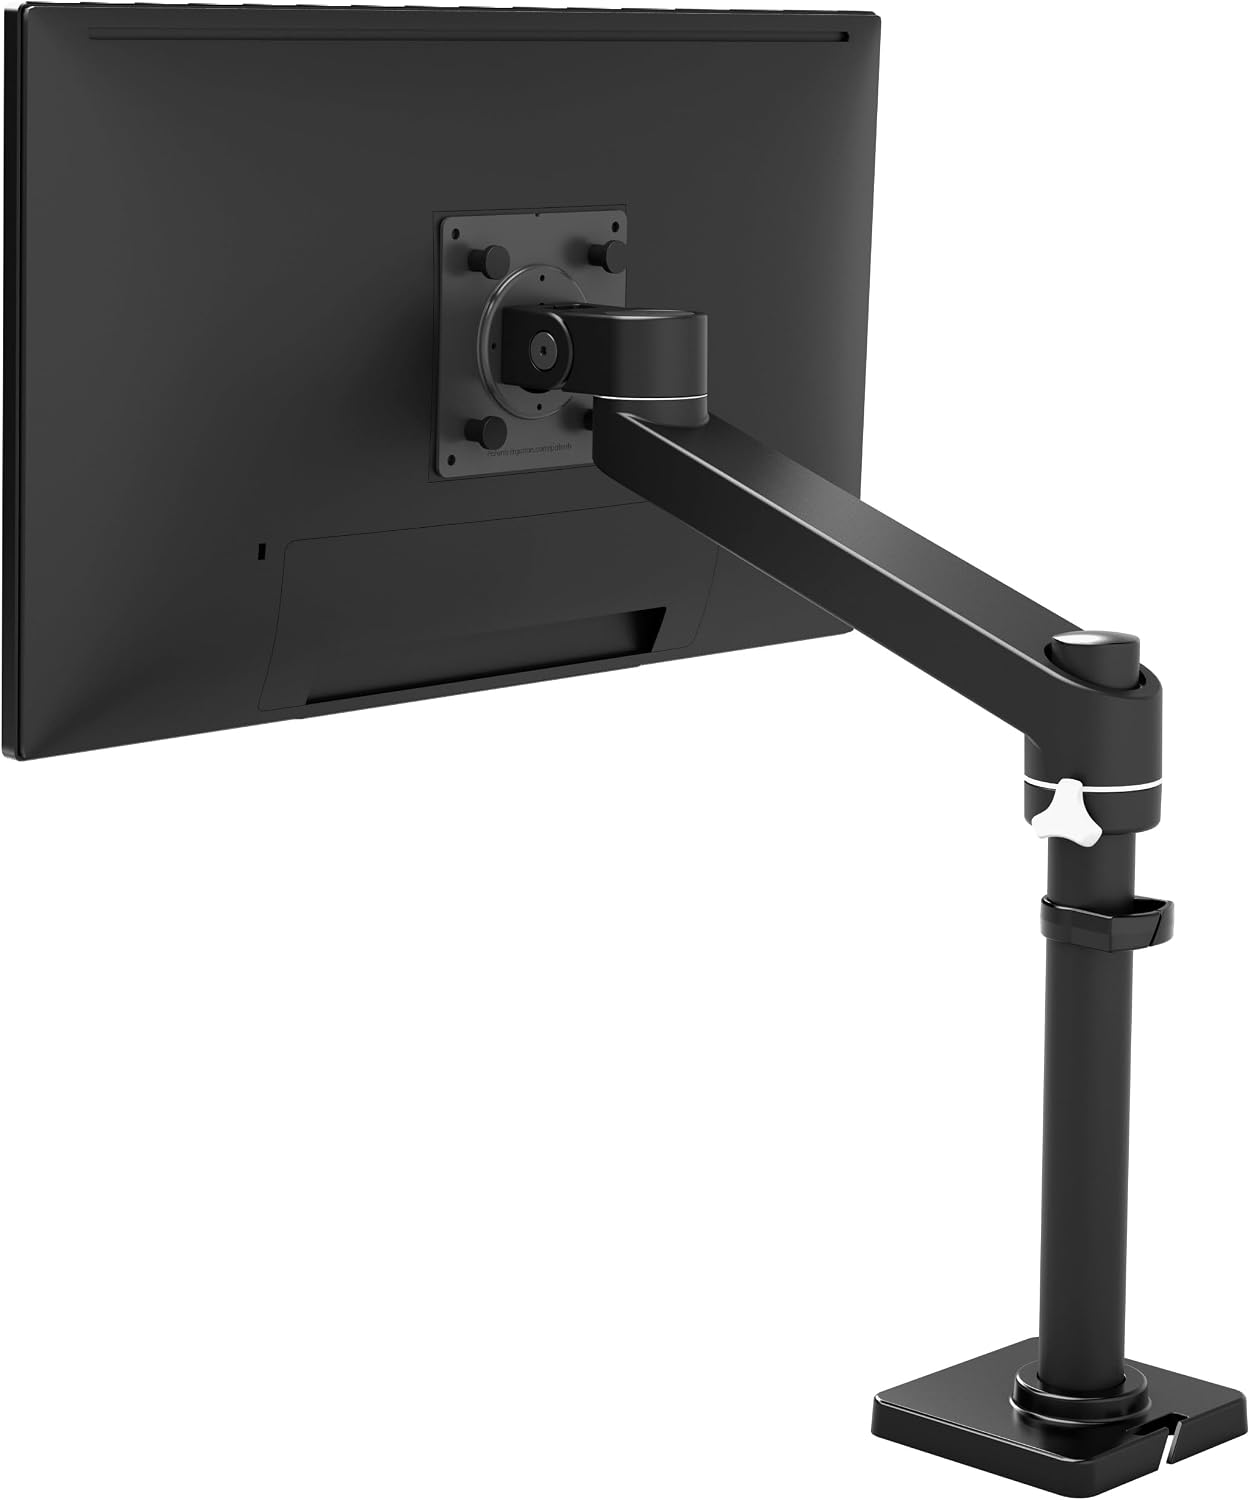
Ergotron, NX Single Monitor Arm, VESA Desk Mount, for Monitors Up to 34 Inches, 0 to 18 lbs, Matte Black
Check current Amazon price.
One arm, one panel, up to 34 inches, 0 to 18 lbs. That 0 at the bottom of the range is the detail I care about most, because it means the arm is built to hold a light panel without drifting upward, and it means a 24-inch side screen and a 34-inch main screen can share the same model. Run four panels and you buy four of these, and they all behave the same way.
The single-arm format is the right answer for a desk where each screen does a different job. You set the main chart panel at eye level, drop the order-entry panel below it, and push the chat window to the side, and each arm only carries its own load. That is a far easier problem than one arm carrying two panels on a crossbar, and it is why I put this at the center of a four-screen desk instead of a dual arm.
Where it loses: it is one arm, so a true dual setup costs two of them, and the 18 lb ceiling rules out a heavy 34-inch panel or anything larger. It is also a desk-mount arm, so a wall-mounted setup or a desk with no clampable edge is not a fit.
Flaws but not dealbreakers: The single-arm layout takes more desk edge than a two-pack, because each arm needs its own clamp footprint. On a narrow top, measure before you commit to four.
Anyone running one main chart panel plus side screens, with each panel under 18 lbs, should look here first.
Upgrade pick: NB Extra Height Gaming Monitor Arm for 32 to 60 Inches Screen, Load up to 20 kg, VESA 75/100, RGB-Light, Heavy Duty, Multi Angle Adjustable, Premium Aluminum, Long Arm Extension Grey Black
Upgrade pick
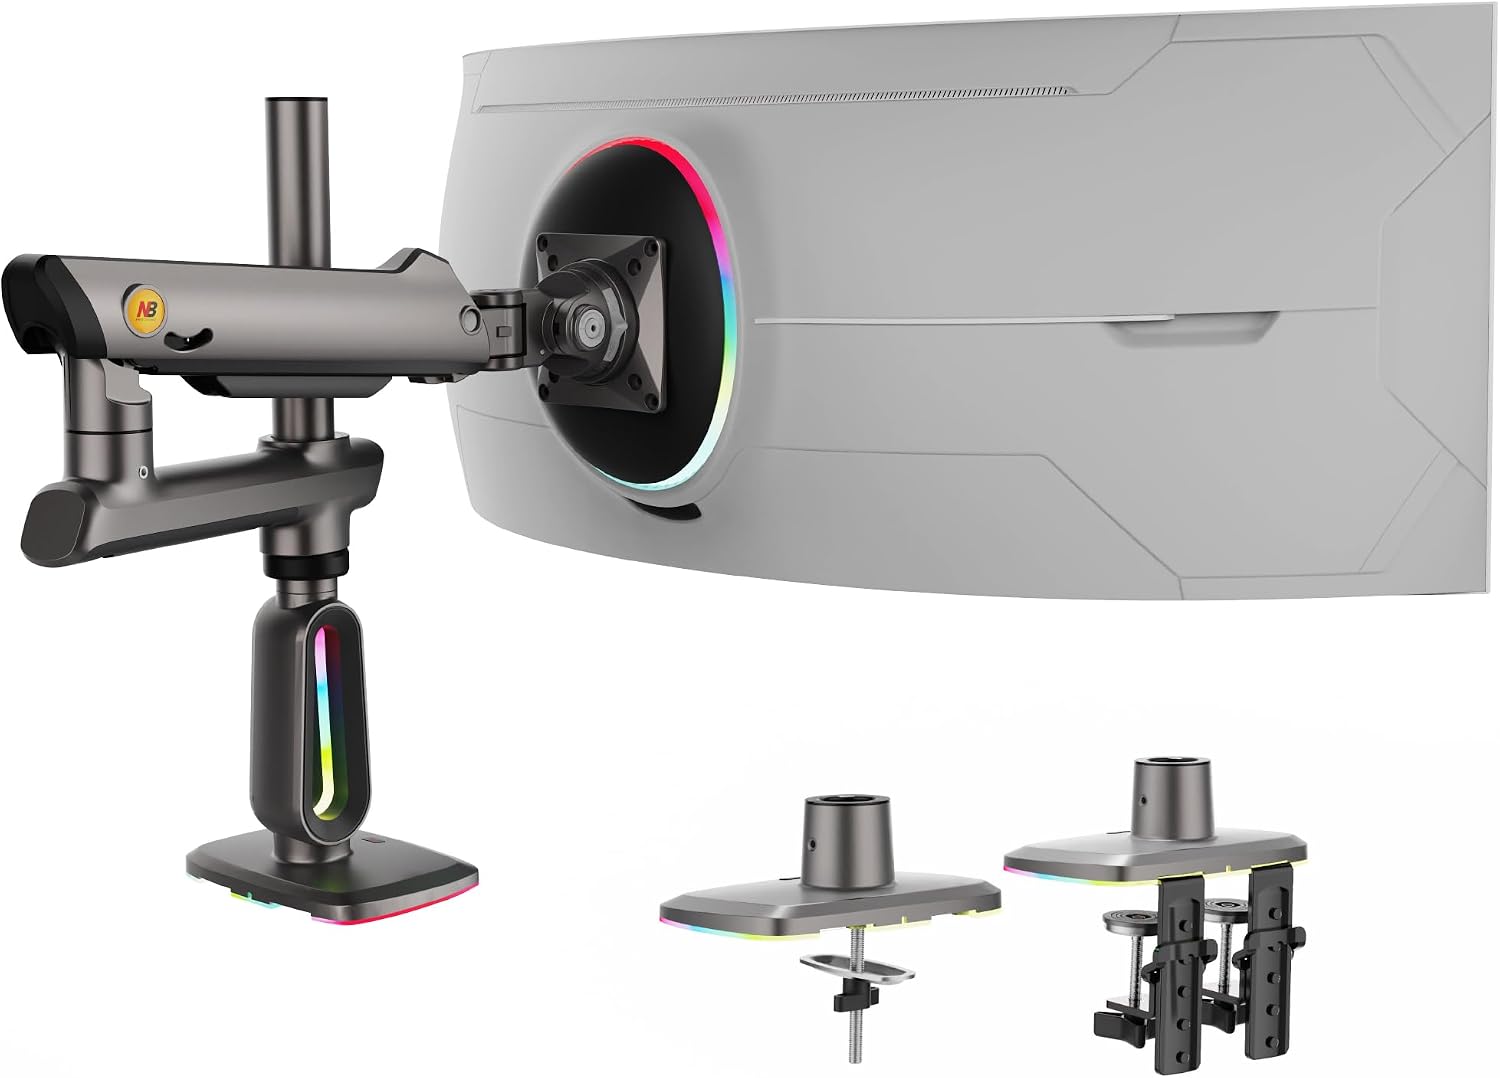
NB Extra Height Gaming Monitor Arm for 32 to 60 Inches Screen, Load up to 20 kg, VESA 75/100, RGB-Light, Heavy Duty, Multi Angle Adjustable, Premium Aluminum, Long Arm Extension Grey Black
Check current Amazon price.
The heavy lifter. 32 to 60 inch screens, up to 20 kg, VESA 75/100, and the extra height column is the reason it is here. If your desk goes up and down, the panel has to come up with it and still land at eye level when you are standing. A standard arm runs out of height column long before it runs out of weight, and that is the failure that sends people back to shopping.
The long arm extension matters too. A big panel on a short arm forces the desk away from the wall or forces you to sit closer than you want. The aluminum build and the multi-angle adjustment mean the joints are meant to be moved and then hold, which is what you want when you tilt a large screen down to cut glare from a window.
The RGB light is there. You do not have to use it. In a dark trading room I would leave it off, because a glow behind a chart panel is one more thing competing with the screen.
Where it loses: this is more arm than a 24-inch panel needs, and the height column takes vertical space above the desk that a low shelf or a hutch will not allow. Measure the clearance above the desk, not just below it.
Flaws but not dealbreakers: A 60-inch rating means the arm is long, and a long arm on a light panel needs the joints set carefully or the screen will not sit where you left it. Set it once, then stop moving it.
Anyone with a 32-inch or larger panel, or a standing desk that needs the screen to rise with it, should buy this and skip the other two.
The workflow, step by step
This is the order I use. Do it this way and the arm goes on once.
Step one: Weigh the panel. Take the monitor off its stand, weigh it, then add the weight of the plate and any adapter. Write the number down. This is the number that decides whether you choose a monitor arm for trading or whether you keep shopping, because weight capacity is the only spec that matters at the top of the range.
Step two: Confirm the VESA pattern. Measure the distance between the four screw holes on the back of the panel, in millimeters. 75×75 and 100×100 cover most desks, and a very large panel may be 200×200 and need an adapter, which adds standoff. Anyone who wants to choose a vesa monitor arm for trading should measure these holes before looking at a single product photo, because a mismatched pattern is the most common reason an arm goes back in the box.
Step three: Measure the desk, top and bottom. A clamp mount needs a flat edge and a top thickness inside the clamp's range. A grommet mount needs an existing hole and clearance underneath for the plate. Look under the desk for a crossbar or a cable tray, because both block a clamp, and check whether the top is hollow-core, because a clamp on a hollow top will crush it.
Step four: Count the screens and decide the arm per screen. Two panels can share a dual arm or run on two single arms. Four panels are almost always four single arms, because a crossbar carrying two heavy panels is harder to keep level than two arms carrying one each. Decide this before you buy, not after.
Step five: Set the reach and the height. Sit down, close your eyes, and point at where you want the center of the panel. Measure from the desk edge to that point, and from the desk surface to your eye line. Reach and height decide the model more often than weight does, especially on a standing desk.
Step six: Pick the lift mechanism you can move with one hand. A gas spring arm holds its position without a knob, which matters when you adjust a screen ten times a day. A friction joint is cheaper and needs a retighten now and then. Either can work, but a gas spring sized for a narrow weight band holds better than one sized for everything.
Step seven: Check the tilt range and the swivel. A tilt range that stops short will not let you angle a panel down against overhead light, and a swivel that is too free will let a bumped panel swing out of square. Test both before you load the arm, then set them and leave them.
Step eight: Route the cables, then lock everything. Feed the display and power cables through the cable channel with slack at both ends, clamp the arm to the desk, load the panel, and only then tighten every joint. Reversing that order is how desktops crack. After a week, check the panel against a level line and tighten anything that moved.
The competition and why it lost
A few arms people ask me about did not make the list, and the reasons are worth knowing, because they are the same reasons a cheap arm fails on a trading desk.
The single-arm friction mounts that cost less than a decent desk lamp are fine for a laptop riser and wrong for a chart panel. They hold a light screen at one angle, and the moment you want the panel higher or closer, the joint gives. If you are going to choose a monitor mount for trading, buy one that adjusts without a fight.
Wall-mounted arms solve a different problem. They are the right answer when the desk has no clampable edge or when you want the surface completely clear, but they need studs or a proper anchor and they lock the panel to one spot on the wall. On a standing desk, a wall mount is a non-starter.
Ultrawide-specific arms with a fixed heavy spring also lost. A spring tuned for a 40-inch ultrawide is too stiff for the 24-inch side panel, which means you end up buying two different arms anyway. Buying four of the same arm is simpler and keeps the height consistent across the desk.
And the cheap dual crossbar kits lost on level. Two panels on one crossbar means one clamp holding twice the weight and one joint keeping two screens square. It can work. It is just harder to keep working, and a trading desk gets bumped.
What this all costs
I am not going to quote you a number, because prices move and you can see today's on each listing above. What I will give you is the shape of the spend.
The value tier is the two-pack, and it is the cheapest way to get two screens off the desk and onto arms that match each other. The single-arm tier costs more per arm than the two-pack, and you are paying for the wider weight range and the larger panel ceiling. The heavy-duty tier costs more again, and you are paying for the height column and the load rating, which are the two things a big panel or a standing desk cannot fake.
The math that matters when you choose a monitor arm for trading is cost per desk, not cost per arm. Four single arms is the most expensive way to build a four-screen desk, and it is also the configuration least likely to drift, least likely to need a return, and easiest to adjust one panel without touching the other three. Over a year of eight-hour days, the gap between the cheap arm and the right arm is a rounding error next to one afternoon of a chart window sitting crooked.
The other cost is the one nobody budgets for: the wrong arm. A clamp that crushes a hollow top, a joint that will not hold a heavy panel, a VESA plate that needs an adapter and then wobbles. Every one of those ends in a return, a repair, or a desk you stop trusting.
So here is the short version. Weigh the panel, measure the hole pattern, measure the desk edge and the underside, then pick the arm whose weight capacity covers your panel with room left at the top. When you choose a screen arm for trading, the brand is the last thing you look at and the weight is the first.