Most attic offices fail before the furniture arrives. The desk ends up under the slope where the ceiling is waist high, the chair cannot drop low enough to fit, and by 2 p.m. the room is a greenhouse. If you want to set up a home office in an attic, the order of operations matters more than the shopping list.
I have built out 310 home offices. When I set up a work from home in an attic, the first hour goes to a tape measure and none of it goes to furniture. Heat rises, so the attic is the hottest room in the house. Roof pitch eats the wall space you would normally give a monitor. The floor is usually painted subfloor, which means every wheel and every clamp has to work on a surface that is not level.
This is the guide I hand clients who ask me how to set up a home office in an attic: measure the room, let the ceiling set the desk height, pair the chair to that height, then buy the cheap things that keep the desk from sliding and your wrists from bending backward.
Why you should trust me
I spent nine years as an office facilities manager, buying and assembling chairs and desks for 400-person floors. For the last six years I have run a two-person desk setup service that has built out 310 home offices, and I keep a notebook of every seat depth and desk height range I have measured with a tape instead of read off a spec sheet.
That notebook is why I am blunt about attics. A sloped ceiling changes the arithmetic on furniture you already own. A chair that fits you at a standard desk height does not fit you at the height an attic forces, and the difference is not comfort, it is whether your feet reach the floor and whether your elbows can rest.
Attic jobs also punish the wrong purchase order. Buy the desk first and you buy the chair twice. Buy the chair first and you buy the desk twice. Measure first and you buy each one once.
How I picked and how I tested
The order below is the order I use when I set up a home office in an attic for a client: the room, then the chair, then the accessories that hold it together.
Every item had to pass three checks before it earned a place:
- Does its listed adjustment or dimension reach the number the ceiling forces? A chair whose height range stops short of your desk is a return, not a purchase.
- Does it survive an attic stair? Narrow, steep, and usually with a turn at the top.
- Does it hold position on an uneven floor? Attic subfloor is rarely flat, and a mat that creeps is a daily annoyance.
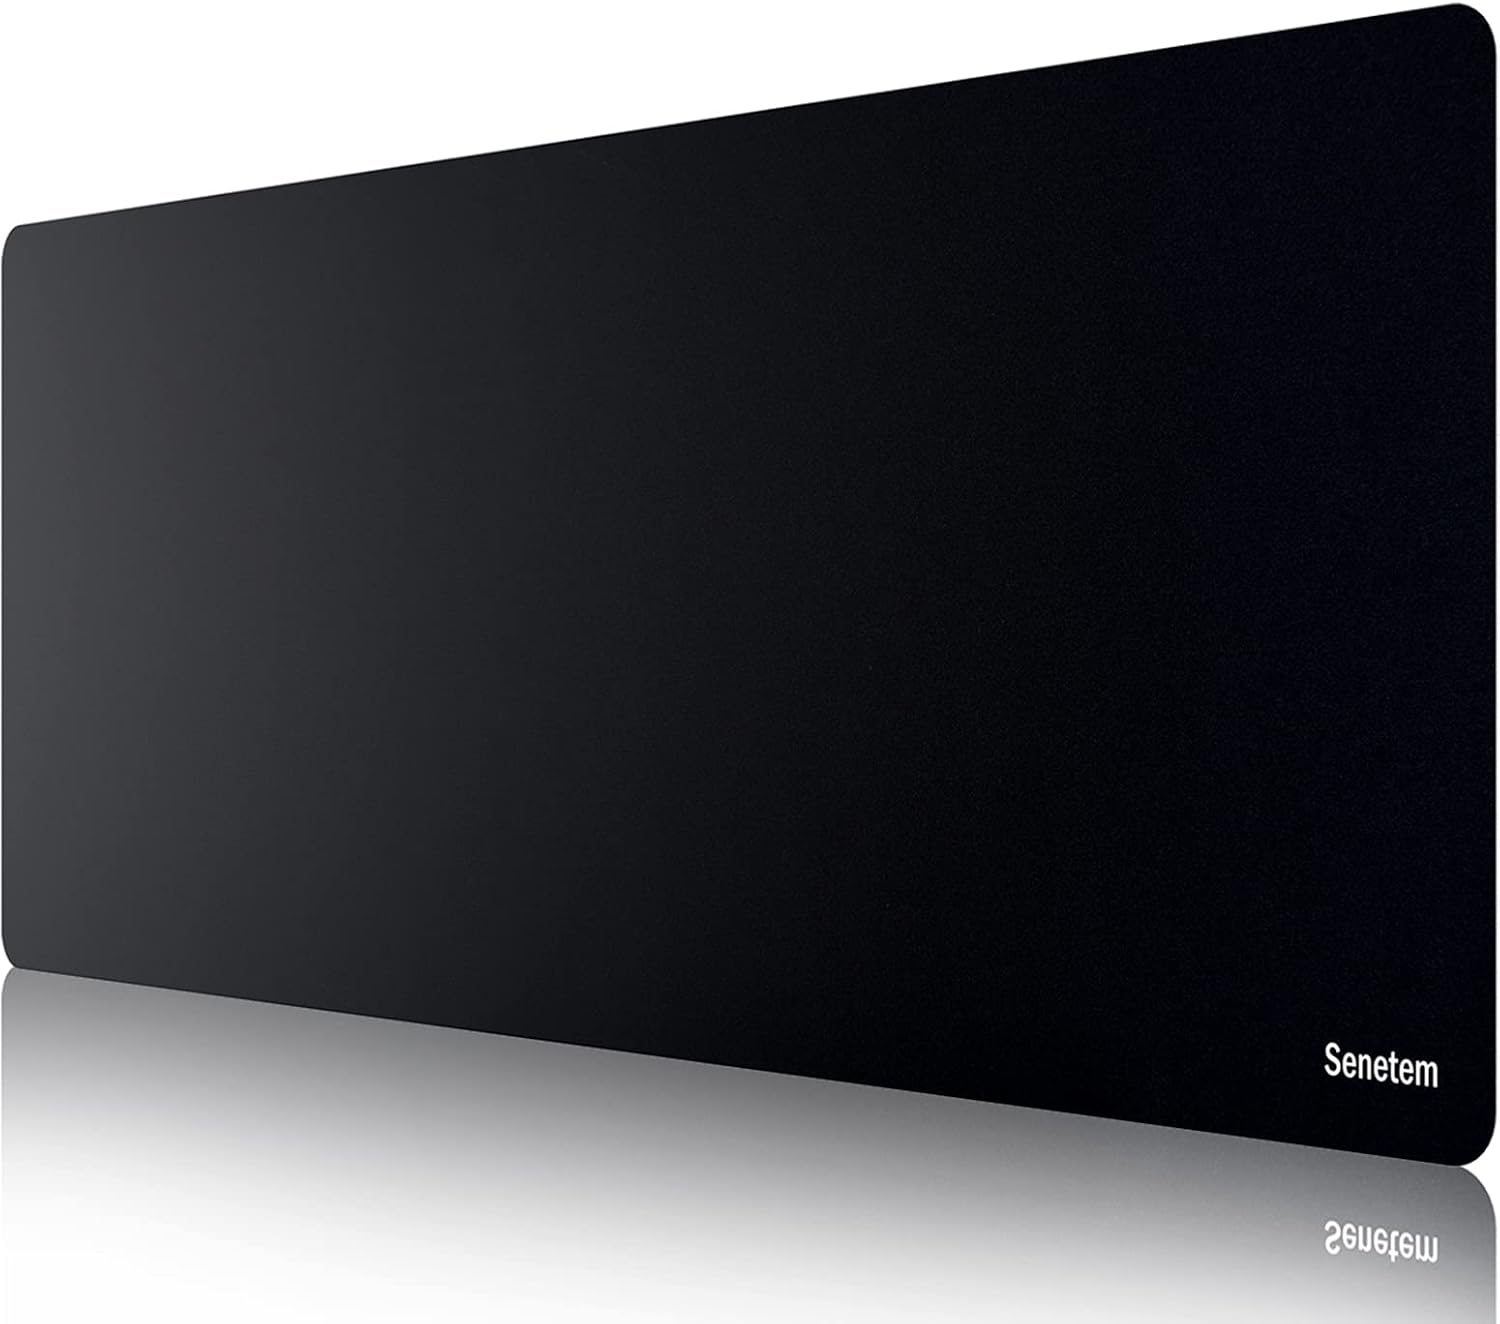
I work from the dimensions a listing actually states plus the numbers I take in the room. Where a listing states no measurement, I do not invent one. The Senetem mat states its size plainly at 35.4 by 15.7 inches, so I can tell you exactly what desktop it needs.
The vocabulary that matters in a sloped room is short: room layout, desk height, chair pairing, monitor distance, lighting layers, power outlet, cable planning, ventilation. Skip one of those and you redo the room in six months.
What to get before you set up a home office in an attic
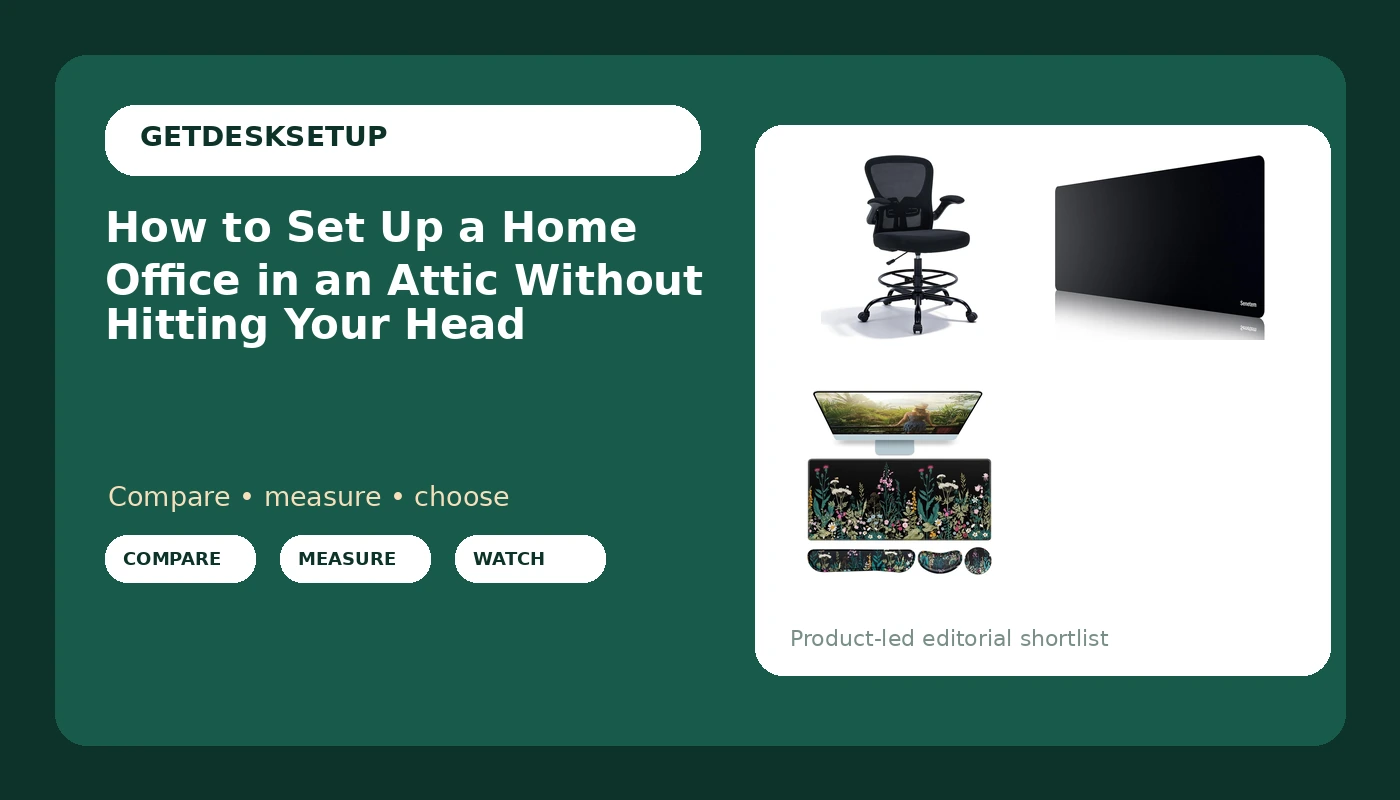
Three things earn a place in the cart: a chair that matches the desk height the ceiling forces, a mat that defines the work zone on a surface that is not flat, and a wrist rest that keeps your hands level once the desk goes up. Everything else can wait until you have sat in the room for a week.
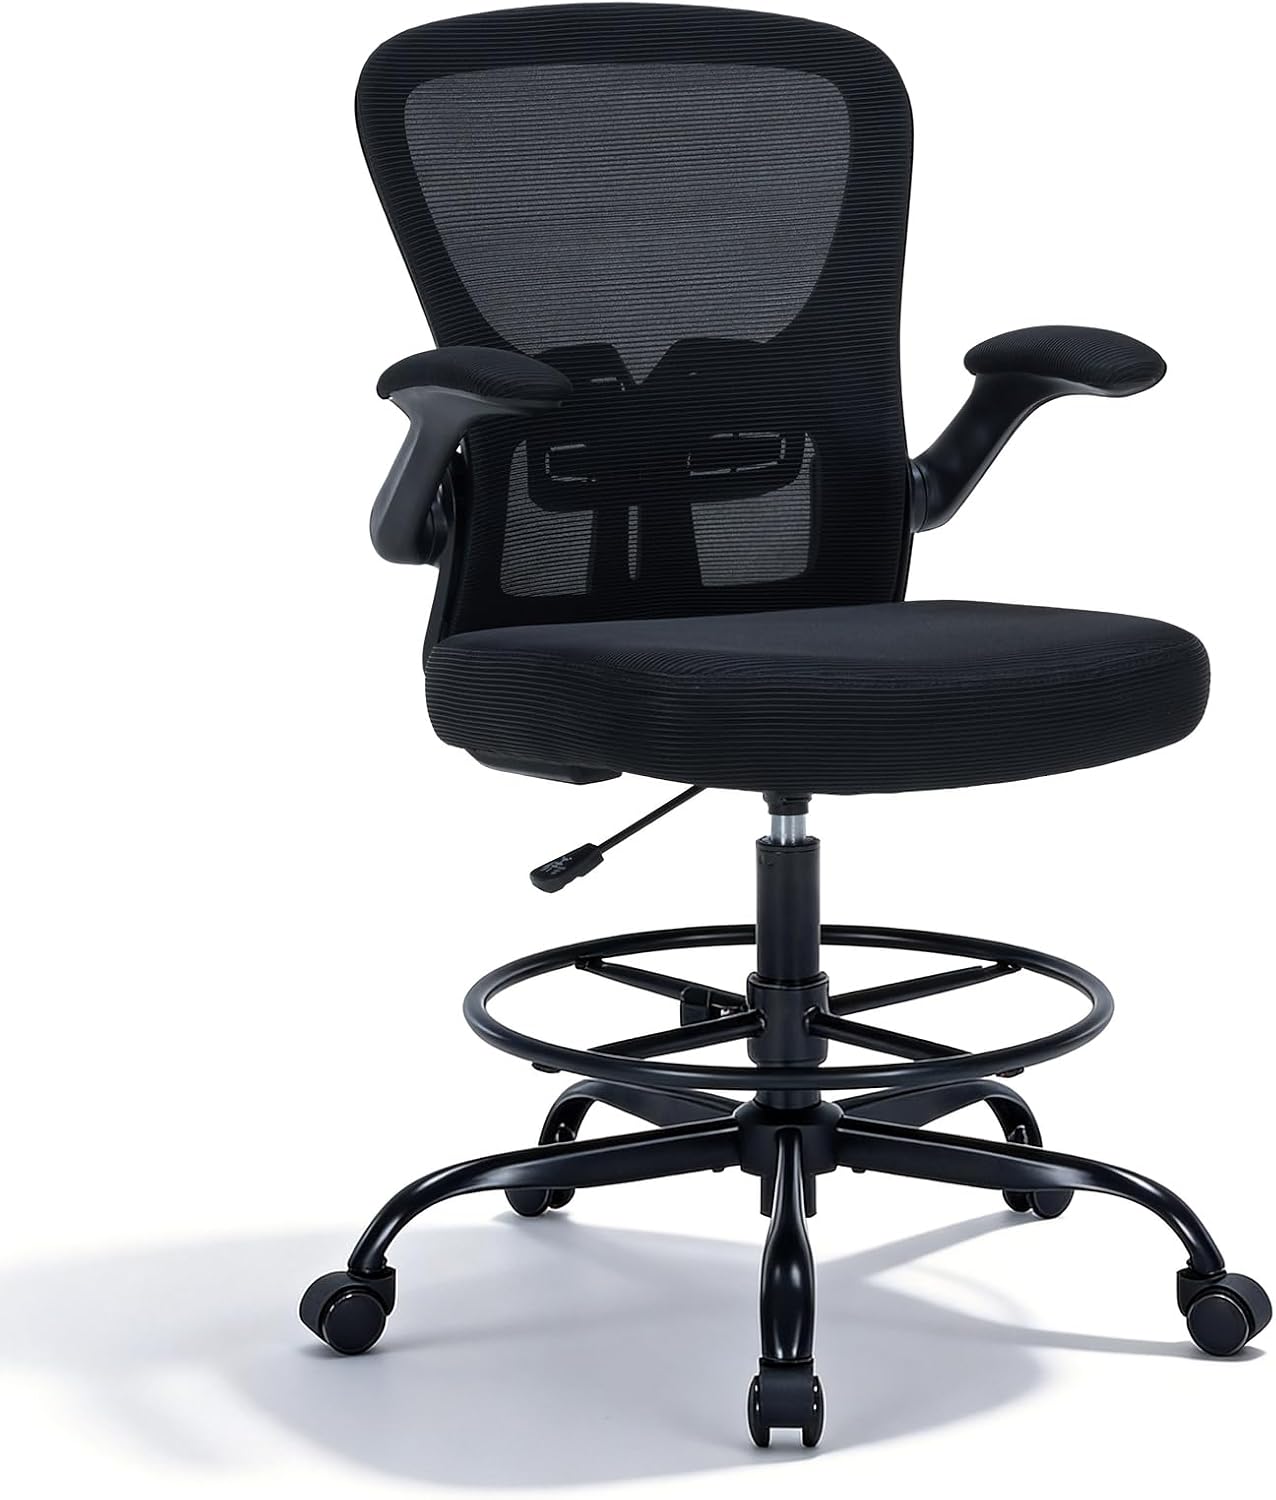
The chair: Drafting Chair Tall Office Chair, Standing Desk Chair with Flip-Up Armrests, Mesh High Chair Adjustable Height, Ergonomic Computer Chair with Lumbar Support and Adjustable Footrest Ring
The chair
Drafting Chair Tall Office Chair, Standing Desk Chair with Flip-Up Armrests, Mesh High Chair Adjustable Height, Ergonomic Computer Chair with Lumbar Support and Adjustable Footrest Ring
In most attics the desk has to go up, not out. The low side of the ceiling limits how far forward your head can travel, so the fix is a higher desk pushed toward the peak, which puts your keyboard above the height a standard task chair was built for. A standard chair at a raised desk perches you: knees high, arms angled down, feet swinging. That is the specific problem this tall chair solves.
The flip-up armrests are the feature that matters most in a sloped room. Armrests are what stop you sitting deep enough to get your knees under the desk, and in an attic you often need to sit deeper than usual to keep your head clear of the slope. Flip them up and the chair slides in another few inches.
The adjustable footrest ring handles the other half of the same problem. When the seat goes up, your feet lose the floor, and a ring gives them somewhere to land at a height you choose instead of a height the chair chooses. The mesh back is not a luxury up there, it is ventilation, because a foam-backed chair in the hottest room in the house is a sweaty chair by the second hour.
The listing names lumbar support, so check whether the pad moves before you order. A fixed pad in the wrong spot is worse than no pad at all, and that is the most common thing I find wrong with chairs sold as ergonomic.
Two measurements before you buy: the height of the desk surface you plan to use, and the distance from the floor to the top of your knee while seated the way you actually work. The chair's listed height range has to cover the first number, and the second tells you whether your thighs clear the underside of the desk.
Who should skip it: anyone whose attic allows a standard desk height, because a drafting chair at a normal desk is a perch you will hate within a week. Skip it too if you cannot rest your feet on the ring at its lowest setting, since a tall seat with dangling feet is worse than a low seat with bent knees.
Check current Amazon price.
The desk mat: Senetem XXXL Mouse Pad 35.4×15.7 in, Large Gaming Desk Mat, Black Non-Slip
The desk mat
Senetem XXXL Mouse Pad 35.4×15.7 in, Large Gaming Desk Mat, Black Non-Slip
Size first, because this one states it: 35.4 by 15.7 inches. That sets a hard floor on the desk you can put it on. Your desktop has to be at least 35.4 inches wide, or the mat overhangs and the non-slip backing has nothing to grip.
Attic desks are usually built-ins, hand-me-down tables, or a counter-height surface you raised to beat the ceiling. None of them are flat. A mat gives the mouse a consistent surface across the whole work zone and stops the keyboard walking forward over an afternoon. The non-slip backing matters more here than it would in a normal room, because a sloped or uneven surface is exactly where a thin mat slides.
The black finish is the practical choice for a low ceiling. When the ceiling sits a few feet from your face, the surface under your hands is in your field of view all day, and a busy pattern there is one more thing your eyes have to tune out.
Who should skip it: anyone on a trackball or a large drawing tablet that already covers the desk, and anyone whose desktop is narrower than 35.4 inches. A smaller mat beats one hanging off the edge.
Check current Amazon price.
The wrist-rest set: Desk Mat, Large Gaming Mouse Pad with Wrist Rest, 4in1 XXL Mousepad Floral
The wrist-rest set

Desk Mat, Large Gaming Mouse Pad with Wrist Rest, 4in1 XXL Mousepad Floral
If the desk goes up to clear the ceiling, your wrists go with it. A raised desk with no wrist support puts your hands in extension, and eight hours of that is how people end up with forearm pain. This set pairs the mat with a wrist rest, so the keyboard and mouse sit on one surface and the rest brings your wrist level with the keys.
The four-piece set covers the keyboard and mouse zone in a single footprint, which matters in an attic where you do not have room for three separate pads.
The floral print is a taste call. In a room with one small window and a sloped wall, it is sometimes the only color in the space, and it costs you nothing functionally.
Who should skip it: anyone on a split keyboard with its own tenting, and anyone who already owns a wrist rest that matches their keyboard's front edge. Check the rest height against your keyboard before you commit, because a rest taller than the keyboard pushes your wrist up, which is the opposite of the point.
Check current Amazon price.
The actual attic setup workflow
To set up a home workspace in an attic, run these eight steps in this order. The order is not a suggestion. Every time I have watched someone do these out of sequence, they moved the desk twice.
Step one: Measure the room layout before you measure any furniture. You need three numbers: the ceiling height where your head will be while seated, the ceiling height at the peak, and the width between the knee walls at floor level. Add a fourth, the floor slope, by setting a level on the desk footprint and watching how far the bubble moves. Write all four on the wall, because you will forget them by the time the boxes arrive.
Step two: Let the ceiling set the desk height. If you cannot sit upright at a standard desk height under the slope, the desk moves toward the peak and goes up. Desk height comes from the ceiling, not from the catalog, and most attic builds end up higher than a standard desk. That single number drives everything after it.
Step three: Pair the chair to the desk height. This is chair pairing, and it is the step people skip. A raised desk needs a tall chair with a footrest ring, which is why the drafting chair leads this list. A standard desk height needs a standard task chair. Decide the desk height first, then match the chair to it, never the other way around.
Step four: Put the monitor at the peak and set your monitor distance. The screen goes where the ceiling is tallest, so you sit under the high point instead of leaning away from the slope. Set it an arm's length away and put the top of the screen at eye height. If you use an arm, clamp it to a solid section of the desktop, not the thin edge and not the trim on a built-in.
Step five: Build your lighting layers. Three layers: ambient light for the room, a task light aimed at the desk surface, and a bias light behind the monitor. The attic's ambient layer is usually one bulb behind your head, which puts glare on the screen and your own shadow across the keyboard. Aim the task light at the desk, never at the screen.
Step six: Count the power outlet situation before you plug anything in. One outlet is typical, and a desk motor, a monitor, a laptop, a lamp, and a charger will outrun a single strip. Run one strip from the wall, check its rating, and do not chain strips. If a space heater shares the circuit, the heater wins and your desk stops halfway up.
Step seven: Do the cable planning before the desk is loaded. Clamp first, then load, then tighten. Reversing that order cracks a desktop, and I have watched it happen. Leave a slack loop at the monitor arm so raising the desk does not pull the display out of alignment, and route cables along the joists or the baseboard, never across the path between the stair head and the chair.
Step eight: Sort ventilation last, then sit for a week. Heat rises, and a closed attic door turns the room into an oven by mid-afternoon. Move air across the desk, keep the roof vent and the soffit gap clear, and leave the door open or add a vent in it. Then sit for a week and re-check your desk height and monitor distance with your body rather than the tape. The first number you wrote down is usually an inch off.
The competition and why it lost
A standard task chair lost on arithmetic, not comfort. At the desk height a sloped ceiling forces, it leaves your feet off the floor and your elbows below the keyboard, and no amount of cushioning fixes geometry.
A full electric standing desk lost too. Standing height puts your head closer to the ceiling, not farther from it, and the top of the range is exactly where the wobble lives.
A wide L-shaped desk lost on room layout. Two wings need two wall runs, and an attic gives you one usable wall between the knee walls. A built-in that follows the slope looks clever in photos and leaves you nowhere to put your knees.
The thin dorm mat lost on size. It covers a keyboard and half a mouse, then slides, because a thin mat on an uneven attic floor has nothing to hold it.
The bare-floor rolling chair lost to gravity. Attic floors slope, and a chair with no mat under it creeps downhill all day.
What this all costs
I am not going to print a price that changes every Tuesday. Every product on this page links to its live listing. Check current Amazon price there and you have today's number, which is the only number that matters.
The shape of the budget is simple. The chair is the biggest line item, because it is the only thing here that has to be adjusted to your body. The two mats are the smallest, and they are the cheapest insurance against a desk that slides and wrists that ache. The measuring costs nothing, and it decides whether the other purchases were right.
You can set up a work from home office in an attic with a sloped ceiling and one small window, but only if the lighting layers and the ventilation come before the boxes do.
The math that matters is the money you do not spend twice. A chair bought before you know your desk height is a chair you replace. A mat bought wider than your desk is a mat you return. The cheapest way to set up a home office in an attic is to measure first and buy second, because the cheapest correct setup beats the most expensive wrong one every single time.
If you want the method behind step three, the office chair seat depth and height range guide covers the measurements. And if you are still deciding whether to raise the desk at all, the standing desk wobble at standing height test is worth reading before you buy one.
Do the measuring on the landing before you carry anything up the stairs. Chair first, mat second, wrist rest last, because by then you will know exactly where everything goes.