Most people who want to improve focus in a home office start by buying something. A new chair, a new lamp, a heavier monitor arm. I have built out 310 home offices in six years, and the failure is almost never the gear. It is that the desk height, the chair pairing, and the monitor distance were never measured against the body that has to sit there for eight hours.
Before that, I spent nine years as an office facilities manager, buying and assembling chairs and desks for 400-person floors. I keep a notebook with every seat depth I have measured with a tape instead of reading it off a spec sheet. When a client tells me they lose focus at 2 p.m., I do not ask about willpower. I ask what their elbows do while they type and where the window sits relative to the screen.
The fix is a sequence, not a purchase. Surface height first, then the seat that matches it, then the screen, then the light, then the cable, then the air. Get that order wrong and you will buy three things that each solve nothing.
Why you should trust me
I ran a two-person desk setup service for six years after the facilities job. That is 310 home offices, most of them Seattle apartments where the desk has to fit under a window that barely opens and next to a radiator that runs all winter. I have assembled more flat-pack desks than I can count, and I have watched which ones wobble at the top of their height range and which ones hold.
I do not take a manufacturer's word for fit. I tape the seat depth, I tape the desk height range, and both go in the notebook. If I cannot state your seat depth in inches, I am guessing, and guessing is how people end up with shoulder pain they blame on stress. The things that actually improve focus in a home office are measurable, and none of them are sold as a focus product.
My test before anything goes into a client room is simple: would I leave it there for a year and still defend it? That question kills more products than any review score does.
How I picked and how I tested
This guide is not a ranked list of the best office furniture. It is the three pieces that solve the three physical problems that break concentration: an unstable or wrong-height surface, a seat that does not pair with that surface, and nowhere to change posture when your back has had enough. I applied the same filter I use on standing desks: does the listing give me a height range, does it give me a seat depth, and does it tell me what the thing does at the top of that range.
Where a listing gives a number, I check it against the tape. Where it does not, I treat the product as unverified and say so in the notes. The numbers I actually trust when I am sizing a room are boring ones. Seated elbow height, measured from the floor with your shoulders relaxed, gives you the desk height you need. Seat depth, measured from the back of your knee to the back of your hip, tells you whether a chair will let you use the backrest or force you to perch. Monitor distance, about an arm's length from your eyes to the glass, tells you whether you will be leaning in by Thursday. Room layout decides whether the window sits behind the screen or beside it, and lighting layers decide whether you are squinting by four in the afternoon.
I check three things no spec sheet lists. Whether the cable path survives a monitor arm moving up and down, whether there is a power outlet within reach of the desk without a cord across a walking path, and whether the room can move air without blowing on your neck.
If you want to improve focus in a work from home office that doubles as a bedroom, those three checks matter more than any number, because a room with two jobs has less slack in it.
What you need to improve focus in a home office
Three pieces: a surface, a seat, and a second seat for the days you want a different posture. Everything else in a home office is optional, and most of it is a distraction from these three.
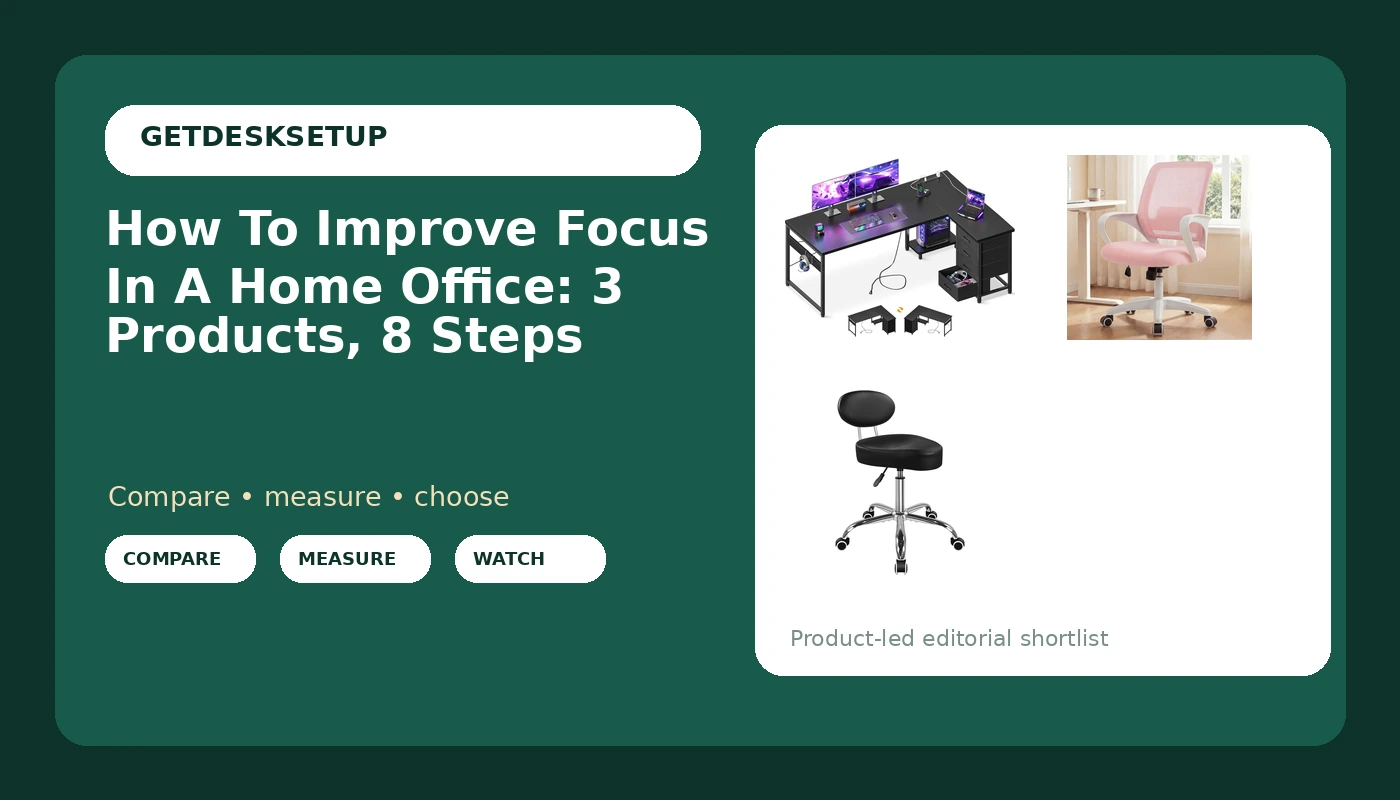
The desk: AODK 61" L Shaped Gaming Desk with 4 Drawers and Power Outlets, Black
The desk
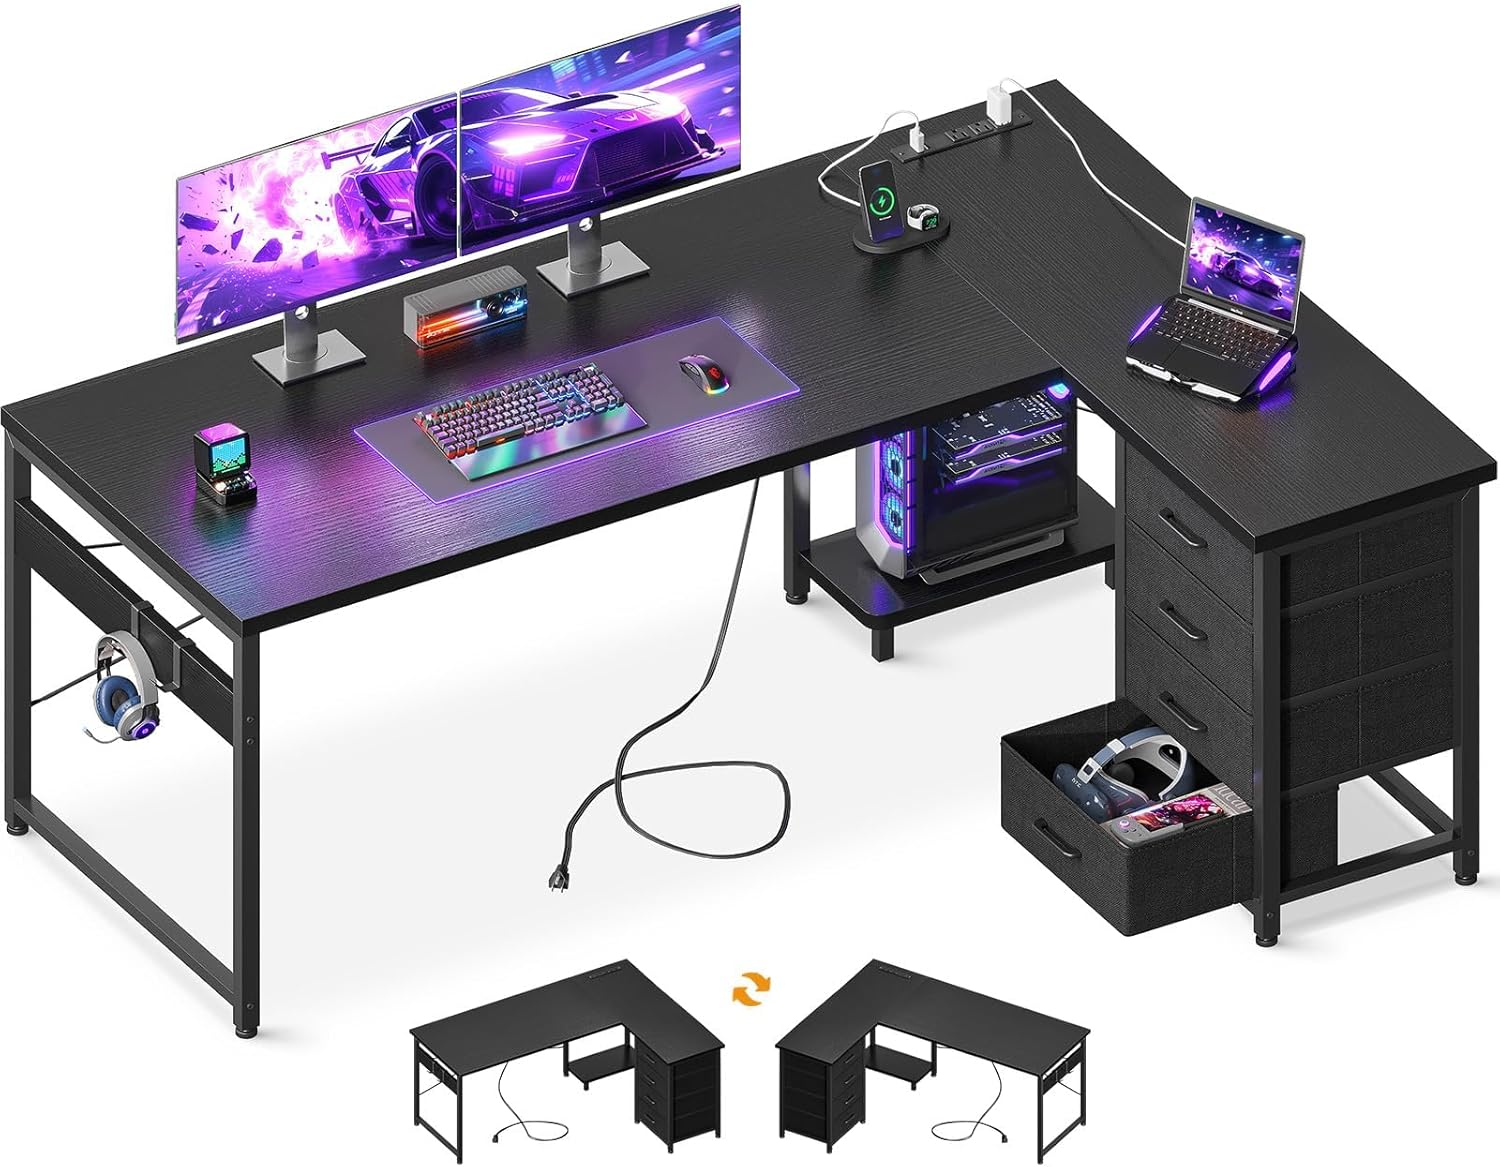
AODK 61" L Shaped Gaming Desk with 4 Drawers and Power Outlets, Black
Start with the surface, because everything else gets sized off it. An L shape earns its footprint in a corner: the long run takes the monitor and keyboard, and the return takes the printer, the notebook, or the coffee you keep knocking over. Four drawers matter more than they sound. A drawer is where the paper goes so it stops living under your keyboard, and a desk with storage is a desk you do not have to add a filing cabinet beside.
The built-in power outlets are the part I would look at twice. Power at the desk means cable planning happens at the desk instead of at the wall behind it, which is where most home office cable mess starts. Measure your longest run from the wall outlet to the far corner of the L before you commit.
Flaws but not dealbreakers: This is a fixed-height surface. If your seated elbow height lands above the range in the listing, this is not your desk, and no cushion will fix it. Buy a height-adjustable frame instead.
It suits anyone in a corner or an alcove who wants storage and power in one purchase. Check current Amazon price.
The chair: NEO CHAIR Home Office Desk Chair Ergonomic Mesh with Lumbar Support, Pink
The chair
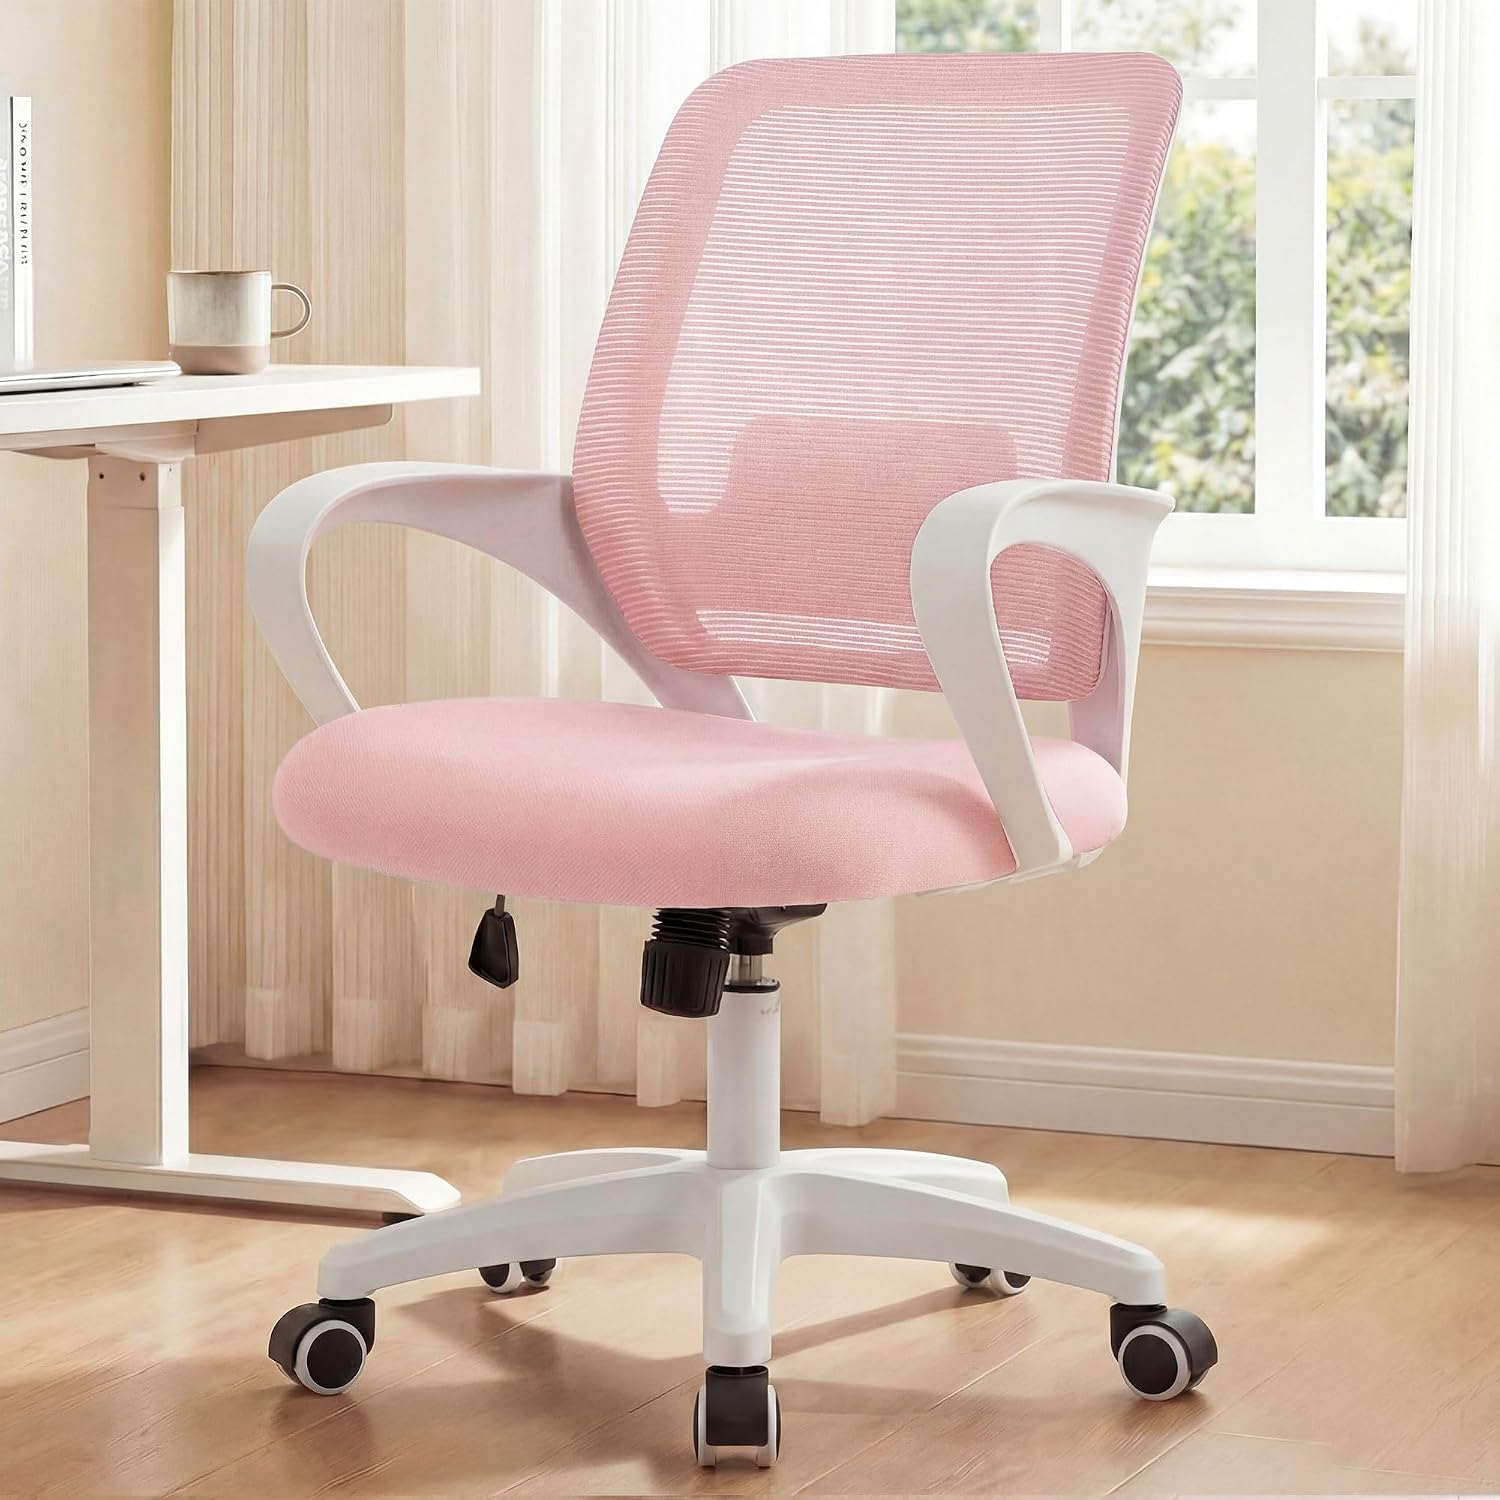
NEO CHAIR Home Office Desk Chair Ergonomic Mesh with Lumbar Support, Pink
A mesh back with real lumbar support is the minimum I put in a client room. Mesh breathes, which matters in a small room with the door shut, and a lumbar pad you can feel is the difference between a chair that supports your lower back and one that has a curved piece of plastic in the general area. The pink finish is the honest reason most people click this listing, and there is nothing wrong with that. A chair you like looking at is a chair you sit in properly instead of perching on the edge of.
Chair pairing is the step people skip. The chair has to put your elbows at the desk surface and your feet on the floor at the same time. If the seat is deeper than your knee-to-hip measurement, you will slide forward to reach the keyboard and lose the backrest. If it is shallower, your thighs carry the load and your lower back gets nothing.
Flaws but not dealbreakers: A fixed lumbar pad fits some spines and not others, and this is not a chair you tune to the millimeter. If you have a diagnosed disc problem, get a chair with a depth-adjustable seat.
If your knee-to-hip measurement is under the seat depth in the listing and the chair's height range overlaps your seated elbow height, this one will work. Check current Amazon price.
The stool alternative: WKWKER Saddle Stool with Back Adjustable Drafting Stool with Back (Black)
The stool alternative
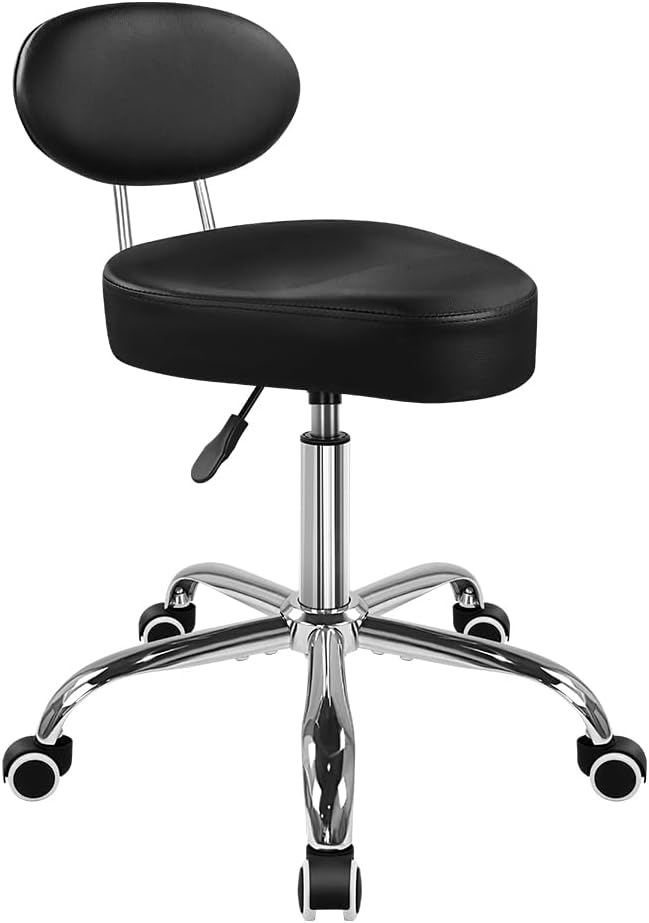
WKWKER Saddle Stool with Back Adjustable Drafting Stool with Back (Black)
A saddle stool is the second seat, not the main chair. It is what you roll over when your back has had enough of a 90-degree angle and you want to sit closer to standing. The saddle shape puts you in a slight forward lean, which plenty of people do anyway, and the adjustable height lets it work against a surface taller than a standard sitting desk. The back is why I recommend this over a backless saddle: you can lean back for a phone call without sliding off.
Use it as a rotation tool. Thirty minutes on the saddle, then back to the chair, and the change in load is the whole point. It is also the cheapest way to find out whether you like perching before you spend standing desk money on a converter.
Flaws but not dealbreakers: A saddle loads your sit bones harder than a padded seat, and the first week is honest about that. Start at fifteen minutes a day if you have no tolerance built up.
It suits anyone who wants to alternate posture without buying a full standing desk. Check current Amazon price.
The actual workflow
Eight steps, in this order. Skipping ahead is how people end up buying a second chair they did not need.
Step one: Measure your seated elbow height. Sit in whatever chair you have now, shoulders relaxed, arms hanging, then bend your elbows to 90 degrees. Have someone measure from the floor to the bottom of your elbow. That number plus an inch is your target desk height. Do not skip this because you think you know it. I have measured people who guessed four inches wrong, and every one of them blamed their keyboard for shoulder tension.
Step two: Set the surface, then fix the floor. Adjust the desk to your number. If that leaves your feet off the floor, you have two choices: keep the desk and add a footrest, or lower the desk and raise the keyboard. What you must not do is lower the desk until your feet touch and let your elbows drop with it. Desk height comes from your elbows. The floor problem gets solved at the floor.
Step three: Pair the chair to the surface. Set seat height so your elbows sit at the desk surface with your shoulders down, then check depth. Your back should touch the backrest without pressure behind your knees. If the seat is deeper than your knee-to-hip measurement, put a lumbar cushion or a rolled towel behind you to take up the gap. Chair pairing decides whether the other seven steps hold.
Step four: Set monitor distance and height. An arm's length from your eyes to the glass, top of the screen at or just below eye level. Closer and you lean in, and your neck pays. Farther and you squint, and squinting is a focus problem wearing an eye problem's coat. A monitor arm helps here because you can move the screen without moving the desk.
Step five: Fix the room layout. Turn the desk so the window is at your side. Behind the screen means glare on the glass. In front of you means glare in your eyes. If the room only allows one of those, cover the window and light the desk from a side you control. Room layout also decides your noise: facing the door beats having it at your back when you live with other people.
Step six: Build lighting layers. Three layers: overhead for the room, a task lamp for the desk, and daylight from a side window if you have one. The goal is no bright pool on one side of the desk and darkness on the other, because your eyes adjust to the brightest thing in view, not to the average. Put the lamp opposite your writing hand so your hand stops casting a shadow across the page.
Step seven: Plan the cable, then place the power outlet. Cable planning happens before anything gets plugged in. Get power to the desk first, then run data cables along one fixed path with slack loops at every joint. A tight cable pulls a monitor out of angle the first time you raise the arm, and within a week your monitor distance is wrong again. Never run a cord across a walking path.
Step eight: Deal with the air. Ventilation is last and it is the one you notice only when it fails. A closed room with a running computer gets warm and stale by early afternoon, and stale air reads as tiredness rather than as a room problem. Open a window for ten minutes twice a day, or run a fan on low pointed at a wall so the air moves without hitting your neck.
Run those eight in order and the room stops fighting you. Run them out of order and you will be back at step one, wondering why the new chair fixed nothing. The same eight steps improve focus in a work from home setup where the office is also the guest room, and they improve focus in a home workspace you share with a partner, because none of them depend on having a room to yourself. That is the whole answer to how to improve focus in a home office: order, not purchases.
The competition and why it lost
A full standing desk frame is the better answer for anyone whose seated elbow height lands above a fixed desk's range, and that is a different guide. Here the goal is three pieces that make a small room work today with the least total footprint, and a motorized frame doubles the surface budget before you have bought a seat.
Gaming chairs with tall backs and deep side bolsters lose for a different reason. The bolsters push your shoulders forward, which is the opposite of what you want if you are typing for six hours, and the tall back only helps if you actually recline, which almost nobody does with a keyboard in front of them.
Backless saddle stools lost to the stool in this guide because a back is worth having even if you use it twice an hour. Monitor arms, air purifiers, footrests, and standing desk converters are all real fixes, but every one of them is an add-on to this sequence rather than a step in it. Buy them after the three pieces, not instead of them.
What this all costs
The three pieces here sit at the low end of the market on purpose. Check current Amazon price on each listing and you will see the same distribution I see on every build: the surface is the biggest line item, the seat is second, and the stool is the smallest. That ordering is correct. Spend on the surface first, because a desk that wobbles or sits at the wrong height ruins everything above it, then on the seat that pairs with it.
What you should not do is spend the difference on accessories. A cable tray that sags under its own screws, a monitor arm you did not need, a second lamp fighting the first one. I have watched people put more money into accessories than into the desk and end up with a room that is harder to work in than the empty version.
The recurring cost is your time, and it is small. Ten minutes to measure, an hour to assemble, ten more to route cable. Compare that against the cost of sitting wrong for a year: the physio appointments, the standing desk you buy in frustration, the second chair you buy because the first one was never paired to the surface.
I have run this sequence in studio apartments and in converted garages, and the difference between the rooms that work and the rooms that do not is almost never the budget. It is whether somebody measured. If you take one thing from this, take the tape measure.