Most people try to reduce clutter in a home office by buying containers. That is the last step, not the first. Bins, trays, and drawer dividers only work after you have decided what is allowed to live on the desktop, how far your hands travel to reach it, and how many inches of surface you actually have. Buy the bins first and you store the same junk in a nicer box, which is why the desk looks worse six weeks later than it did on day one.
I have built out 310 home offices, first as a facilities manager buying furniture for 400-person floors, then running a two-person desk setup service in Seattle. The pattern never changes. The desk is rarely too small. It is carrying things that belong on a wall, under the top, or inside a drawer, and the owner has been trying to solve a storage problem with discipline. Discipline loses. Structure wins.
This guide is how to reduce clutter in a home office the way I do it on a client site: measure the surface, sort what sits on it, fix the room layout, and only then buy the two or three pieces that hold what is left. Three products carry that work here, and I will tell you where each one earns its place and who should skip it.
Why you should trust me
Nine years as an office facilities manager, buying and assembling chairs and desks for 400-person floors. Six years running a two-person desk setup service that has built out 310 home offices. I keep a notebook of every chair seat depth and desk height range I have measured with a tape, not read off a spec sheet, and that notebook is why I write about clutter the way I do.
I have walked into rooms where the fix was a tray and rooms where the fix was a different desk, and the difference was never the budget. It was whether anyone had measured the space and the person before buying anything. When a client tells me they want to reduce clutter in a work from home setup, I do not ask what they want to throw away. I ask what has to be within arm's reach at 9 a.m. on a Tuesday, and what only has to be within arm's reach when the printer jams. Those are different lists, and the gap between them is where the mess comes from.
Every product below passes one test: would I put it in a client's office and expect it to still be doing its job a year later, for a person who sits at the height that client actually sits at?
How I picked and how I tested
I do not start with products. I start with a tape measure and a floor plan of the room, because a storage product that does not fit the desk or the person is just a new thing to trip over. Four checks, in this order.
What does it hold, and can you reach it seated? A shelf that puts your daily notebook outside arm's reach at your working desk height is a display case, not storage. Daily items go in the primary zone. Everything else goes up, back, or in a drawer.
Does it survive load? Clamp shelves fail at the clamp, not the shelf. I look at how wide the clamp opens, how much material there is at the screw, and whether anything braces the shelf underneath. A shelf that sags under its own screws after a month is worse than no shelf, because you already moved your things onto it.
Does it fight the desk? A shelf that blocks the back edge of the desktop steals monitor distance. A drawer that cannot open because the chair is parked in front of it wastes the space it takes up. A shelf over the power outlet or the ventilation path behind the desk creates a new problem while solving an old one.
Can you remove it without damage? Clamp-on and freestanding storage come off clean. Adhesive anything does not, and I have scraped enough residue off client desktops to stop recommending it.
Two things I stopped recommending early. Wall shelves that need anchors, because a renter cannot put them up and a homeowner rarely wants four more holes above a desk. And anything that claims to organize by adding a surface, because every new surface gets filled within a month. Storage has to remove a decision, not add a place to put things off.
Only three product categories survived that list: a desk that carries its own storage, a two-tier desktop shelf, and a clamp-on shelf with a pegboard. Everything else duplicated a job one of those already does. If you are still choosing the furniture underneath all of this, the small home office layout guide covers desk width and room minimums.
The gear that helps reduce clutter in a home office
Nothing below is decoration. Each piece solves one specific failure I see when people try to reduce clutter in a home workspace, and each one has a clear reason to skip it if it does not fit your room or your body.
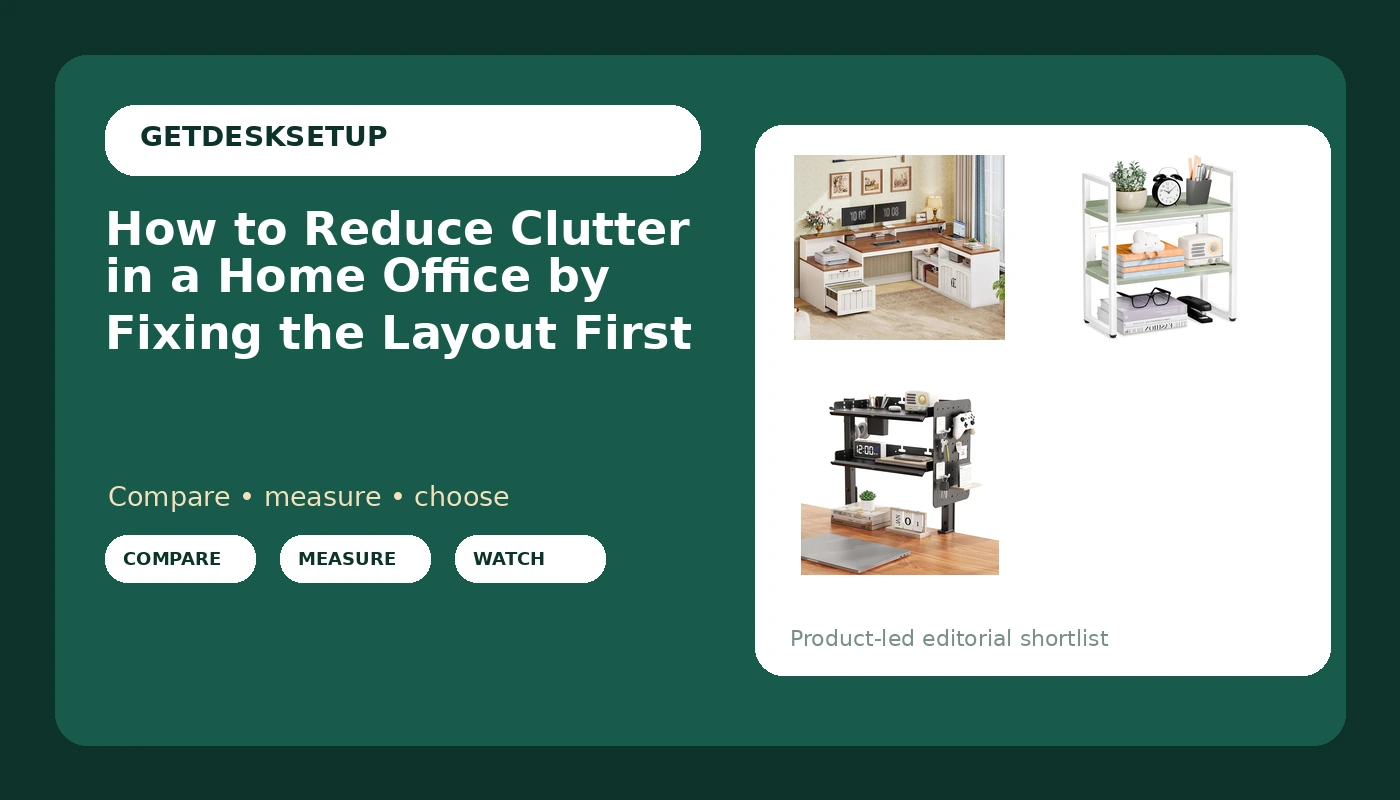
Our pick: SEDETA 59" Farmhouse L Shaped Desk with Drawer and Storage,Walnut and White
Our pick
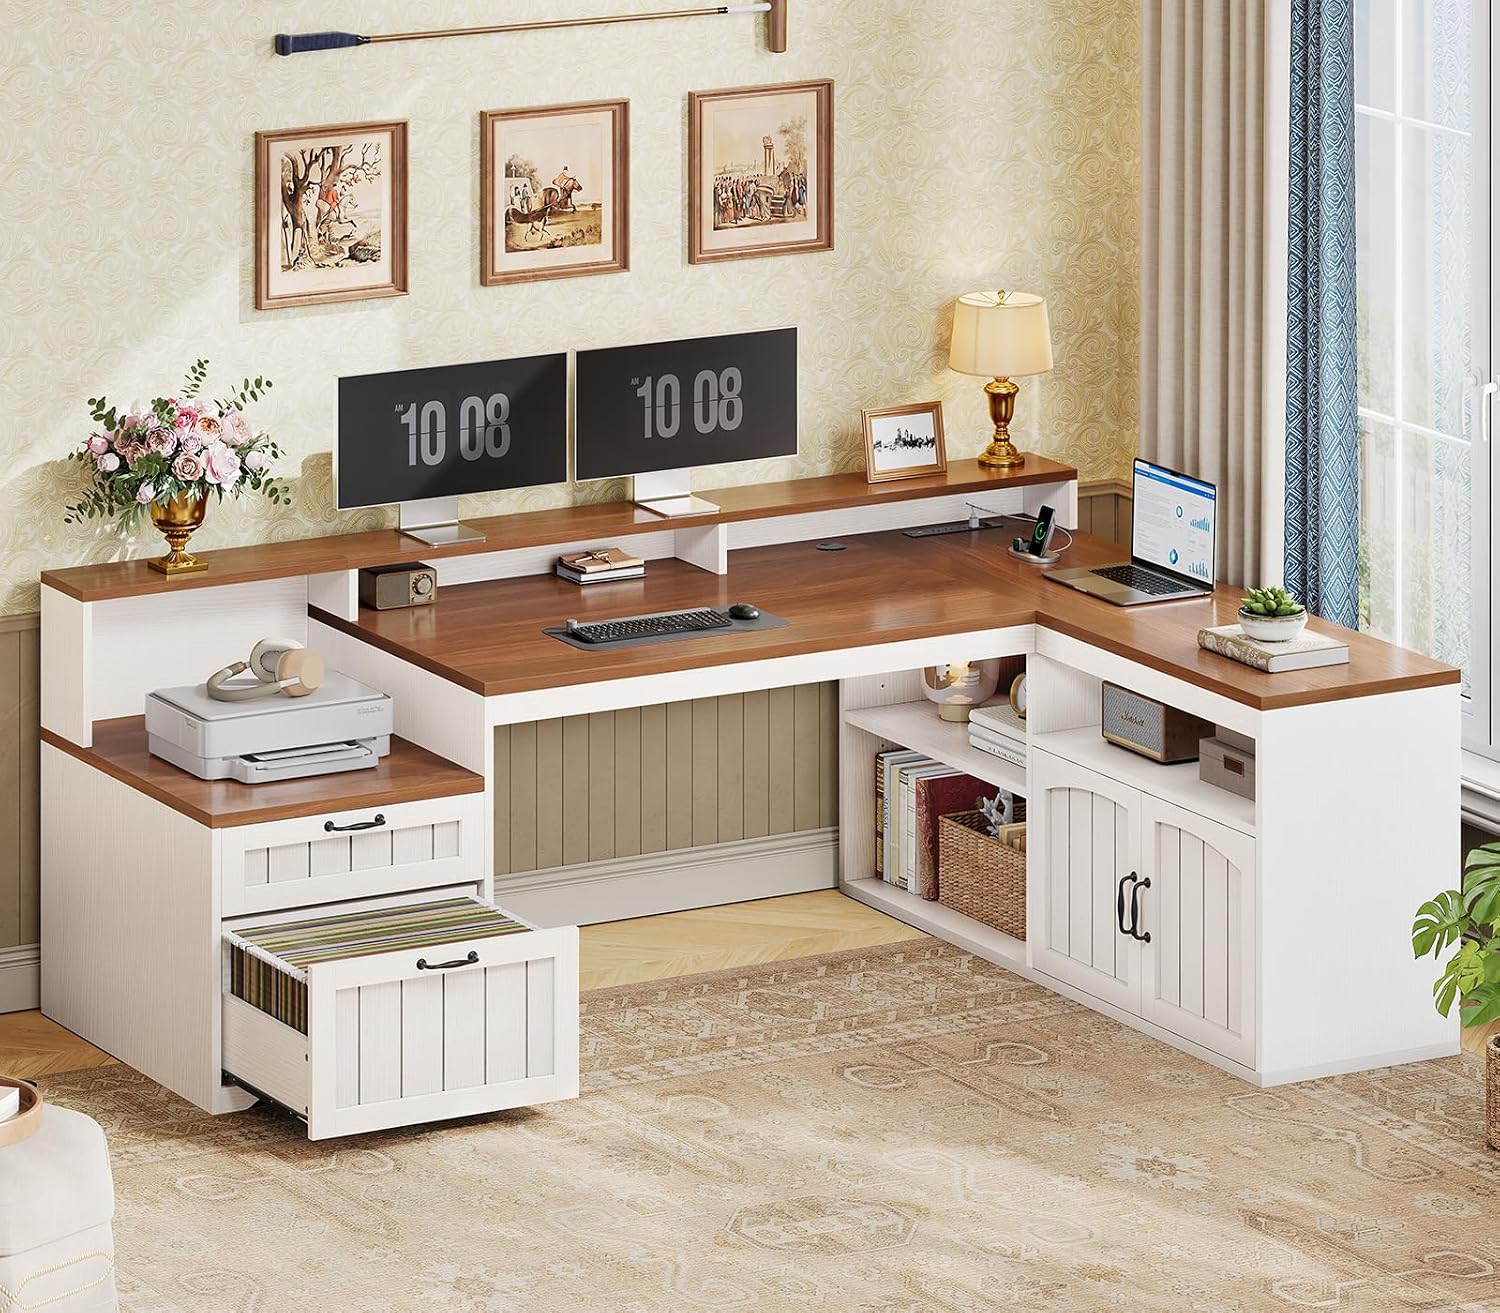
SEDETA 59" Farmhouse L Shaped Desk with Drawer and Storage,Walnut and White
This is the piece that removes the most clutter, because it changes what the desk has to be. An L shape gives you a second working plane without adding a second table, and the drawer plus the storage take the items that used to sit on the surface: chargers, a stapler, the paper that never found a home.
The 59 inches in the name decides whether it works in your room. You need 59 inches of clear wall for the long leg, room behind the chair for it to travel and recline, and a clear path into the corner so the return is usable. If your room cannot give you that, do not force an L into it. A straight desk with a clamp shelf will serve you better.
Who should skip it: anyone with less than about 8 feet of usable wall, and anyone who stands for most of the day, because an L shape locks you into one seated position at the corner. Check current Amazon price before you commit, because the return is the part you cannot undo.
Budget pick: Brakki Desk Shelf Organizer, 2-Tier Desktop Bookshelf, Small Office Shelf
Budget pick
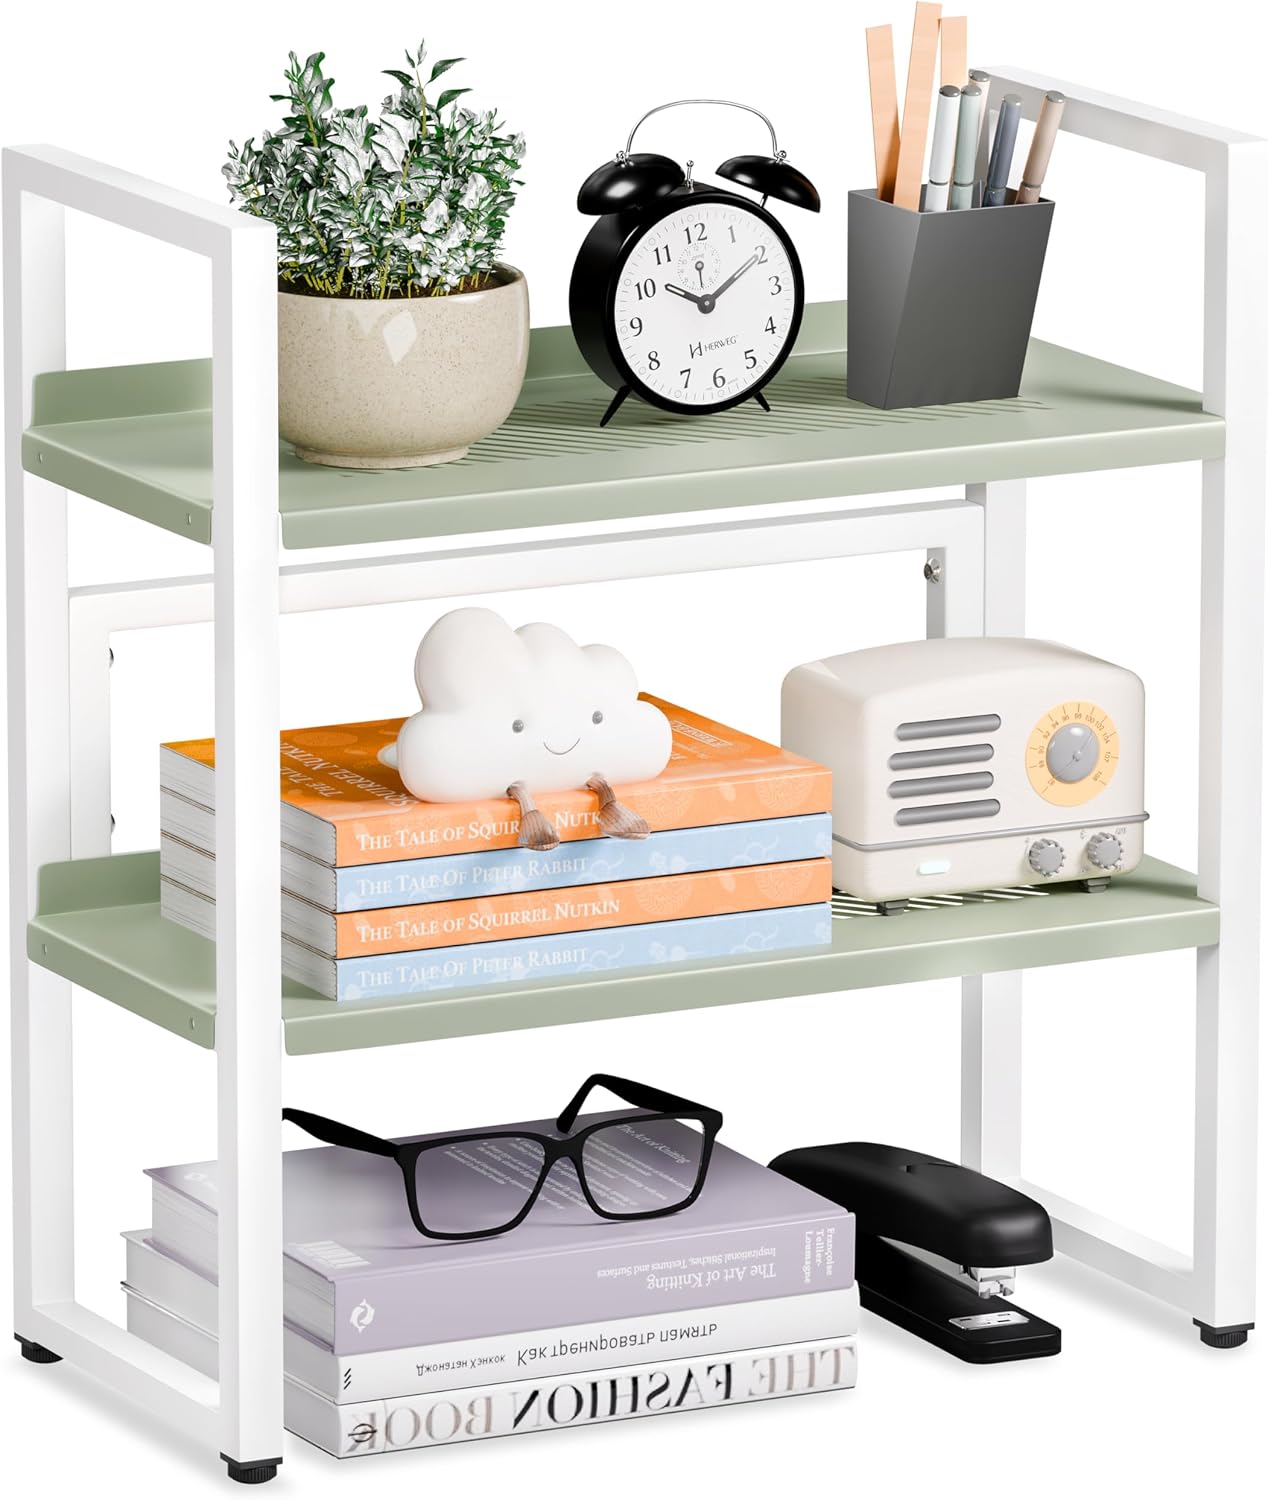
Brakki Desk Shelf Organizer, 2-Tier Desktop Bookshelf, Small Office Shelf
The cheapest real estate in a home office is the air above the desktop, and this is the least expensive way I know to use it. Two tiers, freestanding, no clamps and no drilling. The bottom tier takes the keyboard when you are not typing, or the notebook you are working from. The top tier takes what has to be visible but not touched: reference books, a planner, the two objects you actually want to look at.
The trade is monitor distance. Raising anything onto a shelf moves it closer to your eyes, so if a monitor goes on the top tier, measure from your eye to the screen while sitting in your normal position. If the shelf pulls the screen inside arm's length, put the monitor back on the desktop and use the shelf for paper instead.
Who should skip it: anyone with a deep desk who already has wall shelves within reach, and anyone who needs a clamp because the desk gets moved. Check current Amazon price.
Upgrade pick: Metal Clamp On Desk Shelf,Storage Shelves with Pegboard and Pencil Holder
Upgrade pick
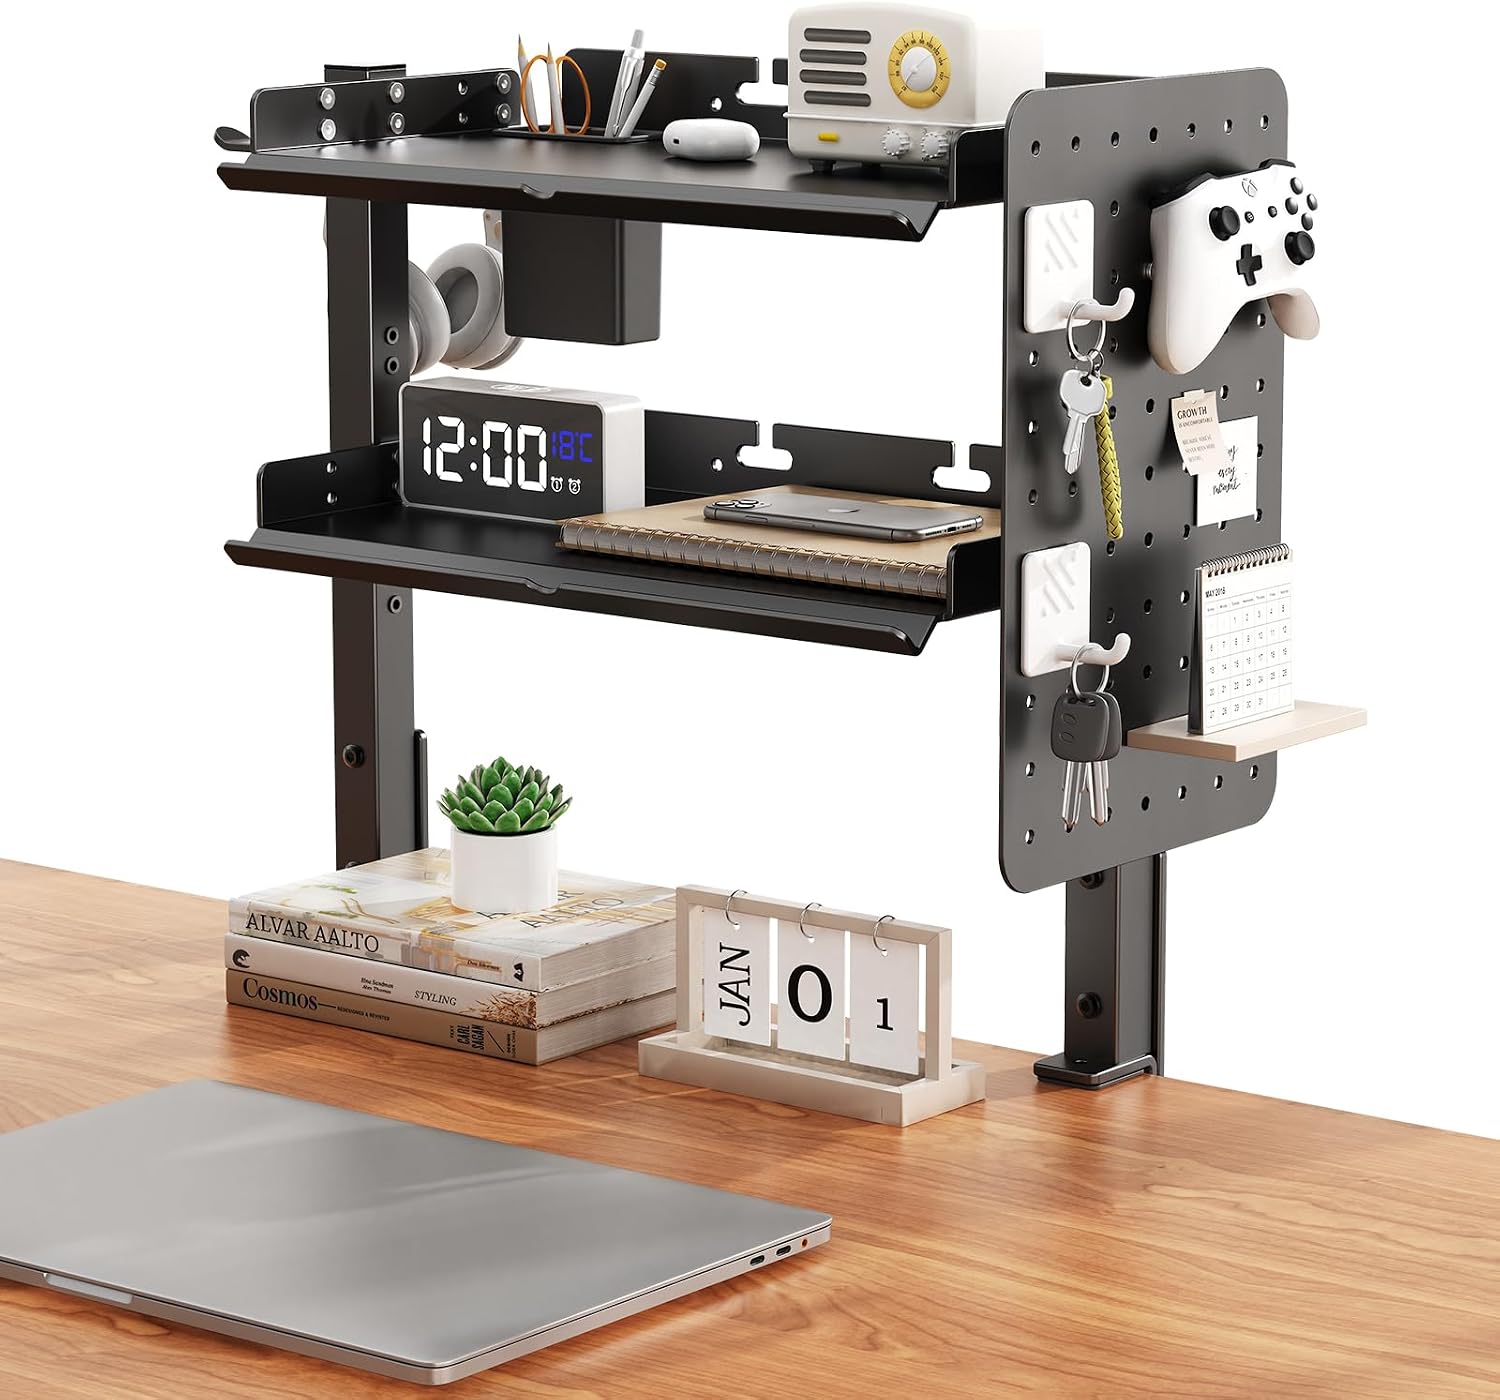
Metal Clamp On Desk Shelf,Storage Shelves with Pegboard and Pencil Holder
This is the one I would put on a client's desk first, because it clamps to the back edge and leaves the whole desktop free. The pegboard is why it beats a plain shelf: hanging tools vertically means you can see what you have without opening anything, and the pencil holder keeps the pen cup off the surface where it always gets knocked over.
Installation order matters, and this is where people break things: clamp first, then load, then tighten. Clamping a shelf onto a loaded desk twists the top and can crack a thin laminate or a hollow-core door. Set the clamp with the shelf empty, snug it, load it, then give the screws the final quarter turn.
Who should skip it: glass desktops, tops thinner than about three quarters of an inch, and any top with a beveled or rounded back edge where the clamp cannot sit flat. Measure the thickness at the back edge before you order, not in the middle of the desk. Check current Amazon price.
The actual decluttering workflow
This is the sequence I run in a client's office, start to finish, usually in one afternoon. Do it in order. Skipping step one is why most decluttering attempts end with a tidy desk and a full closet.
Step one: Clear the desktop and measure it. Take everything off the surface, including the lamp and the pen cup. Then measure three numbers with a tape: the width of the desktop, the depth of the desktop, and the height from the floor to the top. Write them down. Those numbers decide what you can buy later, and the depth number is the one people never know.
Step two: Sort into four piles. Daily, weekly, rarely, and release. Daily means you touch it at least once a day. Weekly means most weeks. Rarely means a few times a year, and that pile belongs in a drawer or a closet. Release goes out of the room today, not into a box in the corner.
Step three: Assign three zones on the desk. The primary zone is the arc your hands sweep without moving your shoulder, and daily items live there. The secondary zone is anything you reach by leaning or extending an arm, which is where weekly items go. The storage zone is what you have to stand up to reach. If you reduce clutter in a work from home office by clearing the desktop first, this zone map is what keeps it clear.
Step four: Fix the room layout before you buy storage. Four questions. Where is the power outlet, and can every device reach it without a daisy chain of extension cords? Is there a clear ventilation path behind and under the desk so the equipment is not cooking itself in a sealed corner? Can the chair roll back and turn without hitting a wall or a bed frame? Does the desk face away from window glare or into it?
Step five: Plan the cables on paper. One bundle per device group, and a labeled route for each bundle. Give the monitor arm extra slack so the cable is not pulling on the arm at full extension, because a cable that pulls changes the monitor angle within a week. Keep power and data apart where you can, and put the power strip somewhere you can reach without crawling under the desk.
Step six: Add vertical storage, in the right order. Empty shelf, clamp or place it, snug it, load it, tighten it. Whether you use a freestanding two-tier shelf or a clamp-on shelf with a pegboard, the sequence is the same. Heaviest items on the bottom tier, lightest on top, because a top-heavy shelf on a thin desktop is a tipping hazard.
Step seven: Build the lighting layers. Three layers, each doing a different job: ambient light for the room, a task light aimed at the work surface and not at the screen, and a soft light behind the monitor to cut the contrast between screen and wall. One overhead fixture is why your eyes hurt at 4 p.m. and why the desk feels like a cave.
Step eight: Re-check chair pairing and monitor distance, then set a weekly reset. Sit in your normal position. Elbows should rest at about the desk height, feet flat, and the top of the screen at or just below eye level. If you raised the monitor onto a shelf, confirm the screen is still at arm's length or a little more. Then pick a ten-minute slot once a week to clear the primary zone back to daily items only. That reset is the whole system. Everything above just makes it easy.
The competition and why it lost
A few things I deliberately left out, because I have watched each of them fail in a real office. None of them reduce clutter in a home office. They move it.
Drawer organizers and dividers. They solve a sorting problem inside a drawer you have already filled with things that should not be in the drawer. They also multiply: one tray, then a second tray for the second tray, and the drawer gets more crowded, not less.
Monitor risers with no storage. A plain riser lifts the screen and gives you a shelf you cannot use for anything you need to reach. If you are going to raise the monitor, raise it on something that holds paper or tools.
Rolling carts and bins on the floor. They are storage, not organization. Anything on the floor collects dust, blocks the chair, and becomes a shelf for the next pile. If it has to stay in the room, give it a zone on the desk or put it behind a closet door.
Adhesive shelves and stick-on hooks. They fail on painted walls and on laminate desktops, usually at the worst moment, and they leave residue you have to scrape. Clamp and freestanding storage come off clean.
What this all costs
The money here is not complicated, and it is not where the work is. The desk is the biggest line item by a wide margin, and it is the one purchase you amortize over years, so buy it once and get the size right. The two shelves are the smallest line items, and the clamp-on shelf costs more than the freestanding one because it does more: it keeps the surface clear and it gives you vertical hanging space.
Check current Amazon price on all three before you order, and check the desk first, because the desk decides whether an L shape or a straight top is the right call, and that decision changes which shelf you want.
The free part is the part that fixes the room. Steps one through five cost nothing but an afternoon and a tape measure. Sorting, zoning, layout, and cable planning are what turn a cleared desk into a desk that stays clear. The products only hold the result.
Run the sequence once, put the weekly reset in your calendar, and the room stops being a project you redo every season. That is the job. The desk was never the problem.