Seat depth is the number that decides whether a chair fits you, and almost nobody knows theirs. Learning how to measure office chair seat depth takes about four minutes and a tape measure, and it is the only number that will stop you from buying a chair you have to ship back.
Here is what every product page gets wrong. The depth figure in a listing is the overall depth of the chair, frame, backrest, and recline mechanism included. The number that matters is usable seat depth: the distance from the front edge of the seat pan to the point where your lower back actually lands. On a chair with a deeply curved backrest, those two numbers can differ by several inches. When you measure office chair seat depth the right way, you are measuring the second one.
Once you have your own number, every chair decision gets faster. You either fit or you do not, and you can stop reading reviews that talk about how a chair feels. Feelings are not a measurement.
Why you should trust me
I spent nine years as an office facilities manager, buying and assembling chairs and desks for floors of 400 people. For the last six years I have run a two-person desk setup service, and we have built out 310 home offices in and around Seattle. I keep a notebook of every seat depth I have measured with a tape, and I do not write a number down unless I have pulled the tape myself.
That notebook is the reason I write this way. A chair either fits your body or it does not, and brand and price are noise until the seat depth and the seat height range match your measurements. Ergonomics is a measurement, not a feeling. If you cannot say your seat depth in inches, you are guessing, and the guess is what sends chairs back to the warehouse.
How I picked and how I tested
This is a how-to article, so the three products below are not a best-of list. They are the three pieces of furniture I use to demonstrate the method, because each one shows a different thing a tape can catch. I picked them on the specs a tape can verify: seat pan shape, whether the armrest is fixed or flip-up, the seat height adjustment the listing states, and the depth of the desk surface the chair has to slide under. I did not pick them on marketing copy, and I am not going to pretend a mesh back makes a chair fit.
I tested the method, not the marketing. My kit is a 25-foot tape measure, a 12-inch steel ruler, a hard dining chair, and a paperback book. I have run this sequence on chairs in client offices, on my own chair at home, and on showroom floors where a salesperson is watching. It takes four minutes, and it has never once been wrong about a gap.
Three terms you need before we start. Seat height is the distance from the floor to the top of the seat pan, and it has to let your feet sit flat. Seat depth is the front-to-back distance we are measuring. Lumbar support is the part of the backrest that touches your lower back, and its position defines the back end of your measurement. If the lumbar support adjusts, the number changes with it, which is why you measure it where you actually sit.
If your chair height is already sorted and you are working on the other half of the setup, my notes on desk height and monitor placement pick up where this leaves off.
The chairs and desk I use to demonstrate this
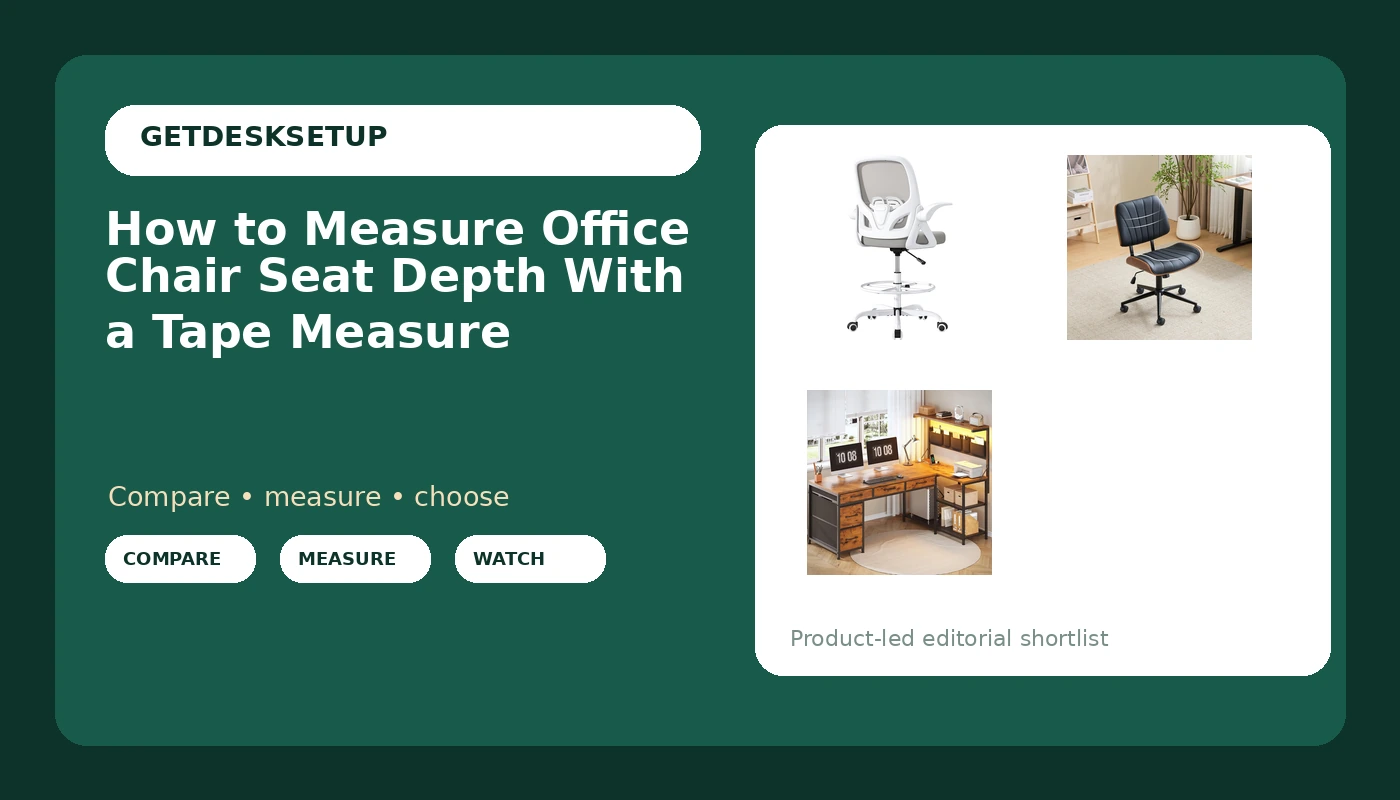
The tall one: ORRSAKER Drafting Chair, Tall Office Chair with Flip-up Arms, Mesh Ergonomic Computer Standing Desk Chair with Adjustable Height Foot Ring and Lumbar Support, 300 LBS Capacity, Gray
The tall one
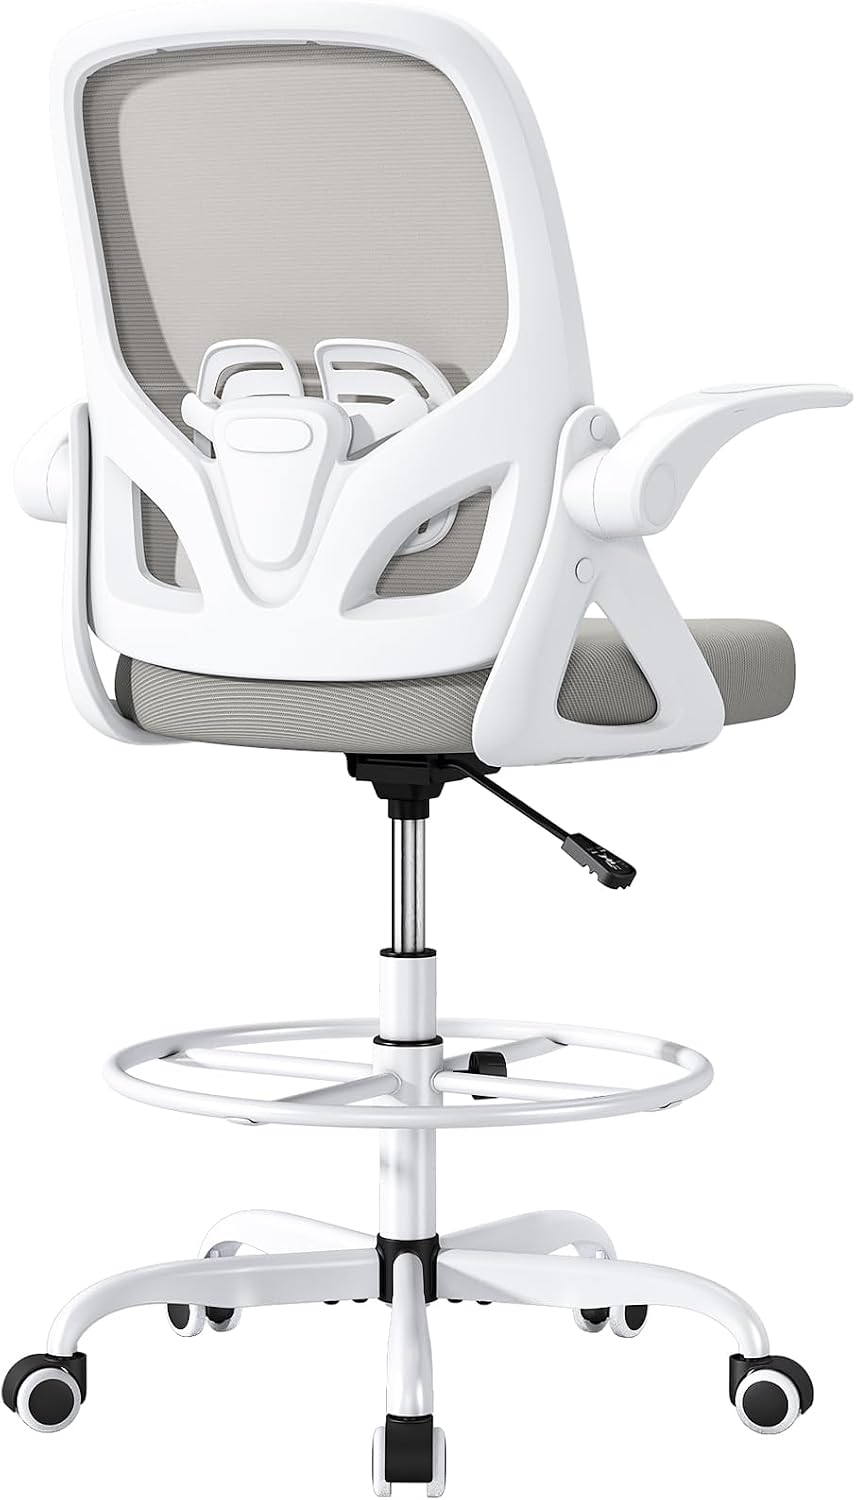
ORRSAKER Drafting Chair, Tall Office Chair with Flip-up Arms, Mesh Ergonomic Computer Standing Desk Chair with Adjustable Height Foot Ring and Lumbar Support, 300 LBS Capacity, Gray
Check current Amazon price.
Drafting chairs are the hardest case for this measurement, which makes them the best teaching tool. This one is a tall chair with a mesh back, flip-up arms, an adjustable height foot ring, lumbar support, and a stated 300 lb capacity. The foot ring is the detail that matters: on a drafting chair your feet are off the floor, so the ring sets your seated posture, and your seated posture sets where your lower back lands on the lumbar support. Measure this chair with the ring at the height you will actually use.
Flip-up armrests are the second reason I use it. A fixed armrest gets in the way when you slide a tape along the seat pan edge, and it also blocks the chair from tucking under a desk. Flip the arms up, measure the pan clean, flip them back down. If you ever need to measure task chair seat depth on a standard pan, the same trick applies: get the arms out of the way first, then measure.
Who should skip it: if you want a chair whose seat depth you can adjust, this is not that chair. Almost nothing in this price class adjusts seat depth, so your number is a go or a no-go. If your measured thigh length is short enough that a deep pan would press into the back of your knee, skip a tall drafting pan and look at a standard task chair instead.
Flaws but not dealbreakers: A tall chair with a foot ring asks more of your posture than a standard task chair. If you will not use the ring, you are paying for height you are not using.
The curved one: VINGLI Wide Curved Seat&Back Armless Home Office Chair,Ergoromic Adjustable-Height Desk Chair,Swivel&Tilting Function,Stylish Walnut Task Chair for Meeing Room,Dining Room,PU, Black
The curved one
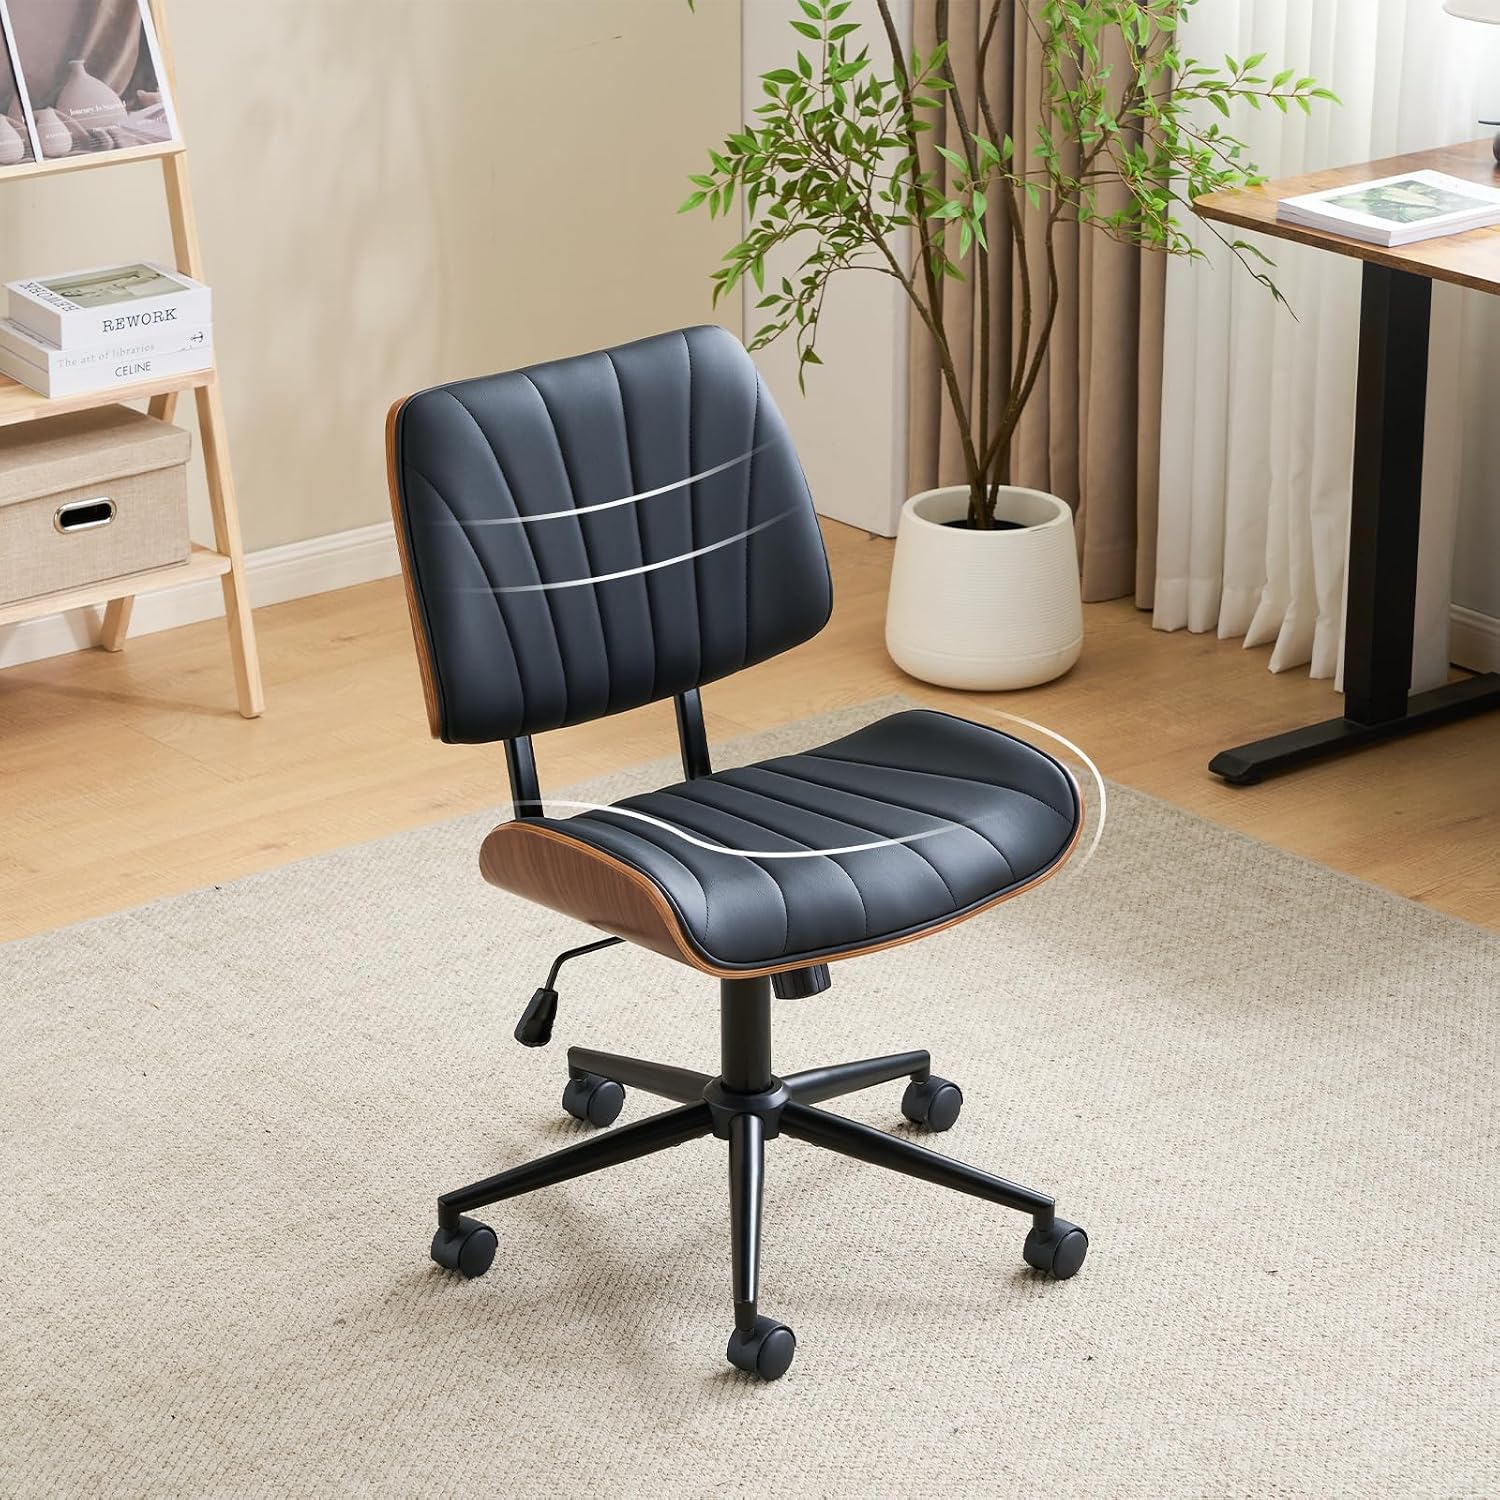
VINGLI Wide Curved Seat&Back Armless Home Office Chair,Ergoromic Adjustable-Height Desk Chair,Swivel&Tilting Function,Stylish Walnut Task Chair for Meeing Room,Dining Room,PU, Black
Check current Amazon price.
A curved seat pan is exactly why the measure-the-whole-chair method fails. This chair has a wide curved seat and back, no armrests, an adjustable height range, swivel and tilting, a walnut-finished base, and a black PU cover. Because the pan curves up at the front and the back, the deepest point of the seat is not at the front edge. You measure a curved pan at the point where your sit bones land, then measure the front edge separately to see how much of a lip you are sitting behind. The same logic holds when you measure ergonomic chair seat depth on a mesh chair, since mesh stretches under load and PU compresses under load, and both change the number between day one and day thirty.
The armless design is a plus for this workflow. No armrest means nothing blocks the tape and nothing blocks the chair from sliding under a desk, which matters if you are pairing it with a compact L-shaped desk.
Who should skip it: if you need an armrest to keep your shoulders down through a long day, this is not your chair. There is no arm to adjust, so the only upper body support is the backrest. And if you recline a lot, check that the tilt tension is adjustable before you commit, because a chair with a fixed tilt spring will not hold a heavier sitter at a partial recline.
Flaws but not dealbreakers: No arms and no headrest. That is fine for a meeting room or a dining table that doubles as a desk, and less fine for eight-hour days.
The desk it all slides under: SEDETA 47.2" Reversible L Shaped Office Desk with Drawers, Hutch, Shelves
The desk it all slides under
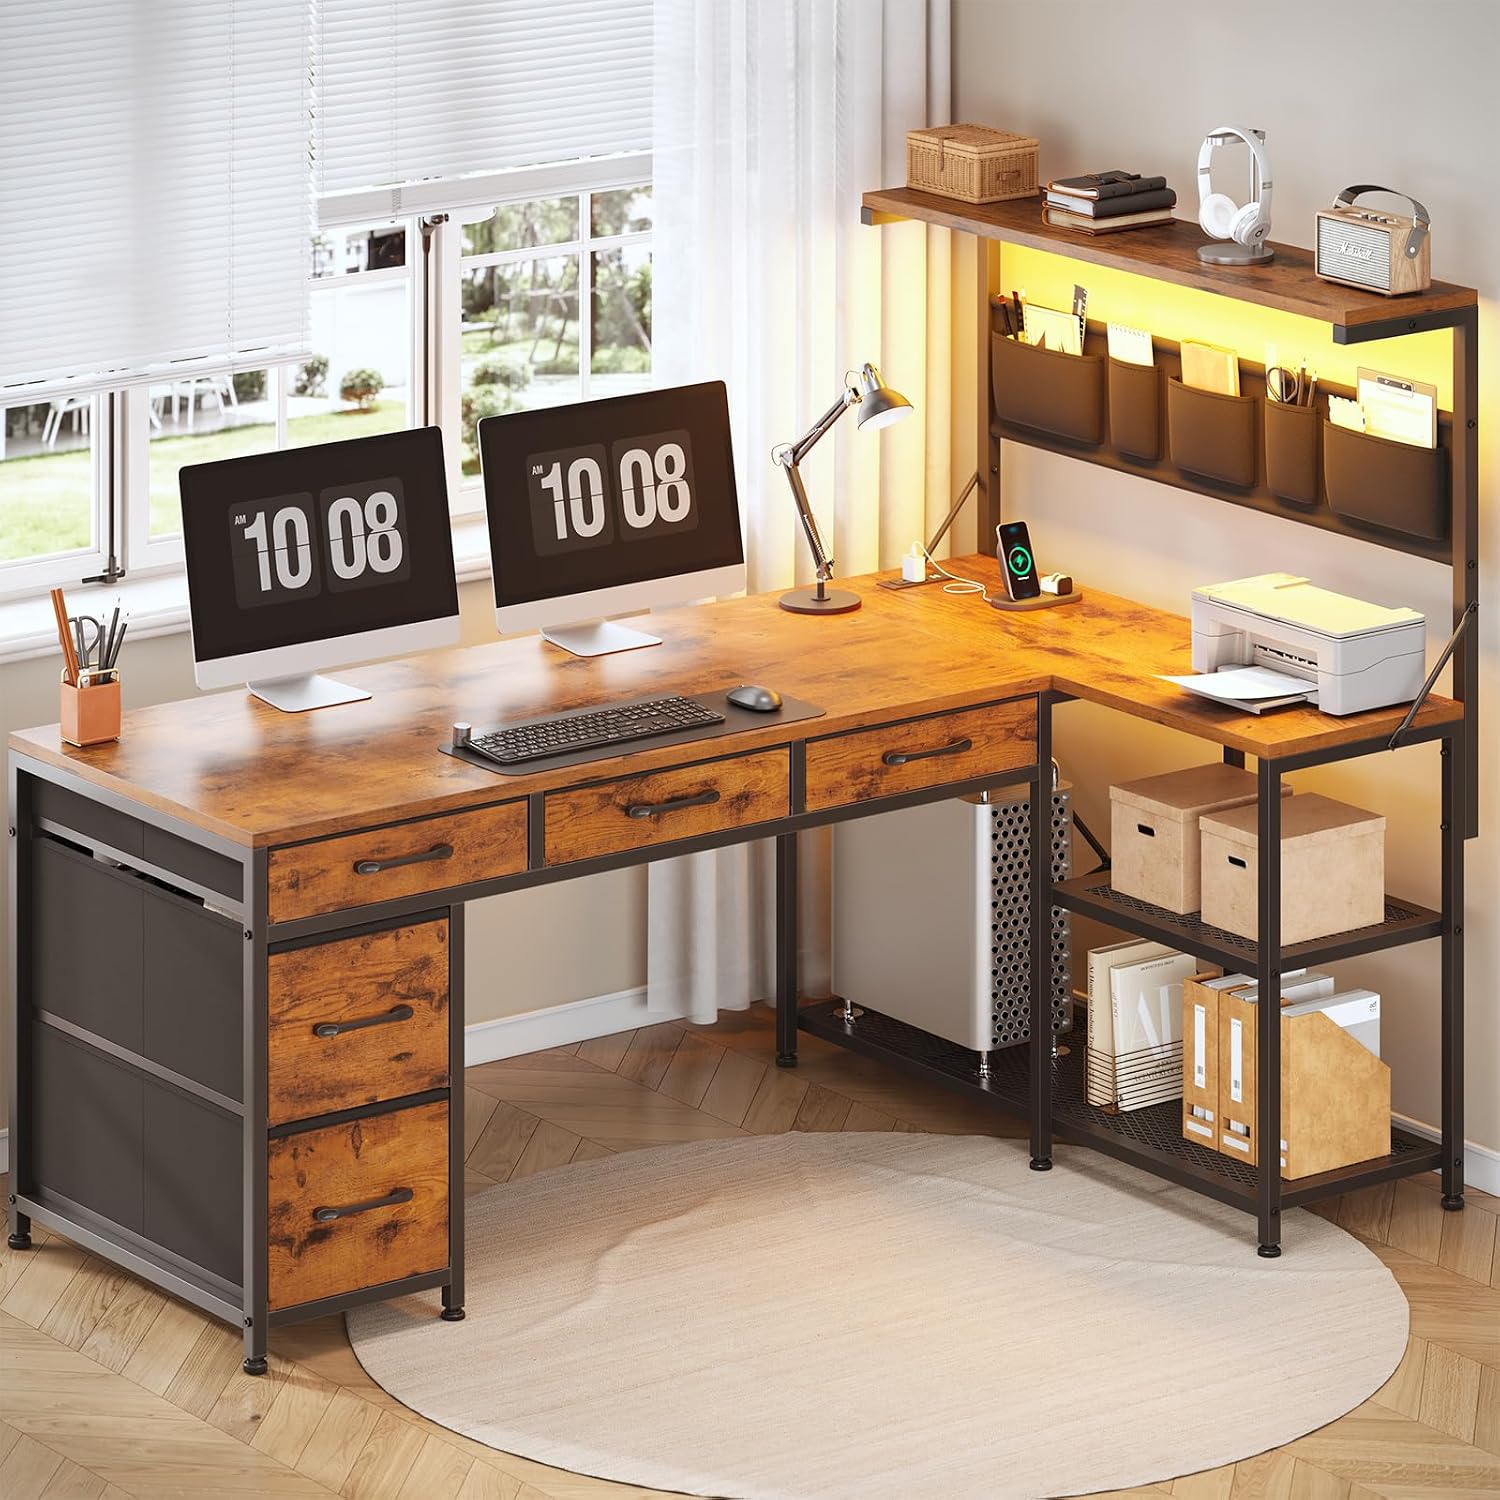
SEDETA 47.2" Reversible L Shaped Office Desk with Drawers, Hutch, Shelves
Check current Amazon price.
Seat depth does not exist in a vacuum. A chair with the correct seat depth still fails if the desk above it is too shallow or the drawers leave no knee room. This L-shaped desk is reversible, so you choose which side the return goes on, and it carries a hutch, drawers, and shelves. The 47.2 inch figure in the name is one side of the L, so measure that side against your chair before you commit to the corner position.
The practical test: sit in the chair, slide it under the desk, and check that your knees clear the underside and that the drawers do not stop the chair before your thighs are supported. Then check that your forearms rest level on the surface. If the desk is too shallow, you will push the chair back to reach the keyboard, and pushing the chair back is what turns a correct seat depth into a gap behind your knees.
Who should skip it: if you need a sit-stand range, this is a fixed-height desk, so it is not that. And if your room cannot take the full L footprint plus a chair that pulls out and back, a straight desk is the better call. My comparison of full desks against standing desk converters covers that trade.
Flaws but not dealbreakers: An L-shaped desk with a hutch puts shelves exactly where a tall monitor wants to live. Plan the monitor position before you assemble anything.
How to measure office chair seat depth, step by step
This is the sequence I use every time I measure office chair seat depth, and it works on any chair you can sit in. Do it in this order and you will not have to redo it.
Step one: Set the seat height first. You cannot measure seat depth in the wrong posture. Sit down, put your feet flat, and set the seat height so your thighs are roughly level and your feet are not dangling. On a drafting chair, that means using the foot ring. Seat height comes first because it moves everything else.
Step two: Sit all the way back. Push your hips to the back of the seat pan until your lower back meets the lumbar support. If the lumbar support adjusts, set it where you will actually use it, because you are measuring the chair in the configuration you sit in, not the configuration it shipped in.
Step three: Find the front edge of the pan. Slide your hand under your thigh until you feel the front edge of the seat. Mark that point with a piece of painter tape on the side of the chair, or just hold a finger there. On a curved pan, the front edge is the highest point of the curve, not the deepest point.
Step four: Measure the pan. Have someone hold the tape, or hook the tape on the front edge and read it where the seat meets the back of your thigh. That number is your chair's usable seat depth. If you are alone, the book trick works: press a paperback against the backrest at lumbar height, slide it forward until it touches your back, and measure from the book to the front edge of the pan.
Step five: Measure yourself. Get up and sit on a hard dining chair with your back straight and your feet flat. Measure from the back of your knee to the back of your buttock. That is your thigh length, and it is the number you compare against every chair you will ever consider.
Step six: Compare and set your gap. Your chair's seat depth should leave a gap of about two to three fingers between the front edge of the pan and the back of your knee. If the gap is zero, the pan is pressing into the back of your knee and cutting off circulation. If the gap is a whole hand, the pan is too short, your thighs are unsupported, and your weight lands on your sit bones instead of spreading across your legs.
Step seven: Audit the adjustables. A seat depth number only holds if the rest of the chair stays put. Check the seat height range and confirm your setting is not at the very top of it, because a cylinder pinned at its limit will sag within a year. Check the tilt tension and the recline so the backrest does not drift backward when you lean. Check the armrest height so your shoulders stay down. Check the headrest if there is one, and check that the casters roll on your floor without dragging, since a chair that will not roll gets pulled instead of rolled, and pulling changes your posture.
Step eight: Re-measure after a week. Foam compresses and mesh stretches. Sit in the chair for five working days, then run steps one through four again. If the seat depth has grown by half an inch because the cushion settled, your gap just changed. This is the step nobody does, and it is the step that catches the chairs that were fine in the store. It is also the step that tells you whether you measure desk chair seat depth once or twice before you trust the chair with your back.
The competition and why it lost
Four other approaches to this problem show up in my inbox, and all four lose to a tape.
The spec sheet lost. Overall depth is not seat depth, and a listing that gives you one number for a chair with a reclining backrest is giving you a number you cannot use. You cannot compare a spec sheet figure to your thigh length, because the spec sheet is describing the frame, not the sitting surface.
The showroom sit lost. Five minutes in a store tells you whether a chair feels wrong. It does not tell you whether the pan is 17 inches or 19, and the difference between those two numbers is the difference between a chair you keep and a chair you return. Feelings do not survive the drive home.
The measure-the-whole-chair method lost. Laying a tape across the entire chair, from the back of the backrest to the front of the pan, gives you a number that includes the recline mechanism and the frame. Anyone who tries to measure office chair seat depth that way gets a number that is always bigger than the real one, so the method always tells you the chair is too deep. It is a false negative generator.
The eyeball method lost. Nobody can guess two inches. The people who tell me their chair is about right are the same people who come back a month later with knee pressure or lower back pain, and both of those trace to a gap that was never measured.
What this all costs
The tape measure is the cheapest thing in this article and the only one that pays for itself on the first order. Everything else is a decision the tape makes for you.
The two chairs here sit in the budget end of the market, and the desk sits in the same range. Check current Amazon price on each before you buy, because these listings move. What you are really buying with any of them is a set of fixed dimensions, and fixed dimensions are exactly what a measurement workflow handles well. A chair with a fixed seat pan is a yes or a no, and you will know which one in four minutes.
If you want to spend money well, spend it in this order. First, the tape. Second, a chair whose seat depth and seat height range both match your numbers, even if it is the cheapest chair that does. Third, the desk, and only after you know how deep the chair's pan is, because a desk that is two inches too shallow will undo a chair that fits perfectly. That is the whole reason the desk is in this article at all: seat depth and desk depth are one decision wearing two names.
The math on a return is what sells this method. One wrong chair costs you the packing, the label, the trip, and an afternoon, and the replacement may be wrong in a different way. Four minutes with a tape costs nothing and it is repeatable. Do it once for your own body, write the numbers in your phone, and you will never guess at a chair again.