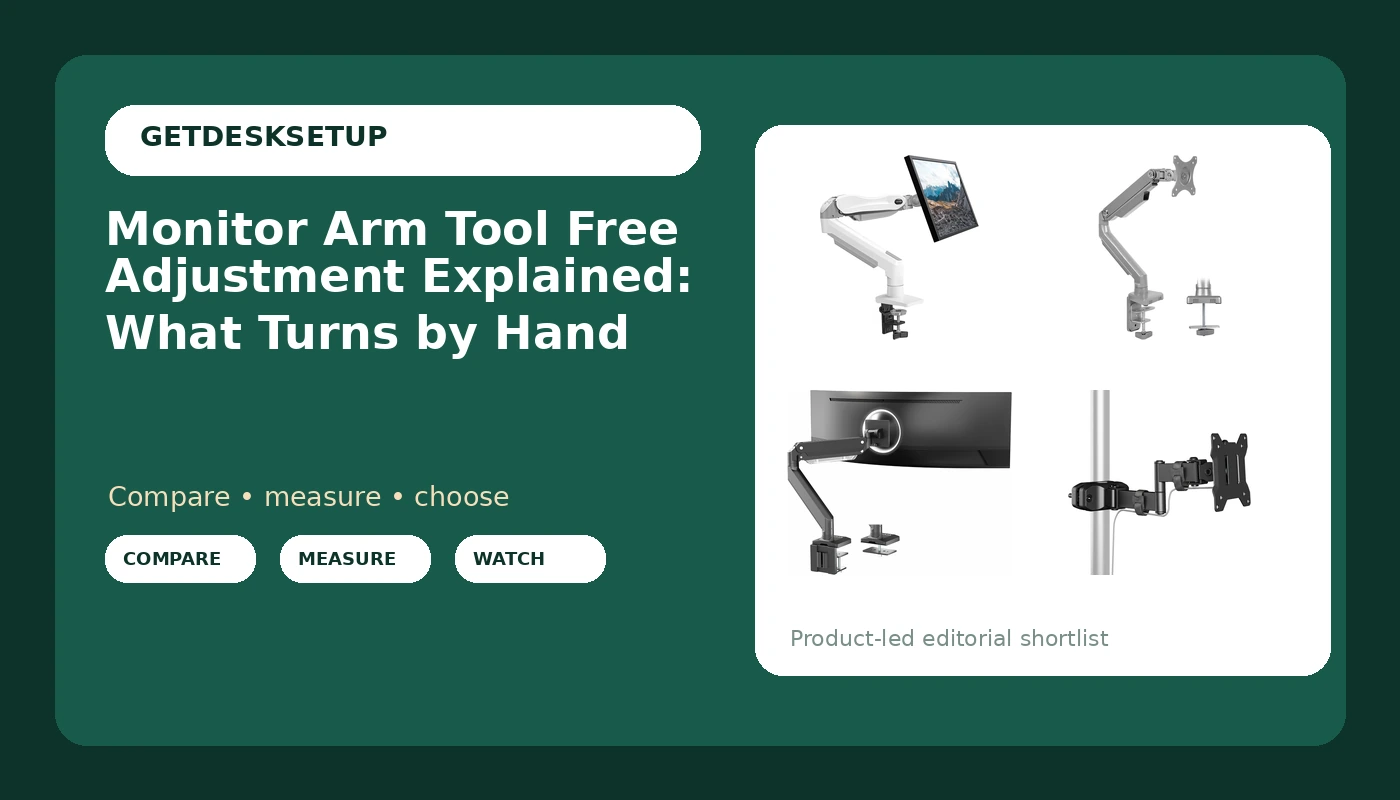
A monitor arm earns its place on your desk only when you actually move it. The screen should land where your eyes want it, and you should be able to nudge it again next month without hunting for a hex key. That is what monitor arm tool free adjustment means in practice: the joints that hold your screen at a given height, tilt, and angle are tensioned by a knob, a lever, or a spring you set by hand, so the arm holds its position on its own.
Almost every arm is partly tool free and partly not. You will still need a screwdriver for the mounting plate on the back of the monitor and for the base under the desk. What changes from model to model is which settings you can retune afterwards, with the monitor already hanging on the arm. That is the difference worth shopping on, and it is the one the spec bullets bury under diagonal sizes.
Related: How to Measure Monitor Height and Viewing Distance →
Quick answer
Tool free adjustment covers the settings you change after installation: spring tension, height, tilt range, swivel, and screen rotation. All four arms here need a tool for the first install, because the mounting plate screws and the clamp mount or grommet mount are bolted down once and then left alone. The difference is what you can change later by hand, and whether the spring can carry your panel at all. Match the weight capacity to your screen first, since no amount of hand turning fixes a spring that is outside its range.
Four useful options
| Model | Best fit | What stands out |
|---|---|---|
| HUANUO Single Monitor Mount | Light to mid weight 13 to 32 inch screens | Gas spring with clamp and grommet bases in the box |
| Mount-It! Single Monitor Arm Desk Mount | Screens up to 17.6 lbs | Mechanical spring with VESA 75×75 and 100×100 |
| VIVO Premium Aluminum Monitor Arm | Ultrawide panels up to 49 inches | Pneumatic height with a 33 lb rating |
| monTEK Long Arm Pole Mount Monitor Arm | Deep desks and corner placement | 10.7 inch reach from a pole mount |
Everyday pick: HUANUO Single Monitor Mount
The number that decides this one is the bottom of its range: 4.4 lbs. A 24 inch panel without its stand often sits near that floor, and a gas spring that is barely compressed will push the arm up rather than hold it steady. If your monitor is at the light end, test the drift before you commit to the arm. At the top end, 19.8 lbs covers most 27 and 32 inch panels but not a heavy ultrawide. The clamp mount and the grommet mount both ship in the box, which matters if your desk has a cable hole you would rather use than the front edge. Both bases are installed with a tool and then left alone. The spring, height, tilt range, and swivel are the parts you adjust by hand.
Mid range pick: Mount-It! Single Monitor Arm Desk Mount
A mechanical spring arm uses a coil and a tension screw instead of a gas cylinder, and the screw is hand adjustable here, but the feel is different. Expect firmer, more linear resistance as you push the screen down, rather than the softer give of a gas spring. The VESA pattern support is the other detail worth reading twice: 75×75 and 100×100 covers nearly every 13 to 32 inch panel, and you should still measure the hole spacing on the back of your monitor before ordering, because a recessed mount can need spacers. The 17.6 lb ceiling sits below the gas spring arm above, so if you are choosing between the two, weigh your panel first and let that number pick for you. The C-clamp and grommet bases are both in the box, and the base bolt is the only part you tighten with a tool.
Heavy duty pick: VIVO Premium Aluminum Monitor Arm
Ultrawide panels change the arithmetic. A 49 inch screen carries its mass far from the mounting plate, so the arm needs more spring force and a stronger joint than a 24 inch panel ever will. This one is rated to 33 lbs with a maximum VESA pattern of 100×100, and the height adjustment is pneumatic. Heavier screens also make the tilt range and swivel more important, because you are fighting more leverage every time you reposition the panel, and a joint that holds a light screen can creep under a wide one. Route the cable channel with slack at both ends. A cable that goes tight at full extension will pull the monitor off angle within a week, and that is a routing problem rather than an arm problem.
Long reach pick: monTEK Long Arm Pole Mount Monitor Arm
Reach is the spec that matters when your desk is deep or your monitor sits in a corner. A 10.7 inch reach from a pole lets the screen sit further back than a short arm clamped at the desk edge, and full motion articulation means the joints move in more than one plane, so you can swing the panel sideways without moving the base. The trade off is that a pole mount occupies a fixed footprint on the desktop and generally needs more depth behind the screen than a clamp at the rear edge. It is rated for 17 to 32 inch screens up to 22 lbs. If your panel is heavier than that, this is not the arm for you no matter how good the reach looks on paper.
Prices and availability may change. Product images, names, and retailer links are matched to verified listings. No current price, rating, stock status, or measured result is stated here without current evidence.
What monitor arm tool free adjustment really covers
Tool free does not mean toolless. It means the settings you are likely to change are reachable by hand once the arm is installed. Four things usually qualify.
Spring tension is the main one. A gas spring arm has a screw or knob at the main hinge that changes how much force the cylinder applies. Turn it one way and the arm pushes up harder; turn it the other way and it lets the screen settle lower. A mechanical spring arm uses a coil and a similar tension screw. Both are hand adjustable on the arms here, and both take small increments, a quarter turn at a time rather than a full rotation.
Height, tilt range, swivel, and screen rotation are the rest. Height comes from the spring balance plus the joint you push. Tilt range is how far the panel leans up or down at the mounting plate. Swivel is the side to side rotation at the joint. Rotation is the portrait or landscape turn of the plate itself. On most arms all four move by hand with a firm push, and the arm holds wherever you leave it.
What still needs a tool: the screws that hold the mounting plate to the back of your monitor, the bolt that tightens the clamp mount under the desk or the grommet mount through a cable hole, and sometimes the cover on the cable channel. None of those are meant to be retightened weekly, so a screwdriver once at install is normal and expected.
That is monitor arm tool free adjustment explained in a sentence: hand adjustable tension and movement, tool installed mounting. The phrase monitor mount tool free adjustment on a listing refers to the joints, not to the base, and a VESA monitor arm tool free adjustment depends entirely on the spring matching the panel's weight. Screen arm tool free adjustment is the part you will actually use every day, which is why it deserves more of your attention than the mounting hardware.
Setting the spring tension in five steps
Work in this order and you will not crack a desktop or fight a screen that will not stay put.
- Weigh the panel without its stand, or read the weight from the manufacturer's listing. That number, not the diagonal size, decides whether the spring can hold the screen.
- Attach the mounting plate to the monitor first, then attach the arm to the desk. Reversing that order means lifting the screen and the arm at the same time.
- Set the arm at the middle of its height range and let go. If it rises, the spring is too strong. If it sinks, the spring is too weak.
- Turn the tension screw a quarter turn at a time in the direction the manual specifies, then retest at the same height so you are comparing like with like.
- Check the top and bottom of the travel once the middle holds. An arm that balances at mid height can still drift at the extremes, and that is where you will notice it during a workday.
Practical guidance before you order
- Measure desk thickness where the clamp mount will sit. A C-clamp has a maximum opening, and a thick desktop with a lip underneath can put the clamp past it.
- Check the VESA pattern on the back of the monitor. 75×75 and 100×100 are the common sizes, and a recessed mount may need spacers.
- Leave at least two inches between the back of the desk and the wall so the arm can swing and the cable channel has room to bend.
- Plan for roughly 24 inches of usable desk width for a single arm once the monitor swings toward you, and more if you rotate the screen to portrait.
- Run cables through the channel with slack at both ends. A cable that goes tight at full extension pulls the monitor off angle within a week.
Which option should you choose?
Choose the HUANUO Single Monitor Mount when your panel weighs between 4.4 and 19.8 lbs and you want the spring tension set by hand at a low entry point. Choose the Mount-It! Single Monitor Arm Desk Mount when your screen is up to 17.6 lbs and you want a mechanical spring with both VESA 75×75 and 100×100 support. Choose the VIVO Premium Aluminum Monitor Arm when you are mounting an ultrawide up to 49 inches and 33 lbs and need pneumatic height adjustment. Choose the monTEK Long Arm Pole Mount Monitor Arm when reach matters more than anything else and your screen is 17 to 32 inches up to 22 lbs.
The thing no listing can tell you is how your specific panel behaves at the edge of a stated range. A 19 lb screen on an arm rated to 19.8 lbs and a 5 lb screen on an arm rated from 4.4 lbs are both technically in range, and both will likely need the tension near its limit. Weigh your monitor before you order, and treat a stated range as a bracket you want your screen to sit inside, not at the end of.
The bottom line
Tool free adjustment is a property of the joints, not a marketing line. Pick the arm whose weight capacity brackets your panel with room on both sides, then spend ten minutes tuning the spring by hand at mid height before you decide the arm is wrong. If your screen sits at the very top or very bottom of a stated range, expect to run the tension near its stop, and consider the next size up instead. A monitor arm tool free adjustment only pays off when the spring can actually hold the screen you own.