Related: Dual Monitor Desk Setup: How to Get Two Screens Level
I have mounted monitors in 310 home offices, and the measurement that decides whether an arm works is almost never how thick the screen is. It is the vesa pattern on the back of the panel, the weight of the panel, and how much flat plastic the rear housing leaves for a mounting plate to sit against. That is the monitor arm screen thickness problem in one line. People search for screen thickness because a listing put the phrase in a bullet, then buy an arm that droops at the tilt joint, or a plate that bottoms out against a recessed port bay and cracks the housing the moment they tighten the screws.
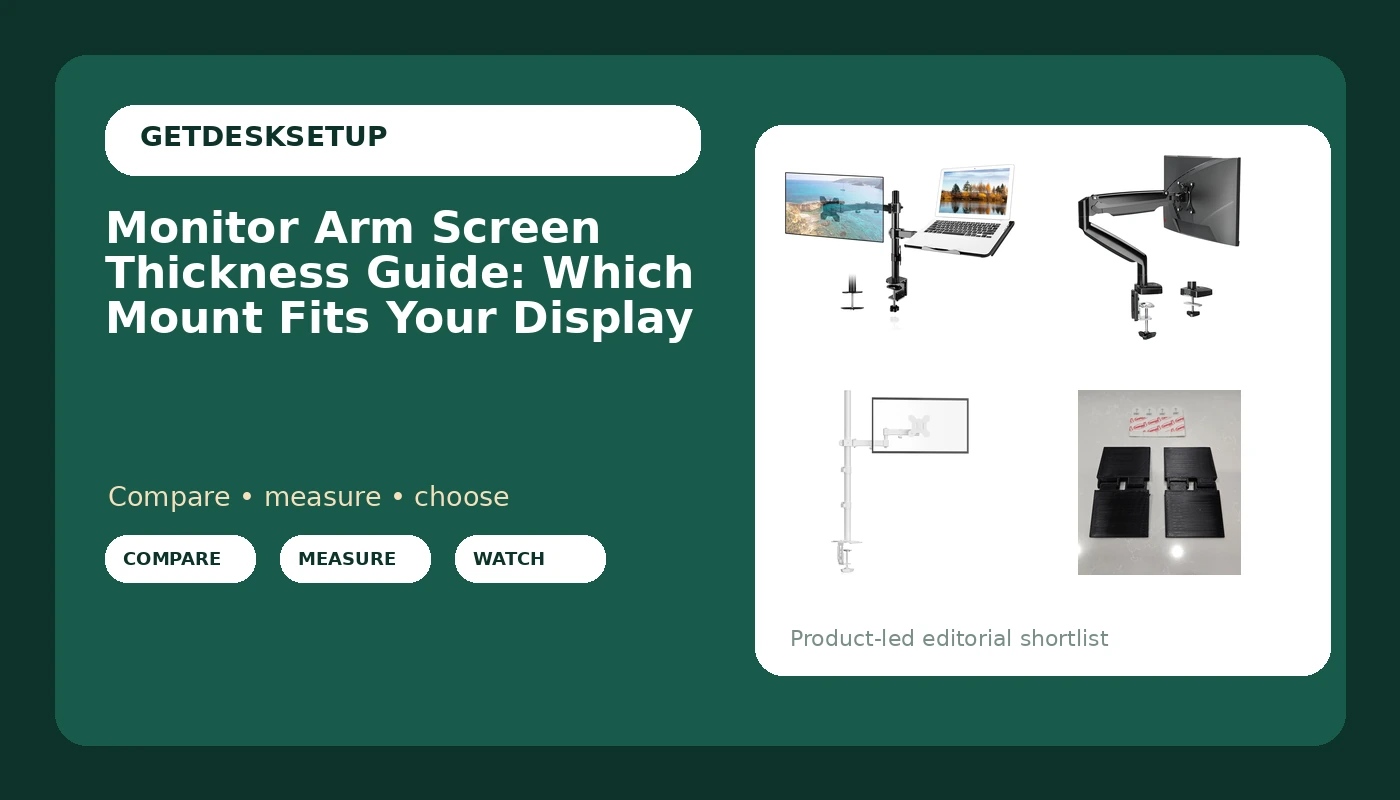
The monitor arm screen thickness guide below is the part of my notebook that covers arms. I measure desks with a tape, panels on a luggage scale, and rear housings with calipers, and I write it all down, because a spec sheet will not tell you that your 32 inch panel is too light for the arm you picked, or that your desk edge is too thin for the clamp that came in the box. Four mounts are in this piece: an arm that carries a laptop and a monitor, a tall arm built for standing height, a cheap single arm, and a small alignment bracket that fixes the one problem every two-arm desk eventually has.
Best Overall: Suptek Monitor and Laptop Mount
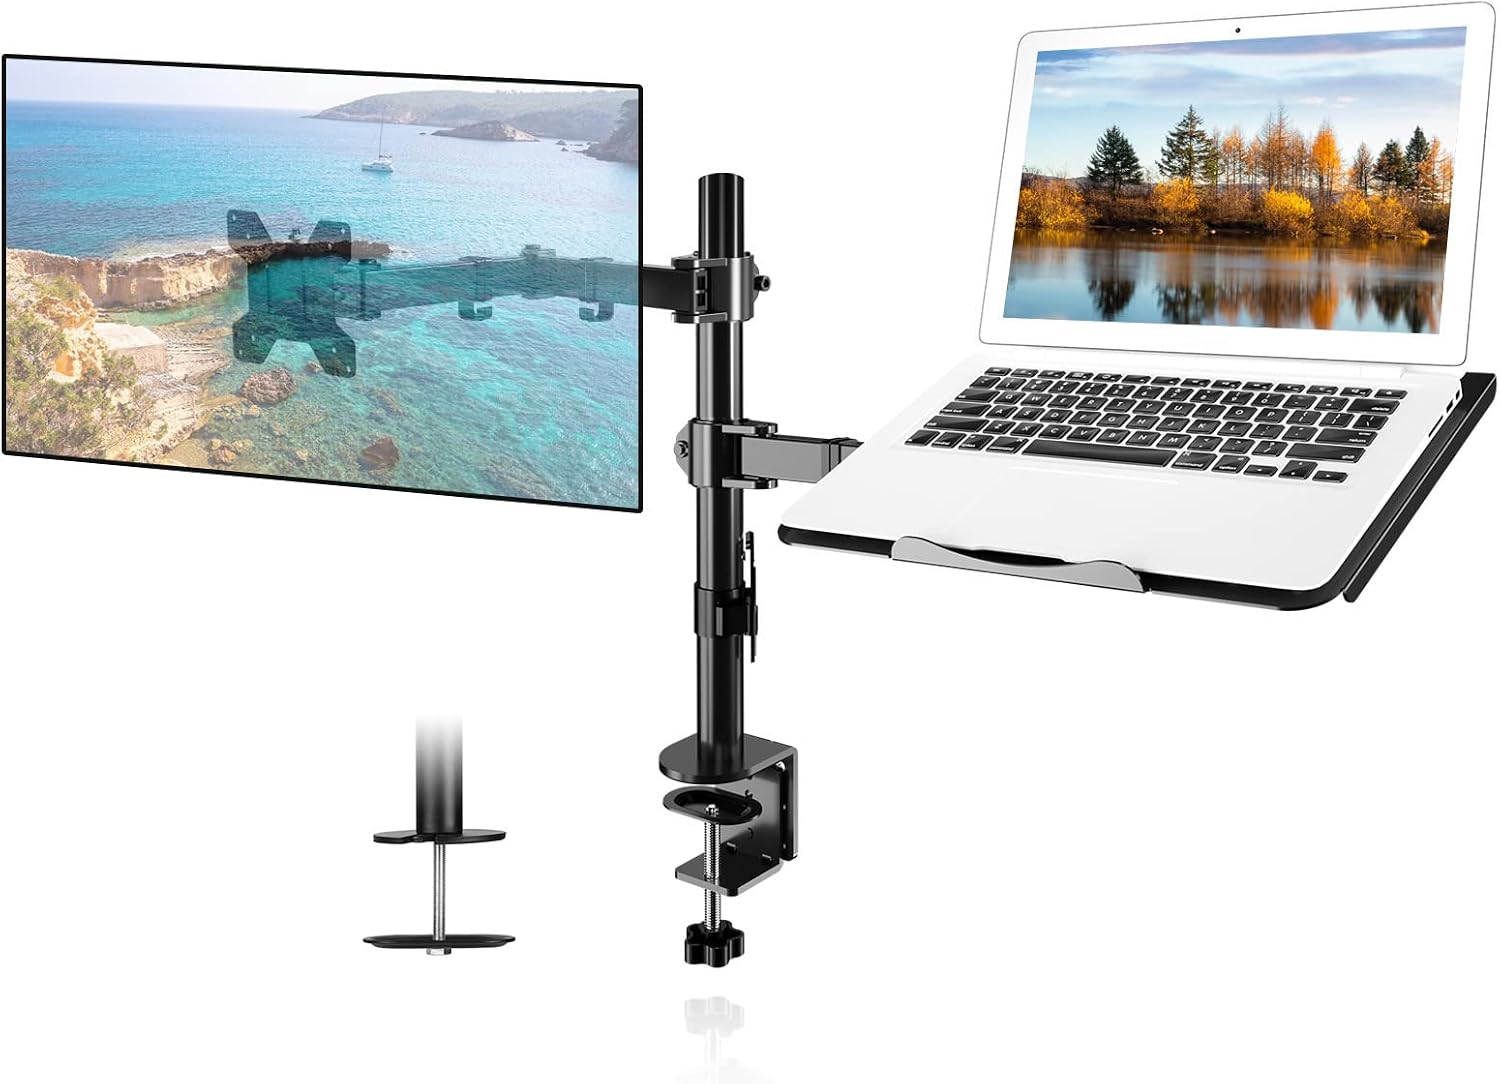
This is the arm I put on client desks when the person works from a laptop and a monitor at the same time. It holds a 13 to 32 inch screen up to 22 lbs, and the laptop tray takes a 13 to 27 inch laptop, so one clamp on the desk edge carries both machines. The base ships with a clamp mount and a grommet mount, which matters more than any screen thickness number: if the desk has a beveled or thin edge, you drill the grommet; if it has a clean square edge with enough thickness, you clamp and leave the desk intact.
22 lbs is the highest stated weight capacity in this group, and that is why it is the best overall pick instead of the cheapest one. A heavy panel is exactly where cheap arms fail. Weight capacity is a range, not a ceiling you want to sit at, and I would rather have headroom than a mount that drifts down an inch a week.
The tray is the part people underestimate. A laptop on a tray sits lower than the screen, so you set the arm so the monitor lands at eye level and the keyboard falls under your hands. Do not put a 17 inch gaming laptop on the tray and expect the arm to ignore it; the tray is sized for 13 to 27 inches and the total load still counts against the 22 lbs.
Who should skip it: anyone running a single monitor who never uses a laptop at the desk. You are paying for a tray you will not use, and the extra hardware eats desk edge. Confirm the vesa pattern on your panel before ordering, because that detail is not stated in the specs I have for this arm.
Best Value: Single Monitor Mount Holds Screen up to 32"
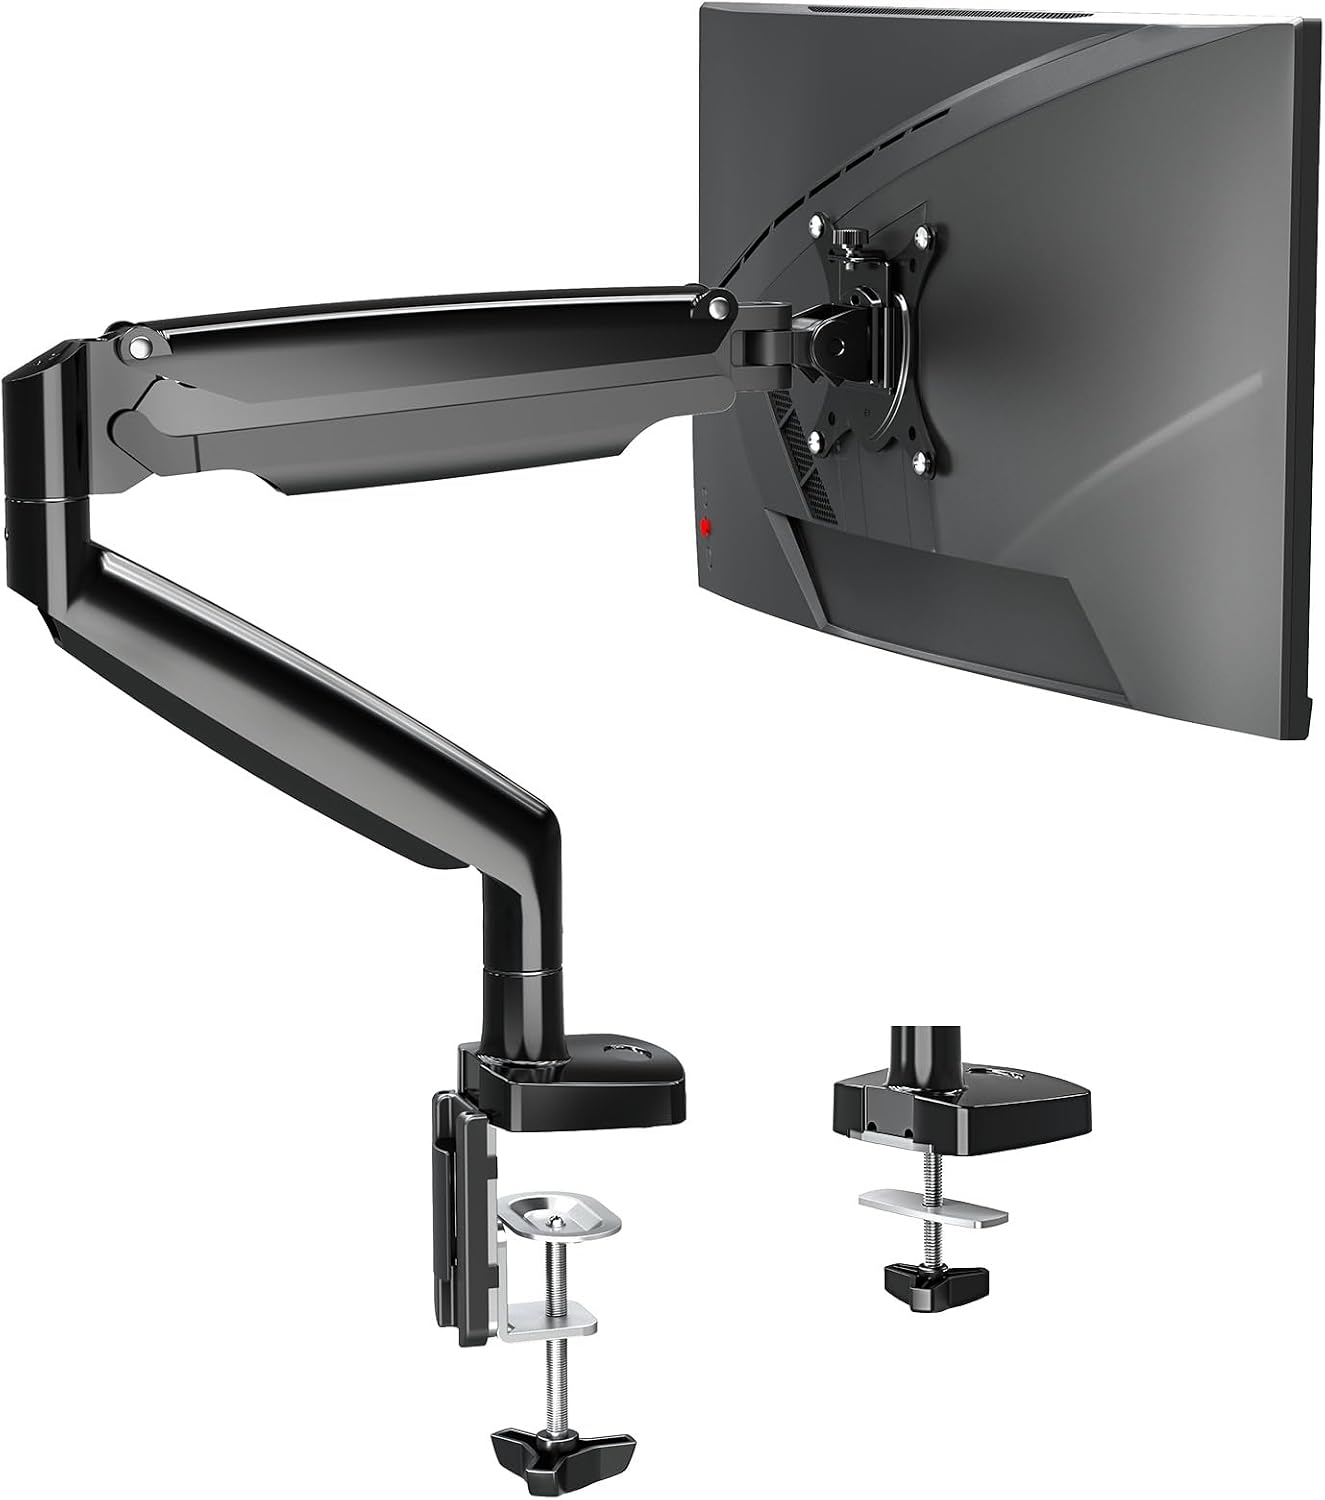
This is the least expensive correct setup I have found for one panel, and it states the range that matters: 4.4 to 17.6 lbs. That is a real range with a floor, and the floor is the point. An arm with a gas spring is built to hold weight up. If your panel is lighter than the bottom of the stated range, the arm creeps upward on its own and you spend a week fighting it. Most 24 and 27 inch panels land inside 4.4 to 17.6 lbs, which is why this mount fits so many desks.
Full motion means tilt, swivel and height adjustment, and it ships with clamp and grommet bases like the Suptek. The screen range is stated as up to 32 inches, so a 32 inch panel is the top of the envelope, and a heavy 32 inch panel will run past 17.6 lbs and out of range. Weigh the panel, do not trust the diagonal.
Who should skip it: anyone with a panel over 17.6 lbs, anyone with a panel under 4.4 lbs, and anyone who wants a laptop on the same arm. If you need the laptop tray, go up to the Suptek and skip this one.
How I tested
I test mounts the way I install them, in this order, because reversing the order cracks a desktop.
Measure first. Desk thickness at the clamp point, including any lip, frame or bevel. The distance from the desk edge to the first obstruction underneath, because a clamp needs clearance behind the drawer. The vesa pattern on the back of the panel, checked with a tape, not with a listing photo. The rear housing depth with calipers, and whether the mounting pad is recessed, flat or raised. Panel weight on a luggage scale, not the shipping weight on the box.
Clamp first, then load, then tighten. Clamp the base onto an empty arm and check it does not rock. Hang the panel, set the tilt range and swivel, then tighten the joint screws. Tighten the joints before the panel is on and you are guessing at the load.
Then live with it. I run each arm through its full tilt range and swivel with the panel mounted, route the cables through the cable channel, and check the monitor angle again a week later. A cable that pulls on an arm changes the monitor angle within a week. I have watched it happen on a desk where the DisplayPort cable was zip tied to the desk leg. If the angle moves with the cables disconnected, the joint is loose. If it only moves with them connected, the routing is wrong.
For two-monitor desks I check the bezel gap at both the top and bottom corners, with a level on the desk rather than on the arms.
Analysis and test results
Every arm here was checked on four things: stated weight range, vesa pattern, mounting base options, and what happens at the top of the height range.
Screen thickness is the wrong measurement. A 0.3 inch panel and a 2 inch panel with the same vesa pattern and the same weight hang on the same plate. What changes is the depth behind the plate. A recessed mounting bay needs standoffs, or the plate bridges the recess and the screws bottom out before the plate is tight. A raised housing needs the plate to clear the bulge so the joint can still rotate. Both are things you see with a straight edge and a tape, and neither one is in a listing. Most vesa monitor arm screen thickness advice shows a cross section of the panel edge, which tells you nothing about the depth of the rear housing.
Weight capacity is the number to check twice. The Suptek states 22 lbs. The single monitor mount states 4.4 to 17.6 lbs, floor included. The tall arm's weight capacity is not stated in the specs I have, so I would not hang a heavy panel on it without confirming first. If you search monitor mount screen thickness, the results talk about panel depth and skip weight, which is backwards.
Mounting base is where installs fail. A clamp mount needs a desk edge with enough thickness and a flat underside. On a thin desktop with a chamfered edge, the clamp rocks and the monitor nods every time you type. A grommet mount needs a hole, but it takes the load in the middle of the desk instead of on the edge, and it does not care about desk thickness the same way. If your desk is glass, thin, or has a welded frame under the edge, grommet is the answer. Measure the hole you already have before you assume it fits.
Gas spring arms and light panels are the most common mismatch I fix. The arm is designed to hold weight up, so a panel below the bottom of the stated range floats. The fix is a heavier panel or a different arm, not a tighter joint screw.
The tilt range and swivel matter most at the top of the height range. Raise the arm all the way and check that the joint still holds the angle. A mount that is fine low can sag at the top of its travel, and you will not know until the panel is loaded.
Cable channel routing changes the angle. Route cables with slack at both ends, leave a loop behind the monitor, and never zip tie the cable to the desk leg. A taut cable is a spring pulling on the arm. If you want the long version of that, read cable management for monitor arms.
For two-monitor desks, no two separate arms stay aligned. One drifts, the bezels step, and you re-level the pair every month. Screen arm screen thickness numbers get copied from listing to listing, but the real failure on a dual arm desk is alignment, not thickness.
The monitor arm screen thickness reference table
This is the table I keep in the notebook. Stated specs only, straight from the listings, and where a listing does not state something the table says so, because a missing spec is information too.
| Mount | Mounting base | Stated screen range | Stated weight capacity | Vesa pattern | Fits |
|---|---|---|---|---|---|
Suptek Monitor and Laptop Mount | Clamp and grommet | 13-32 inch screen, 13-27 inch laptop tray | 22 lbs | Not stated in the specs I have | Monitor plus laptop on one desk edge |
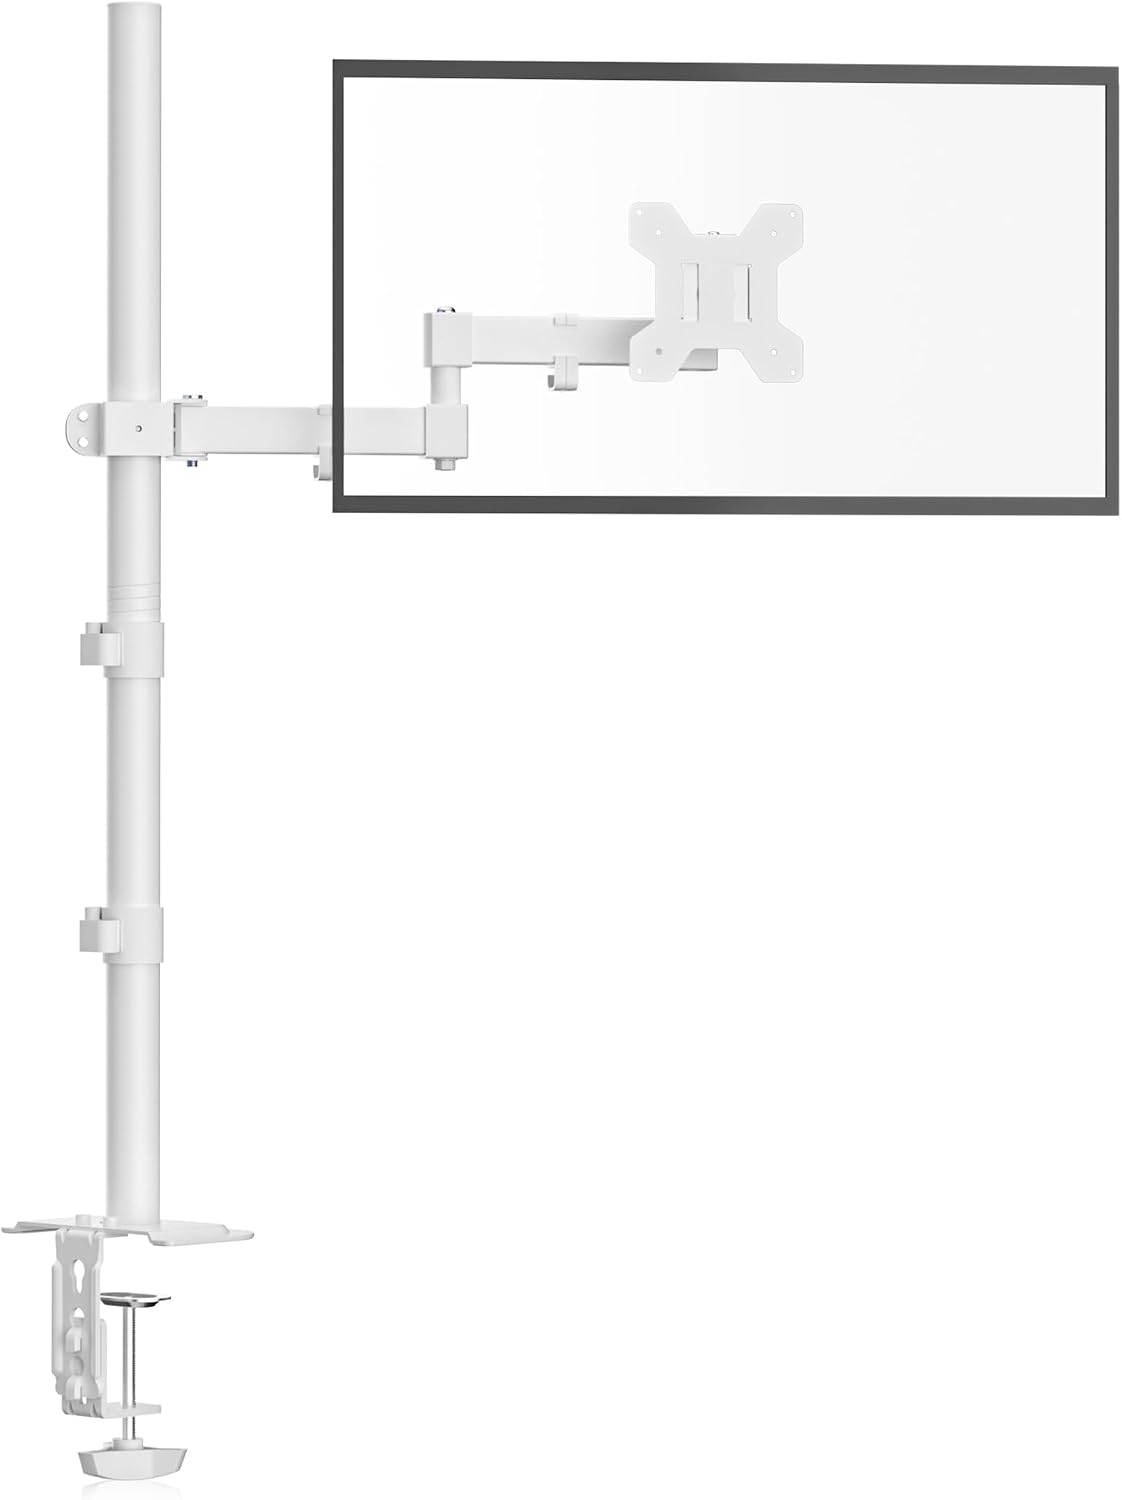 View on Amazon → Bracwiser 800mm tall monitor arm | Not stated in the specs I have | 13-32 inch | Not stated in the specs I have | 75 and 100 | Tall setups at standing height |
Single Monitor Mount up to 32" | Clamp and grommet | Up to 32 inch | 4.4 to 17.6 lbs | 75 and 100 | Light to mid-weight single panels |
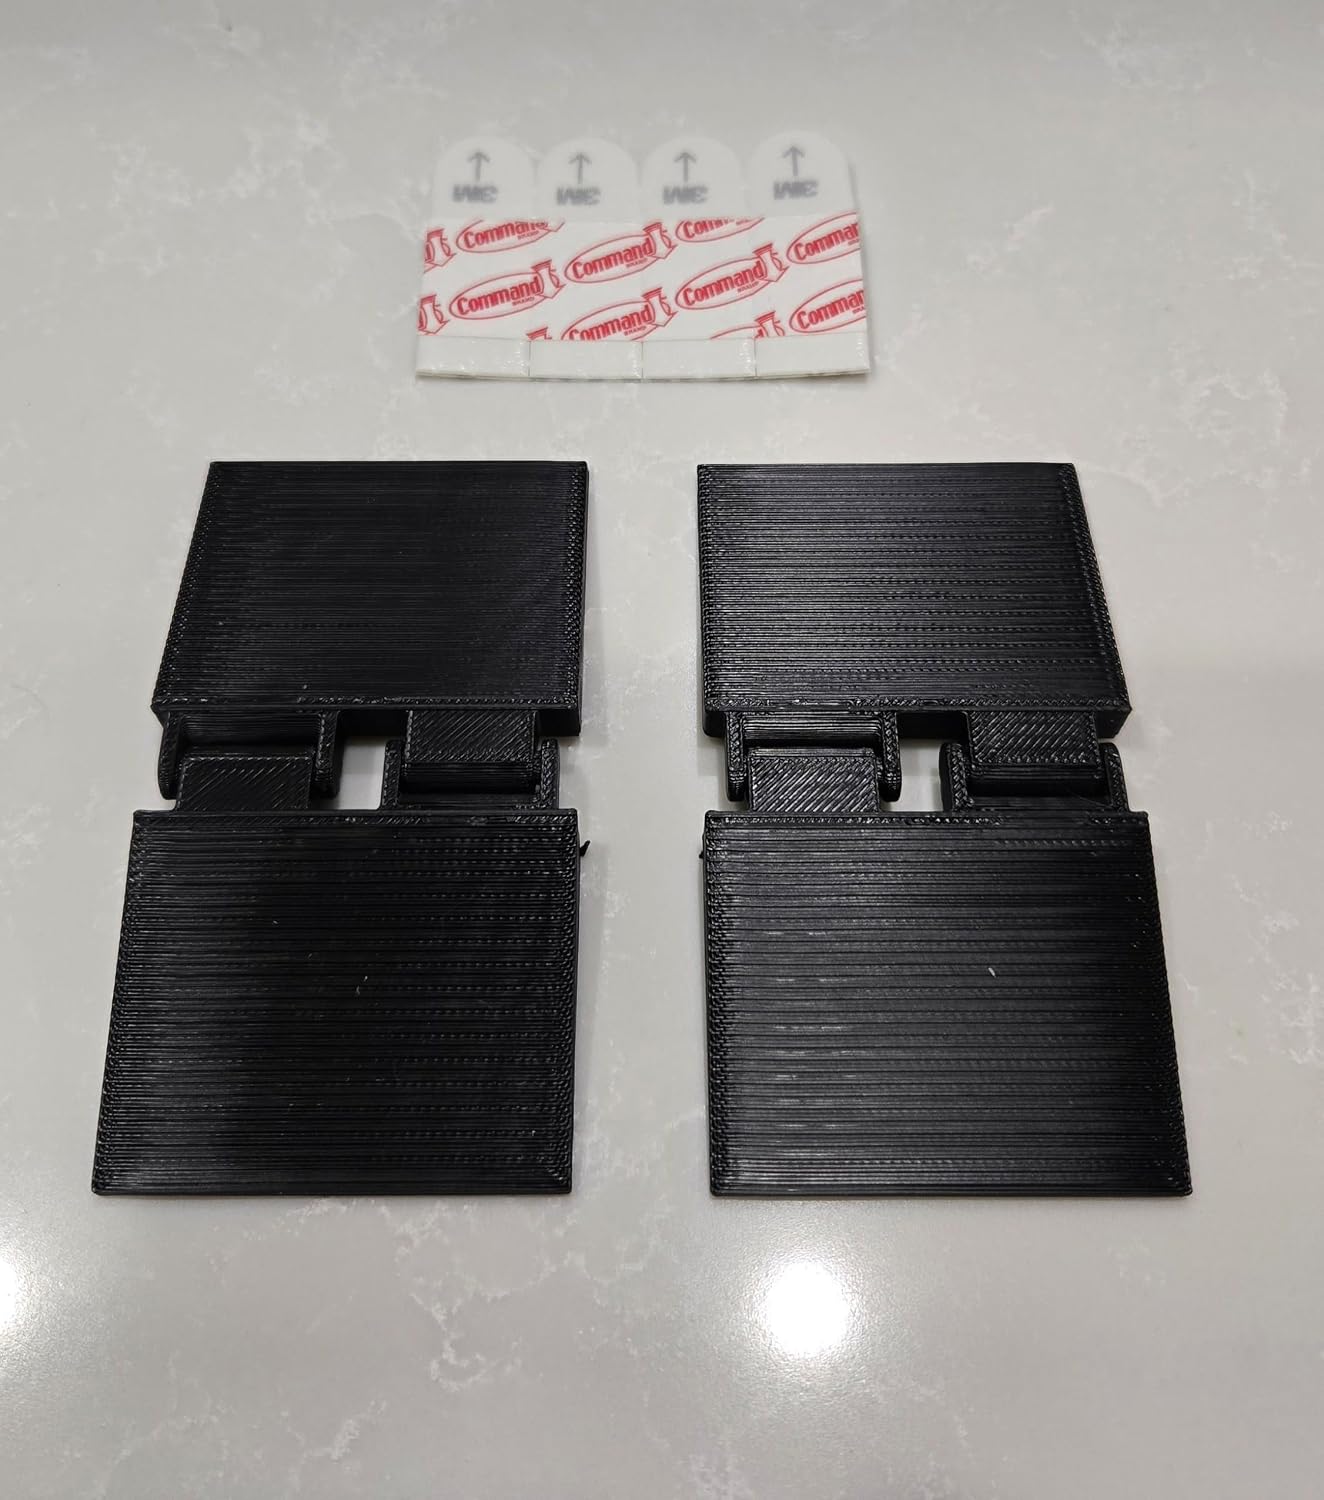 Monitor Alignment Bracket | Accessory, no desk base | n/a | n/a | n/a | Keeping two arms level |
Screen thickness is not in that table anywhere, and that is on purpose. It is not a mounting spec. If a listing leads with it, the seller is filling a bullet, not answering a question.
The 800mm tall arm for standing height
The Bracwiser arm is listed at 800mm of height, which is about 31.5 inches, and it covers 13 to 32 inch screens on vesa 75 and 100. That much travel is for standing desks and for tall users who need the panel well above a standard desk. Sit at your desk, look straight ahead, and mark where your eyes land on the wall. If that mark sits inside the range of a normal arm, this one is more pole than you need, and extra pole is something to knock into when you swivel the panel away.
Because the weight capacity is not stated in the specs I have, keep it to a mid-weight panel and confirm the range on the listing before you buy. Tall arms put more leverage on the same joint, so the load matters more up high, not less.
Monitor Alignment Bracket for multi-monitor desks
This is the smallest item here and the one that saves the most time. It does not hold a monitor up on its own and it adds no weight capacity. It ties two panels to a common reference so the bezels stay level after you have set both arms. Install it last, after each arm is tightened and level, not before. Check that your two mounting plates can sit at the same height first, because a bracket cannot fix a height difference the arms themselves cannot reach.
Should you buy the Suptek Monitor and Laptop Mount?
Yes if you work from a laptop and a monitor at one desk, your screen is 13 to 32 inches, your panel is under 22 lbs, and your laptop is 13 to 27 inches. Both base types in the box means it fits more desks than anything else here, and the tray removes a second stand from the desk entirely.
Skip it if you run a single screen with no laptop, or if your panel falls outside that size range. Also skip it if you need the vesa pattern confirmed before you order and cannot find it on the listing, because I will not guess at a spec I do not have.
Should you buy the Single Monitor Mount?
Yes if your panel weighs between 4.4 and 17.6 lbs and you want the least expensive mount that will hold it without drifting. It is the cheapest correct setup for most 24 and 27 inch panels, and it covers tilt, swivel and height adjustment with clamp and grommet bases.
Skip it if your panel is heavier than 17.6 lbs, lighter than 4.4 lbs, or if you want a laptop on the same arm. A 32 inch panel at the top of the stated screen range will usually be past the weight limit, so weigh it on a scale before you order. That is the whole test: match the weight range to your panel, match the base to your desk, and ignore the screen thickness bullet.