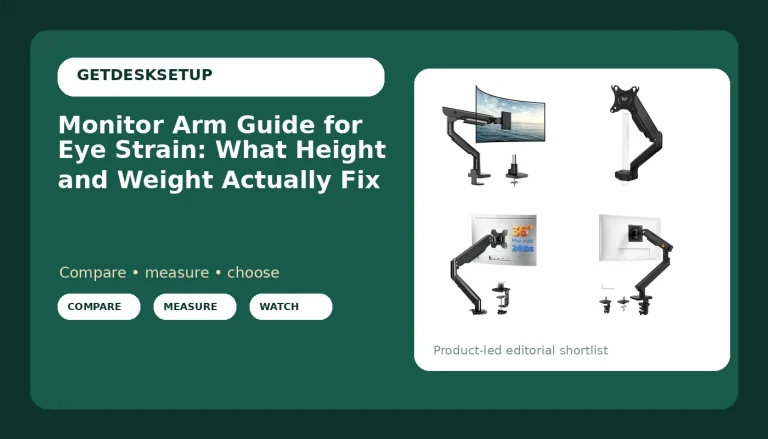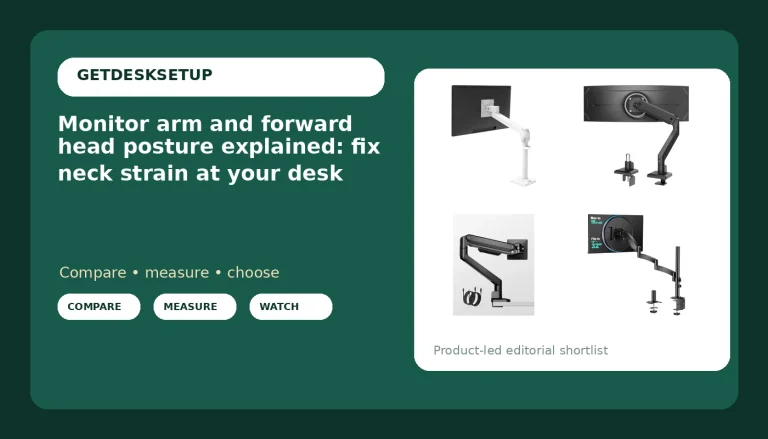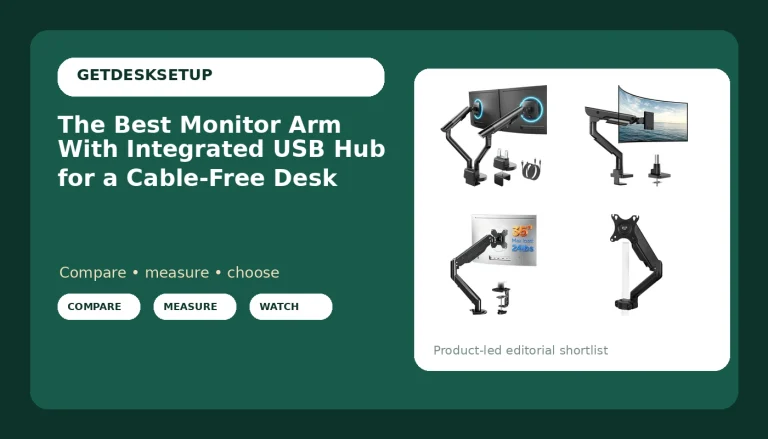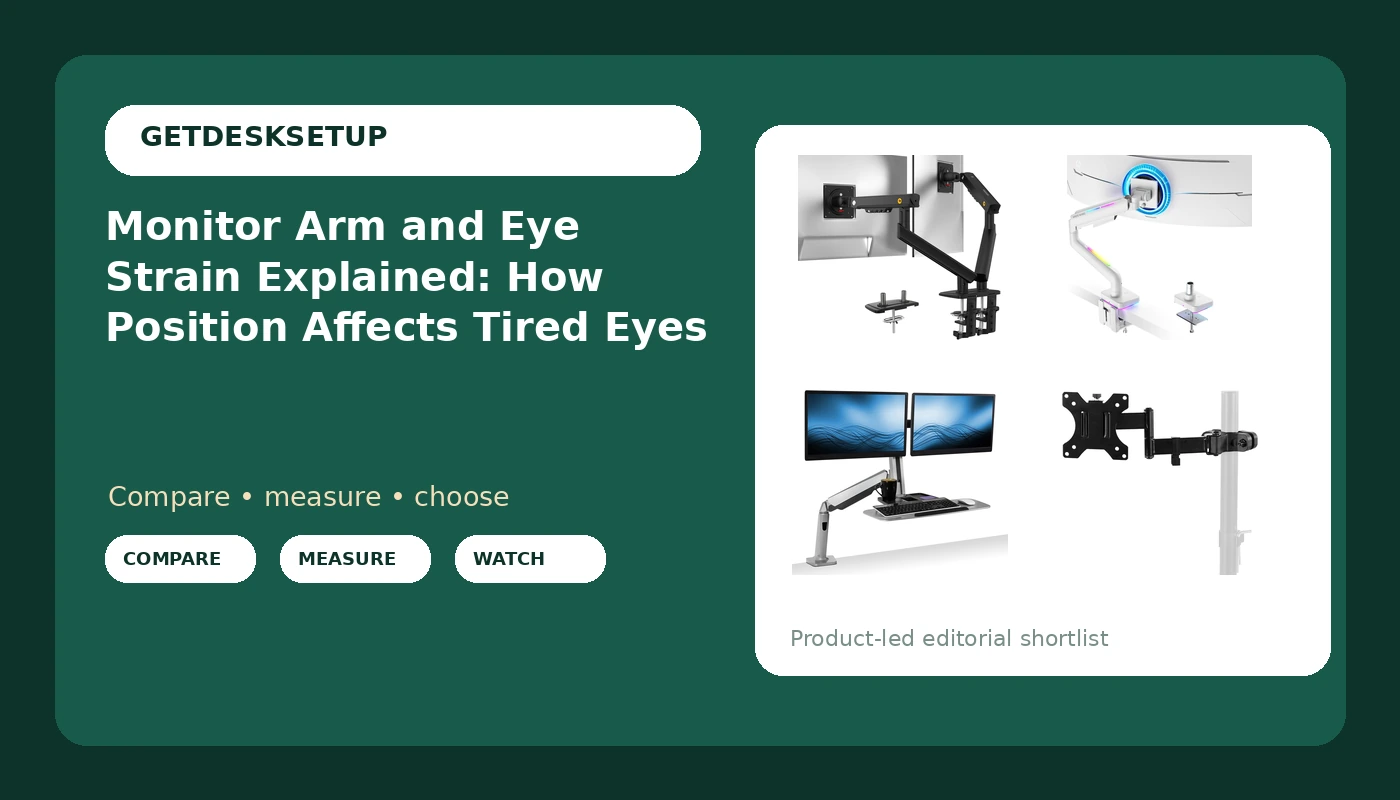
Eye strain at a desk rarely comes from the screen by itself. In the home offices I have measured, the cause is usually position: a panel two inches too high, six inches too close, or tilted back far enough to catch a window reflection. That is why monitor arm and eye strain end up in the same conversation. An arm is not an eye-health device, and it does not change a single pixel. It is a bracket that decides whether your screen stays where you set it or drifts out of place over the following weeks. The gap between an arm that holds and an arm that sags shows up in your eyes around 4 pm, not in the first ten minutes.
This article is the monitor arm and eye strain explained version of that question: what the hardware can change, what it cannot, and how to set one up so your eyes do less work. It covers four arms for four desk situations and names the trade-off each one carries. If your screen already sits at the right height and never moves, an arm will not fix tired eyes. Something else will.
Related: Monitor height and neck angle: the measurement most people skip →
Quick answer
An arm helps your eyes only when it holds the panel at a measured height and distance and keeps it there. Put the top of the screen at or slightly below eye level, keep the screen face roughly square to your line of sight, and set it at a distance you can hold all day, which for most people is close to arm's length. The arm's job is repeatability: tilt range, swivel, and a cable channel with enough slack that nothing tugs the panel sideways. It cannot cut blue light, raise refresh rate, or make a low-resolution panel easier to read. Those are screen problems, not mount problems.
Four useful options
All four arms solve the same basic problem, holding a panel where you put it. They differ in how many screens they carry, what screen sizes they list, and how the lift works. Sizes and mechanisms come from the listings; the rest is a judgment about your desk.
| Model | Best fit | What stands out |
|---|---|---|
| NB SmooVex Computer Monitor Arm, Model-A5C | One screen up to 32 in on a fixed-height desk | Mechanical spring, VESA 75/100 mm pattern |
| ARES WING Gas Spring Monitor Arm with RGB | Screens from 17 to 49 in in a white setup | Gas spring lift, white finish, RGB |
| Mount-It! Dual Monitor Arm Sit-Stand Workstation | Two screens that rise and fall with a sit-stand desk | Dual arms on one clamp base |
| VIVO Black Pole Mount Monitor Arm, MOUNT-POLE01A | One screen from 17 to 32 in on a tight budget | Pole mount, black finish |
The single-screen pick: NB SmooVex Computer Monitor Arm
A mechanical spring is the right mechanism for someone who sets a monitor once and leaves it. There is no sealed gas cylinder to lose pressure, and the tension is something you can tighten yourself if the screen starts to creep down. The trade-off is feel: mechanical arms move in firmer steps than gas spring arms, which matters if you nudge the screen up and down several times a day. Before mounting anything, put your monitor's weight against the listed weight capacity. An under-loaded arm will not hold its height, and an overloaded one will not move at all.
The wide-screen option: ARES WING Gas Spring Monitor Arm with RGB
A 34-inch ultrawide or a 49-inch super ultrawide is a different weight class from a 27-inch panel, and the listed size range is the first filter you apply. Gas spring arms hold position through internal pressure, which makes them smooth to move but harder to re-tension if the balance drifts; the range at the top and bottom of the travel is worth checking against where your eyes actually sit. RGB is a preference, not a performance feature. It changes how the arm looks and nothing about how your eyes feel at the end of the day.
The two-screen option: Mount-It! Dual Monitor Arm Sit-Stand Workstation
This is the option for a standing desk with two screens, and the reason is repeatability. Two independent arms on two separate bases will not stay parallel through hundreds of up and down cycles, and a pair of panels that drifts a few degrees out of alignment is a slow way to make your eyes work harder. A single dual mount fixes the relationship between the screens. The trade-offs are weight and desk edge: a dual mount is heavier, and a clamp mount needs enough desktop thickness with a clear underside. If a frame, drawer, or apron sits under the edge, a grommet mount through a drilled hole is the alternative, and that is a permanent change to the desk. If the desk itself wobbles at standing height, fix that first; see standing desk wobble at standing height.
The budget option: VIVO Black Pole Mount Monitor Arm
Pole mounts are the least fussy design in this group and the least adjustable. You set the collar height once, and the arm swings left and right on the mast. There is no spring to balance, so there is nothing to re-tension and nothing to sag. The limitation is vertical range: you get the positions the mast allows and nothing between them. For one screen on a fixed-height desk that is usually all you need. For a desk shared with a taller or shorter person, or a desk that rises and falls through the day, the fixed collar is the reason to skip it.
Prices and availability may change. Product images, names, and retailer links are matched to verified listings. No current price, rating, stock status, or measured result is stated here without current evidence.
What a monitor arm and eye strain have in common
The phrase monitor arm and eye fatigue gets attached to the mount as if the bracket did something to your eyes. It does not. What it changes is three variables your eyes respond to: viewing distance, screen height, and screen angle. Everything else in the eye strain conversation belongs to the panel, the room lighting, or how often you blink.
Distance comes first. Your eyes focus most easily at a distance that stays roughly constant, and a screen that sits too close forces the focusing muscles to hold a tighter setting for hours at a time. An arm lets you push the panel back past the front edge of the desk, which a stand cannot do. That extra few inches is often the difference between a screen at 18 inches and one at 24, and it is the biggest lever a monitor arm and eye strain share.
Height comes second. The usual target is the top of the screen at or just below eye level, so your gaze drops slightly when you read the middle of the panel. A slightly downward gaze is easier to hold than a straight-ahead one, and it keeps more of the upper eyelid in contact with the eye, which matters for tear film. A usable tilt range lets you keep the screen face square to that downward line of sight instead of tilted back, where it collects overhead light and ceiling reflections.
Angle is third, and it is where swivel earns its place. Two monitors side by side usually means one of them sits off-axis, and a screen you view from 30 degrees off center makes your eyes work to keep both panels in focus as you switch between them. Swivel on a dual arm lets you turn each panel toward your seat position instead of leaving both square to the wall.
What an arm cannot do matters just as much. It cannot reduce blue light, change a panel's refresh rate, fix a low pixel density, or brighten a dim room. If monitor arm and tired eyes follow you to a laptop in a coffee shop, the mount is not the variable.
The last thing the arm controls is stability, and that is where the boring parts of a listing start to matter. Weight capacity decides whether the arm holds the height you set or creeps down through the afternoon. The VESA pattern decides whether the mounting plate bolts to your monitor at all. A cable channel with enough slack keeps the display cable from loading the arm and pulling the screen a degree or two off center every week, which is exactly the kind of slow drift you notice as tired eyes and blame on the screen.
Setting the arm so your eyes work less
Setup order matters more than brand here, because most monitor mount and eye strain problems trace back to the same five steps, and doing them out of order is how people end up with a screen that will not hold its position.
- Measure your seated eye height before you touch the arm. Sit with your feet flat and your back against the chair back, look straight ahead, and mark the wall. That number sets the screen height, not the desk height and not the arm's advertised range.
- Clamp or grommet the base before the arm goes on. Tightening a clamp around a loaded arm twists the desktop edge, and thin particleboard does not enjoy that. Get the base solid first, then add weight.
- Hang the monitor and set the height before anything else. Raising the arm changes the tilt, so height comes before angle. On a mechanical spring arm, tighten the tension until the screen holds its position with your hand off it.
- Set the distance, then the tilt. Push the panel back until it sits just past arm's length, then tilt the face square to your line of sight. Use swivel, not more tilt, to steer the screen away from a window reflection.
- Route the cables through the cable channel with a slack loop at the monitor end, then re-check the clamp and the spring tension after a week of use. A display cable with no slack loads the arm and pulls the screen off center.
Practical guidance before you buy
These five checks catch most of the reasons a monitor arm and tired eyes end up in the same complaint.
- Measure your desk edge before choosing a clamp mount. You need enough thickness for the clamp to bite and a clear underside. A frame, drawer, or apron rules it out, and a grommet mount becomes the fallback.
- Check the listed weight capacity against your monitor's weight, including the mounting plate. An arm that is under-loaded will not hold its set height, and one that is overloaded will not move.
- Confirm the VESA pattern on the back of your monitor, usually 75 x 75 mm or 100 x 100 mm, matches the plate the arm ships with.
- Match the listed screen size range to the panel you own, not the one you might buy later. An arm listed up to 32 inches has no headroom above 32 inches.
- Plan for the desk space the mount eats. A clamp base needs a hand's width of clear edge, and a pole mount needs vertical clearance behind the desk. Under 48 inches of desk width, one screen on one arm is the realistic layout.
Which option should you choose?
Choose the NB SmooVex Computer Monitor Arm when you run one screen up to 32 inches on a desk that stays at a single height and you want spring tension you can adjust yourself. Choose the ARES WING Gas Spring Monitor Arm with RGB when your panel is larger than 32 inches, up to the 49 inches the listing covers, or when the setup is white and you want the mount to match. Choose the Mount-It! Dual Monitor Arm Sit-Stand Workstation when two screens have to rise and fall together on a standing desk and keep their alignment. Choose the VIVO Black Pole Mount Monitor Arm when one screen from 17 to 32 inches needs a fixed height and the simplest mechanism available.
None of that is a fit claim for your body. Screen size ranges and mounting patterns come from the listings. Weight capacity, desk thickness, and the height your eyes actually sit at come from your own measurements. If your monitor outweighs the arm's listed capacity, or your desktop is too thin for the clamp, the arm is the wrong part no matter how it looks in photos.
The bottom line
Eye strain is a geometry problem before it is a hardware problem. The link between monitor arm and eye strain is geometric, not electronic. A monitor arm earns its place by holding the panel at your measured eye height and distance and keeping it there through a week of cables tugging and a desk rising and falling. It does nothing for blue light, pixel density, or refresh rate, and it will not fix eyes that are already tired from a screen sitting too close. Measure your seated eye height, check the weight capacity and VESA pattern on your monitor, then pick the arm that matches how many screens you run and whether the desk moves. The cheapest correct setup beats the most expensive wrong one, and for one screen on a fixed desk that is often the pole mount.