Two people, one desk, one arm. When a client asks me how to set up a monitor arm in a shared desk, I do not start with the arm. I start with a tape measure and two questions: how wide is the surface, and where does each person's eye line land when they sit down. Get those wrong and no clamp mount on the market will rescue the setup.
I have watched this fail the same way in 310 home offices. The arm goes dead center because that is the easiest spot on the desk edge to reach. Both people then angle their panels toward the middle, and within a week the cables are pulling on the joints. A cable that pulls on a monitor arm changes the monitor angle within a week. That is not a cosmetic problem. It means the person on the left is staring at their screen 15 degrees off axis by Friday, and they will blame the arm instead of the cable.
The fix is a sequence: measure, pick the arm that reaches, mount it where the clamp can actually bite, load it, then route the cable so it never loads the joint. Do those five things in that order and a shared desk stops being a compromise.
Why you should trust me
Nine years as a facilities manager buying and assembling chairs and desks for 400-person floors, then six years running a two-person desk setup service that has built out 310 home offices. I keep a notebook of every seat depth and desk height range measured with a tape, not read off a spec sheet. The habit came from the facilities job, where one wrong number gets multiplied by 400 desks.
Shared desks are the hardest installs I do. Two people, one clamp point, one cable run, and no room for a mistake in the mount position. I have rebuilt the same corner desk three times for one couple before the arm stopped drifting on them. Ergonomics is a measurement, not a feeling, and on a shared surface the measurement belongs to two bodies instead of one. When a product does not fit a desk or a person, I say so in the first sentence, not the last.
How I picked and how I tested
The brief here was narrow: an arm that holds a screen off to one side of a shared surface without stealing the other person's elbow room, plus the seat that makes the second position work. If you want to set up a monitor mount in a shared desk that two people genuinely share, the mount point matters more than the brand on the box.
The checks I run on every shared desk install are the same ones I applied to the three products below.
Reach comes first. On a shared desk the screen does not sit in front of you, it sits off your shoulder or over your keyboard, so the arm has to travel. A short arm forces the monitor into the middle of the surface, which is exactly the space the other person needs.
Weight capacity comes second. A panel on an arm rated below it sags at the joint, and no amount of tightening fixes a spring that is out of its range.
Mounting comes third. A clamp mount needs a desk edge with enough thickness and clear space underneath. A grommet mount needs a hole you are allowed to drill, which is often a no in a rental or a shared apartment.
Then tilt range and swivel, because the entire point of a shared desk is that the screen moves between two positions without tools.
Then the cable channel, because that is what keeps the run off the joint.
The two numbers I ask for before anything else: a VESA pattern of 75×75 or 100×100, which covers nearly every 24 to 32 inch panel, and a weight capacity published in pounds. If a listing will not state its weight capacity, skip it. If you are about to set up a screen arm in a shared desk and you have not looked at the back of your monitor yet, do that before you read another product page.
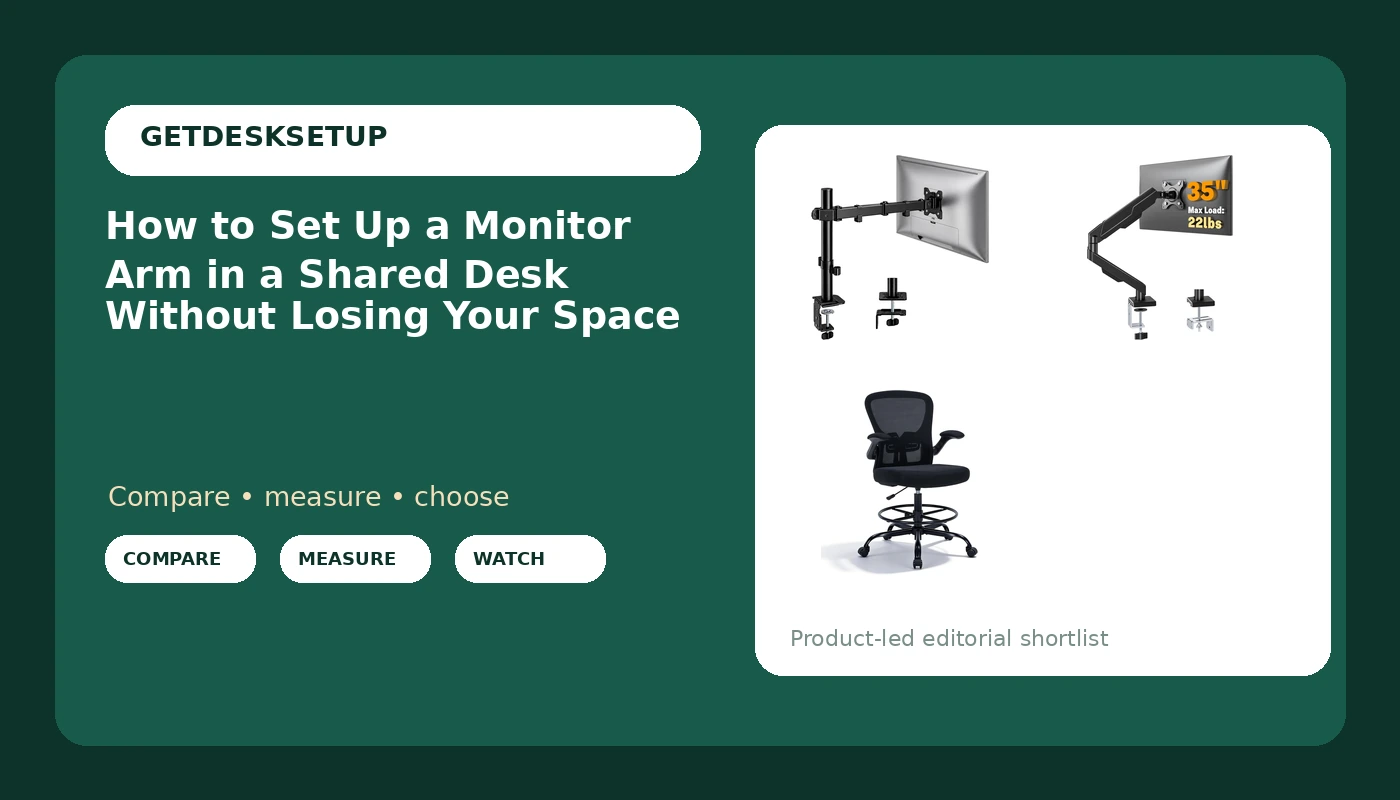
The long-reach pick: monTEK Extra-Long Monitor Arm for 17-32" Screens, 22 lbs
The long-reach pick
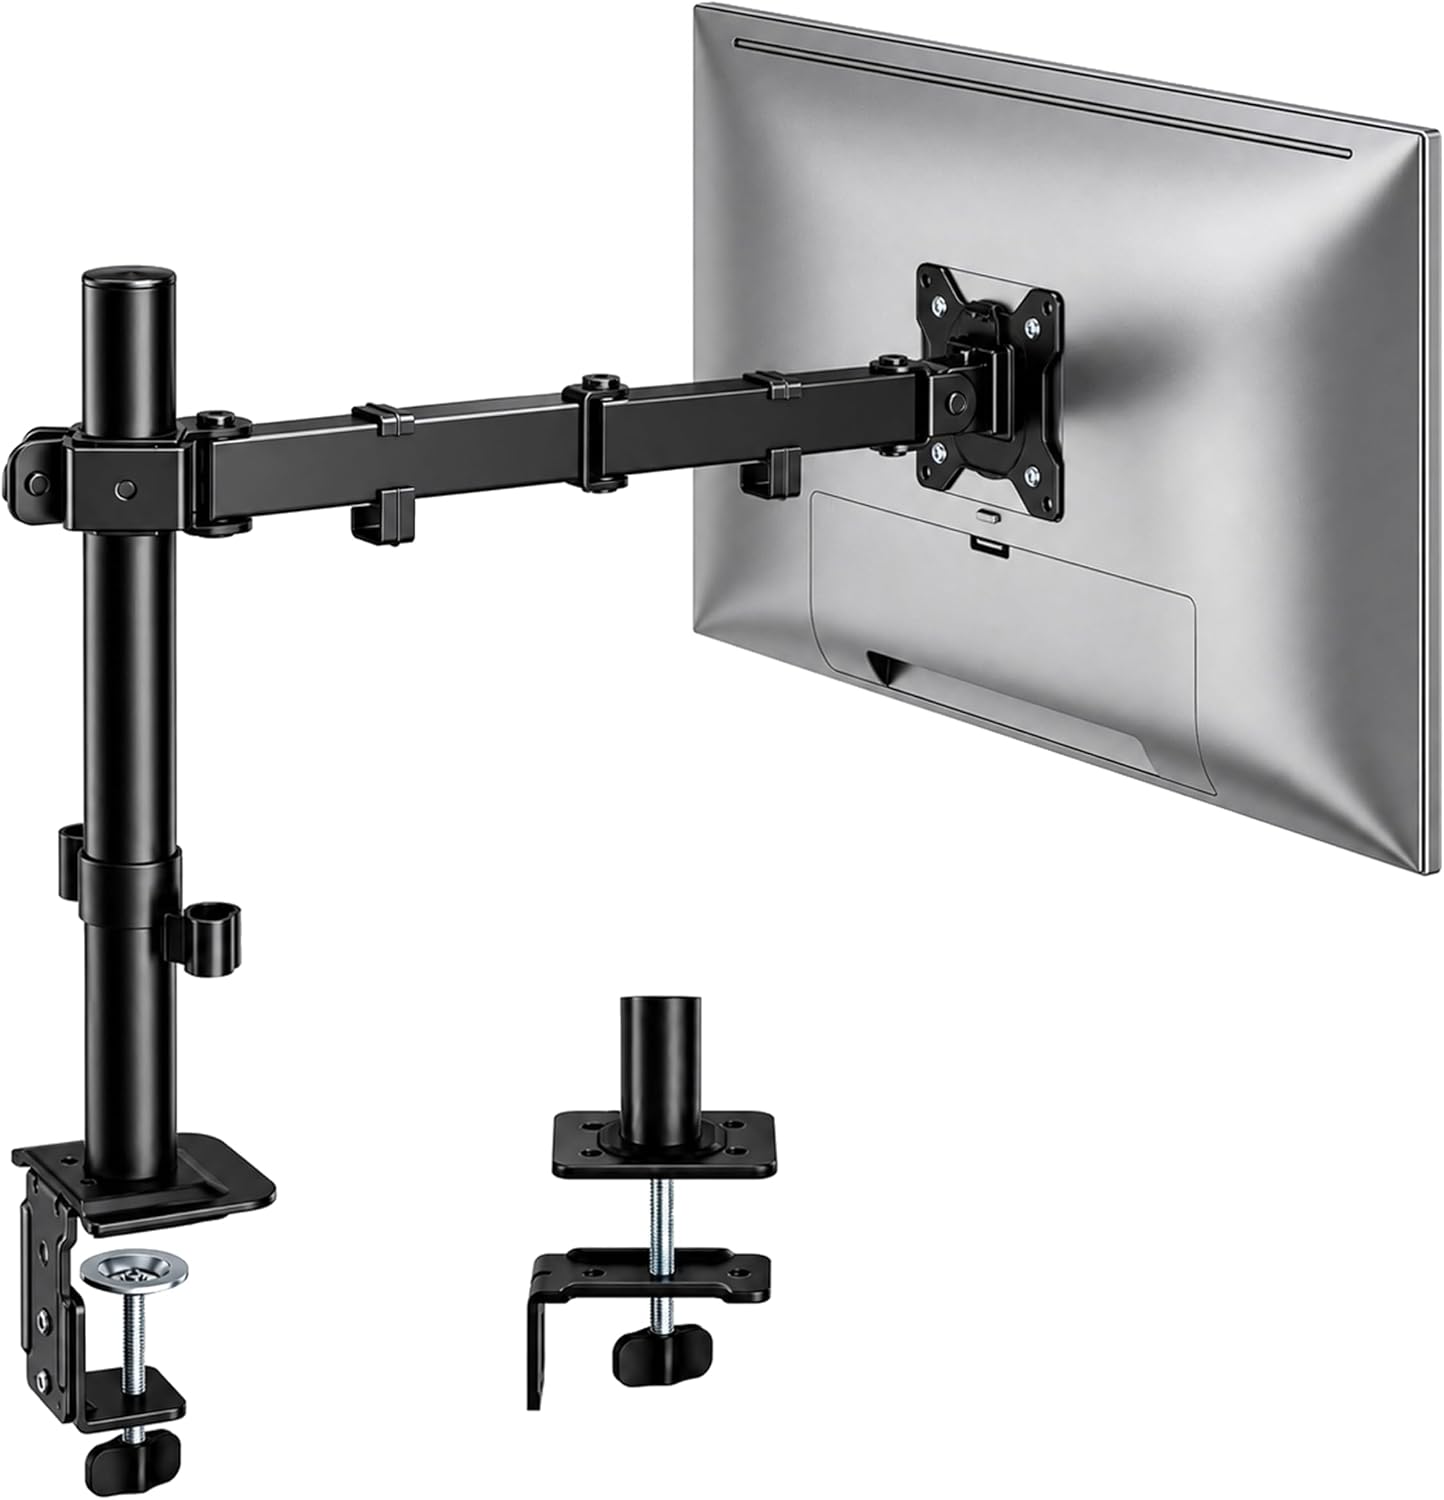
monTEK Extra-Long Monitor Arm for 17-32" Screens, 22 lbs
This is the arm I put on the side of a shared desk that has the longest distance between the clamp point and where the screen needs to sit. It is rated for 17 to 32 inch screens and a 22 lb weight capacity, which covers a 32 inch panel with room left over for the mount plate and the cables. That reach is the whole reason it exists. On a 60 inch shared surface, the person on the right can keep the base clamped near the center and still push the panel over their own keyboard instead of into their partner's half.
Check current Amazon price before you decide, because the two arms in this guide sit in the same band and the difference is reach, not money.
The VESA pattern question is easy here: 17 to 32 inch panels are almost all 75×75 or 100×100, so the plate will line up.
Who should skip it: if your desk is under about 48 inches wide, the extra reach becomes a liability, because the arm can swing the screen into the other person's shoulder. Skip it too if you are mounting a 13 inch portable panel, where a compact arm does the same job in less space.
Flaws but not dealbreakers: long arms amplify a bad clamp. If your desktop is hollow-core or thin, this is the arm that will show it first.
The compact pick: 5Rcom Single Monitor Arm for 13-35 Inch Computer Screens
The compact pick
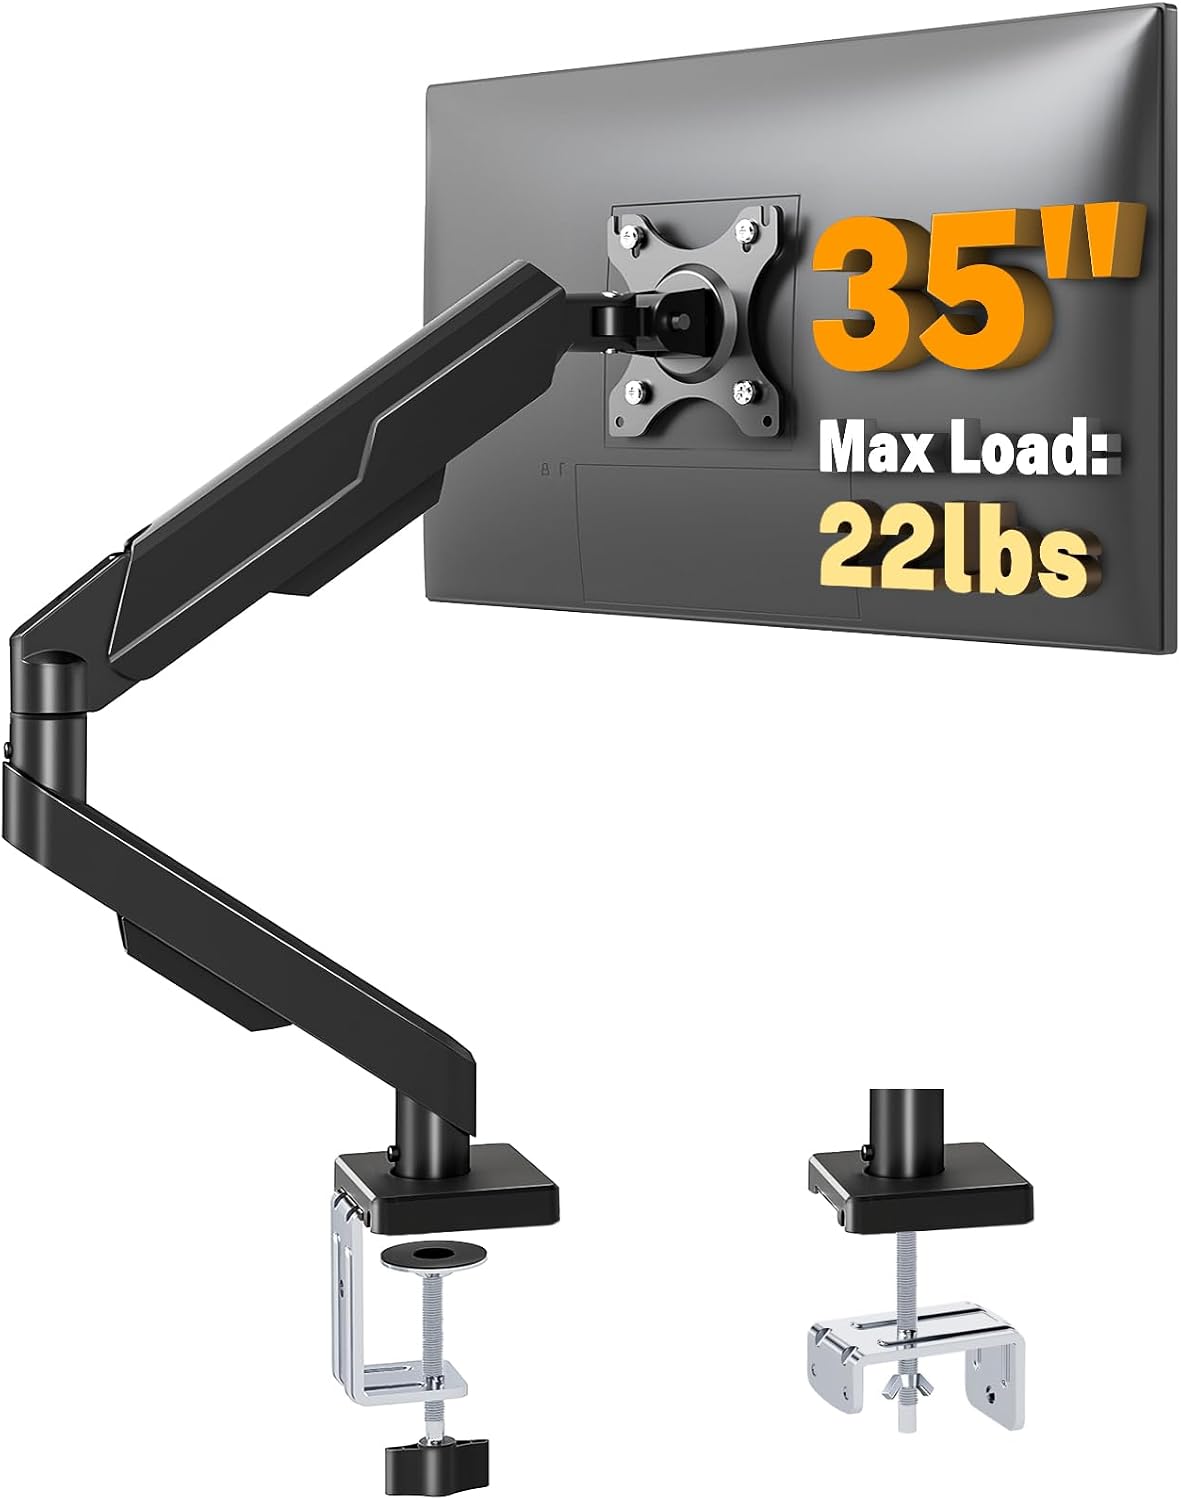
5Rcom Single Monitor Arm for 13-35 Inch Computer Screens
The 13 to 35 inch screen range is the widest of the two arms, so this is the pick when the two people at the desk run different size panels. One person on a 24 inch, the other on a 32 inch, and the same arm covers both. It is the arm I put on the shorter half of a shared desk, where the clamp point sits close to the seat and the screen only needs to travel a few inches.
Check current Amazon price and compare it against the long-reach arm on travel, not on specs, because the specs overlap.
Two things to verify before you order. First, your monitor's VESA pattern: 75×75 and 100×100 are standard at these sizes, but check the back of the panel, not the listing. Second, weight capacity against the actual panel weight with the plate attached, since a 35 inch screen can get close to the top of what a single arm will hold.
Who should skip it: anyone on a 70 inch shared surface where the monitor has to cross more than a foot of desk to reach the far seat. The reach is fine for a standard 48 to 60 inch desk. It is not an arm for a long surface. Skip it as well if you need the screen to clear a second monitor, because this is a single-arm mount.
Flaws but not dealbreakers: a compact arm on a shared desk means a shorter cable run, so you have less slack to work with when the screen swings between two positions. Plan the cable channel before you mount.
For the second seat: Drafting Chair Tall Office Chair, Standing Desk Chair with Flip-Up Armrests, Mesh High Chair Adjustable Height, Ergonomic Computer Chair with Lumbar Support and Adjustable Footrest Ring
For the second seat
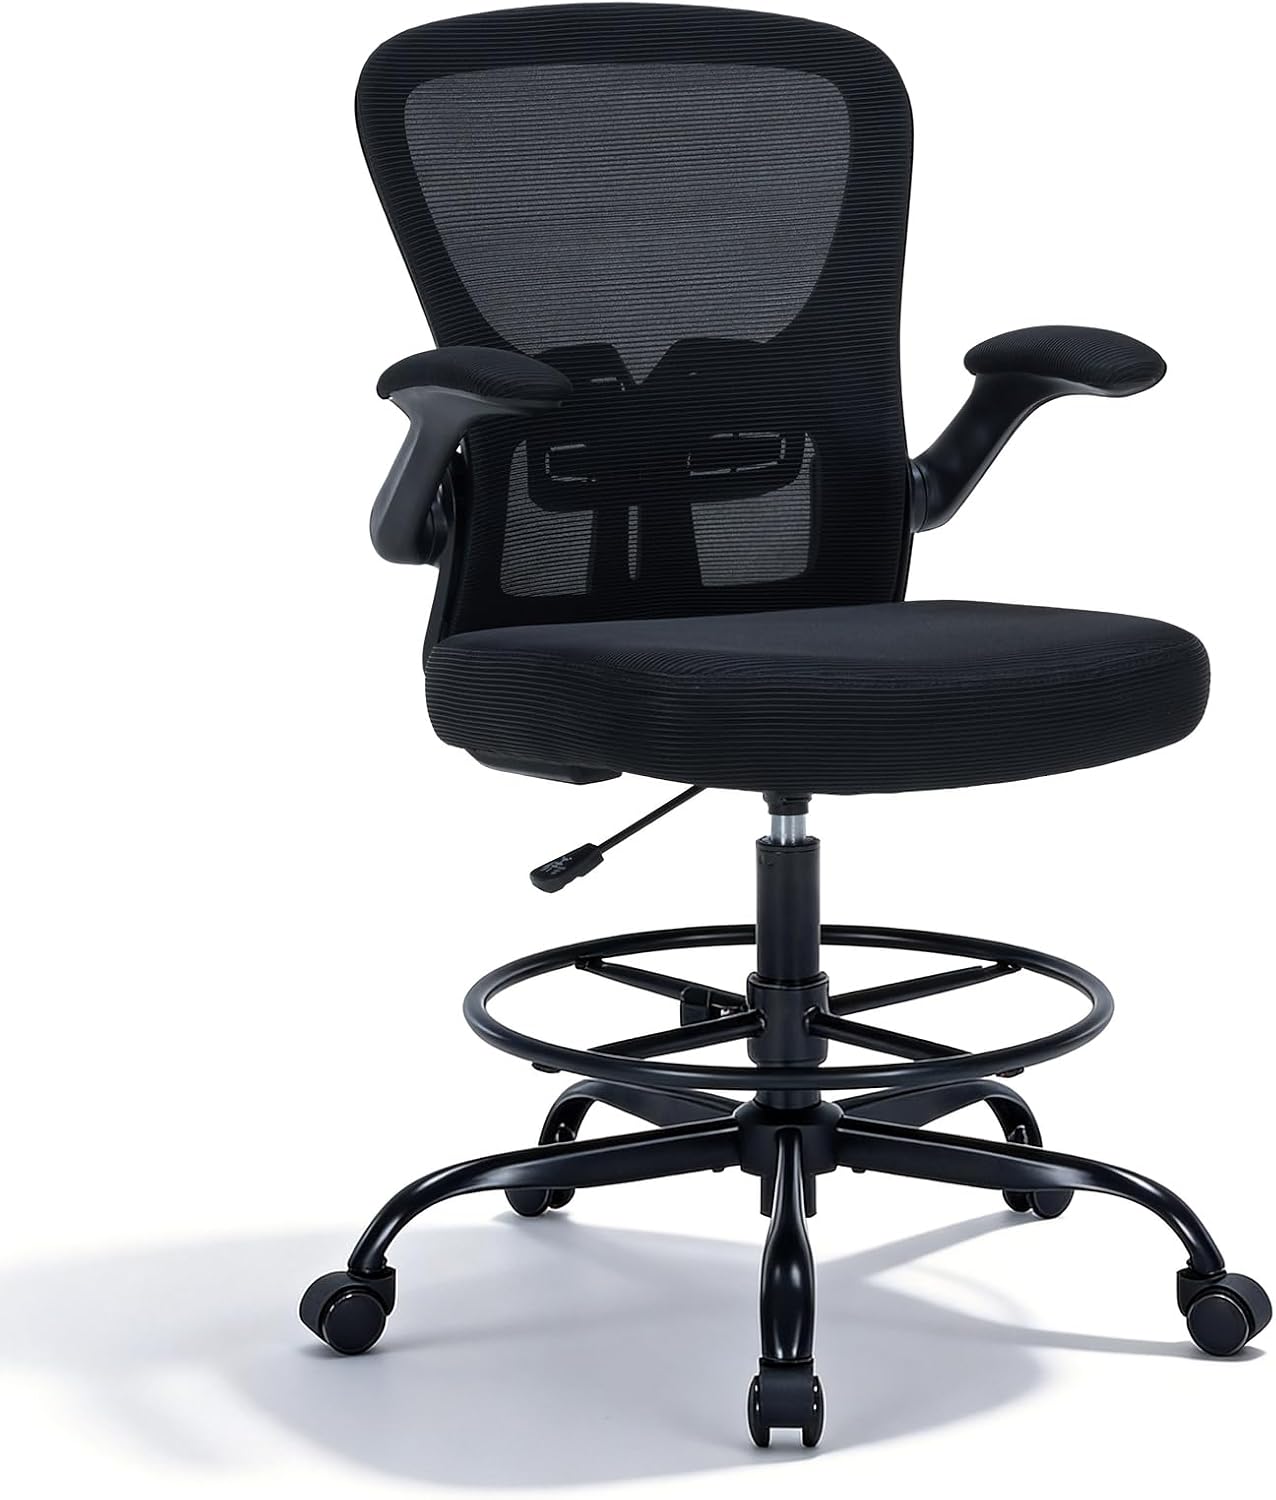
Drafting Chair Tall Office Chair, Standing Desk Chair with Flip-Up Armrests, Mesh High Chair Adjustable Height, Ergonomic Computer Chair with Lumbar Support and Adjustable Footrest Ring
An arm is only half of a shared desk. The other half is the seat, and the seat has to get out of the way when the other person is working. This drafting chair is built around two features that matter on a shared surface: flip-up armrests and a footrest ring. The armrests flip up so the chair tucks under a counter-height or standing desk without leaving a gap. The footrest ring matters because a tall chair with no foot support puts your legs to sleep inside an hour.
It is a tall chair, which is the whole point and also the catch. Pair it with a standing desk or a tall shared counter, not a standard 29 inch desk, where you end up sitting above your keyboard with your wrists bent.
I will not hand you a fit number I have not measured. The listing does not publish a seat height range I can verify against an inseam, so measure your own inseam and compare it to the seat height range on the page before you order. If you sit at either end of the adult height range, that check is not optional.
Check current Amazon price, then decide whether the mesh back and lumbar support are worth the extra over a plain stool. On a shared desk where the second seat is used an hour a day, a stool is fine. If someone sits there for a full workday, the lumbar support and the footrest ring are the reason to pay more.
Who should skip it: anyone pairing it with a standard-height desk, and anyone who needs a chair they can roll between two desks, since a tall chair at a standard desk is the wrong geometry no matter how good the mesh is.
Flaws but not dealbreakers: flip-up armrests are a hinge, and hinges are the first thing to loosen on any chair. Treat the armrests as a tuck feature, not as load-bearing.
How to set up a monitor arm in a shared desk: the actual workflow
This is the order I use to set up a VESA monitor arm in a shared desk, and the order matters more than the parts. Reversing steps four and five is how people crack a desktop.
Step one: Measure the desk and both seats. Minimum desk width for two people and one arm is 55 inches. Under that, one person is working around the arm instead of beside it. Measure depth too, because a long reach on a shallow desk puts the panel in someone's face.
Step two: Check the mounting surface. Clamp mount or grommet mount, decide now. A clamp needs a desk edge with enough thickness and clear space underneath, no drawer box, no apron, no steel rail in the way. A grommet mount needs an existing hole or permission to drill one. In a rental, that permission is usually the deciding factor.
Step three: Match the VESA pattern and the weight capacity. Take the monitor off the desk, look at the four holes on the back, and measure the spacing. It is 75mm or 100mm on nearly every panel in this size class. Then find the panel's weight in the spec sheet and compare it to the arm's weight capacity with a couple of pounds of headroom for the plate and the cables.
Step four: Pick the clamp position before you tighten anything. On a shared desk the clamp goes off center, on the side of the person who uses the screen most, so the arm travels toward them and away from their partner. Mark the spot with tape. Then check that the arm's reach puts the screen where you actually want it before the base is under load.
Step five: Clamp first, then load, then tighten. Clamp the base to the desk and snug it, hang the arm, hang the monitor, and only then do the final tighten on the clamp. Reversing that order cracks the desktop, because you are tightening a clamp against the leverage of a loaded arm.
Step six: Set the tilt range and swivel for two positions. Set the screen at eye level for the primary user first, with the top of the panel roughly at or just below eye line when sitting tall. Then swing it to the second position and check that the tilt still holds. If the panel droops when it swings, the joint is over its limit, which usually means the panel is too heavy for the arm, not that the arm is broken.
Step seven: Run the cable through the cable channel with slack. Every arm has some version of a cable channel or clip. Use it, and leave a loop of slack at the joint, not a straight pull. A cable with no slack becomes a spring that rotates the monitor a few degrees every time the screen swings, which is why the screen is crooked by Friday.
Step eight: Re-check after a week. Sit in both positions, then check the clamp for movement and the joints for droop. If the panel has drifted, the fix is a half turn on the joint, not a new arm. If the clamp has moved, you mounted it over a seam or on a thin edge and you need a backer plate.
The competition and why it lost
The Ergotron LX and the Amazon Basics single arm are both good products, and neither is what this article is about. They are for a dedicated desk where one person owns the whole surface, which is a different guide with a different budget.
The VIVO and HUANUO single arms sit in the same category. Solid enough for a single-user desk, wrong tool for a shared surface where reach and clamp position decide whether the setup works at all.
On the chair side, a Steelcase or Herman Miller task chair is a better chair than the drafting chair above for a standard-height desk. It is also the wrong geometry for a tall shared counter, and it costs several times as much. Buy the right geometry first and the upgrade second.
What did not make the cut for this article is anything that stands on the desk surface instead of clamping to the edge, because a freestanding stand eats desk space that two people are already fighting over.
What this all costs
Three items, one shared desk. The two arms sit in the same low price band as each other, and the chair is the one line item that costs meaningfully more. Check current Amazon price on each before you commit, because the arms move more often than the chair does.
The math that actually matters on a shared desk is not the purchase price. It is how many times you re-tighten the thing. An arm that sags gets a half turn every week; an arm that holds gets a half turn once a year. Both arms here are in the same band, so pick on reach and clamp position, not on the number at checkout.
If you are going to set up a monitor arm in a shared desk, spend the money on reach and mounting and leave the brand loyalty at the door. The monitor arm cable management routine I use on client installs covers the slack loop in detail, and the small desk monitor arm picks cover the short-reach case where a shared surface is under 48 inches.
The cheap version of this setup done correctly beats the expensive version done wrong. That is not a slogan, it is arithmetic: two people, one clamp, and a cable that does not pull. Set it up in order once and the shared desk stops being the part of the room everyone avoids.