Your eyes do not hurt because your monitor is cheap. They hurt because the top of the screen sits four inches above your eye line, the glass is 22 inches from your face, and a window behind your shoulder throws glare across it all afternoon. The reliable way to prevent eye fatigue at a monitor is not a setting you toggle once and forget. It is a measurement you take, and then a piece of gear that holds that measurement for eight hours a day.
I have spent fifteen years around desks. Nine of those were as an office facilities manager, buying and assembling chairs and desks for 400-person floors. The last six have been running a two-person desk setup service that has built out 310 home offices, most of them in the Seattle area, where the sun disappears for eight months and everybody works under a lamp.
What follows is the workflow I run in every one of those offices, plus the three pieces of gear I reach for when someone's eyes are burning by 3 p.m. and they have already tried turning the brightness down.
Why you should trust me
Fifteen years, two careers, one notebook. I started as an office facilities manager and spent nine years buying and assembling chairs and desks for 400-person floors. Then I spent six years running a two-person desk setup service, and we have built out 310 home offices since.
Every one of those offices got the same treatment. I sit in the chair, I set the desk, I put a tape on the wall at the user's seated eye height, and I mark where the top of the screen actually lands. Those numbers go in a notebook, not a spreadsheet, because the notebook is the thing I open when a client calls back six months later and says their eyes are tired again.
What I am not: an optometrist. If your eyes hurt all day and not just at the screen, see one. What I am is the person who shows up after the eye exam and finds out the monitor was three inches too high the entire time.
I write seat depth and desk height range in inches. I will tell you a screen is too big for your desk before I tell you it is a nice panel. And I will tell you who should skip a product rather than pretend it fits everybody.
How I picked and how I tested
I do not evaluate a monitor from a spec sheet. I evaluate it seated, at the desk height the owner actually uses, with a tape measure in my hand.
Three questions decide whether a panel helps your eyes or hurts them.
One: can it reach eye height on its own stand? A monitor that cannot get its top bezel down to your eye line will have you tilting your chin up all day, and no brightness setting fixes that.
Two: how does it behave at low brightness? Most people run a screen far brighter than the room around it, and the panel that stays readable when you turn it down is the one that stops the afternoon headache.
Three: what is the physical footprint? A 27-inch panel that forces you to sit eighteen inches away is worse for your eyes than a 24-inch panel you can push back to arm's length.
Everything I do to prevent eye fatigue at a monitor starts with those three questions and a tape measure, and it ends with the same eight steps I run in every office. I have run that sequence on small desks, on standing desks at full height, and on kitchen tables in rentals where the only place for a screen is under a cabinet.
I also spend time on the boring part: cable routing. A cable that pulls on a monitor arm changes the angle within a week, and a changed angle is a changed viewing distance. That is not an aesthetic complaint. It is an eye-strain complaint.
For the screens below, I looked at whether the stand has enough travel, whether the back takes a standard mounting pattern so you are not locked into the included base, and whether the size makes sense at a normal desk depth. For the chair, I looked at whether seat height can be set independently of the desk.
The gear that does the most to prevent eye fatigue at a monitor
You can do all eight steps below with gear you already own. But three pieces make the measurements stick, and these are the ones I end up recommending over and over.
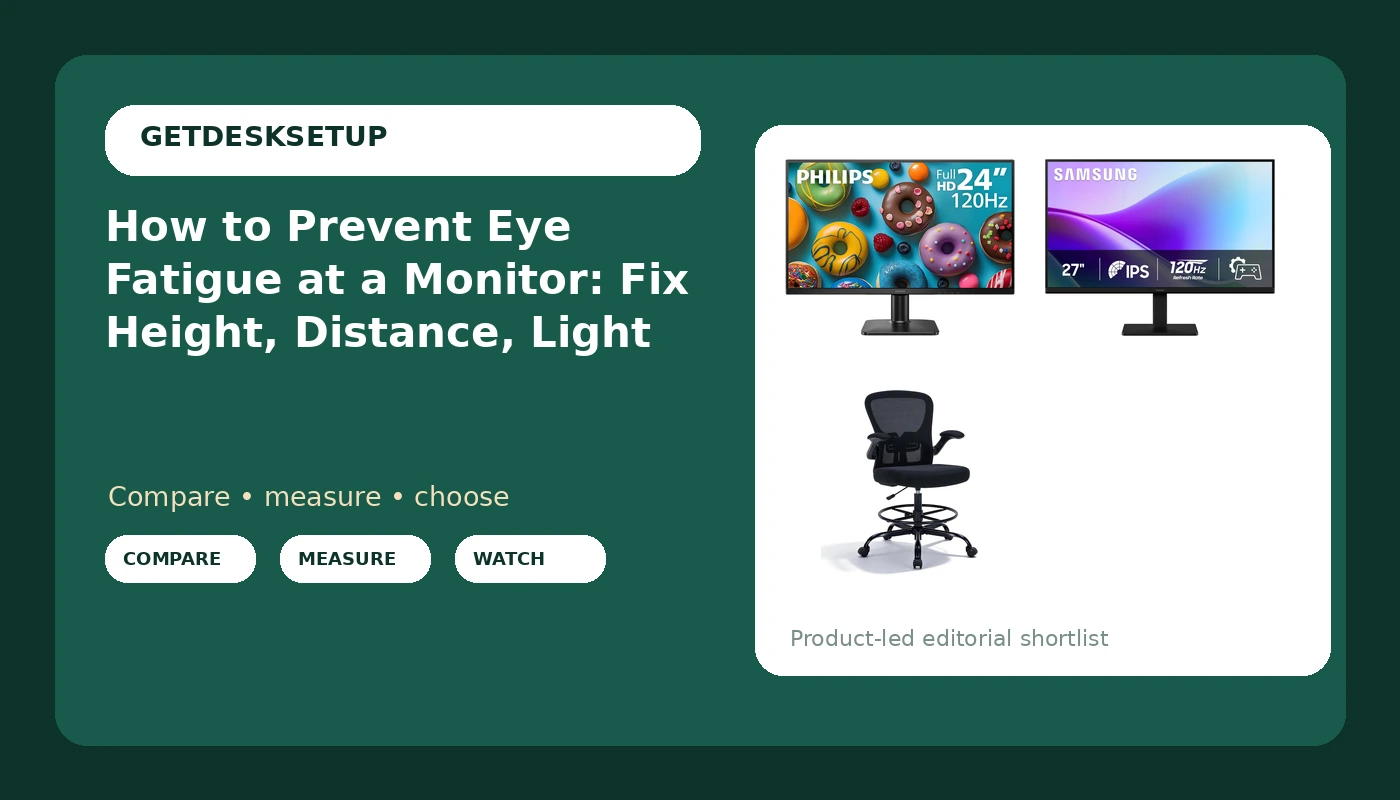
Budget pick: Philips 24 Inch Computer Monitor FHD 120Hz IPS, 24E2N2100
Budget pick
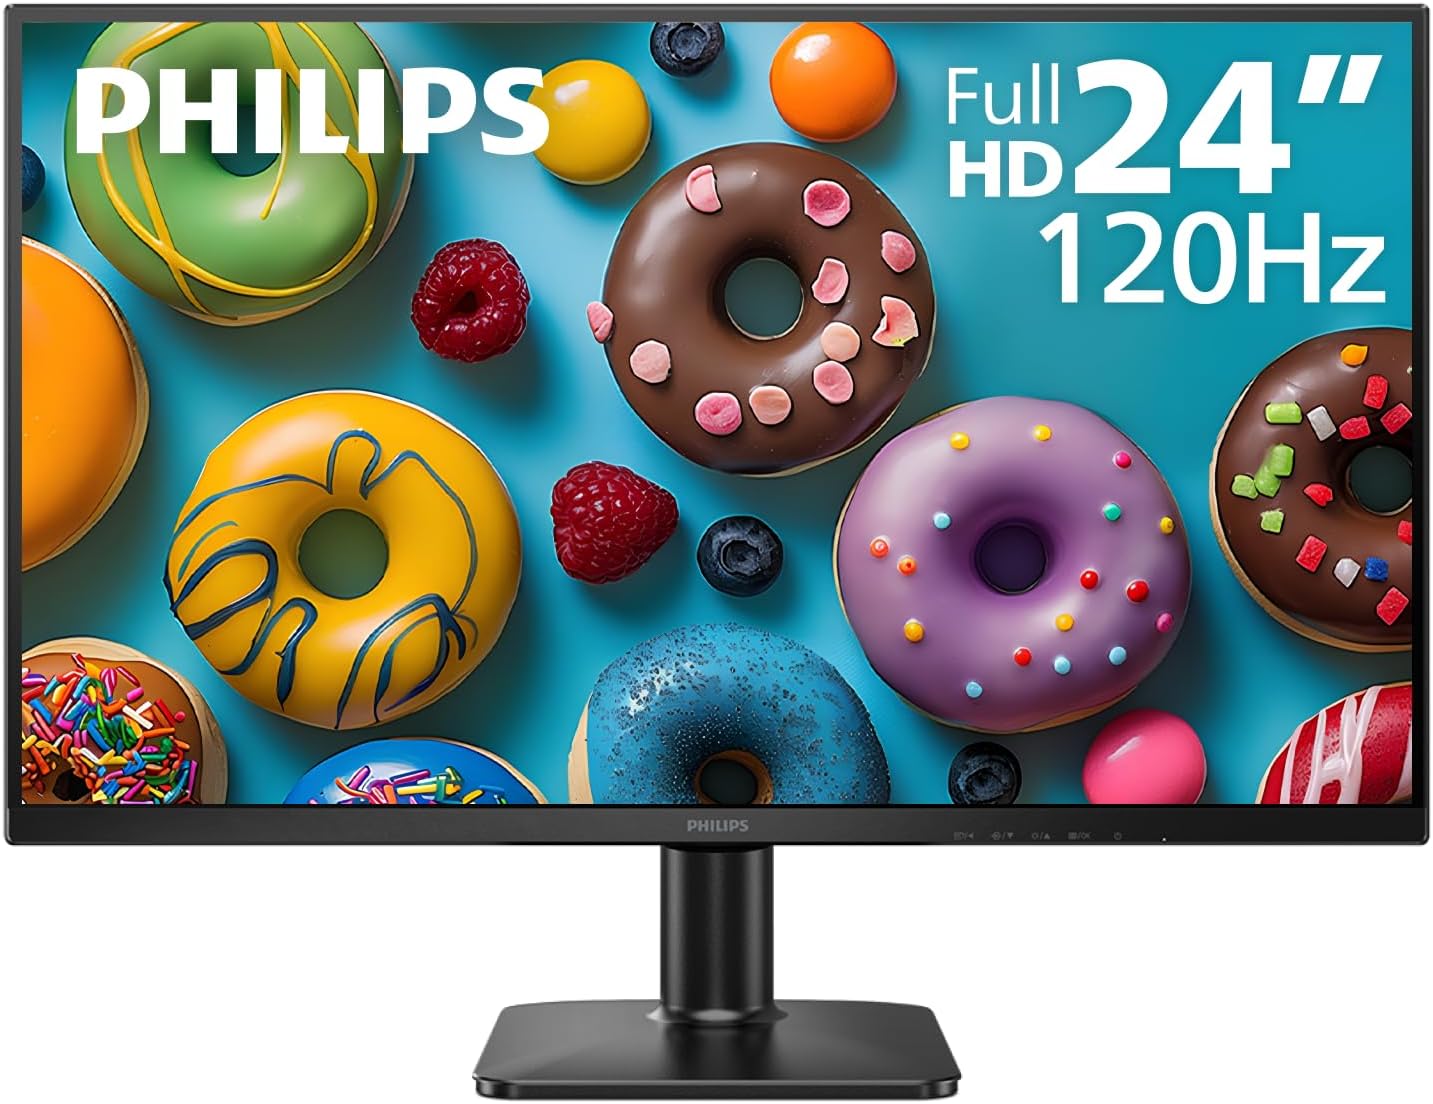
Philips 24 Inch Computer Monitor FHD 120Hz IPS, 24E2N2100
This is the panel I put on small desks and on standing desks that get raised and lowered all day. Twenty-four inches of FHD IPS is the size that lets you sit at a real arm's length without the far corners falling outside your comfortable field of view, and the IPS panel keeps contrast steady when you glance at it from an angle instead of straight on.
The 120Hz refresh rate is the part people skip past. On a 60Hz panel, scrolling text judders and your eyes chase it. Smoother motion is easier to track, and easier tracking means less strain by the end of the day.
Check current Amazon price. It is the least expensive of the three pieces here, which matters because the monitor is the thing you are most likely to buy twice.
Flaws but not dealbreakers: Twenty-four inches is not much desktop. If you keep a spreadsheet, a browser, and a chat window open at once, you will be alt-tabbing all day. That is a workflow complaint, not an eye one.
Anyone on a desk narrower than 48 inches, or anyone who raises and lowers a standing desk and does not want to re-aim a big panel every time, should start here.
Our pick: Samsung 27" S3 (S32GF) Series FHD High Resolution Monitor
Our pick
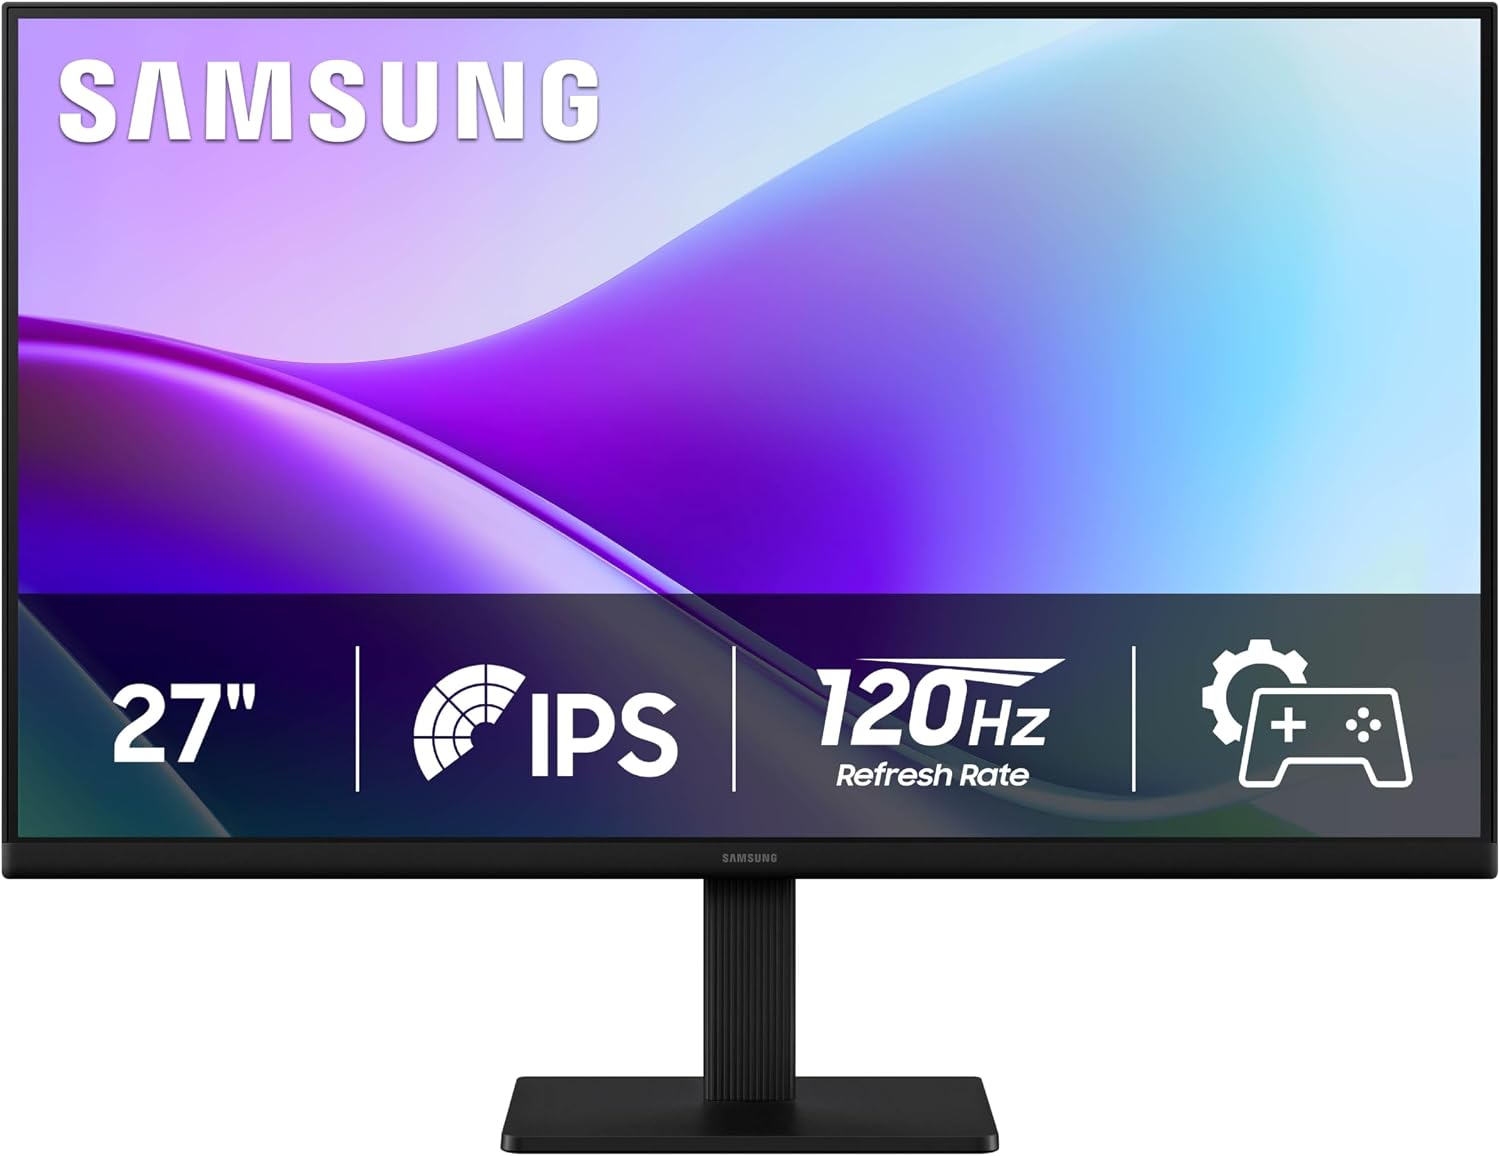
Samsung 27" S3 (S32GF) Series FHD High Resolution Monitor
Twenty-seven inches is the size I default to for a single-screen desk. It gives you enough width to keep two windows up side by side, and it gives you room to push the panel back to 28 or 30 inches, which is the distance where most people's eyes stop working hard.
That last part is the whole reason this one is my pick. A 27-inch screen only helps if you can sit back from it. If your desk is shallow, you will end up closer than you want, and a bigger panel at a short distance is more work for your eyes, not less. Size is not the benefit. Size plus distance is the benefit.
Check current Amazon price. It sits in the middle of the three on cost, and it is the one I would buy first if I were starting from nothing.
Flaws but not dealbreakers: This panel wants a wide desk. Do not put it on anything narrower than 48 inches, because you need both the base footprint and the viewing distance. And check the stand travel against the eye height you measured; if it will not drop low enough, plan on a mount.
Anyone with a 48-inch desk or wider who wants one screen to do everything should look here before anywhere else.
The posture pick: Drafting Chair Tall Office Chair, Standing Desk Chair with Flip-Up Armrests, Breathable Mesh High Chair Adjustable Height, Ergonomic Computer Chair with Lumbar Support and Adjustable Footrest Ring
The posture pick
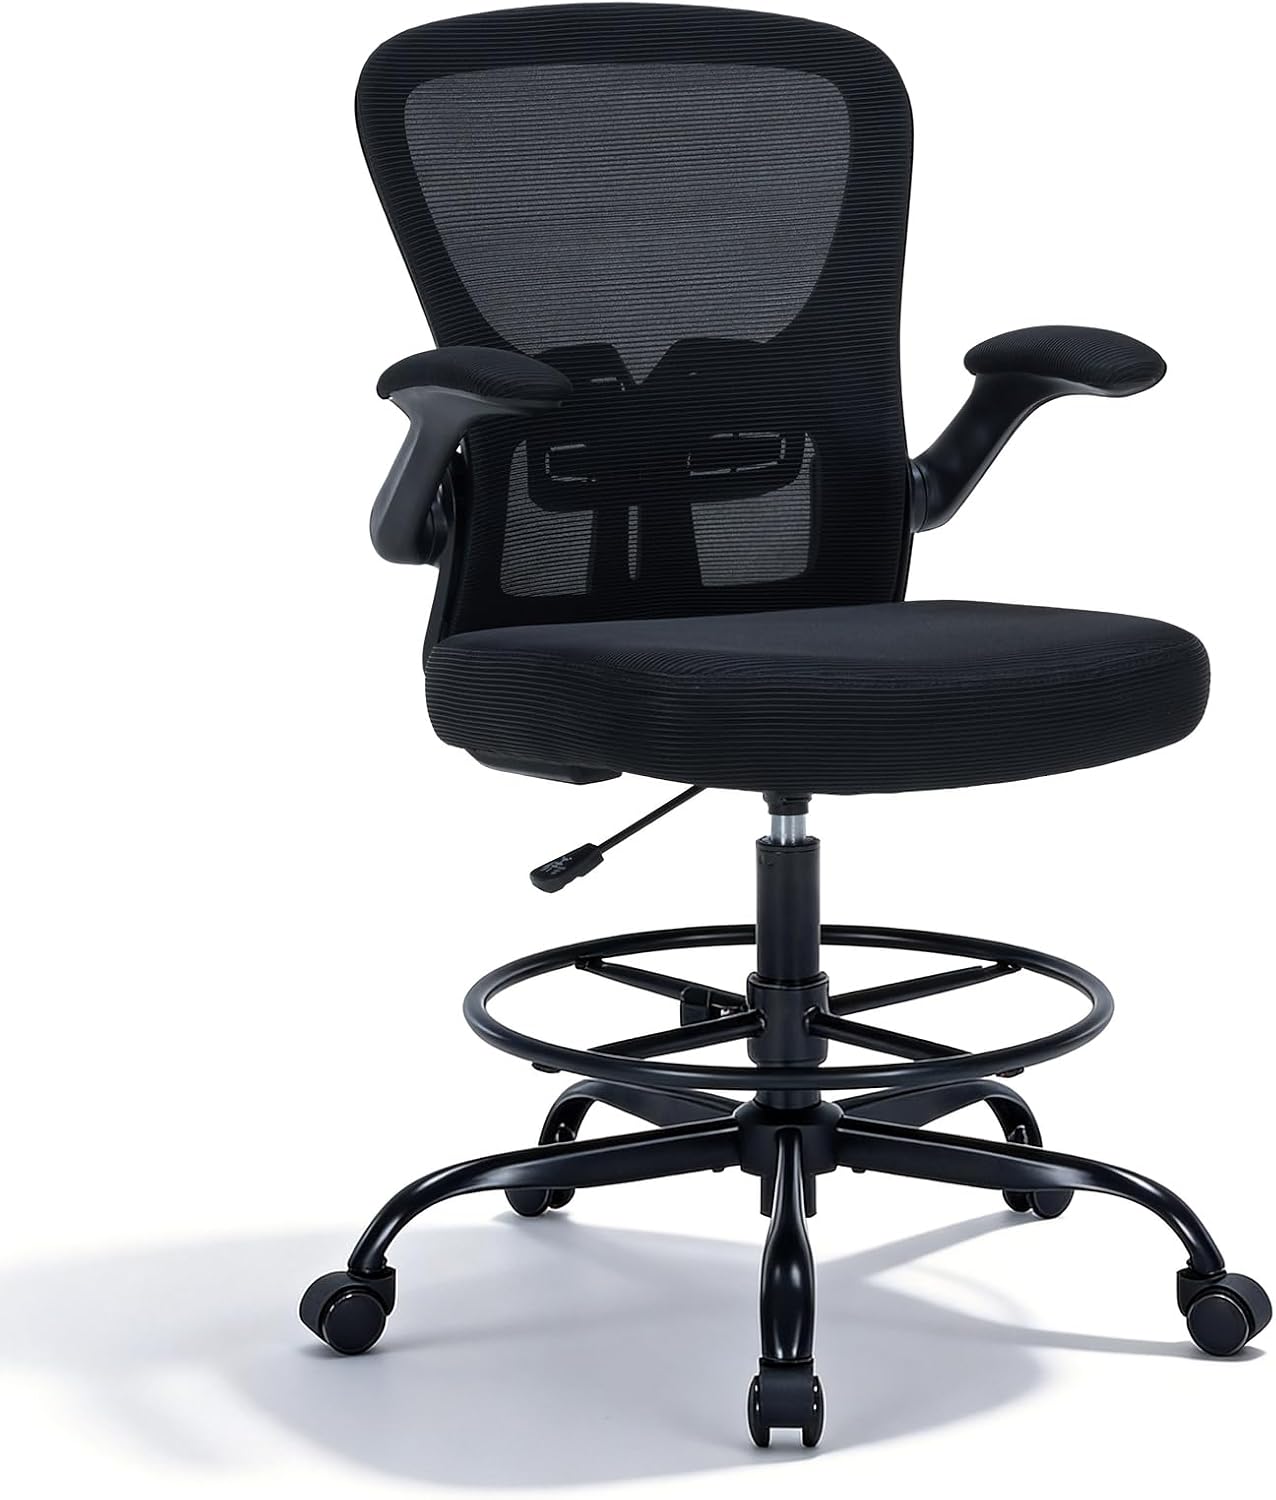
Drafting Chair Tall Office Chair, Standing Desk Chair with Flip-Up Armrests, Breathable Mesh High Chair Adjustable Height, Ergonomic Computer Chair with Lumbar Support and Adjustable Footrest Ring
Why a chair in an article about eyes? Because your eye height is set by your seat. If the seat is too low, you tilt your chin up to reach the screen. If it is too high, you slide forward and end up closer to the glass than you planned. Neither one is a monitor problem, and no monitor fixes either one.
A drafting chair with an adjustable footrest ring lets you set seat height high for a tall desk or a standing desk at mid height and still keep your feet supported, which is what keeps your head level and your eyes on the top third of the screen where they belong.
The flip-up armrests are the detail I care about most. Arms that flip up let you pull the seat close enough that your elbows rest on the desk edge, without the armrests blocking you from getting there. Elbows on the desk means your shoulders relax, and relaxed shoulders keep your head from drifting forward toward the panel.
Check current Amazon price.
Flaws but not dealbreakers: This is a tall chair. If you need the footrest ring at its lowest position just to reach it, you are shopping in the wrong class and a standard-height task chair is the honest answer. Mesh seats are also cool in summer and firm in winter; that is the trade you make for airflow. If you want the full comparison across seat depths, my notes on best ergonomic office chairs go deeper.
Anyone pairing a chair with a standing desk, or anyone whose desk sits higher than a standard 29 inches, will get the most out of this one.
The eight-step workflow
Now the part you came for. None of this requires a new purchase. Run it tonight with a tape measure, a strip of painter's tape, and the buttons on the front of your screen.
Step one: Measure your seated eye height. Sit in the chair you actually use. Feet flat, shoulders down, chin level, looking straight ahead at the wall. Have someone mark the wall at your pupil line, or use a mirror. That mark is your target for everything below. Write it down with the date. I have never met anyone who guessed this number correctly, and I have met plenty who were four inches off.
Step two: Put the top of the screen on that line. The top bezel should land at your tape mark or an inch below it. Not the center of the screen, the top edge. If the included stand will not go low enough, that is what a mount is for: check the mounting pattern on the back of the panel, usually a small square of four holes spaced 75mm or 100mm apart, and match it. Then match the arm's weight capacity to the panel's weight with headroom to spare. If you adjust the screen often, a gas spring arm holds its position better than a friction joint that sags over a month. My notes on monitor arms for a standing desk cover the mounting side in detail.
Step three: Set the distance. Arm's length is the shorthand. For most people that lands between 20 and 30 inches depending on panel size, with a 24-inch screen closer and a 27-inch screen further back. There is no single "ideal prevent eye fatigue at a monitor" distance, because the right number depends on your panel and your eyesight, not on a chart. If you catch yourself leaning in, do not move the screen closer. Raise the text scaling instead.
Step four: Set the tilt range and the swivel. Tilt the panel back somewhere around 10 to 15 degrees so the glass is roughly perpendicular to your line of sight when you are sitting up. If you wear progressives, this is the step that matters most, because the reading zone of the lens sits low and a vertical screen pushes your chin up. Swivel matters less, but if you share the desk or swing between a keyboard and a notebook, angling the panel without moving the base keeps you from twisting your neck.
Step five: Kill the glare. Turn the screen off and look at the glass. If you can see a window, a lamp, or a bright wall reflected in it, you have glare, and no setting on the panel will remove it. Move the desk, move the lamp, or hang something on the wall behind you. The "correct prevent eye fatigue at a monitor" fix here is almost never a screen accessory. It is furniture placement.
Step six: Match the brightness to the room. Put a white document on screen and hold a sheet of paper next to it under the same light. If the screen looks like a lightbox, it is too bright. Almost every panel ships near maximum, because showrooms are bright. Turn it down until the two whites look like cousins, then leave it alone.
Step seven: Warm it up after dark. Turn on the panel's flicker-free mode and its low blue light mode in the evening only. Running low blue light at noon just makes you crank the brightness back up, which defeats the point. A warm color temperature after sunset is the one screen setting I have watched make a real difference for people who work past 8 p.m.
Step eight: Route the cable, then stop touching it. This is the step that keeps everything above from drifting. Run the display cable and the power cable through the arm's cable channel, leave a service loop at the joint, and pick between a clamp mount and a grommet mount based on your desktop: clamp if the edge is clear, grommet if you have a hole and want the desk edge clean. A cable that tugs on the arm pulls the screen out of the angle you just set, and you will not notice until your eyes are tired again.
The competition and why it lost
Three things get recommended for eye strain that I do not recommend, and one that I do.
Blue light glasses lost because they solve a narrow band of the problem. Filtering blue does nothing about a screen that is four inches too high, and the people I see wearing them usually have the worst screen placement in the office.
A fixed-height monitor riser lost because it is a guess. It works only if the shelf height happens to match your seated eye height. If it does not, you have spent money moving the screen in the wrong direction, and you cannot adjust it without a stack of books.
A 34-inch ultrawide lost for the same reason a 27-inch panel wins: geometry. A wide panel puts its far corners outside the cone where your eyes are comfortable, and most people end up turning their head instead of their eyes. If you already own one, run the eight steps anyway. Just expect to sit further back than you think.
Wall mounts lost on adjustability. Once a panel is on a wall, changing the tilt means getting a tool out, and nobody does that. The screen stays wherever it was first aimed, which is usually wherever it looked fine on install day.
A laptop riser with an external keyboard is the one that survives, because it does the only thing that matters: it gets the top of the screen up to eye height. If you work off a laptop alone, that is the highest-value change you can make today, and it costs less than everything else in this article.
What this all costs
There is no price list in this section, on purpose. Prices on Amazon move weekly, and a number I write today is wrong by the time you read it. Every product block above has a link, and the number behind that link is whatever it is when you click. Check current Amazon price there.
What I can tell you is the shape of the spend. The 24-inch panel is the smallest line item. The 27-inch is the middle one. The chair is the largest, and it is also the one that outlasts the other two by years, so it is the one I would not cheap out on.
The monitor arm, if you do not already own one, is the fourth line, and it is the one people skip. Do not skip it. An arm is what lets a screen reach the eye height you measured, and it is what holds that height when you raise and lower a standing desk ten times a day.
Then there is the part that costs nothing. The eight steps above are free. You can run all of them tonight with a tape measure, a strip of tape, and the brightness buttons on the front of your screen. Most people who tell me their eyes hurt by the end of the day have never done step one.
The math I actually care about is not the purchase price. It is the number of evenings you spend with a headache, and that number drops faster from a two-inch height adjustment than from a new panel. Buy the gear if you need it. Take the measurement first.
That is the whole answer to how to prevent eye fatigue at a monitor: measure, set, then leave it alone. Your screen was built to sit at eye height. Let it.