A VESA adapter plate is a small steel bracket that bridges two hole patterns. When you need to attach a vesa adapter plate, you are almost always solving one of two problems: the monitor's holes are 75 x 75 mm and the arm's head wants 100 x 100, or the monitor's holes sit in a cluster no standard arm lines up with. The plate is the translator between the two.
I have mounted and re-mounted somewhere north of 600 monitors since I stopped running facilities for a 400-person floor in Seattle. Six of those years have been two-person desk setup work, 310 home offices and counting, and I still write every desk height and seat depth in pencil in the same notebook. The calls I get about a screen that sags, or a monitor that arrived cracked after a client installed it themselves, almost never trace back to a bad arm. They trace back to one of three things: the wrong bolt length, the wrong order, or a plate that was never matched to the actual hole spacing.
Here is the short version, and here is how to attach a vesa adapter plate the way I do it on a client desk: measure the vesa pattern, match it to the plate, check bolt depth before anything touches the panel, thread every bolt by hand, torque in a cross pattern, then hang the assembly on the arm and set the tilt range. Everything below is that sequence with the numbers filled in.
Why you should trust me
Nine years buying and assembling chairs, desks, and monitor hardware for 400-person floors taught me one thing that carries into every desk I touch: the part that fails is almost never the expensive part. It is the four bolts nobody checked.
Since 2020 I have run a two-person desk setup service, and we have built out 310 home offices. Every one of them got a monitor arm, and a good chunk needed an adapter plate, because the client bought a display with a 75 x 75 pattern and an arm that only speaks 100 x 100. I have made the mistakes I am about to tell you to avoid. I have cracked a bezel with an over-long bolt, and I have watched a 32-inch panel droop two degrees a week because nobody set the tilt tension. I measure with a tape and a set of calipers, not with a spec sheet.
How I picked and how I tested
Three pieces of hardware matter for this job: the plate that bridges the pattern, the display that hangs on it, and, if the desk will not take a clamp, the stand that carries the load instead.
For the plate, I checked the two conversions that cover the overwhelming majority of home office monitors, 75 x 75 and 100 x 100 up to a 200 x 100 mm spread, and I looked at plate thickness, because that is what decides whether your existing bolts are still long enough. For the display, I wanted a 32-inch panel, since that is the size where weight, bolt depth, and tilt tension all start to bite at once. For the stand, I looked at the screen range it is built to carry, stated as 14 to 32 inches, and whether it keeps the load off the desk edge entirely.
I have not had these three units on a bench, and I am not going to pretend otherwise. What I did was check the published details against the failure points I have hit in the field: pattern match, bolt depth, thread engagement, and whether an assembly like this holds its angle after a week of daily use. Where a number matters, I quote what the listing states and tell you to verify it yourself. The job below takes about fifteen minutes with a screwdriver and a hex key.
The parts you need to attach a vesa adapter plate
Three parts do the work here. Two of the three are alternatives to each other, depending on whether the desk can take a clamp mount at all.
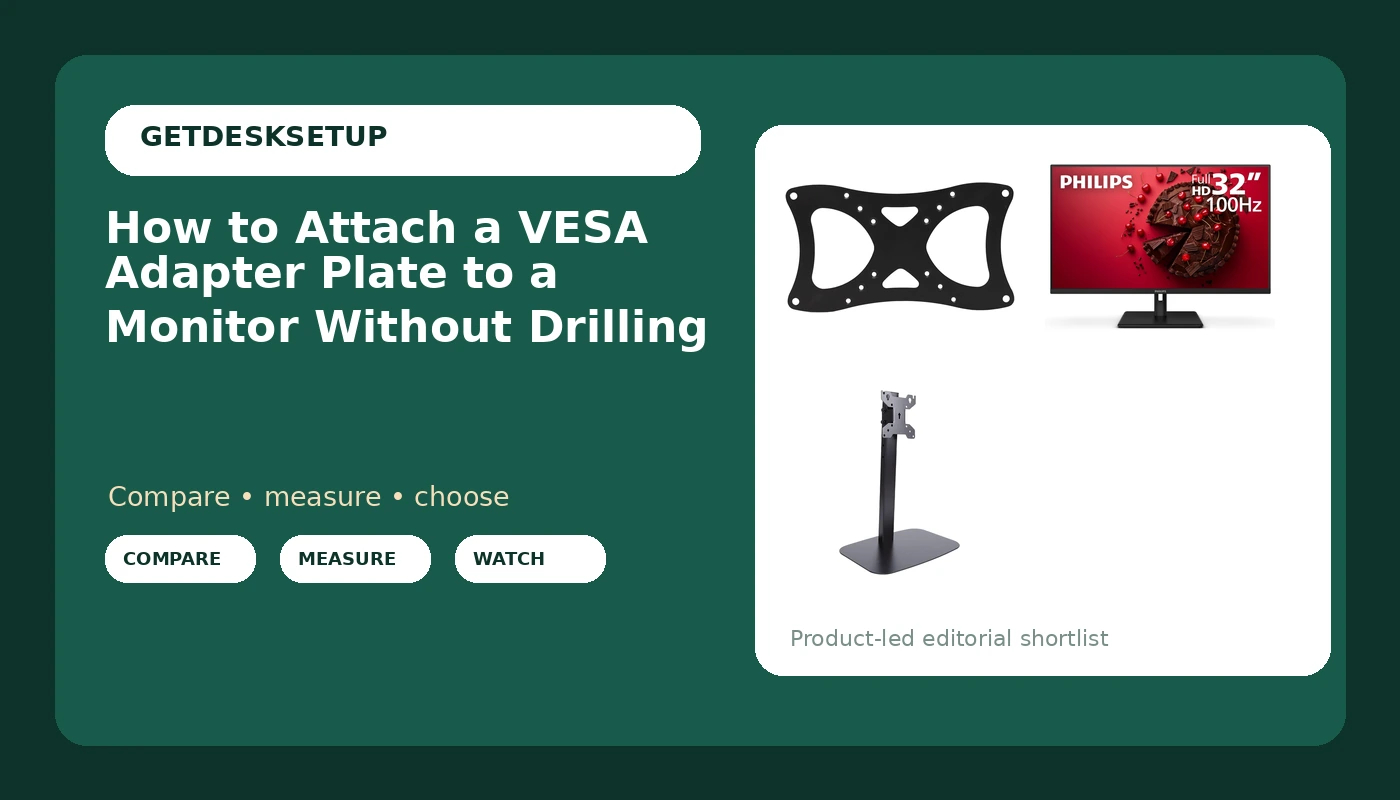
Our pick: HumanCentric VESA Mount Adapter Plate 75×75 & 100×100 to 200x100mm
Our pick
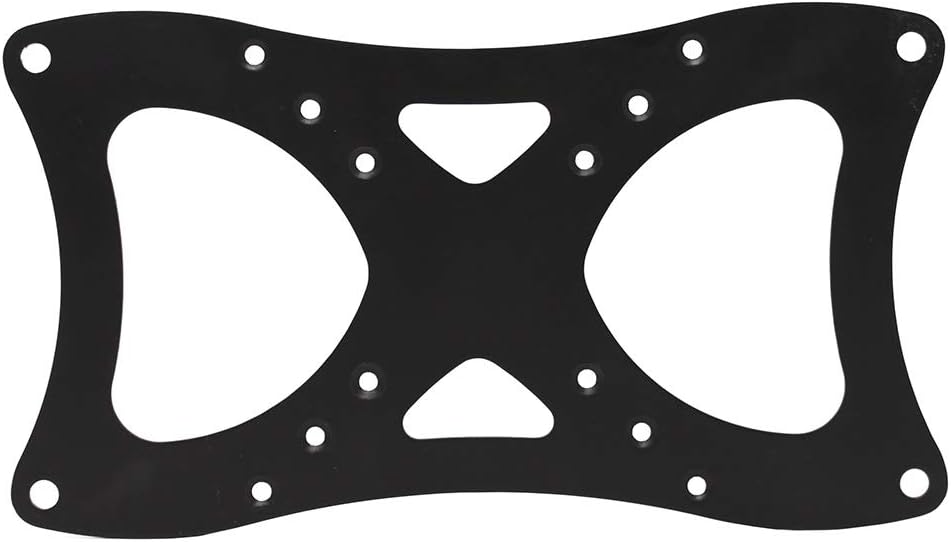
HumanCentric VESA Mount Adapter Plate 75×75 & 100×100 to 200x100mm
This is the part the article is named for. It takes the two patterns nearly every desk monitor and arm share, 75 x 75 and 100 x 100 mm, and spreads them to a 200 x 100 mm bolt pattern, which is what larger arms and TV-style brackets ask for. If your monitor's inserts sit too close together to reach the head plate on your arm, this is the fix.
What I care about on a plate is thickness and hole alignment. A plate that adds standoff is useful, because the extra few millimeters keep the bolt heads clear of a recessed monitor housing. The trade-off is that your bolts now have to pass through the plate and still reach the insert with real thread engagement, so measure before you tighten. Check current Amazon price.
Skip it if your monitor already has a 100 x 100 pattern and your arm matches. A plate between two matching patterns adds a failure point for no gain.
The monitor I bolt it to: Philips 32 Inch Computer Monitor FHD 100Hz VA, 32E1N1100L
The monitor I bolt it to
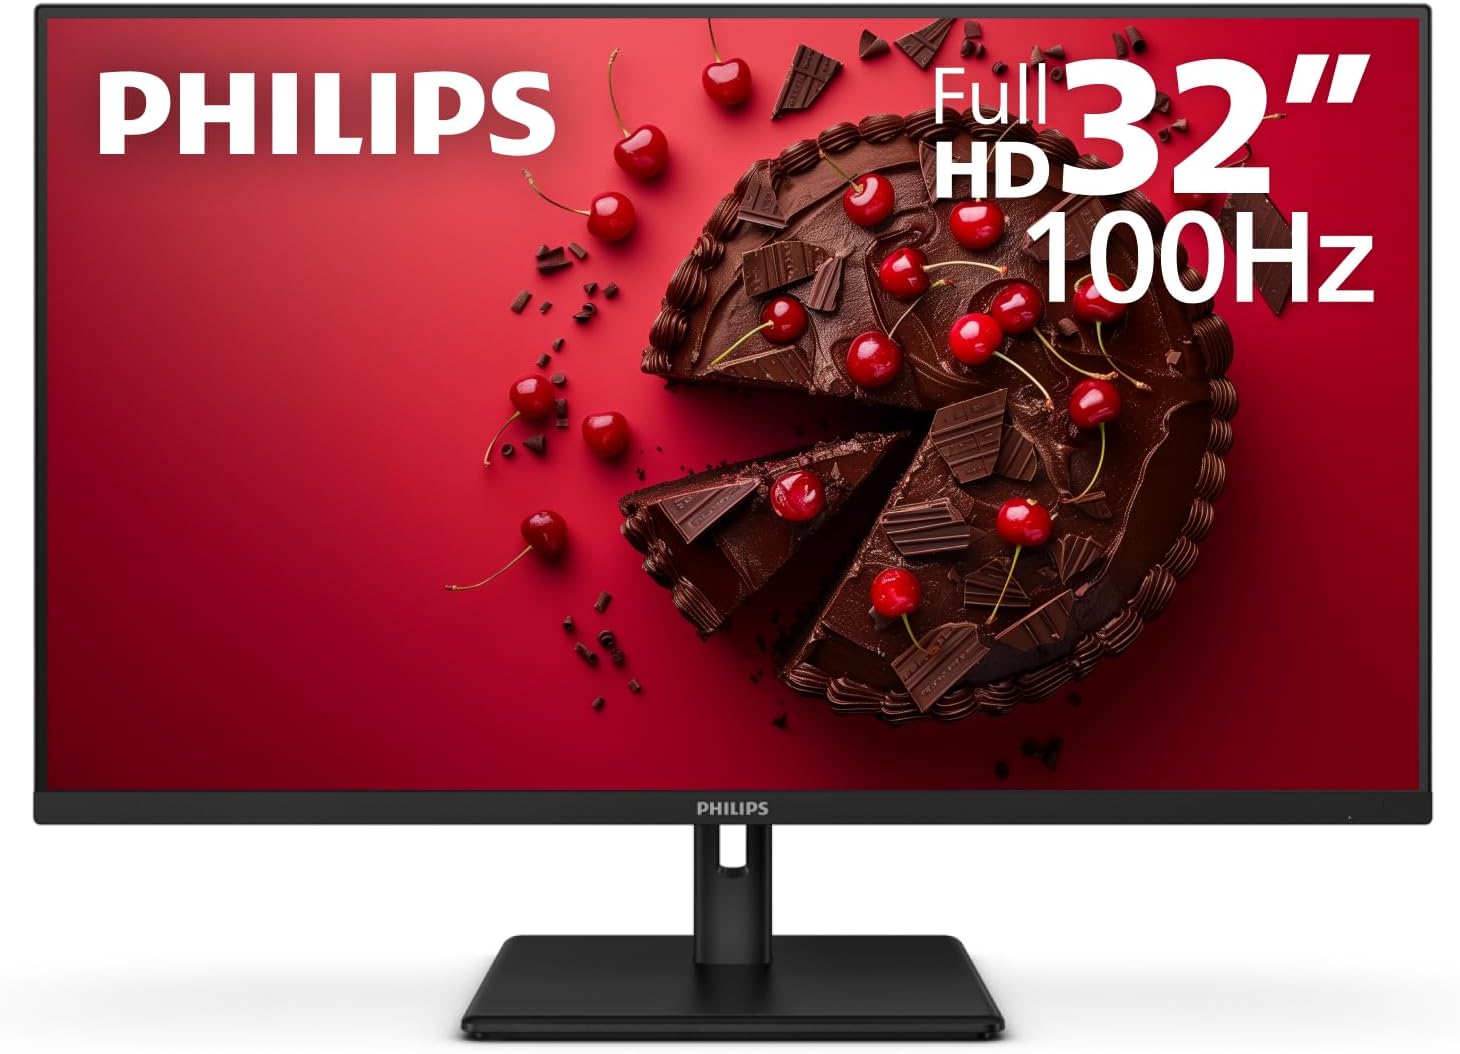
Philips 32 Inch Computer Monitor FHD 100Hz VA, 32E1N1100L
A 32-inch panel is the size where this job stops being trivial. It is FHD at 100 Hz with a VA panel, which is a desk display built for text and streaming rather than color-critical work, and it is heavy enough that the weight capacity on your arm and the bolt depth at your plate are the two numbers that decide whether the install survives the first month.
The bigger the screen, the more leverage it puts on the plate and the arm head. That makes the torque order in step six matter more, and it means the tilt range gets set with a hand on the panel, not guessed. Check current Amazon price.
Skip it if you sit closer than about two and a half feet on a shallow desk. At 32 inches, a 1080p panel puts visible pixel structure in your field of view at that distance, and no arm or plate fixes that.
The no-drill alternative: Freestanding Monitor Stand for Home Office, 14 to 32 Inch
The no-drill alternative
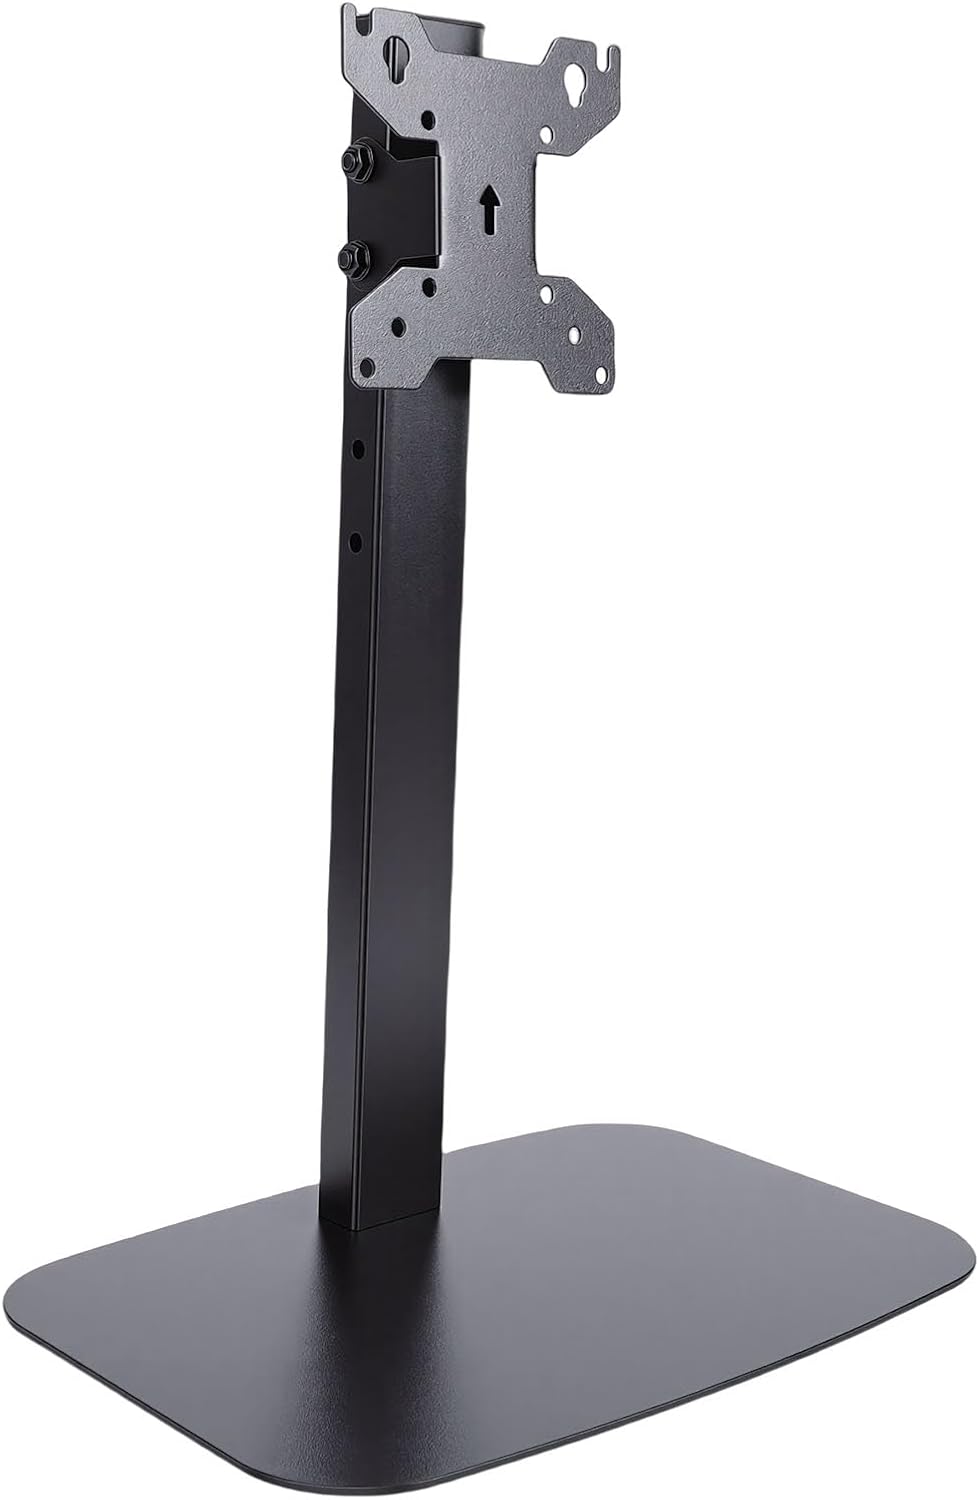
Freestanding Monitor Stand for Home Office, 14 to 32 Inch
Some desks should never take a clamp mount. Glass tops, thin particle board, a hollow-core door, anything you would not sit on. This stand carries the monitor on its own base and covers a stated range of 14 to 32 inches, so it solves the mounting problem without touching the desktop edge at all.
It also does not care whether your desk has a grommet. A grommet mount needs a hole in the right place, and most desks that have one have it in the wrong place. A freestanding base skips that argument entirely. Check current Amazon price.
Skip it if you need the desk surface back, or if you run a standing desk converter, because a freestanding stand rides up and down with the desktop and eats the footprint you were trying to protect. And if the monitor's holes do not match the plate on the stand, you are back to needing the adapter above.
The actual workflow to attach a vesa adapter plate
Fifteen minutes, one screwdriver, one hex key, and a towel. Get the order wrong and you will not notice until something cracks or droops.
Step one: Measure the pattern on the monitor. Turn the monitor so you can see the back, and measure center to center between the four threaded inserts, horizontally and vertically. That is your vesa pattern, and on a desk monitor it is almost always 75 x 75 mm or 100 x 100 mm. Write the numbers down. Do not read them off the spec sheet, because listings confuse the mount pattern with the stand footprint constantly.
Step two: Match the plate to the pattern and check the weight capacity. Your plate has to accept the monitor's pattern on one side and produce a pattern your arm's head plate can bolt to on the other. While you are back there, read the rated weight capacity on the arm, not on the plate, and compare it to the monitor's weight with the plate installed. A gas spring arm rated for the load but set at the wrong tension will still sag.
Step three: Check bolt depth before anything touches the panel. This is the step that cracks monitors. Hold a bolt next to the insert and see how much of it goes in. If the bolt bottoms out inside the housing, the last quarter turn drives the insert into the panel. Measure the depth with a toothpick or a caliper, add the plate thickness, and pick the shortest bolt that still gives four or five full turns of engagement. Get this wrong and there is no correct attach a vesa adapter plate outcome, only a cracked housing.
Step four: Lay the monitor face down on something soft. A towel on a table. Never the floor, and never standing on its own foot. A 32-inch panel on a desk is one elbow away from an expensive lesson. Take the factory stand off first so you are working against a flat back.
Step five: Bolt the plate to the monitor, not the arm. Plate to monitor first, always. If you bolt the plate to the arm head first and then try to land the monitor on it, you are holding a heavy panel in the air with one hand while starting four bolts with the other, and I have watched two people drop a monitor that way. Once the plate is on the monitor, the assembly goes onto the arm head as one unit.
Step six: Thread by hand, then torque in a cross pattern. Start all four bolts by hand, finger tight, before a tool touches any of them. If one binds, you have the wrong thread pitch and forcing it strips the insert. Then tighten in an X: top left, bottom right, top right, bottom left, snug plus a quarter turn. No impact driver, ever. That order keeps the plate flat against the housing instead of cocked on one corner.
Step seven: Mount the assembly and set the tension. Set the clamp mount or the grommet mount at the desk first, then load the monitor. If your arm has an adjustable gas spring, tension it before the monitor goes on, not after. Once it is up, set the tilt range and swivel with a hand on the panel: tilt the screen until it holds where you let go, then push the edge and check that the swivel does not walk. Follow that order and you get the ideal attach a vesa adapter plate result, a screen that stays where you put it.
Step eight: Route the cables with slack, then re-check in a week. Run the display and power cables through the cable channel on the arm and leave a service loop at the monitor end. A cable pulled tight will drag the monitor out of angle within a week, which is the most common call-back I get. Then, seven days later, put a hand on the panel and check the tilt again. Gravity and thermal cycling settle the assembly, and a quarter turn on the tension screw is usually all it needs.
The competition and why it lost
The obvious alternative to a plate is a different arm. A single gas spring arm whose head plate covers both 75 x 75 and 100 x 100 solves the same problem without a middle part, and if you are buying an arm anyway, that is the cleaner route. But if the arm is already on the desk, or already bolted to a wall, buying a second arm to avoid a plate is spending a lot of money to skip a fifteen-minute job.
A wall bracket is the other alternative. A heavy TV-style bracket will carry a monitor, but the patterns are wrong for most desk displays, and you have to put holes in a wall. In a rental, that is a non-starter.
Then there are the larger adapter kits that reach 200 x 200 mm. They exist for big panels and video walls, and they are the wrong tool here: more plate, more standoff, and longer bolts to get wrong. For a 32-inch desk monitor, 75 x 75 and 100 x 100 up to 200 x 100 covers it.
The last alternative is the laptop tray or the monitor riser, which is a different job entirely. A riser raises a screen you already have. It does not fix a pattern mismatch, and it does not get a display off the desk.
What this all costs
Three parts, three different roles. The plate is the smallest line item and the one that decides whether the other two work together. The monitor is the big one, and it is the one to buy with the pattern already in mind: check the back of the panel, or the mount section of the listing, before you commit. The freestanding stand sits in the middle and replaces the clamp entirely.
Check current Amazon price on the plate, on the Philips panel, and on the freestanding stand before you order, because the useful comparison is not the sticker on any one part. It is whether you can reuse the arm you already own. If you can, the plate is the whole purchase. If you cannot, you are buying an arm anyway, and the plate is still cheaper than the second arm.
Do the math per year of use rather than per purchase. A plate that saves you an arm, used for three years on a desk you sit at five days a week, is rounding error. A monitor you have to replace because a bolt was a quarter inch too long is not.
If you are still choosing the arm, best monitor arms for a small desk covers clamp and grommet options, and desk cable management is where the slack loop in step eight gets its full treatment.
That is the job. Measure the pattern, check the bolt depth, thread by hand, torque in a cross pattern, and let the plate do the translating.