Most monitor arm write-ups stop at the clamp and the weight rating. The part that decides whether your screen still sits level three months later is quieter: the monitor arm cable channel design. A channel is the trough, clip run, or hollow arm segment that carries display cables from the VESA plate back to the desk. Get it right and the arm holds its tilt range all day. Get it wrong and the cable hangs on the joint, drags against the swivel, and pulls the panel a few degrees off level every week. This guide covers how channel design works, what to measure before you buy, and which of four mounts fits which desk.
Related: Monitor Arm Weight Capacity and Desk Thickness: How to Size a Mount →
Quick answer
A cable channel works when the cable can travel through the same arc the arm travels through, with slack left at both ends. Three things decide that: the channel's inner width against your actual cable bundle, whether the run is internal or clipped to the outside of the arm, and where the cable exits near the clamp mount. A vesa monitor arm cable channel design lives or dies at the plate end, because that is where the cable flexes every time you move the screen. Internal routing hides the cable and narrows your tolerance. External clips forgive a thicker bundle and let you re-route without taking the arm apart. Neither layout is better in the abstract. The one that matches your cable count is better for your desk.
4 useful options
| Model | Best fit | What stands out |
|---|---|---|
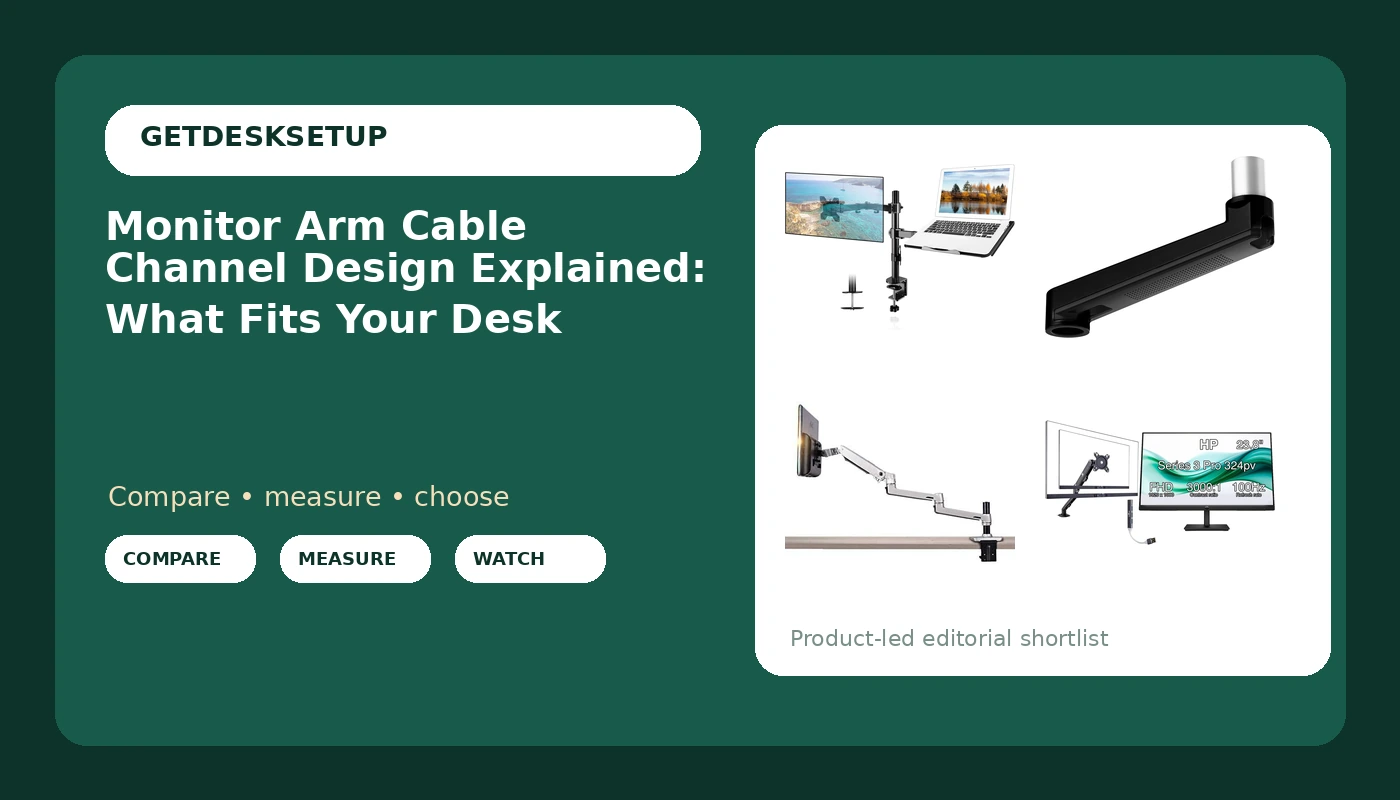
| Suptek Monitor and Laptop Mount Holds 13-32 inch Computer Screen, Adjustable Monitor Arm Stand with Laptop Tray for 13-27 inch, Hold 22 lbs, with Clamp and Grommet Mounting Base | Desks that need one screen plus a laptop on one base | Both mounting methods in the box, plus a laptop tray |
| Ergounion Extension Arm Only for Ergounion Monitor Mounts, to Increase Arm Length, Perfect Upgrade for the E6/W6 Series Monitor Arm, Not Compatible with Other Brands Mount, Black | Existing Ergounion E6 or W6 owners who need more reach | Adds length to a mount you already own |
| XSJ8013C Aluminum Alloy Ultra Long Arm LED LCD Monitor Holder Table Clamping Full Motion Monitor Mount Support (Silver) | Deep desks and screens parked off to one side | Aluminum alloy build with an extra-long arm |
| HP 24" Series 3 Pro 24" FHD Computer Monitor (1920×1080), 100Hz Anti-Glare Display, HDMI, VESA Mount, Black, Bundle with dockztorm hub and Ergoflexy EFX-1-1 Desk Mount Monitor Arm | Buyers who want the panel and the arm settled in one order | Monitor, hub, and desk mount arm bundled together |
The dual-purpose pick: Suptek Monitor and Laptop Mount
A laptop tray changes the cable math. You are now routing a display cable, a laptop power lead, and possibly a hub cable down one pole, so measure the bundle before you commit and decide the mounting method first. A clamp mount needs a clean desk edge, and a grommet mount needs an existing hole. Run the display cable through the channel first, then the power lead, and leave enough slack at the plate end to cover the full tilt range. If your desk has no edge lip and no grommet hole, neither base works, and a wall-mounted solution is the honest answer.
The reach extender: Ergounion Extension Arm
Extension arms solve one problem and create another. Reach goes up, so the same load now sits further from the clamp, which increases leverage on the desk edge and on every joint between the base and the panel. If your panel is already near the top of the arm's weight capacity, adding length is the wrong move. It is also the wrong move if your mount is not an Ergounion, because the listing is explicit about compatibility. Measure the distance from the clamp to where you want the panel's vesa pattern to sit, then compare that against the arm you own plus this extension before you order.
The long-reach pick: XSJ8013C Ultra Long Arm Monitor Mount
A long arm is a lever, and levers multiply force. That matters at two points: the clamp and the joint nearest the VESA plate. Before you buy a long-reach mount, check the weight capacity against the panel you actually own, not the one you might buy later, and think about where the arm parks when the screen is pushed back. Long arms tend to swing into the space a desk lamp or a second screen already occupies. Cable routing on a long arm needs more slack than a short one, because the cable travels further through every swivel and tilt range you use.
The bundle pick: HP 24 Series 3 Pro monitor, hub, and arm
The advantage here is that the arm and the panel are matched before they reach your desk, so the vesa pattern on the monitor and the plate on the arm are already known to fit. The trade-off is flexibility: you get one panel size and one arm instead of choosing each separately. If you already own a mount you like, or you plan to run two screens, buying the screen and the arm apart gives you more room to match weight capacity and reach to your desk. If you are starting from nothing, the bundle removes one decision and one compatibility risk.
Prices and availability may change. Product images, names, and retailer links are matched to verified listings. No current price, rating, stock status, or measured result is stated here without current evidence.
Monitor arm cable channel design: how the channel behaves when the arm moves
Every arm moves through two motions that matter to a cable: the swivel at the base or the joint, and the tilt range at the plate. A cable channel only works if the cable can follow both without going tight at either end. Three layouts show up on most mounts, and each one changes how much slack you need.
Internal routing sends the cable through a hollow section of the arm. It hides the cable completely and looks cleanest, but the inner diameter is fixed, and a thick DisplayPort lead or a bundled pair of cables may not fit. External clips run the cable along the outside of the arm. They are more forgiving and easier to re-route without taking anything apart. A hybrid runs the cable internally through the straight sections and clips it across the joints, which is usually where the cable needs the most freedom.
The short version of monitor arm cable channel design explained without the marketing copy: the cable has to follow the arm, not fight it. The failure mode is always the same. The cable goes tight at the extreme of one motion, and the tension pulls against the joint. On a gas spring arm, that tension can also change how the arm balances, because the spring is tuned for the weight of the panel, not for a cable pulling on it. Leave a service loop at the plate end and at the base, and route the cable so it never becomes the shortest path between two fixed points.
Sizing the channel before you buy
A monitor mount cable channel design is only as good as the measurements you take before ordering. Channel sizing is a measurement task, not a taste task, so work through five steps.
- Count the cables that will travel down the arm, then add the connector width rather than the cable diameter alone.
- Measure the thickest connector, usually the display end of a DisplayPort or HDMI lead, because that is the part that has to pass through any internal channel.
- Check the weight capacity of the mount against the panel weight with margin, and remember that cable tension adds load the joint or spring has to fight.
- Confirm the mounting method against your desk: a clamp mount needs a clear edge, a grommet mount needs a hole of the right diameter.
- Test the full range of motion with the cables installed and the panel loaded, at the tilt and swivel extremes, before you tighten anything permanently.
If you are also planning a standing desk cable tray sizing pass, do that measurement in the same session. The channel on the arm and the tray under the desk share the same cable bundle, and a run that is too short at either end pulls on the other.
Practical guidance for routing and mounting
- Route the cable through the channel before the panel goes on, not after. Threading a narrow channel with the screen attached is how panels get cracked.
- Leave a service loop of a few inches at the VESA plate and at the clamp, so the cable never becomes the shortest path between two fixed points.
- Keep power and data separate where you can, and avoid running a power brick's cable through the same narrow channel as a display cable.
- Match the mounting method to the desk first: clamp mount for a clean edge, grommet mount for an existing hole, and check the desk material before you tighten.
- Re-check the tilt range and swivel after a week, because a screen arm cable channel design that is slightly too tight shows up as a drifting monitor angle, not as a broken cable.
Which option should you choose?
Choose the Suptek Monitor and Laptop Mount when you want one base to hold a 13 to 32 inch screen and a 13 to 27 inch laptop, and you are not yet sure whether your desk will take a clamp mount or a grommet mount. Choose the Ergounion Extension Arm when you already own an Ergounion E6 or W6 series mount and need the panel to sit further back, and only then, since it does not fit other brands. Choose the XSJ8013C Ultra Long Arm Monitor Mount when reach is the priority and you want an aluminum alloy arm with full motion on a table clamping base. Choose the HP bundle when you want the panel, the hub, and the arm settled in one order.
Two caveats. First, no channel design fixes a mount that is already at its weight capacity, because adding a cable bundle to a loaded arm makes any drift worse. Second, the compatibility and capacity figures above come from the product listings themselves. Weight capacity, arm length, and brand compatibility are stated by the manufacturer, and the only way to confirm them for your desk is to check the current listing against your own measurements.
The bottom line
A monitor arm cable channel design is a routing decision that turns into a stability decision. The channel that fits your bundle, leaves slack at both ends, and matches your mounting method will hold the monitor angle you set. The one that does not will let the panel drift, and re-tightening the joint will not fix a cable that is pulling on it. Measure the bundle, measure the desk edge or grommet hole, match the vesa pattern and weight capacity to your panel, and route the cables before the screen goes on. Then confirm the details on the listing that matches your desk, because configurations and availability move.