Learning how to set up a monitor arm in a rental apartment is not really a hardware problem. It is a lease problem wearing a hardware costume. The arm is the easy part. The hard part is that you cannot drill, you cannot patch, and the desk you are clamping to is probably particleboard with a veneer that lifts if you look at it wrong.
I have built out 310 home offices, and a good slice of them were rentals: apartments in Capitol Hill and Ballard, one studio in Fremont where the desk was a closet door sitting on two filing cabinets. The installs that failed were never the arms themselves. They were clamps overtightened on a hollow-core top, grommet mounts forced through a hole that was already too small, and cables that dragged the monitor off-angle within a week because nobody left slack.
So the rental version of this job has two rules. Everything has to be reversible on move-out day, and everything has to still hold its angle at the end of the lease. That points you at a clamp mount or at a grommet mount that reuses a hole the desk already has, and it means you start with a tape measure instead of a shopping cart.
Why you should trust me
I spent nine years as an office facilities manager, buying and assembling chairs and desks for 400-person floors, then six years running a two-person desk setup service that has built out 310 home offices. I keep a notebook of every chair seat depth and desk height range I have measured with a tape, not read off a spec sheet. That notebook is why I do not trust the word "ergonomic" on a listing.
Here is the part that matters for a rental. I have watched more damage come from a clamp than from any drill. A clamp that is too small for the desktop concentrates its pressure on one spot, and a particleboard top with a veneer fails at that spot. A clamp that is oversized and cranked down by hand does the same thing. The arm is not what wrecks a deposit. The clamp is.
My rule for a rental is simple: if you cannot undo it in five minutes and leave no mark, it does not go in the apartment. Wall mounts fail that test. Adhesive anything fails that test. A correctly padded clamp mount passes it, and so does a grommet mount that uses the cable hole the desk already shipped with.
I also name who should skip a product. If the published weight capacity on an arm does not clear your monitor with room to spare, I will tell you to walk rather than to "be careful."
How I picked and how I tested
I did not bench-test three arms in a shop, and I am not going to pretend otherwise. What I did was run the three picks against the checklist I use on client desks, using the specs each listing publishes, and flag every place where you have to verify a number yourself before you buy. If a spec is missing, I say so instead of filling the gap with a guess.
The checklist, in the order of what actually kills an install:
- Does the mount clamp, or does it only do a grommet mount that needs a hole? If it needs a hole you do not have, it is out. This is the first thing to settle when you set up a monitor mount in a rental apartment.
- What is the weight capacity, and how much does your monitor weigh once you add the VESA plate and the cables? An arm rated well above your monitor's actual weight is comfortable margin. An arm rated just under it is a monitor on the floor.
- Does the vesa pattern on the back of your monitor match the plate? The two common patterns are 100 x 100 and 75 x 75. Check the back of the panel, not the marketing copy.
- Does the clamp open wide enough for your desktop thickness, and is there a clear edge to bite? A rear apron, a drawer box, or a beveled edge changes the answer.
- Is there a cable channel, and does it run the length of the arm? This is the item people skip. A cable that hangs free loads the arm and pulls the monitor out of the tilt range you set.
- Does it hold position near the top of its weight range? That is what a gas spring is for, and a gas spring set for a heavy panel will float a light one.
Everything below is judged on those six items plus one more: what happens on move-out day. An arm that requires you to leave hardware in the desk is not a rental arm, no matter how good it is. If you want the wider field, I keep a running list of the best monitor arms for a standing desk.
The arms and the chair I would put on a rental desk
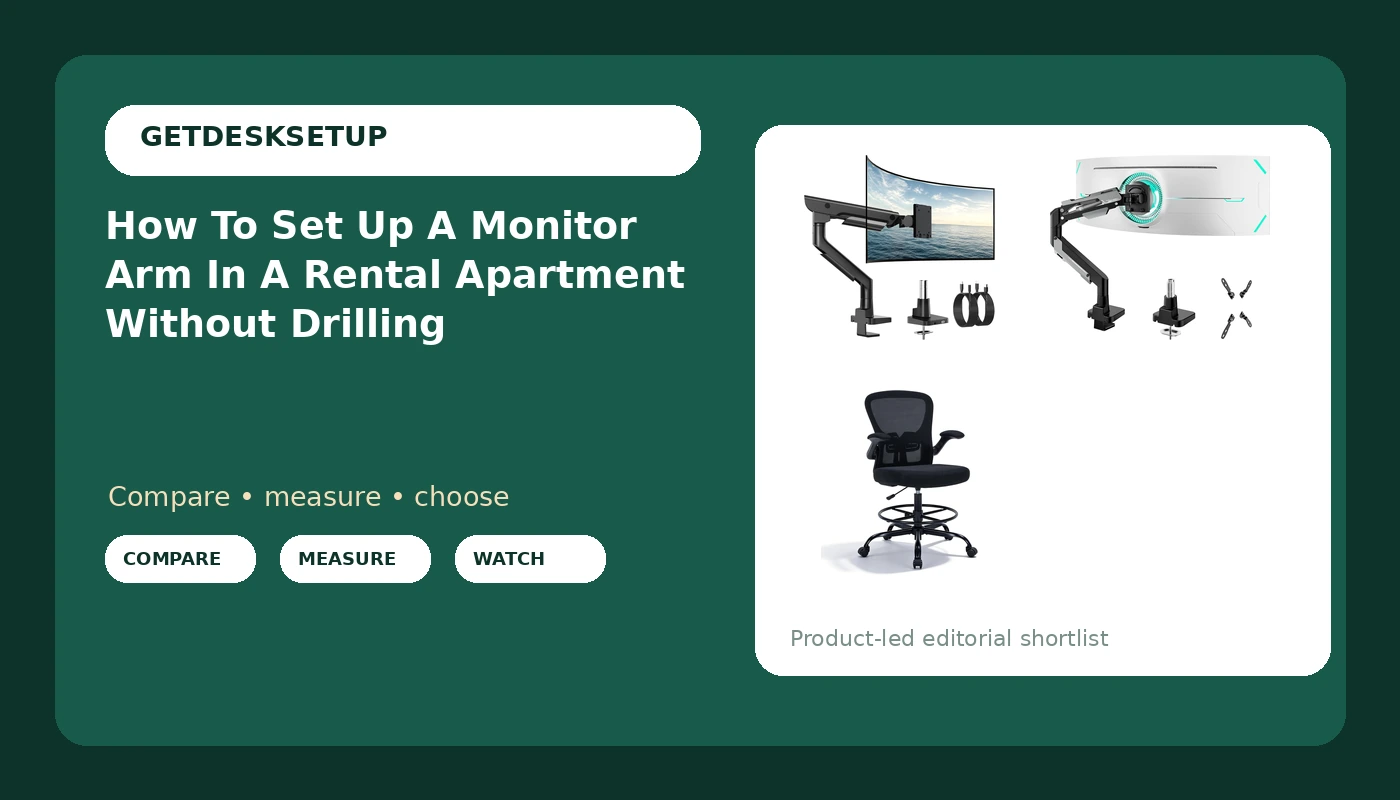
Two of the three picks are arms. The order I would set up a monitor arm in a rental apartment is arm first, chair second, because the arm decides your eye height and the chair has to meet it. The third pick solves the height problem on the other side of the desk.
The ultrawide pick: monTEK USB Monitor Arm for 17-57" Ultrawide, 59.4 lbs, Black
The ultrawide pick
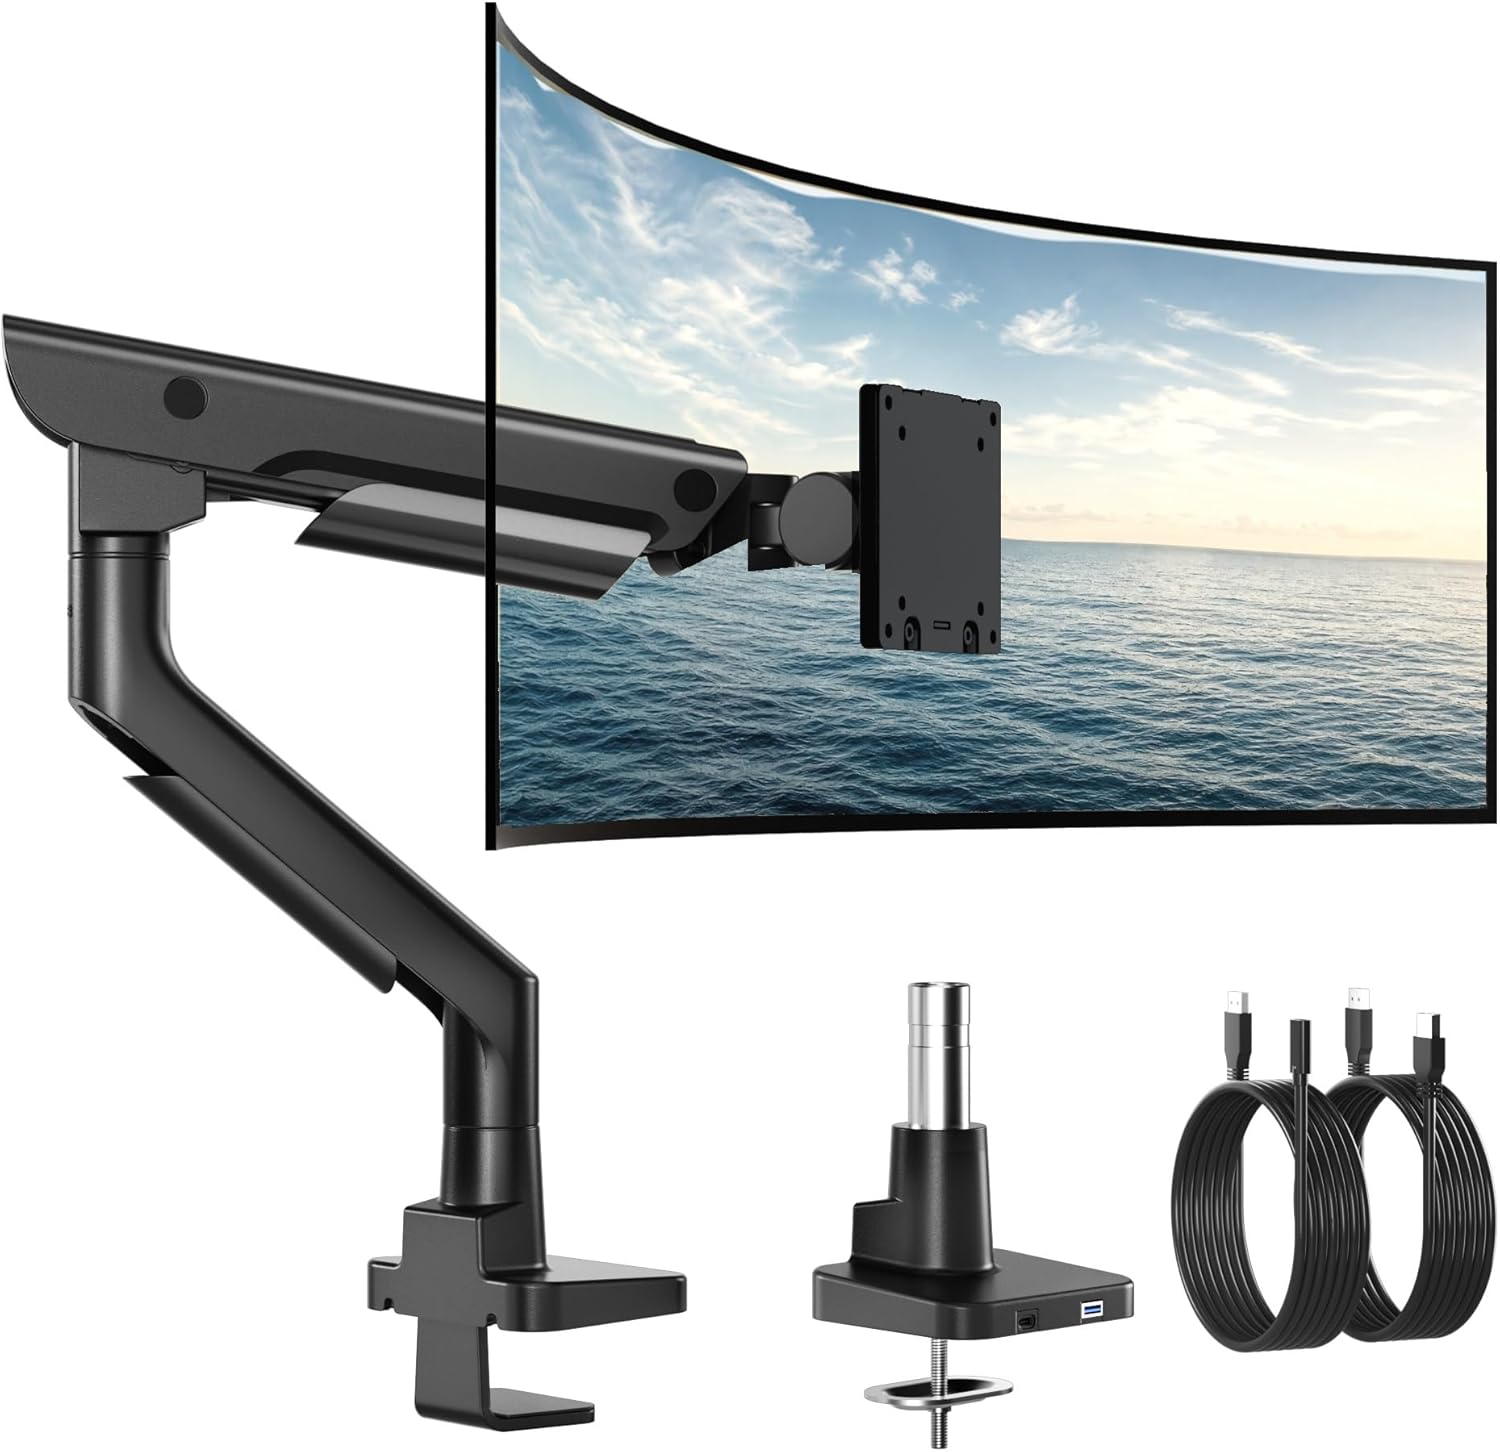
monTEK USB Monitor Arm for 17-57" Ultrawide, 59.4 lbs, Black
Check current Amazon price. This one publishes the two numbers I care about most. It is rated for 17 to 57 inch screens, so it covers a 34 inch ultrawide with room above it, and the weight capacity is 59.4 lbs, which is a lot of monitor. If your panel is a standard 27 inch IPS, you are nowhere near the ceiling, and that margin is exactly what you want on a gas spring arm. An arm that lives in the middle of its range holds its angle longer than one that lives at the top of it.
The USB in the name is worth a look at the listing. On most arms that means a pass-through port on the lower section, and whether it is data or charging only changes how useful it is to you. I would not buy the arm for the port. Buy it for the screen range and the 59.4 lb capacity, then see what the port does for you.
While you are on the page, check two more things: the clamp range for desktop thickness, and whether the listing photos show a cable channel running under the arm. Skip it if your monitor weighs more than the published capacity, if your desktop is thicker than the clamp range, or if your desk has a rear apron that leaves no clear edge to bite. Those three are dealbreakers, and none of them are fixable with a longer bolt.
The heavy duty pick: ARES WING Heavy Duty Monitor Arm for 24-57 Inch Screens, Black
The heavy duty pick
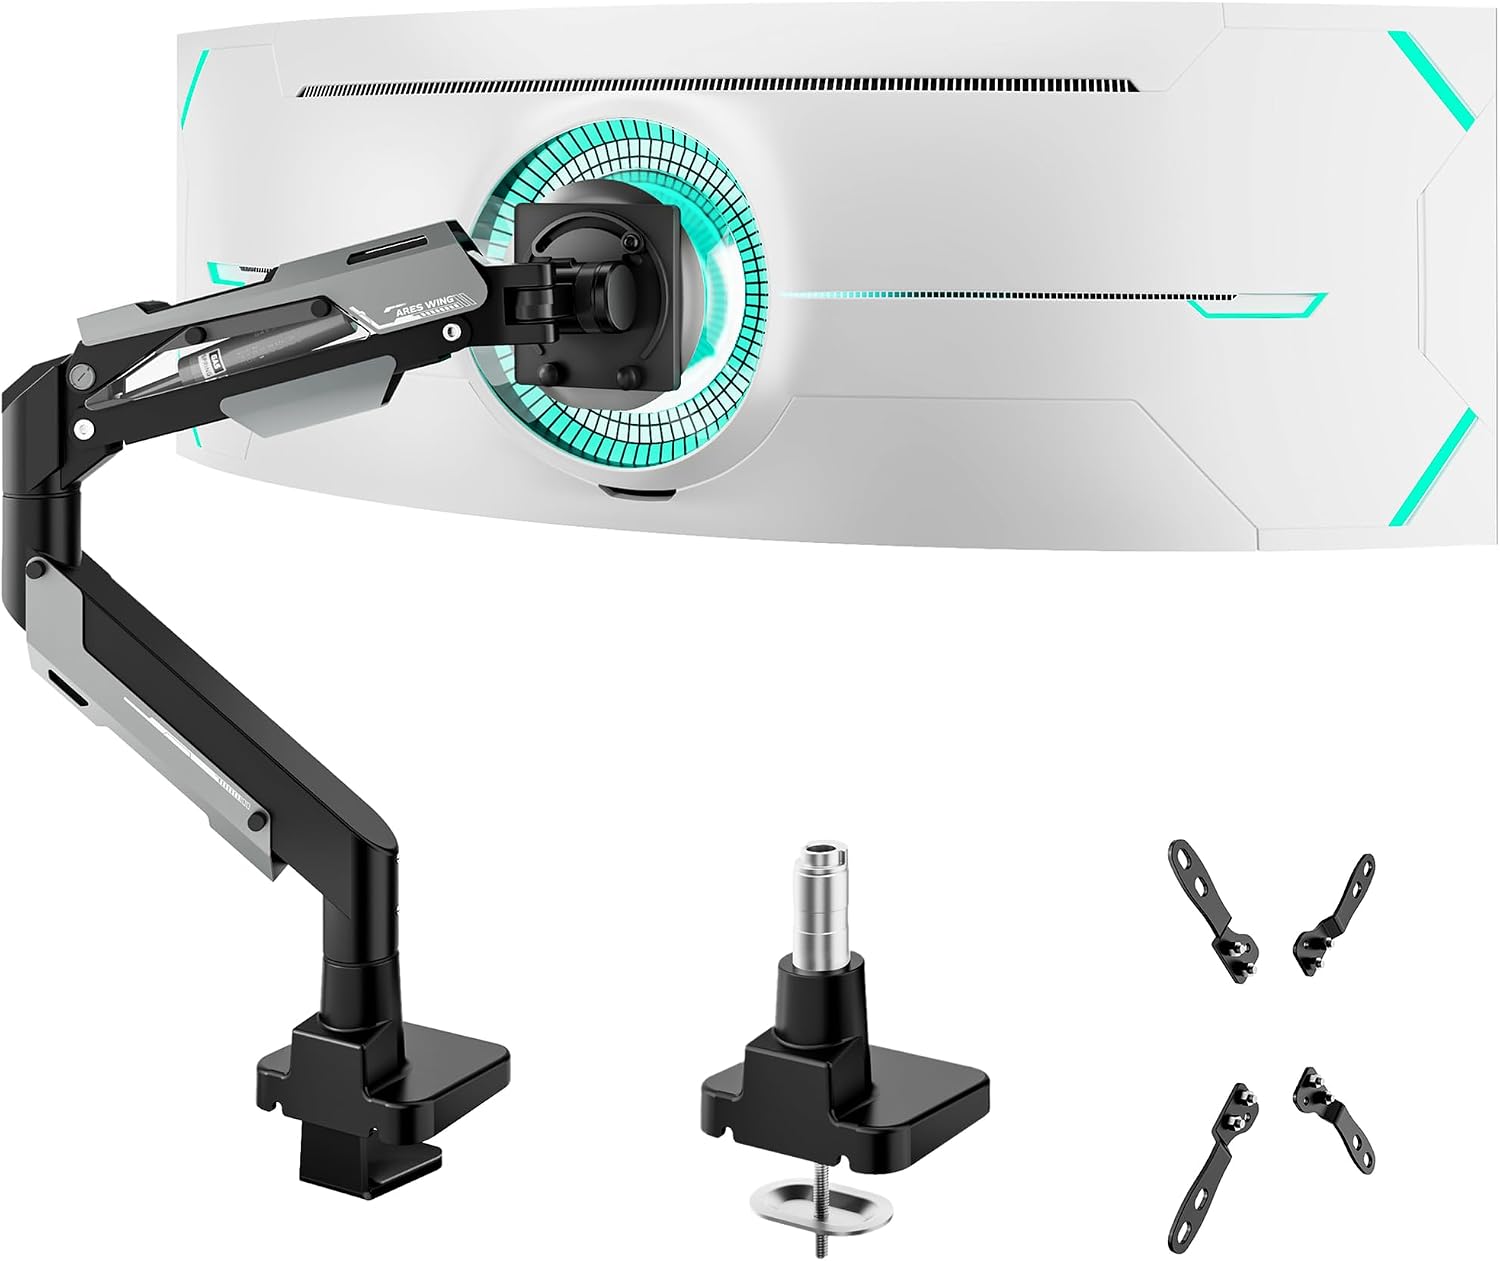
ARES WING Heavy Duty Monitor Arm for 24-57 Inch Screens, Black
Check current Amazon price. This is the one I would open first if you are running something large. It is listed for 24 to 57 inch screens, so it spans a standard 24 inch panel up to a big ultrawide, and heavy duty in the name usually means thicker arms and stiffer joints at the elbow, which is the part that sags on cheap arms.
The name does not print a weight capacity, so find that number on the page before you buy. That single figure decides the job, and if it is not published, that is your answer.
Skip it if your monitor is under 24 inches and you want the lightest touch you can get, or if your desk is a thin hollow-core top with no way to spread the clamp load. A heavy arm on a light desk is backwards. You want the arm matched to the panel, not doubled up on it. Also check the tilt range and swivel on the page if you rotate the monitor between landscape and portrait; some heavy duty arms trade range for stiffness.
The height pick: Drafting Chair Tall Office Chair, Standing Desk Chair with Flip-Up Armrests, Breathable Mesh High Chair Adjustable Height, Ergonomic Computer Chair with Lumbar Support and Adjustable Footrest Ring
The height pick
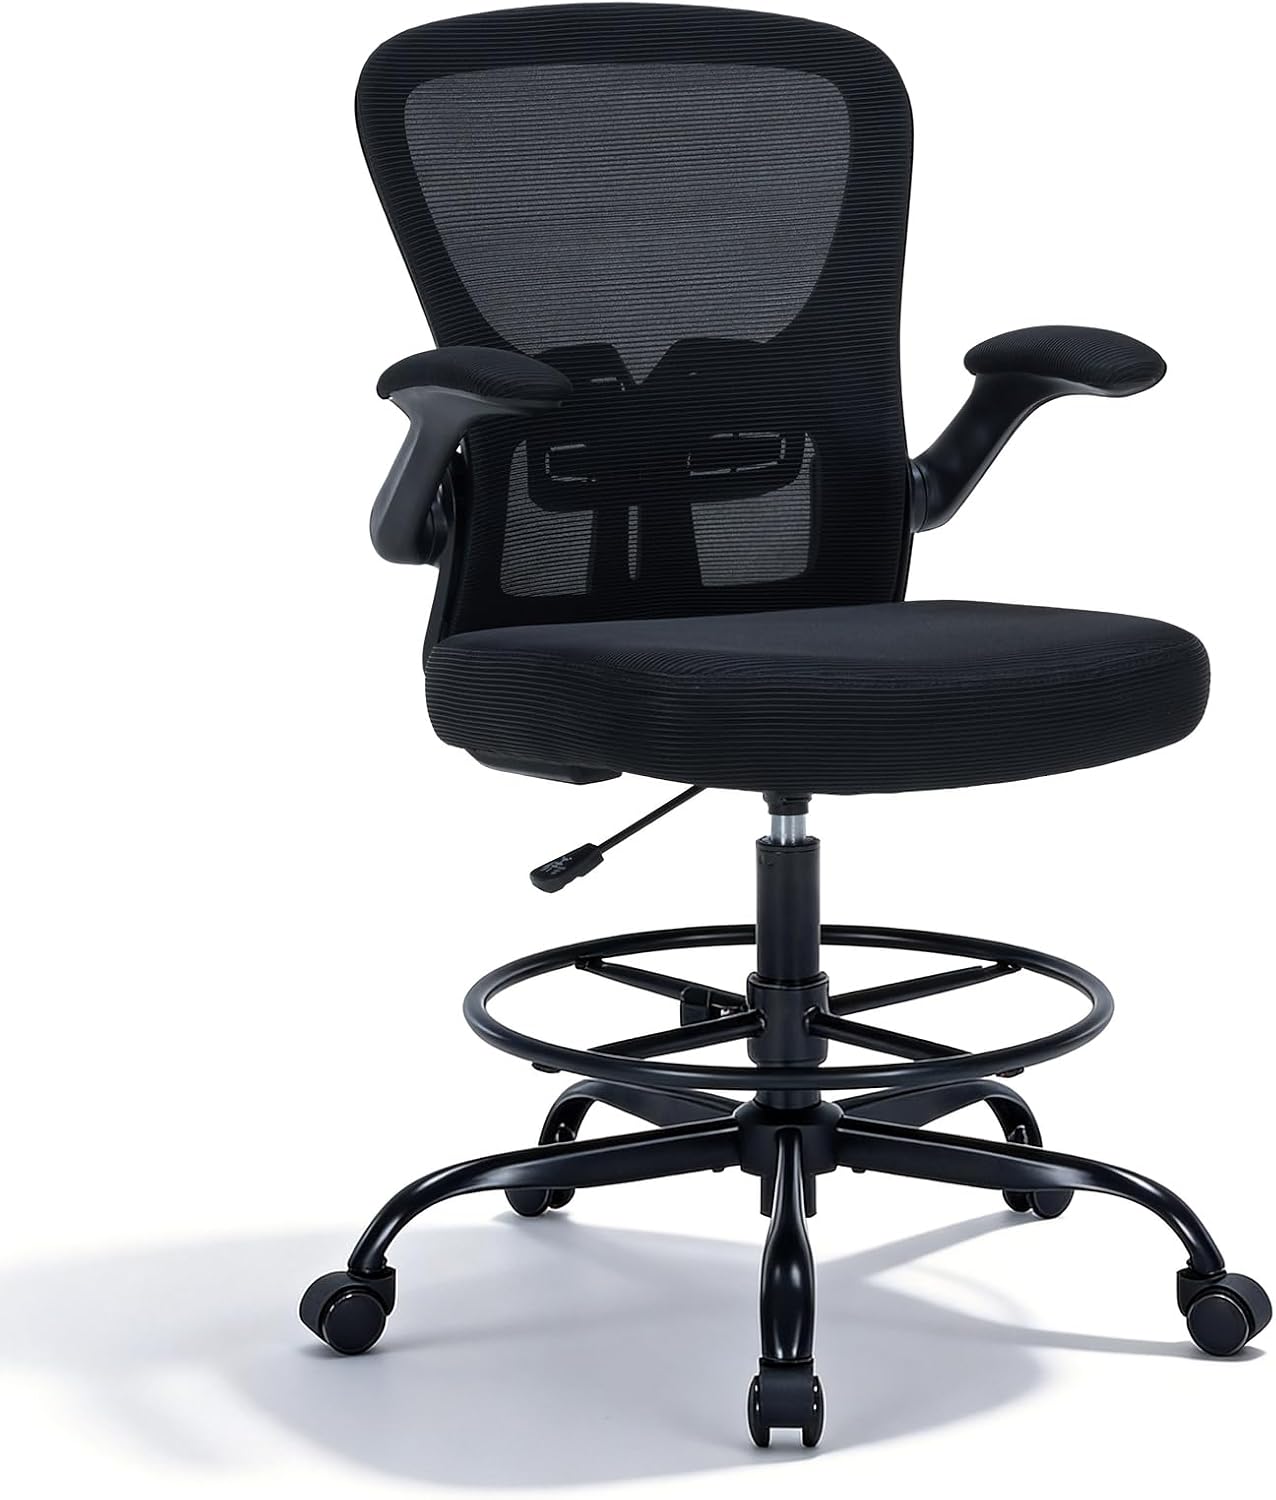
Drafting Chair Tall Office Chair, Standing Desk Chair with Flip-Up Armrests, Breathable Mesh High Chair Adjustable Height, Ergonomic Computer Chair with Lumbar Support and Adjustable Footrest Ring
Check current Amazon price. This is the third pick and it solves the other half of the problem. When you clamp an arm to the desk and lift the panel to eye level, and especially when you pair that with a standing desk, a standard task chair can leave you looking up. A drafting chair has a taller seat range than a task chair and a footrest ring, so your feet have somewhere to land when the seat goes up. The flip-up armrests matter more than they sound: they let you push the chair under the desk when you stand, which is the whole point of a standing setup. Breathable mesh, adjustable height, lumbar support, and the footrest ring are all in the name.
What I cannot do from here is tell you it fits you. The listing publishes a seat height range and a weight rating; measure your own floor-to-knee and floor-to-seat numbers, write them down, and compare before you order. I walk through that measurement in how I size a drafting chair for a standing desk.
Skip this chair if you work at a fixed sitting-height desk all day, if you want a deep recline for lounging, or if you have no need for extra seat height and would rather put the money into the arm.
How to set up a monitor arm in a rental apartment, step by step
Step one: Measure the desk, not the monitor. Write down four numbers: desktop thickness at the exact spot you plan to clamp, the clear distance from the front edge back to the first obstruction (drawer box, apron, crossbar, wall), whether the edge is square or beveled, and the diameter of the cable hole if the desk has one. A clamp mount fails for exactly two reasons: the desktop is outside the clamp's thickness range, or there is no clear edge to bite.
Step two: Weigh the monitor with the plate and cables included. Take the panel's published weight, add the VESA plate, the bolts, and the cables hanging off the back, then compare that total to the arm's weight capacity. You want margin. An arm near the top of its range drifts, and a drifting monitor is how a cable ends up pulled tight against the wall.
Step three: Choose clamp mount or grommet mount. A clamp mount bites the desk edge and leaves no hole. A grommet mount passes a bolt through a hole the desk already has, usually the cable hole near the back. If that hole exists, the grommet route is the cleaner answer because the load goes down through the top instead of onto the edge. If it does not exist, do not drill one in a rental. Clamp it.
Step four: Pad the desk and set the clamp before anything hangs on it. Felt pad or a scrap of thin rubber on both faces. Snug the clamp until it stops moving, hang the arm, then do the final turn with the load on. That order matters. Torque a clamp down on an empty desk and you concentrate the pressure in one spot; load it first and the pressure spreads. If you hear a crack, you were already too tight.
Step five: Bolt the VESA plate to the monitor on a flat surface. Lay the panel face down on a towel, find the bolt pattern on the back, and use the screws that came with the arm. If the back of the monitor is recessed or curved, use the plastic standoffs. Never run a long bolt into a shallow hole; that is how people kill a panel. Snug, not gorilla tight, especially into plastic housings. This step decides whether you can set up a vesa monitor arm in a rental apartment with the hardware that came in the box or whether you are ordering screws.
Step six: Hang the panel and set the gas spring tension. With the monitor on the arm, turn the tension screw until the panel holds at your eye height with the desk at working height. Too loose and it sinks. Too tight and it floats. Set it while standing, because your eye height changes when you stand up.
Step seven: Set tilt range and swivel, then run the cables. Lean the top edge of the panel back a few degrees; that kills most glare from overhead lights. Square the panel to your chair, not to the wall. Then run the cables through the cable channel and leave slack at both ends, one loop at the monitor and one at the desk. A cable with no slack pulls on the arm every time the desk moves, and that is how a monitor ends up a few degrees off after a week. Zip ties inside the channel, never around the arm's joints.
Step eight: Do the move-out check on day one. Photograph the two clamp contact points and the desk edge before you load anything, so you have a before picture. Note which hardware came from which box. On move-out day, take the monitor off first, loosen the clamp, lift it straight up, and wipe the pad marks. If you used a grommet, refit the original grommet cover. If you used a clamp, run your thumb along the edge. A light dent from a padded clamp usually lifts with a warm damp cloth.
The competition and why it lost
Wall mounts lost before they started. They need anchors and a stud or a proper toggle, and they leave holes that cost you a patch, a sand, and a paint match on move-out day. In a rental, the repair always costs more than the mount.
Grommet-only mounts lose when the desk has no grommet. If your desktop has a cable hole, one of these is a clean install. If it does not, the only way to use one is to drill, and drilling is the one thing this entire job is built to avoid. Read the listing carefully: some arms ship with both a clamp and a grommet plate, and some are clamp only.
Freestanding stands and floor poles are the zero-damage option, and they still lose for most apartments. No clamp, no hole, which is great, but the base eats desk depth and the pole eats your view. If you want to set up a screen arm in a rental apartment without touching the desk at all, this is the only category that does it, and it is also the category most people send back. Measure your desk depth before you consider one.
Cheap single-joint arms with a stamped steel clamp lose on pressure. A small clamp plate on a particleboard top is a dent waiting to happen, and a single-joint arm cannot lift the panel high enough to be worth the trouble.
Desk risers and shelf stands lose on height. They are completely rental-safe and completely unable to put a large ultrawide at eye level.
What this all costs
Here is the honest accounting. You are buying one arm, possibly a chair, a pack of felt pads, and the twenty minutes it takes to measure. That is it. Everything else in this article is free.
Two of the three picks are arms, and they sit in the same price bracket as each other, so the choice between them comes down to your screen size and weight rather than your budget. The chair is the third line item, and the only one you can skip if you already sit at a good height. Check current Amazon price on each before you compare anything, because these listings move.
The number people never run is the other side of the ledger. A cracked veneer edge on a rental desk is a repair conversation with a landlord, and a stripped grommet hole is worse. An arm that clamps with a pad and comes off in five minutes is insurance, and the premium is the arm's price divided by the months left on your lease. That math is not close.
If you are renting and you want the short version: measure the desktop thickness, weigh the monitor with the plate and cables, buy the arm whose published capacity clears that weight with room to spare, pad the clamp, load it before you torque it, and take the before photo on day one. That is how to set up a monitor arm in a rental apartment without handing your deposit to a furniture repair shop.