Most people try to measure standing desk depth for a monitor after the desk is already in the room, which is the wrong order. Depth is the number that almost never makes it onto a listing photo, and it is the number that decides whether your screen sits 20 inches from your eyes or 32. A 30-inch top and a 24-inch top both hold a monitor, both raise and lower, and both look fine on a product page. The difference shows up the day the clamp eats 3 inches off the back edge, the cable tray hangs under the rear rail, and the keyboard you forgot to account for pushes the panel forward.
The fix is not a new desk. It is a tape measure, a strip of painter's tape, and ten minutes at standing height. I run this same sequence in every client office, and it catches more bad desk choices than any spec sheet comparison I have ever done.
Below is the exact order I measure in, plus three desks that cover the small-room, one-piece, and frame-only routes, and the depth problem each one creates or solves.
Why you should trust me
I spent nine years as an office facilities manager, buying and assembling chairs and desks for 400-person floors. Then I ran a two-person desk setup service for six years, and we have built out 310 home offices. Every one of those got a tape run across the desktop before a monitor went on it. I keep a notebook of those numbers, and the printed spec and the usable depth are rarely the same figure.
Here is why. Manufacturers measure the top. I care about the top minus everything that lives at the back of it: the clamp jaw, the rear rail, the crossbar, the grommet lip, the cable tray. That subtraction is the whole job, and it is the part nobody prints.
I also do not call a desk stable or comfortable without saying who should skip it. That is the rule I write by, and it applies to every desk below.
How I picked and how I tested
The three desks here are not a ranking of every standing desk on the market. They are the three routes a person actually takes when depth is the constraint: a small rolling desk for a room with no spare floor, a one-piece desk where the top depth is fixed and printed, and a frame-only build where you choose the top depth yourself.
I picked them on four checks:
- Where the clamp can land. I look for a clear rear edge with no lip, no hinge, and no rail in the way.
- What sits at the back of the top. A crossbar, a grommet, or a cable tray all consume depth.
- Whether the frame travels. A frame that moves the legs in and out changes your wall clearance.
- Whether the lift capacity matches a loaded desk. Two monitors, a clamp arm, and a dock add up fast.
When you measure height adjustable desk depth for a monitor, the top depth is the fixed number and the frame travel is the variable, which is why I check both separately. For measurement I use the same tape and the same method in every room, and I re-measure at standing height rather than seated, because that is where wobble and reach problems show up. Before you even try to measure standing desk depth for a monitor, know where the clamp lands, because that single detail changes the answer by 3 inches. The monitor side of the math matters as much as the desk side, which is why the arm you pick matters: the monitor arm you mount on it can take 3 inches of your desktop depth or almost none.
Desks I measured with a tape, not a spec sheet
Three desks, three different depth stories. None of these is a bad desk. Each one changes how you measure, and one of them lets you decide the depth yourself.
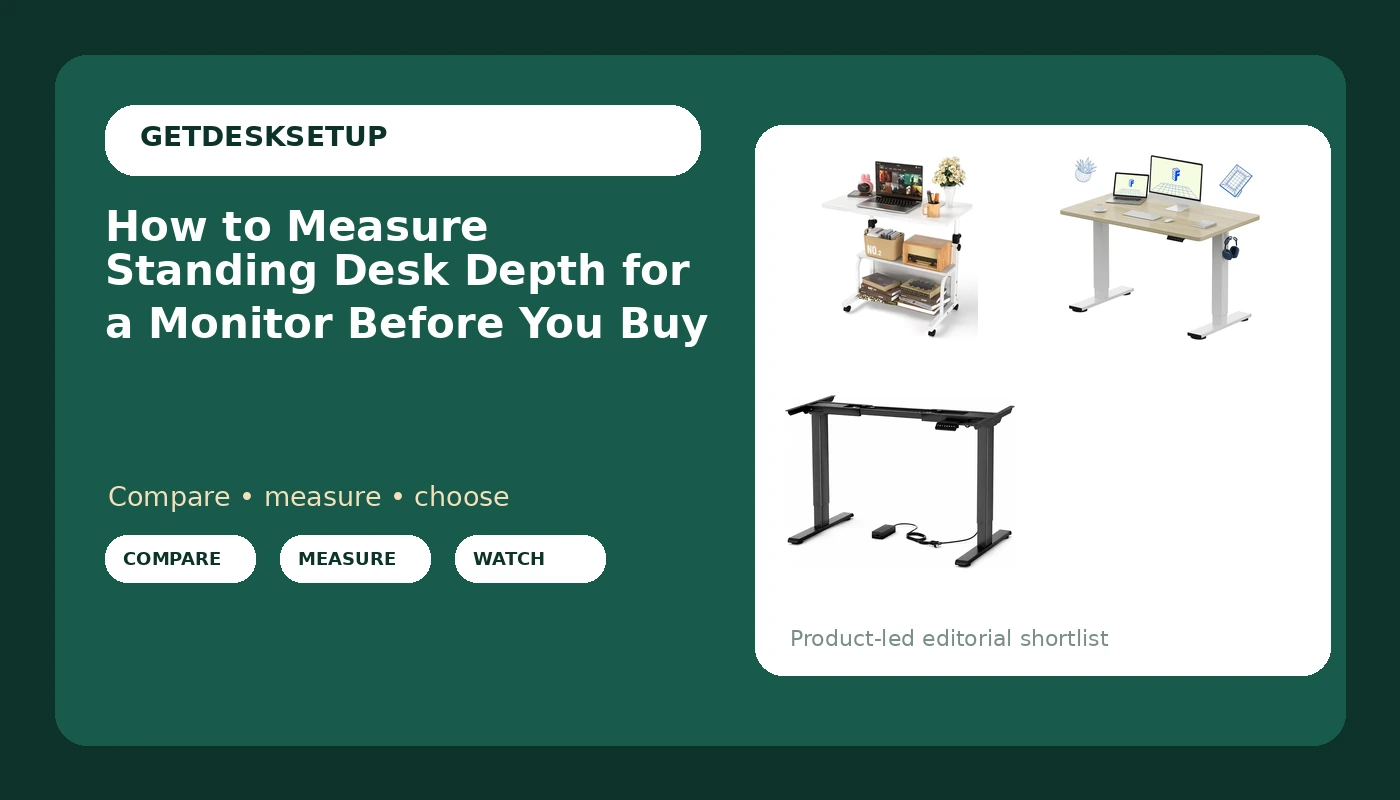
Budget pick: QZMDSM Portable Desk with Wheels Small Standing Desk on Wheels Adjustable Height Rolling Desks for Small Spaces, 32" Computer Desks with Storage Shelves for Home Office Study White
Budget pick
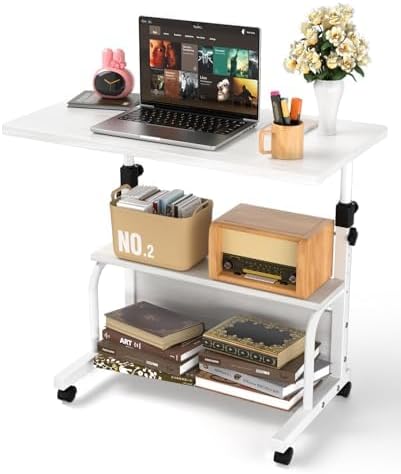
QZMDSM Portable Desk with Wheels Small Standing Desk on Wheels Adjustable Height Rolling Desks for Small Spaces, 32" Computer Desks with Storage Shelves for Home Office Study White
This is the small-room answer: a 32-inch-wide rolling desk with adjustable height and storage shelves, built to move. Check current Amazon price.
The depth question here is different from a full-size desk. When you measure sit stand desk depth for a monitor on a rolling desk this size, the shelves are the variable. They hang under the top and they take the space your knees want, which pushes your chair back and your monitor forward. The practical result: you want the panel on a low-profile arm or on a stand that sits tight to the back edge, and you want to confirm the rear edge is clear enough to clamp.
Two things to verify before you buy. First, whether the top has a rear lip or rail that a C-clamp can sit behind. Second, whether the wheels lock, because a desk that rolls while you type is a desk that changes your viewing distance every hour.
Flaws but not dealbreakers: the storage shelves eat knee room, and the top is narrow enough that a large panel plus speakers leaves very little clear desktop depth.
Skip this one if you run two monitors on a heavy clamp arm or a desktop tower that lives under the top. It is for a laptop, a single panel, and a room where the desk has to move.
Our pick: FLEXISPOT EN1 48"x30" One-Piece Standing Desk, White Wood Grain
Our pick
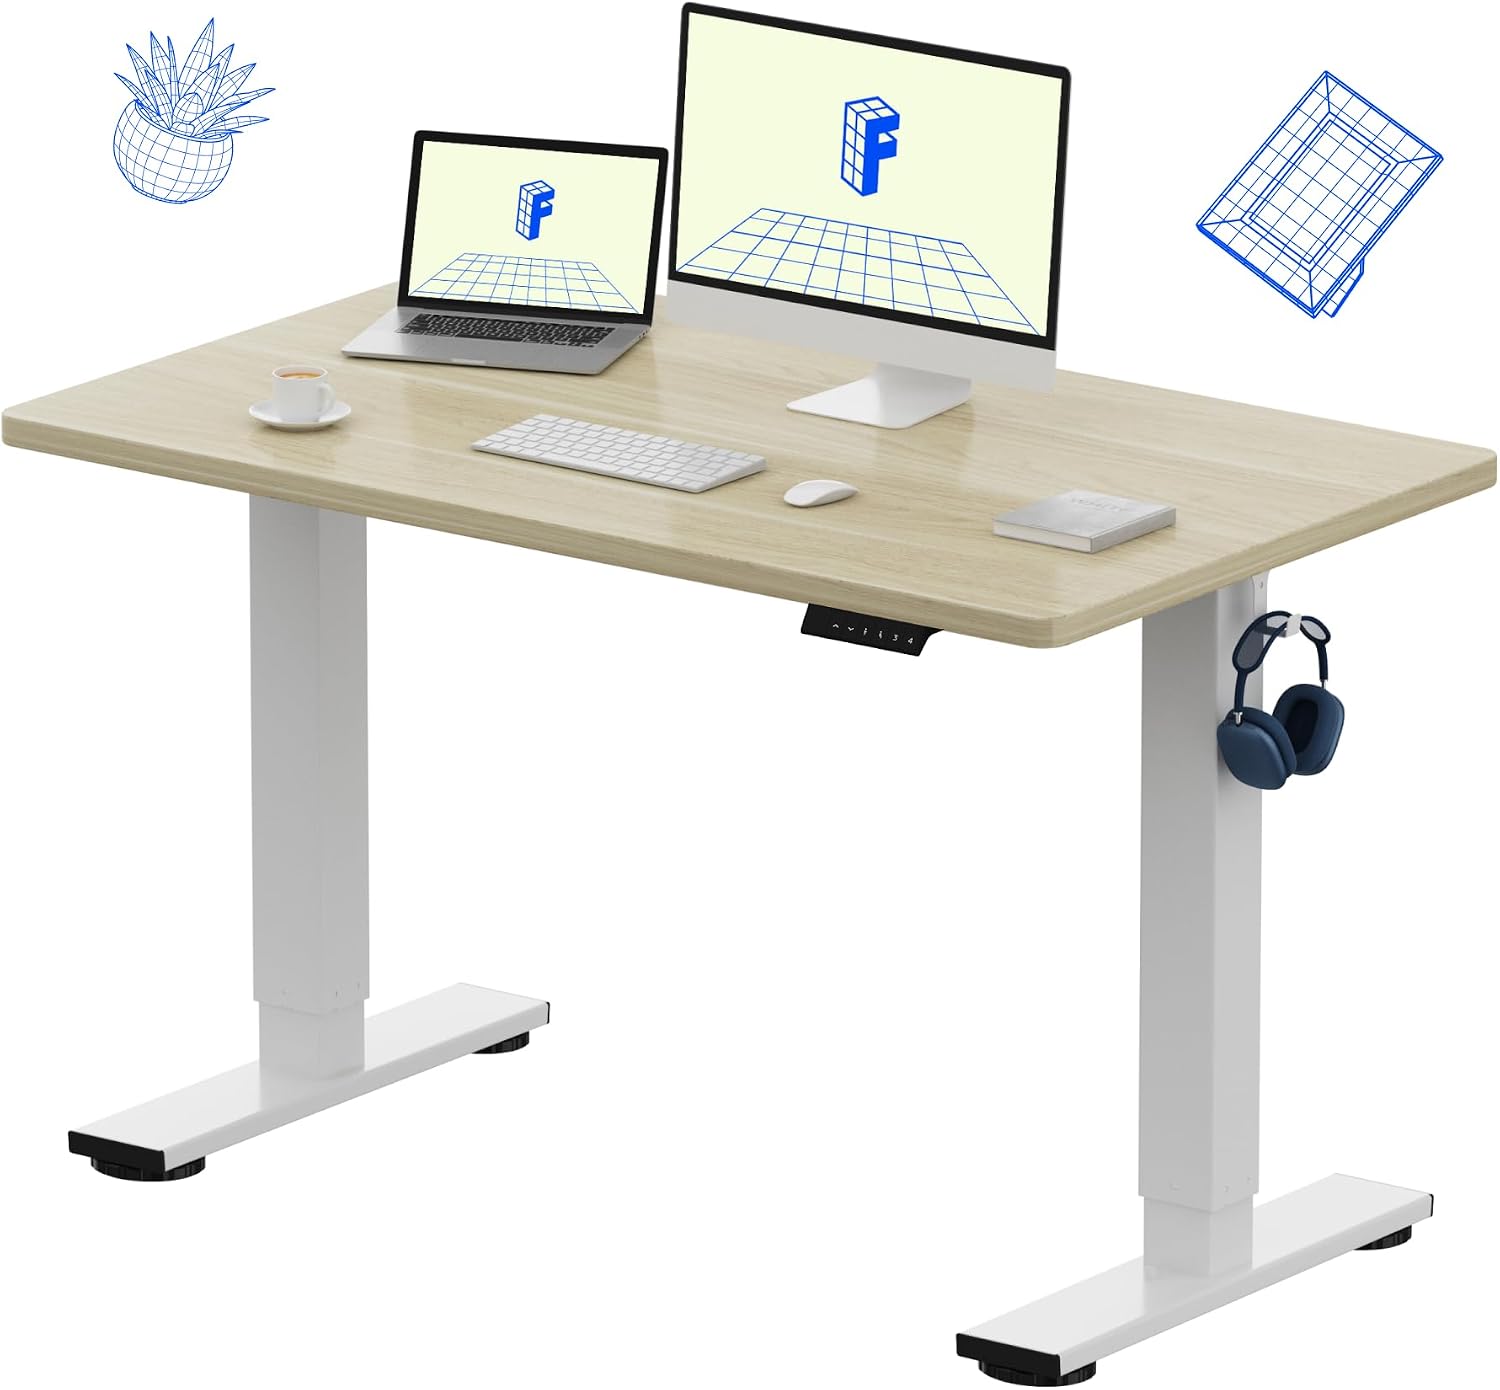
FLEXISPOT EN1 48"x30" One-Piece Standing Desk, White Wood Grain
Forty-eight inches wide and 30 inches deep, one piece, no seam down the middle. Check current Amazon price.
The 30 inches is the number that matters for this article, and it is printed in the product name, which is rare. Thirty inches of desktop depth is enough to run the full subtraction: a clamp arm on the back edge, a keyboard and wrist rest in front of it, and still a few inches of air between your eyes and the panel at standing height. On a 24-inch top the same setup ends with the keyboard half off the front edge, which is where people start leaning in without noticing.
The one-piece top also means no seam for a clamp to straddle. A two-piece top can flex under a monitor arm because the clamp lands on a joint, and flex shows up as a monitor that slowly tilts down over a week. One piece removes that variable.
Flaws but not dealbreakers: 48 inches is not much desk if you want two large panels side by side, and a 30-inch deep top pushes the desk further into the room than a shallow writing desk does. Measure your floor, not just your top.
Anyone who wants a fixed, known depth and a single slab under the clamp should start here.
Upgrade pick: EZ-U Electric Standing Desk Frame with Dual Motors 330LB Heavy Duty Height Adjustable Desk Legs Fits 43.3 to 70.8 Inch Table Tops 3 Memory Presets Anti-Collision, Black Frame Only
Upgrade pick
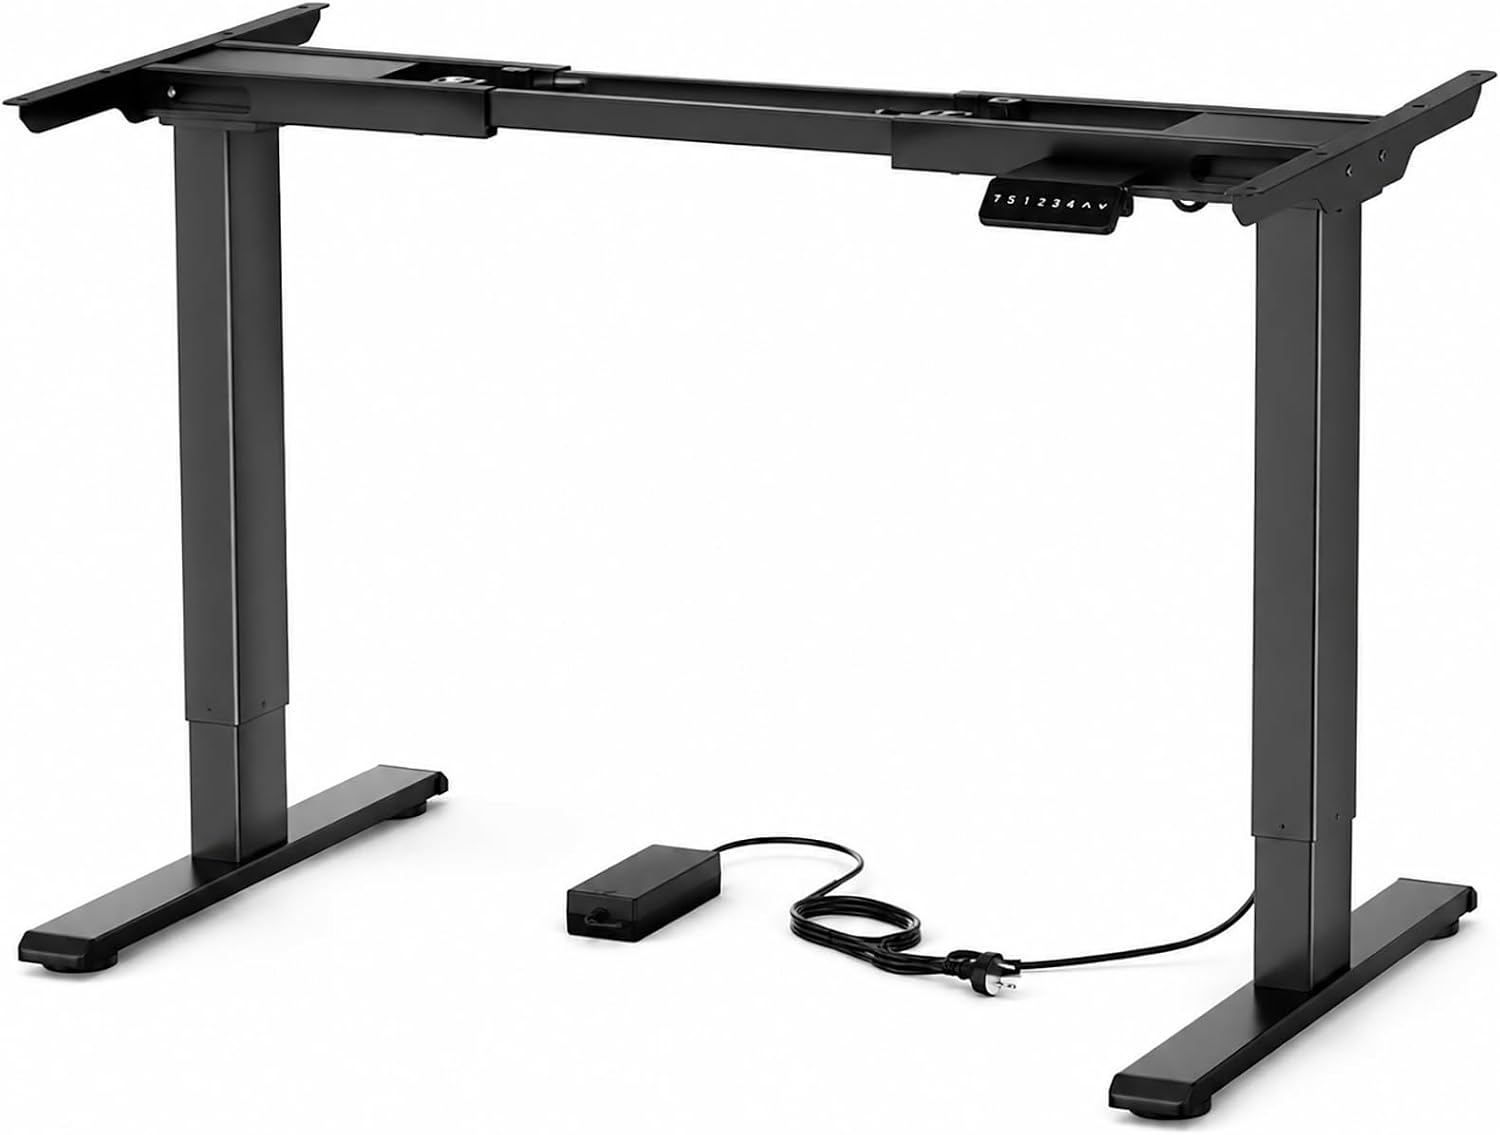
EZ-U Electric Standing Desk Frame with Dual Motors 330LB Heavy Duty Height Adjustable Desk Legs Fits 43.3 to 70.8 Inch Table Tops 3 Memory Presets Anti-Collision, Black Frame Only
This is the frame-only route, and it is the one that makes depth a choice instead of a surprise. Dual motor, 330 lb lift capacity, fits tops from 43.3 to 70.8 inches wide, three memory presets, anti-collision. Check current Amazon price.
Here is the point for this article: with a frame-only build you buy the top separately, so you decide the desktop depth. Want a 30-inch top? Order a 30-inch top. Want 24? Same. The frame sets the floor for that decision, because the top has to cover the frame rails. Go shallower than the frame footprint and the rear rail hangs off the back, which is exactly where clamps and cable trays need to live.
Two frame details worth checking on any frame-only build. First, whether there is a rear crossbar across the back. A crossbar is good for rigidity and bad for clamp arms, because the clamp has to land in front of it or behind it, and both positions cost you depth. Second, the lift capacity. At 330 lb there is room for two panels, a heavy arm, and a dock, and that matters because a frame straining at the top of its range wobbles, and a wobbling desk changes your viewing distance whether you notice it or not.
Flaws but not dealbreakers: no top, no grommet, no cable tray, no assembly help. You are buying legs and a control box.
Skip it if you want to unbox one thing and be done. Buy it if you want control over the exact depth of your desktop and you already know your number.
How to measure standing desk depth for a monitor, step by step
This works on any standing desk, one piece or frame-only. Have a tape, a level, and painter's tape.
Step one: Start with your eye, not the desk. Stand at your working height and have someone hold the tape from the outer corner of your eye to the wall where the panel will sit. You want 20 to 30 inches. Write that number down. It is the target the desk depth has to hit after every subtraction below.
Step two: Measure the top from front edge to back edge, at the rear rail. Not across the middle where the tape can bow, and not at the wall. Measure the surface you actually own. If you are still shopping and trying to measure standing desk depth for a monitor from a listing, treat the printed depth as a ceiling, not as the usable number.
Step three: Subtract the clamp. A monitor arm C-clamp takes 2 to 4 inches off the back edge, depending on jaw thickness. On a 30-inch top you just spent 3 of those inches. Measure the jaw of the arm you own or plan to buy and subtract that figure, not a guess.
Step four: Subtract the rear hardware. Walk the back edge with your hand and find everything that lives there: a crossbar, a grommet lip, a rear leg bracket, a cable tray. Each one is depth you cannot use. A grommet is the good version of this, because it lets the cable drop through the top instead of hanging off the back. The same subtraction applies if you measure stand up desk depth for a monitor on a two-piece top, and it gets worse there because the seam is another obstacle.
Step five: Add the monitor's own footprint if it stays on its stock stand. A 27-inch panel on its base typically needs 8 to 12 inches of depth once you count the base and the tilt, and that footprint sits in the middle of the top, not at the back edge. An arm moves the panel back to the clamp and frees most of that.
Step six: Leave a keyboard zone. You need at least 4 inches of clear depth in front of the clamp or the monitor base for a keyboard and a wrist rest, and more with a full-size board and a palm rest. This is the number that breaks 24-inch tops: clamp, keyboard, and panel footprint do not all fit.
Step seven: Test at standing height with painter's tape. Raise the desk to your standing height, mark the front edge of where the panel sits with tape on the top, then stand and measure from your eye to that line. If you are under 20 inches, the monitor is too close and the math failed somewhere above. Fix it with an arm before you buy a new desk.
Step eight: Re-measure after a week. Cables pull. A cable tray that sags under its own screws drops the slack, the arm rotates, and the panel creeps forward. Measure again on day seven, tighten the clamp, and re-check the viewing distance. This is the step that keeps the setup correct instead of correct on day one.
The competition and why it lost
Two categories of desk lost this comparison, and neither is a bad product.
The first is the shallow writing desk. A 24-inch deep top is a fine desk for a laptop and a lamp. Add a clamp arm and a keyboard and it fails the subtraction in step six: the clamp takes 3 inches, the keyboard wants 4, and the panel base wants more. You end up with the monitor pushed against the wall and your face closer to it than you planned. That is not a problem a riser fixes, because a riser eats depth too.
The second is the desk with a full-width rear tray or a hutch. A rear tray is sold as cable management, and on paper it is. In practice, a tray that sags under its own screws drops the cables into the clamp zone, and a hutch removes the back half of the top from monitor duty entirely. Hutches come off desks in client offices more often than any other accessory.
L-shaped and corner desks lost for a different reason: the corner is deep and the return is not, so the monitor lands in the shallow leg and the math gets worse, not better.
None of these are wrong desks. They are wrong desks for a clamped monitor at standing height.
What this all costs
Three routes, three cost structures, and none of them is about the sticker on the desk alone.
The rolling desk is the lowest entry point, and it is a complete desk: top, frame, shelves, wheels. Check current Amazon price. The hidden cost is that you may need a low-profile arm or a stand that fits a small top, and you may outgrow the top inside a year.
The one-piece standing desk is the middle route: one box, one assembly, a known 48 by 30 top. Check current Amazon price. No separate top to source, no drilling to match a frame pattern.
The frame-only route is the one people misjudge. The frame is only part of the purchase. You still need a top, and a real top is a line item whether you cut it yourself or order it. Check current Amazon price on the frame and budget the top separately, plus an hour with a drill and a second person to flip the assembly. What you buy with that extra work is control: the exact desktop depth you measured in step two, on a frame with a 330 lb lift capacity, three memory presets, and anti-collision.
The cheapest correct setup beats the most expensive wrong one every single time. A 24-inch top with the wrong arm costs more over five years than a 30-inch top with the right one, because you end up replacing the wrong part.
Run the tape before you order. Measure your eye to the wall, subtract the clamp, subtract the rear hardware, and leave a keyboard zone. That is the order to measure standing desk depth for a monitor, and if the number left over is under 20 inches, you have your answer. It costs nothing to find out.