If you have started waking up with numb fingers or a dull ache at the base of your palm, you are probably not shopping yet. You are looking for an explanation. The way most people approach home office setup and carpal tunnel is backwards: they buy a wrist pad first and measure the desk last. A wrist support sits at the very end of a chain that starts at the floor, runs up through the chair, crosses the desk at elbow height, and only then reaches your hands. Get the earlier links wrong and no pad rescues you. Get them right and a pad is a cheap piece of insurance. This article walks the chain in the order it actually runs, and names four inexpensive parts that support a correct setup instead of papering over a broken one.
Related: Standing Desk Height Ranges: How to Match One to Your Body →
Quick answer
If you want home office setup and carpal tunnel explained in one sentence, it is this: wrist strain at a home desk is driven mostly by wrist extension angle and by how long you hold that angle, and the angle is set by desk height relative to your elbows, not by the pad under your palm. Fix chair height and desk height first, keep the keyboard and mouse on the same plane, then add support. In practice that means a two-piece wrist rest set for keyboard and mouse, a mouse pad with a gel rest for pointer-heavy work, a desk lamp so you stop leaning toward a dim screen, and a cable sleeve so nothing pulls your peripherals out of position. Everything below is a support part, not a cure for a desk at the wrong height.
Four useful options
| Model | Best fit | What stands out |
|---|---|---|
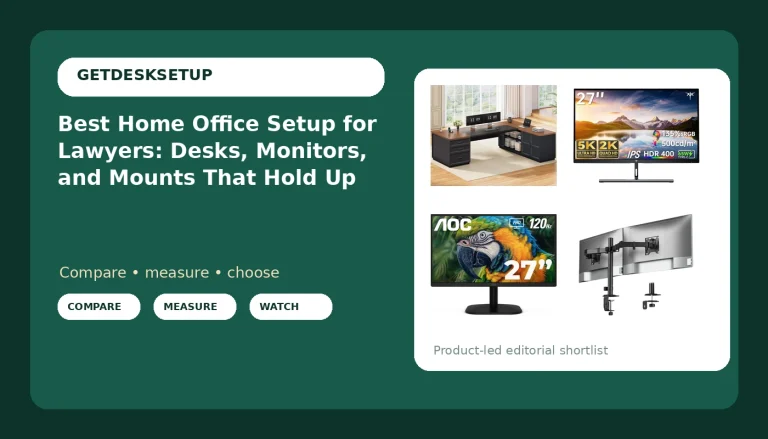
| Office Ergonomic Memory Foam Computer Mouse and Keyboard Wrist Rest pad Support Carpal Tunnel, Wrist Rest for Keyboard and Mouse, Wrist Support Set | Desks where keyboard and mouse share one surface | Two-piece set covering both input devices |
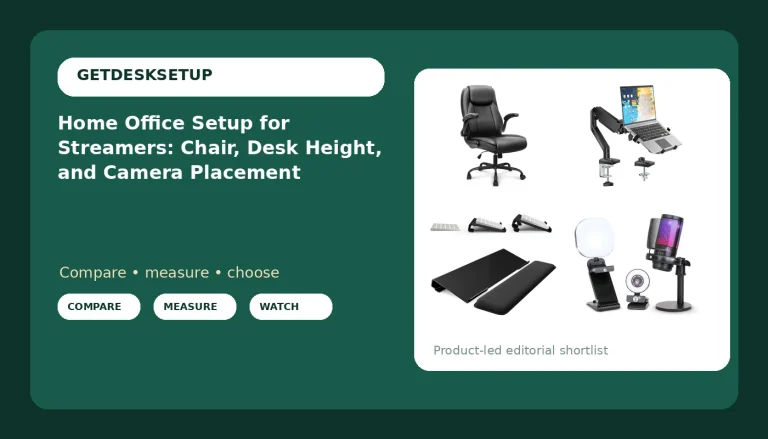
| MROCO Ergonomic Mouse Pad with Gel Wrist Rest, 9.4 x 8.1 in, Blue Gradient | Pointer-heavy days | Stated 9.4 x 8.1 in surface with an attached gel rest |
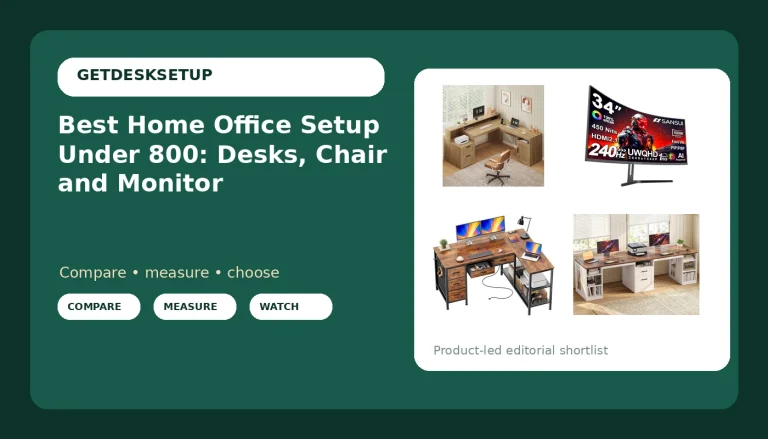
| LitONES Tall LED Desk Lamps Home Office, Edge-Lit Eye-Care, 50 Light Modes | Rooms with no task lighting | Stated 50 light modes, edge-lit design |
| 1-1/4 Inch 8ft Cable Management Loom Sleeve Cord Protector Wire Wrap Cover | Desks where cables tug on peripherals | Stated 1-1/4 inch diameter, 8 ft length |
Keyboard and mouse support: Office Ergonomic Memory Foam Wrist Support Set
Here is the trade-off. A wrist rest gives your palm somewhere to land between keystrokes, so your wrist is not sitting in extension on a hard desk edge. It does not change the angle your wrist holds while you type, and it does nothing if your keyboard sits three inches above your elbows. My rule from years of building out home offices is simple: if you cannot rest your elbows near 90 degrees with your shoulders down, the pad is the wrong purchase and a keyboard tray or a lower desk setting is the right one. Skip this set if your keyboard lives on a tray well below the desk surface, because the mouse rest will then sit far higher than the keyboard and you will spend the day reaching up and across.
Pointer surface: MROCO Ergonomic Mouse Pad with Gel Wrist Rest
A mouse pad with a built-in rest solves a specific annoyance: separate rests drift. If you run a low pointer sensitivity and sweep a wide arc, a loose rest edge catches your wrist and shifts. One piece means the rest cannot migrate out from under your hand. The trade-off is a fixed height. The gel bump is set for a mouse sitting on the desk surface, so if your mouse lives on a lower tray, or you switch between a mouse and a trackball, the rest may sit above or below where your hand actually lands. Skip it if you want one continuous surface spanning keyboard and mouse, because the gel edge will sit between them.
Lighting layer: LitONES Tall LED Desk Lamp
Lighting looks unrelated to wrist pain until you watch what happens in a dim room. You lean toward the screen, your shoulders round forward, and your wrists end up at an angle you never chose. Adding a task light lets you dim the overhead fixture and stay back at the monitor distance you set. This lamp is the most expensive item here and the least directly connected to your wrist, so it belongs after the desk is right, not before. Skip it if your desk already sits beside a window with steady, diffuse daylight and you never catch yourself squinting at the screen late in the afternoon.
Cable plan: 1-1/4 Inch 8ft Cable Management Loom Sleeve
Cable planning is the step people skip and then redo. Bundle first, route second, secure last, and leave a service loop at every joint that moves. A cable with no slack pulls on the device at the end of it, and a keyboard that has drifted two inches closer to the desk edge changes your wrist angle without you noticing. Eight feet covers a single desk-to-wall run with room to spare, though a large L-shaped desk may need two sleeves. Skip it if you run exactly one cable that already has slack, because a sleeve then adds bulk and solves nothing.
Prices and availability may change. Product images, names, and retailer links are matched to verified listings. No current price, rating, stock status, or measured result is stated here without current evidence.
How home office setup and carpal tunnel connect
The median nerve runs through a narrow passage at the wrist, and pressure on it rises when the wrist is held bent back or bent forward for long stretches. Nobody holds that position on purpose. It happens because the surface you work on is higher or lower than your elbows, and your hand compensates. This is not medical advice: persistent numbness, tingling, or grip weakness is a clinician's call, not a desk setup's. The mechanical half of the problem, though, is something you can measure and change today.
Start at the floor. Feet flat, chair height set so your knees sit near 90 degrees and your thighs are supported along their length. That single adjustment decides everything above it, which is why chair pairing matters more than any accessory. A seat that is too high leaves your feet dangling and your body sliding forward. A seat that is too low pushes your elbows below the desk and your wrists into extension.
Next, desk height. With your shoulders relaxed and your upper arms hanging straight down, your elbows should land at roughly the height of the keyboard surface. On a fixed desk that usually means raising the chair and adding a footrest, or dropping the keyboard into a tray. Then the input plane: keyboard and mouse at the same height, close enough that you are not reaching forward. Then monitor distance, about an arm's length, with the top of the screen near eye level so you are not leaning in and rolling your shoulders forward.
A work from home setup and carpal tunnel complaint usually traces back to one of those four numbers rather than a missing accessory. Duration matters too. Even a neutral wrist held for six hours without a break accumulates load, so short, frequent breaks and taking your hands off the keyboard between tasks do more than any single product on this page.
Setting it up in the right order
Measure first, buy second, and install in the order the load travels. Treat home workspace setup and carpal tunnel as one problem with four measurements rather than two separate projects.
- Set the chair. Seat height first so your feet are flat, then seat depth so the front edge sits a couple of inches behind your knees, then lumbar support into your lower back.
- Set the desk or keyboard height. Elbows near 90 degrees, shoulders down, keyboard surface at elbow height. Recheck the chair if this moves you.
- Set the input plane. Keyboard and mouse level with each other, wrist rests placed so your palm lands on them only between keystrokes, not while typing.
- Set the monitor. One arm's length away, top edge near eye level, directly in front of you rather than off to one side.
- Set the room. Light the desk, route the cables, confirm the power outlet is where you need it, and check that you are not sitting in a draft.
Only steps three and five involve anything you can buy. A home office workstation and carpal tunnel symptoms are linked mostly through wrist extension angle and duration, so the parts matter less than the order you install them in. If you use a monitor arm, the cable advice in monitor arm cable management is worth reading before you bundle anything, because a taut cable will drag the arm out of the angle you set.
Room layout, power, and the details that keep it working
- Lighting layers. Overhead light plus a task light beats one bright ceiling fixture. If the screen is the brightest thing in the room, you will lean toward it.
- Power outlet. Locate it before you place the desk. An outlet behind the desk beats an extension cable running across the floor to a wall socket.
- Cable planning. Bundle, route, then secure, and leave a service loop at every joint that moves. A tight cable changes a monitor angle within a week.
- Ventilation. A closed room with a running machine and a bright monitor gets warm by mid afternoon, and a warm room makes you shift position and lose your setup.
- Room layout. Keep the desk off the main traffic path so you are not twisting to let someone past, and leave enough clearance behind the chair to recline.
Which option should you choose?
Choose the Office Ergonomic Memory Foam Computer Mouse and Keyboard Wrist Rest pad Support Carpal Tunnel, Wrist Rest for Keyboard and Mouse, Wrist Support Set when your keyboard and mouse both sit on the desk surface and your elbows already land near keyboard height. Choose the MROCO Ergonomic Mouse Pad with Gel Wrist Rest, 9.4 x 8.1 in, Blue Gradient when most of your day is pointer work and you want one surface with a rest that cannot drift away from the pad. Choose the LitONES Tall LED Desk Lamps Home Office, Edge-Lit Eye-Care, 50 Light Modes when the room has no task lighting and you catch yourself leaning toward the screen after dark. Choose the 1-1/4 Inch 8ft Cable Management Loom Sleeve Cord Protector Wire Wrap Cover when several cables run from the desk to the wall and at least one of them is tight enough to pull a device out of place.
The caveat: none of these four products corrects desk height, and three of them are support rather than correction. If your elbows sit well above your keyboard, spend the money on a keyboard tray or a different desk first and treat the pads as a later addition. Fit claims here are limited to what the listings state. I have not measured these items on a bench, and the dimensions quoted are the manufacturer's, so check the listed size against your own desk before ordering.
The bottom line
The chain runs floor to chair to desk to keyboard to hand, and home office setup and carpal tunnel is a chain problem: the weakest link is whichever measurement you skipped. Measure your seat height, seat depth, elbow height, and monitor distance before you buy anything, then spend small money on the parts that support a correct setup. A wrist rest set and a mouse pad with a gel rest handle the last few inches of the chain. A task lamp keeps you from leaning in and breaking the monitor distance you set. A cable sleeve keeps the arrangement from drifting out of position. If your symptoms persist or get worse, treat that as a medical question and see a clinician, because no accessory on this page is a treatment.