To set up a home office by a window, stop treating the window as a view and start treating it as a light source with a schedule. The glass is not the problem. Sitting square to it, with the sun behind your screen or behind your head, is the problem, and it is why a lot of window desks get abandoned by the second week of October.
I have built out 310 home offices, most of them in rentals where the only usable wall was the one under the window. The pattern repeats. The desk arrives, it goes flat against the glass because that is where the outlet is, and then the owner spends three months fighting reflections and a warm laptop.
When you set up a work from home office by a window, the first question is not where the desk goes. It is where the sun is at 3 p.m. and how far the nearest power outlet sits from that spot. Get those two answers and the rest is arithmetic.
Here is how to set up a home office by a window: three pieces of gear that solve the physical problems, and eight steps in the order I actually install them.
Why you should trust me
I spent nine years as an office facilities manager, buying and assembling chairs and desks for 400-person floors. For the last six I have run a two-person desk setup service, and we have built out 310 home offices, many of them in small apartments where the window wall is the only wall.
I keep a notebook of every desk height range and every seat depth I have measured with a tape, not read off a spec sheet. That habit comes from the floors I used to manage, where one wrong chair spec meant 40 returns. When I walk into a room, I measure the window first, then the desk, then the person.
Ergonomics is a measurement, not a feeling. If you cannot say your seat depth in inches, you are guessing, and guessing by a window is expensive because the light punishes every wrong angle you set.
How I picked and how I tested
The three items below are not a wish list. They are the floor of a window setup: a surface, a mat, and a plan for cables and power. Monitor arms, lamps, and chairs come on the second trip, after the light is under control.
I picked by measuring first. Room layout comes before shopping. I check the window orientation, where the power outlet sits, and how wide the surface actually is, because a window desk lives or dies on width. For the mats, I looked at thickness, whether the material slides on a smooth top, and whether the edges stay flat once the room warms up in the afternoon sun. For the desk, I looked at what happens when you clamp something to the edge and whether the frame is braced.
For chair pairing, I do not guess. I pair the chair to the desk height before I buy either one, because a desk that sits two inches too tall will make a good chair feel broken. For monitor distance, I set the screen at arm's length and check it at the worst hour of the day, not at 9 a.m. when the room is dim.
Two things I refuse to do in this guide: recommend a desk for a room without naming the minimum width it needs, and call anything comfortable without telling you who should skip it. Both are below.
What you need before you set up a home office by a window
The list is short on purpose. Two of these solve glare and slip, and the third is the surface itself. I am not sending you shopping for a standing desk here. Get the window wall working at a fixed height first, then decide later whether you still want to stand. Nothing below is exotic. It is what I would hand someone who asked me to set up a home office by a window with one afternoon and a fixed budget.
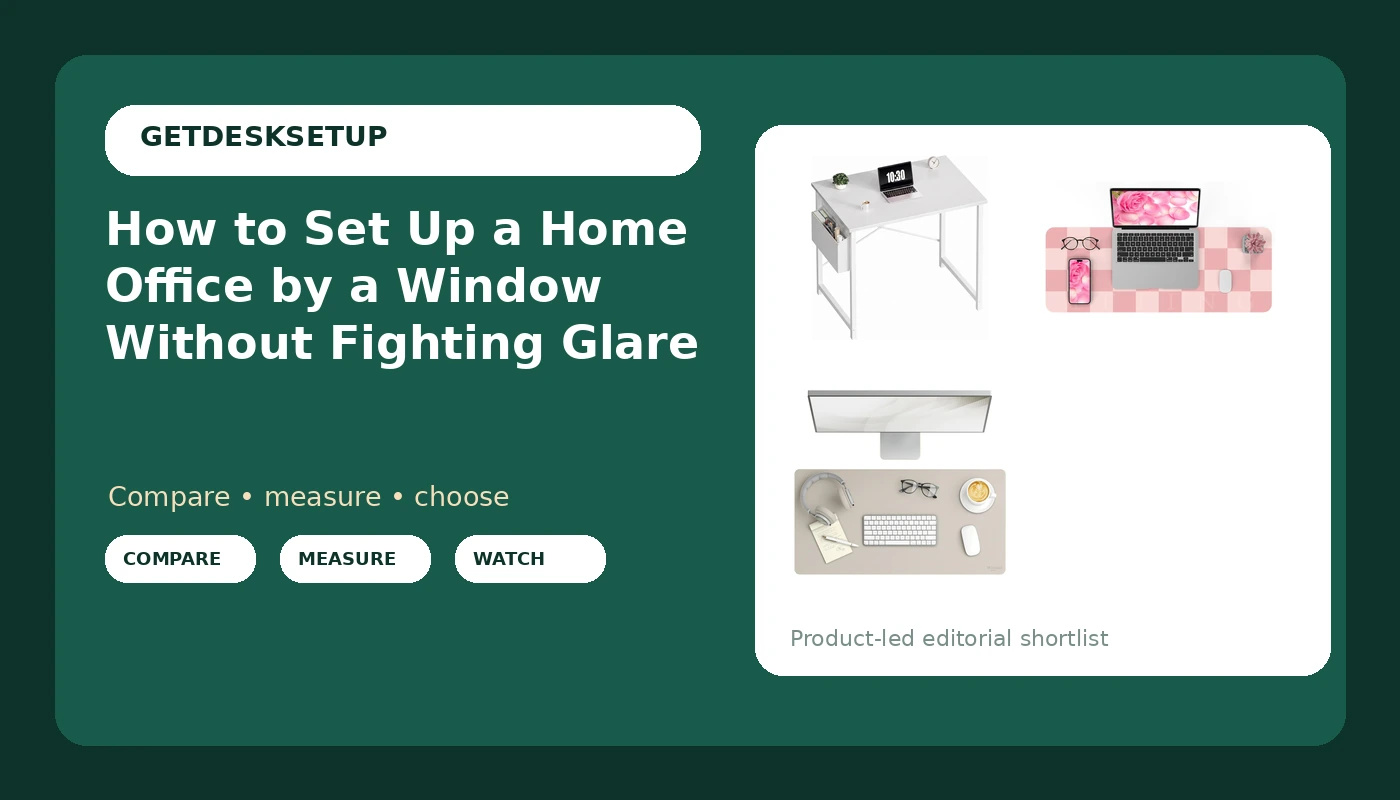
Budget desk: OLIXIS Small Computer Desk, 31 Inch Gaming Desks for Home Office
Budget desk
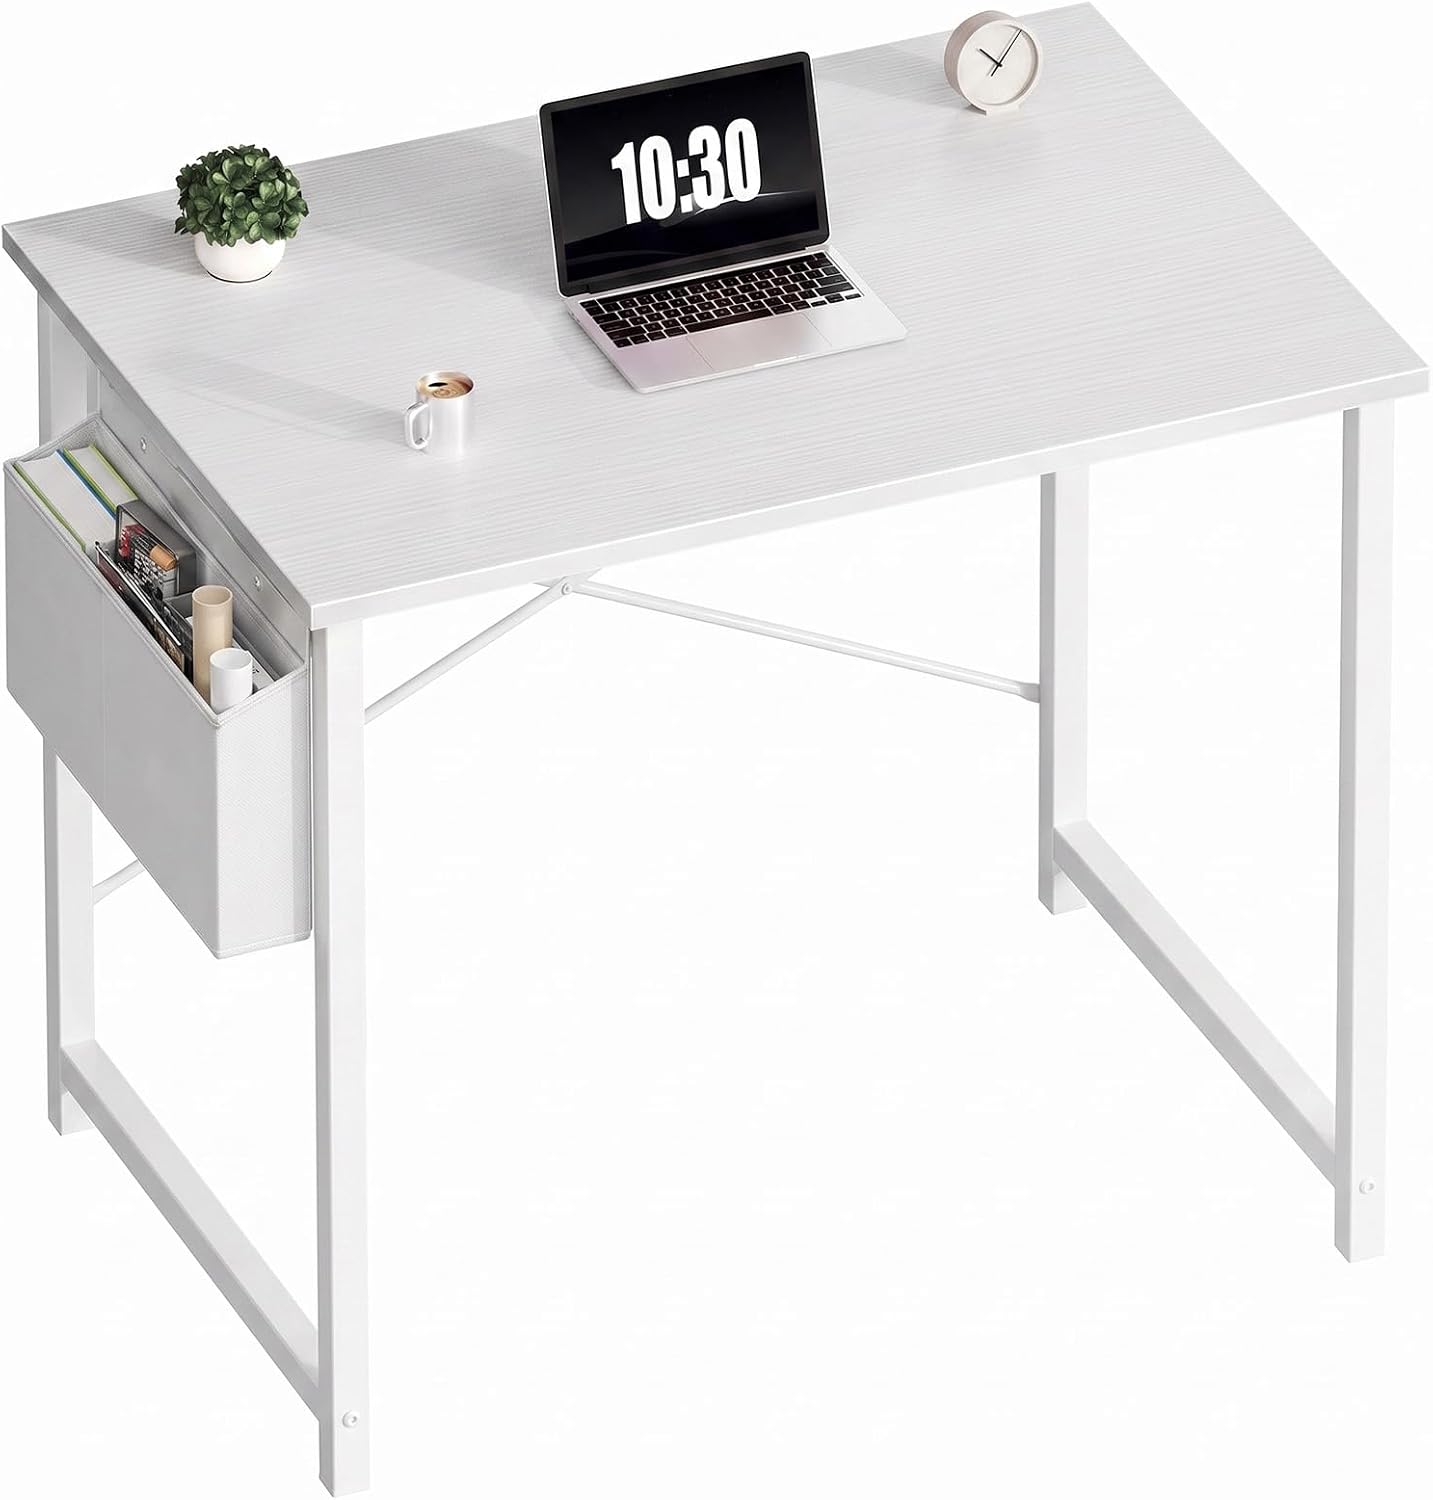
OLIXIS Small Computer Desk, 31 Inch Gaming Desks for Home Office
This is a 31 inch desk, and 31 inches is the minimum width I will put under a window. That width holds a laptop, a mouse, and a mug, and not much else. If you want a 24 inch monitor and a keyboard side by side, plan on 40 inches of surface, which means this desk is not your desk. Skip it if you run two monitors, a 34 inch ultrawide, or a printer you keep on the desktop.
What it does well is fit. On a window wall in a small room, the walkway matters more than the surface, and a 31 inch top keeps the path from the door clear. The open frame under the top also gives you somewhere to strap a power strip, which is the first thing I check on any budget desk.
Check current Amazon price before you commit, and measure your seated elbow height first. Sit in your chair, let your arms hang, and note where the underside of your forearm lands. If the desktop sits above that line, you will shrug for eight hours a day, and the fix is a keyboard tray or a different desk, not a cushion.
Patterned mat: AFIING Pink Checkered Desk Mat, 31.5" x 12",Waterproof PU Leather Desk pad
Patterned mat

AFIING Pink Checkered Desk Mat, 31.5" x 12",Waterproof PU Leather Desk pad
This mat is 31.5 inches wide and 12 inches deep, and those two numbers decide whether it fits. On the 31 inch desk above, it overhangs a quarter inch on each side when centered. Some people cannot stand that. I do not mind it, because a slight overhang gives you something to grab when you want to pull the mat forward, and a waterproof PU surface wipes clean with a damp cloth instead of holding a coffee ring.
The checkered pink is the whole reason to buy it or the whole reason to skip it. If the window wall is what your video call shows, a bright pattern is a decision you should make on purpose rather than by accident.
Skip this one if you use a full size keyboard with a wrist rest on a shallow desk, because 12 inches of depth will not hold both. Check current Amazon price, and if you would rather the surface disappear into the room, look at the next mat.
Neutral mat: Smead Vegan Leather Desk Pad Mat, Office Desk Mat, Medium, Sandstone Beige
Neutral mat
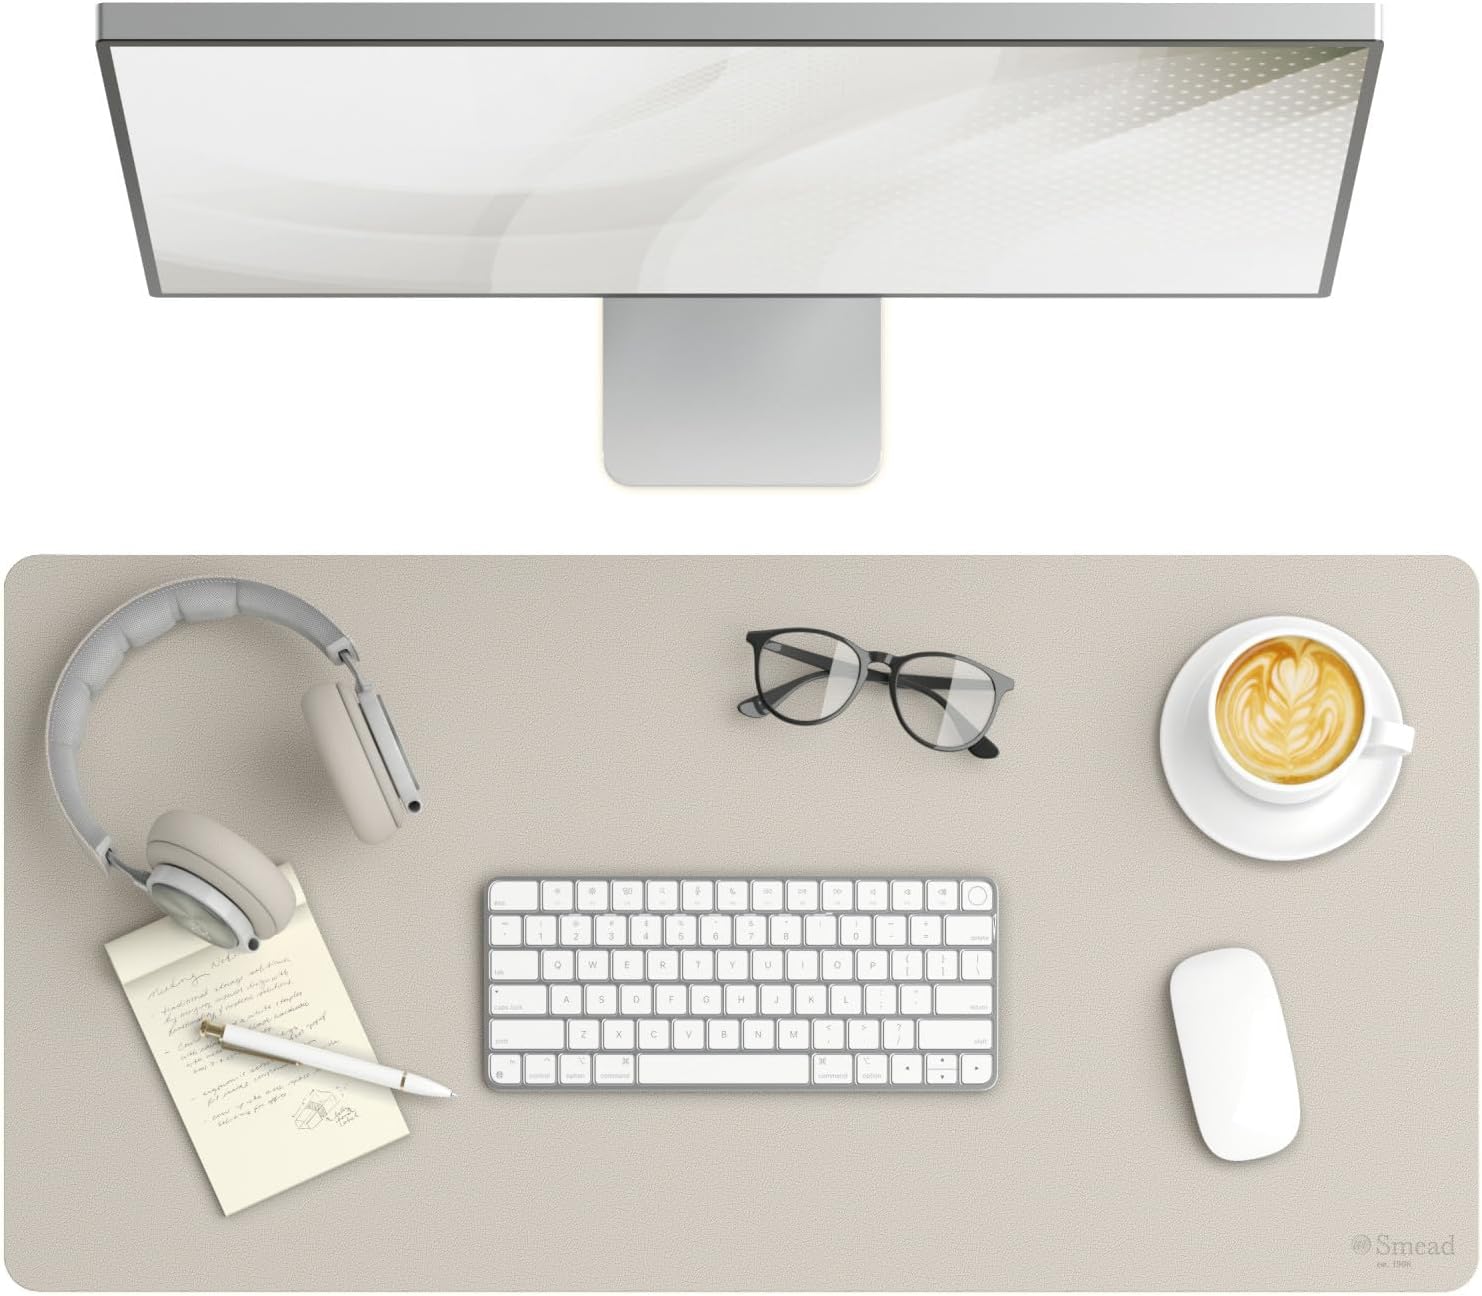
Smead Vegan Leather Desk Pad Mat, Office Desk Mat, Medium, Sandstone Beige
Sandstone beige is the safe answer for a window wall. A neutral mat does not fight daylight, and it does not read as a bright rectangle on camera. The listing calls this size medium, so the number that matters is the width: check the listed dimensions against the width of your desk before you order, because a mat narrower than your keyboard plus your mouse is a mouse pad with extra steps.
Vegan leather has one real advantage by a window. It does not soak up condensation the way fabric does on a cold Seattle morning, and it wipes clean. The tradeoff is that it is slicker than cloth, so if your mouse skates, that is why.
Skip this one if you want a mat that defines the whole desk area, because medium will not cover a 31 inch top edge to edge. Buy it if you want a quiet surface under a keyboard and a mouse, and you want the window to stay the brightest thing in the frame. Check current Amazon price and compare it against the patterned mat above before you decide.
The install order: eight steps
This is the order I install in. Reversing steps two and three is how people end up moving a loaded desk twice.
Step one: Measure the window before you move a single thing. Stand where the desk will go, note which way the glass faces, then note the hours when direct sun lands on that spot. In Seattle, a south window is a friend in January and a problem in July. You do not need an app for this. Watch the room at 9 a.m. and again at 3 p.m. and mark the floor with painter's tape. If you want to set up a home workspace by a window that works in both seasons, this is the only measurement that has to happen before you shop.
Step two: Turn the desk so the window is at your side. Most people who set up a work from home by a window push the desk flat against the glass. That is the one orientation that fails, because the sun ends up behind your screen or behind your head. Ninety degrees is the answer: window to your left or right, screen perpendicular to the glass, so reflections bounce away from you instead of into the panel. If the room layout will not allow a side-facing desk, you can back the desk against the window and work facing into the room, but then you are choosing a shade, not a view.
Step three: Set desk height, then pair the chair. Sit down with your feet flat and your arms hanging. Measure from the floor to the underside of your forearm. That is the height your desktop needs to sit at, and if the number lands lower than a fixed desk can go, you are looking at a keyboard tray or an adjustable base rather than a different chair. Then set the chair: seat depth first, then seat height, then lumbar. A desk that is two inches too tall will make a good chair feel broken, and no amount of chair adjustment fixes the desk.
Step four: Set monitor distance and height, then kill the reflections. Screen at arm's length, top of the panel at or just below eye level, tilted slightly down. Then check for glare at the worst hour of the day, not the best. If you can see a bright window shape in the panel, move the monitor a few inches toward the room, angle it a few degrees, or drop the shade. A monitor arm helps here because it lets you tune the angle without sliding the whole desk, and it is the one upgrade I would buy before a second monitor.
Step five: Build lighting layers, brightest to dimmest. Lighting layers by a window means three sources, not one: daylight through a shade you can actually adjust, a task light on the side opposite the window, and a screen brightness that matches the room. If the room is bright and the screen is dim, you will lean in and squint. If the room is dim and the screen is bright, your eyes will ache by 4 p.m. Turn off the overhead fixture when the sun is doing the work. Overhead light plus window light plus a bright screen is the combination that gives people headaches.
Step six: Plan cables and power before you plug anything in. Cable planning is not aesthetics. A cable that pulls on a monitor arm changes the monitor angle within a week, and a power strip hanging off the edge of a 31 inch desk is a foot waiting to catch a cord. Put the power outlet to work first: decide where the strip lives, usually strapped under the top or along the back rail, and leave slack at every joint. Then run cables behind the desk frame, not across the desktop, and read how to hide cables under a desk before you start taping things down. One strip, one path, no cables crossing the walkway.
Step seven: Handle heat and ventilation. Sun through glass heats a small room faster than people expect, and a laptop sitting in that beam will throttle. Keep the tower or the dock off the sill and out of direct sun. Do not block the floor vent or the baseboard radiator with the desk frame or with a storage box you shove under it. If the window opens, check that the desk does not sit in the swing of the sash. Ventilation is the step everyone skips and the one that decides whether the room is usable in August.
Step eight: Test at the worst hour and adjust once. Sit at the desk at the hour the sun is most annoying, run a video call, and look at yourself on the screen. If the background is blown out, the shade is not doing enough. If your face is in shadow and the window is bright, you need a light source in front of you, not behind. Make the changes once, on the same day, then stop. A window setup that is tuned at 3 p.m. will be fine at 9 a.m.
The competition and why it lost
The obvious upgrade is a standing desk, and I left it out on purpose. A 55 inch standing frame is the right answer for a room where the window wall is wide enough and you actually stand, but it fails the first test in this guide: most of them wobble at the top of their range, and a window desk is exactly where you notice, because the monitor sits between you and the light and any shake reads as glare movement. Test the top of the range before you trust one.
The 34 inch ultrawide lost for the same reason the big desks did. It needs width and distance, and a window wall usually gives you one or the other, not both.
A monitor arm is the one accessory I would add later, after the light is handled. Blackout curtains solve glare and kill the reason you wanted the window. A floor lamp behind your chair looks good and puts a bright source directly in the camera frame, which is why I put the task light to the side instead.
The pattern is simple. Anything that adds width, height, or a bright source behind your head has to earn its place by the window. Most of it does not.
What this all costs
Three items: a 31 inch desk, a mat, and cable management you probably already own. Check current Amazon price on each before you order, because these listings move, and the two mats are close enough in cost that the decision should be about the pattern and the width, not the number. Three items and one afternoon is what it takes to set up a home office by a window that survives July.
What you are actually paying for is the order. A desk under a window with no shade, no plan for the power outlet, and a monitor facing the sun is a worse workspace than the same desk in a corner, and no amount of gear fixes it. The cheapest correct setup beats the most expensive wrong one every single time, and by a window the correct setup is mostly geometry.
If you want to spend more, spend it in this order. A chair that fits your seat depth first, because the desk height is set by your body. A monitor arm second, so you can tune the angle without moving the desk. A shade you can adjust third, because a window you cannot dim is a window you will eventually cover with a sheet.
Skip the standing desk for now. Skip the second monitor until the desk is wide enough to hold it. Buy the width you need, set the height by measurement, and put the light at your side. That is the whole job, and it takes an afternoon.