Most home offices do not fail because of the wrong chair or the wrong monitor. They fail at the wall. One duplex outlet has to carry a monitor, a laptop brick, a lamp, a headset, and a phone charger, and the first thing most people buy is a strip they never measured for. This is the home office setup power strip explained as a planning step rather than a product category: where the outlets sit, how far the desk travels from them, what stays on the desktop, and what belongs on the floor.
Everything else in a desk setup depends on that plan. Desk height decides how much slack a cable needs when a sit-stand frame rises to its top position. Monitor distance decides whether a power brick can hide behind the panel or has to sit on the floor. Chair pairing decides whether an armrest collides with a strip clamped under the desktop. Get the power route wrong and you will redo your cable planning every time the desk moves.
Related: How to Measure a Desk and Chair as a Pair →
Quick answer
Plan the power outlet first, the strip second, and the devices third. Count every plug you own, add two spare sockets, and decide where the strip lives before you buy anything: on the floor, clamped to the desk frame, or fixed under the desktop. A floor strip is fine for a fixed desk and wrong for a sit-stand desk, because its cable has to travel the full height of the frame every time the desk moves. Devices that use a wall brick, including monitors and laptop chargers, also need ventilation space, so a closed cable tray is not always the right home for them.
Four useful options
| Model | Best fit | What stands out |
|---|---|---|
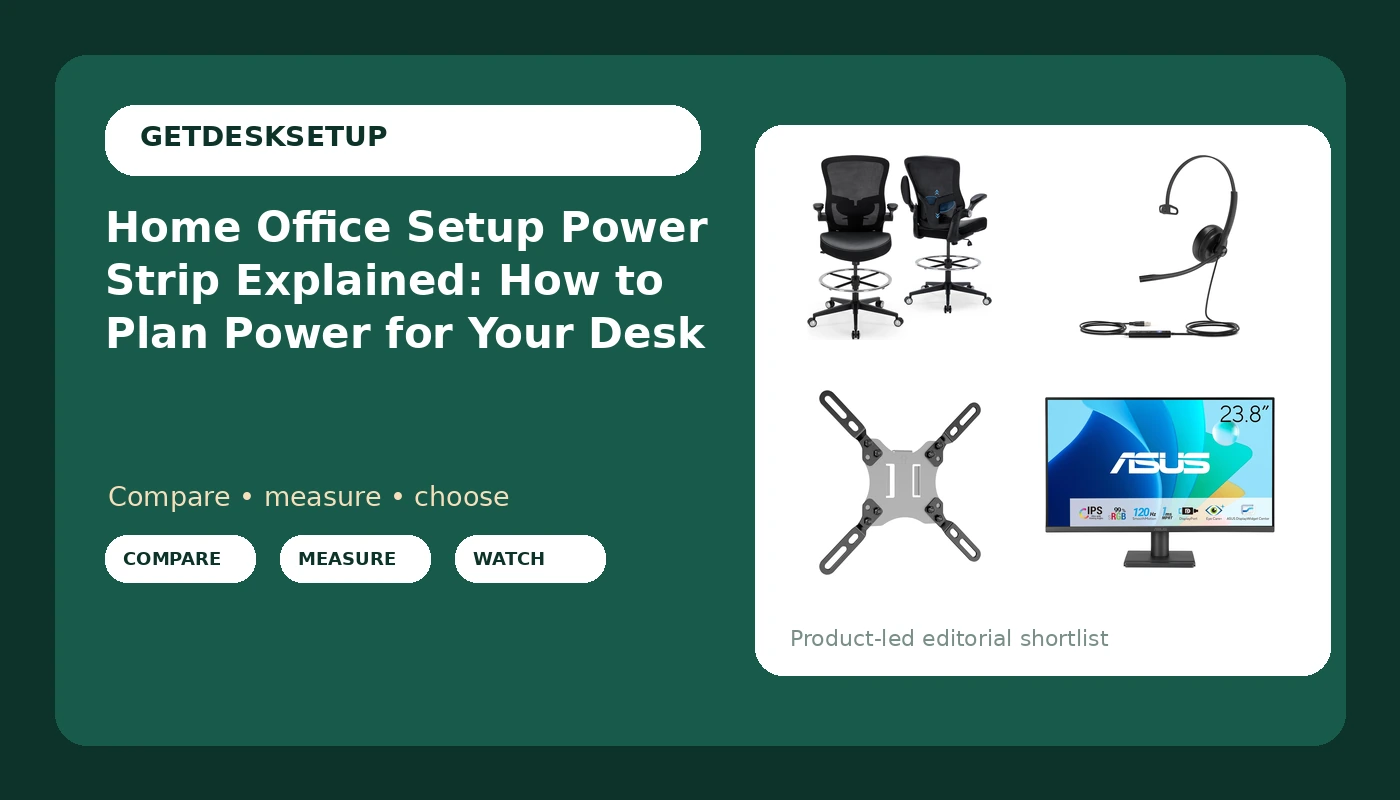
| Drafting Chair 400lbs Heavy Duty Tall Office Chair Big and Tall Ergonomic Standing Desk Chair with Lumbar Support and Adjustable Footrest Ring, Comfy Mesh Wide Chair with Flip-up Armrests, Black | Tall work surfaces and standing desks | Stated 400 lb capacity, adjustable footrest ring, flip-up armrests |
| Yealink UH34 Wired Headset,USB-A,Noise Canceling Mic,in-Line Control,On-Ear | Desk work that mixes calls with typing | Wired USB-A connection, noise canceling mic, in-line control |
| 200×200 VESA Adapter Mount Bracket for 23-42 Inch Monitor & TV, 66 lbs Load | Reusing a screen on a 200×200 mount | 200×200 hole pattern, stated 66 lb load, 23 to 42 inch range |
| ASUS VA249QG 24 Inch 1080P 120Hz Eye Care Gaming Monitor, HDMI, DisplayPort | A single-monitor desk | 24 inch 1080p panel, 120Hz refresh, HDMI and DisplayPort inputs |
The tall seat: Drafting Chair 400lbs Heavy Duty Tall Office Chair Big and Tall Ergonomic Standing Desk Chair with Lumbar Support and Adjustable Footrest Ring, Comfy Mesh Wide Chair with Flip-up Armrests, Black
The trade-off is measurement. The listing gives a weight capacity but no seat height range in the title, so a 400 lb figure tells you about load, not about fit. Measure your desk height first, then check whether the seat can rise into that band with your feet supported on the ring rather than dangling. The flip-up armrests matter more than they look: if your strip is clamped to the desk edge, an armrest that folds up is what keeps the chair from tearing the clamp loose. That is the chair pairing question in one sentence, and it is why this chair belongs in a power conversation at all.
The headset: Yealink UH34 Wired Headset,USB-A,Noise Canceling Mic,in-Line Control,On-Ear
A wired headset removes one charging cable from your strip and adds one data port to your laptop. On a USB-C-only machine that means an adapter, and the adapter takes up space at the exact point where your monitor and charger already meet. The in-line control also needs slack: if the cable is pulled tight across the desk, the control pod hangs off the edge and drags on your wrist. Route it to the side you actually reach with your non-dominant hand.
The mount adapter: 200×200 VESA Adapter Mount Bracket for 23-42 Inch Monitor & TV, 66 lbs Load
Lifting a monitor off its stand changes the power plan more than people expect. The original stand usually hides the power inlet behind the panel and lets the cable drop straight down. On a bracket, the inlet faces wherever the mount puts it, so the cable may run sideways across the back of the screen or forward toward your keyboard. Check the mount you already own before buying an adapter, and remember that the load rating is a stated figure, not a tested one for your specific screen.
The anchor screen: ASUS VA249QG 24 Inch 1080P 120Hz Eye Care Gaming Monitor, HDMI, DisplayPort
No USB hub ports are listed, so both the signal cable and the power cable run back to the wall. That is two cables with two different strain limits. The signal cable is the fragile one, and any pull on it will tilt the screen within a week. Leave a loop behind the panel and anchor the run to the desk frame, not to the strip itself.
Prices and availability may change. Product images, names, and retailer links are matched to verified listings. No current price, rating, stock status, or measured result is stated here without current evidence.
How a home office setup power strip maps to your room layout
The wall decides the layout more than any product does. Find every power outlet in the room and mark which one is on a circuit you can actually reach without a cable crossing a walkway. A strip plugged into the wrong outlet will either force the desk into a corner you did not want or push a cable across the floor where a chair caster will roll over it.
Room layout and ventilation interact here. Power bricks get warm, and a brick buried under a closed tray with no airflow runs hotter than one clipped to a frame rail in open air. If you are mounting a strip under the desktop, leave the brick outside the tray or choose a tray with an open side.
Lighting layers change the plug count. A desk lamp, a monitor light bar, and a floor lamp are three separate plugs that people forget until the strip is already full. Count them before you buy, then add two spare sockets for the device you have not bought yet.
Then measure the run. Sit at the desk at your normal desk height, and note where your hands naturally fall. That is where the strip's sockets should be reachable without standing up. A strip mounted at the back of the desk is tidy and useless if you have to crawl under the desk every time you want to unplug a charger.
Where a work from home setup power strip actually goes
There are three real mounting choices, and each one fails differently.
On the floor. Fine for a fixed desk. The strip stays put, the cables stay short, and nothing is clamped. It fails the moment the desk becomes a sit-stand desk, because the device cables now have to stretch and retract through the full travel.
Clamped to the desk frame. This is the standard answer for a sit-stand desk, because the strip travels with the desk and the device cables never change length. The failure mode is the clamp itself: a clamp that is tightened onto a thin rail can creep under load, and the strip ends up hanging by its own cable.
Fixed under the desktop. Cleanest visually, and the right choice if you have a solid top to screw into. The failure mode is reach and heat. Sockets at the back of a deep desktop are hard to reach from a seated position, and a closed tray turns into an oven for a laptop brick.
Whichever you pick, treat it as part of the home office workstation power strip plan rather than an afterthought. Sketch the desk from above, mark the outlet, mark where the strip sits, and draw each cable. If two lines cross a walkway, the plan is wrong.
The same logic applies to a home workspace setup power strip on a smaller desk. Short desks have less frame to clamp to, so a strip that mounts with screws often beats one that mounts with a clamp.
- Count every plug you own today, then add two spares.
- Find the outlet and confirm you can reach it without a cable crossing a walkway.
- Decide the mounting point: floor for a fixed desk, frame or underside for a moving desk.
- Measure slack at the top of the desk height range, not at seated height.
- Load the strip, raise the desk to standing height, and check every cable for tension.
Practical guidance
- Keep the strip off the floor on any sit-stand desk. Cable tension, not tidiness, is the reason.
- Leave one socket empty. It costs nothing and it absorbs the next device.
- Route cables away from casters and foot traffic, and anchor the run to the frame with clips rather than tape.
- Do not daisy-chain strips. One strip into one wall outlet, and check the rating before you add a second high-draw device.
- Give every power brick open air. If it sits in a closed tray, the tray is the wrong home for it.
Which option should you choose?
Choose the Drafting Chair 400lbs Heavy Duty Tall Office Chair Big and Tall Ergonomic Standing Desk Chair with Lumbar Support and Adjustable Footrest Ring, Comfy Mesh Wide Chair with Flip-up Armrests, Black when your desk sits high enough that a standard chair leaves your feet unsupported, and check the seat height against your measured desk height before ordering. Choose the Yealink UH34 Wired Headset,USB-A,Noise Canceling Mic,in-Line Control,On-Ear when you want calls off your strip entirely and you have a spare USB-A port or an adapter. Choose the 200×200 VESA Adapter Mount Bracket for 23-42 Inch Monitor & TV, 66 lbs Load when you already own a 200×200 mount and need to bring a 23 to 42 inch screen onto it. Choose the ASUS VA249QG 24 Inch 1080P 120Hz Eye Care Gaming Monitor, HDMI, DisplayPort when you are building a single-monitor desk and want to set monitor distance deliberately rather than by default.
The caveat is that none of these solve a bad power plan on their own. A chair, a headset, a bracket, and a monitor all sit downstream of where the outlet is and how the cable reaches it.
The bottom line
A home office setup power strip is not a purchase decision, it is a layout decision with a purchase attached. Count the plugs, pick the mounting point based on whether the desk moves, measure slack at the top of the desk height range, and leave one socket empty. Then buy the chair, the headset, the bracket, and the screen that fit the measurements you wrote down. The cheapest correct setup beats the most expensive wrong one every time.