Most home office setup monitor arm decisions fail for a boring reason: the arm gets picked before the desk and the body get measured. A clamp rated for a 2 inch desktop will not close on a 1 inch laminate top. An arm rated for 17.6 pounds per side is a problem if your 32 inch panel weighs more than that once the VESA plate is bolted on. And an arm with 20 inches of forward reach is wasted on a 24 inch deep desk, where the screen ends up hanging over the keyboard.
Consider this the home office setup monitor arm explained version: mounting method first, weight rating second, adjustment type third. It covers the three mounting methods you will see on listings, the numbers that decide whether a mount fits (per-arm weight rating, VESA pattern, desk thickness, reach), and how the answer changes once your desk height and chair pairing are already fixed. Measurements first, product second.
Related: Standing Desk Wobble at Standing Height Explained →
Quick answer
Choose the mounting method before the model. A clamp or grommet base needs a desktop you can tighten onto and a top thick enough to take the load; a freestanding arm needs clear depth behind the screen and no modification at all. Then match the per-arm weight rating to your panel, confirm the VESA pattern on the back of the monitor, and only then compare adjustment types. If you cannot state your monitor's weight and VESA pattern, stop and check the back of the panel before buying anything.
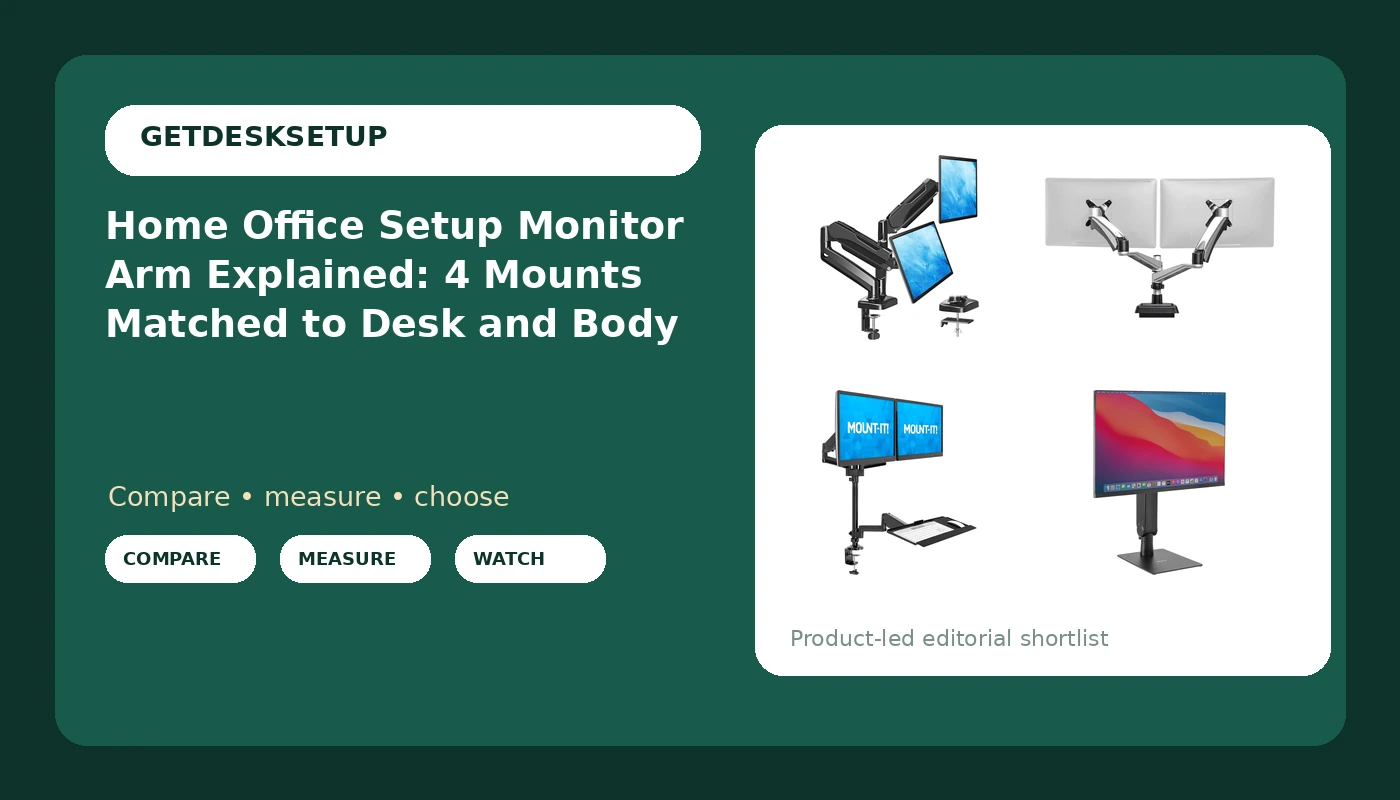
Four useful options
| Model | Best fit | What stands out |
|---|---|---|
| MOUNTUP Dual Monitor Stand for Desk | Two 22 to 32 inch screens on a clamp or grommet base | Wide screen-size range with a 4.4 to 17.6 pound per-arm rating |
| Vari Dual Monitor Arm | Two screens up to 27 inches where full range of motion matters | 360 degree adjustment and a 19.8 pound per-arm rating |
| Mount-It! Dual Monitor Arm Desk Mount Sit-Stand Workstation with Keyboard Tray | A standing desk setup that moves the keyboard with the screens | Gas spring height adjustment and an integrated keyboard tray |
| Mount-It! Freestanding Single Monitor Arm | One screen on a desk you cannot clamp or drill | Freestanding base with a spring mechanism and instant height adjustment |
The default dual clamp mount: MOUNTUP Dual Monitor Stand for Desk
Where it fits: this is the arm for the common two-screen desk that is 48 to 60 inches wide. The clamp and grommet options mean you can mount it without drilling if the top is thin, and the stated screen range covers 22 through 32 inch panels, which is the range most home desks actually hold. The trade-off is adjustment feel. This is a tension-based mount, so it rewards a careful setup: set tension with the arms unloaded, hang the screens, then fine-tune. Who should skip it: anyone with a panel above 17.6 pounds, and anyone who needs to swing a screen into portrait every day, because the range of motion is narrower than on a premium arm.
The full-motion premium dual arm: Vari Dual Monitor Arm
This is the pick when you want to swing a screen toward a colleague, rotate one panel to portrait for a long document, or push both back for reading. The stated constraints are what matter: 27 inches is the ceiling, so a 32 inch panel is outside the range even if it is light, and two heavy 27 inch panels sit near the top of the 19.8 pound rating. You are paying for joints that hold position instead of drifting, which is the usual complaint about budget arms. Who should skip it: 32 inch panel owners, and anyone whose screens are already near or above the stated per-arm limit.
The dual arm with a keyboard tray: Mount-It! Dual Monitor Arm Desk Mount Sit-Stand Workstation with Keyboard Tray
This one solves the usual standing desk failure, where the screens go up and the keyboard stays put, so your monitor distance and elbow angle change every time you raise the desk. Because the tray travels with the arm, the relationship between screen, keyboard, and hands stays constant through the day. The trade-off is depth. The tray projects in front of you, so the desk needs enough depth for the tray plus a keyboard, and the whole assembly is heavier than a plain dual arm, which puts more load through the clamp. Who should skip it: narrow desks, and anyone who prefers a keyboard tray mounted under the desktop instead.
The no-drill single arm: Mount-It! Freestanding Single Monitor Arm
This is the arm for a glass top, a rented desk, a desk with a drawer directly under the surface, or a top too thin for a clamp to grip. It also suits a single-screen desk where the second display is a laptop. Because the load sits on a weighted base rather than on the desk edge, the footprint is the number to check: measure the depth behind your monitor before ordering, and confirm the base will not land where your keyboard goes. Who should skip it: anyone who needs two mounted screens from one arm, and anyone whose desk is so shallow that the base crowds the work surface.
Prices and availability may change. Product images, names, and retailer links are matched to verified listings. No current price, rating, stock status, or measured result is stated here without current evidence.
How desk height and monitor distance change your home office setup monitor arm choice
Two numbers decide the geometry: your seated eye height and your desk depth. Treat a home office workstation monitor arm as a load-bearing part of the desk, not an accessory.
Start with desk height. On a typical 29 inch fixed desk, the top of the monitor should land near eye level when you sit with your feet flat. A short arm that only rises a few inches will leave you looking down at the panel; a gas spring or tall-pole arm gives you the range to reach eye level without stacking books under the base.
Then monitor distance. A comfortable range is roughly an arm's length, about 20 to 28 inches from your eyes to the screen, and it shifts with screen size. A 32 inch panel at 20 inches is closer than most people want, while a 24 inch panel at 28 inches reads small. That distance sets both your minimum reach requirement and your minimum desk depth. If the arm reaches 20 inches and the desk is 24 inches deep, the screen sits near your face. If the desk is 30 inches deep, the same arm lets you push the panel back.
Chair pairing matters here too. If your chair's seat depth and seat height put your eyes lower than expected, the arm has to travel further to bring the screen up to level. Set chair height first, then desk height, then arm height, then monitor distance. Reversing that order means doing it twice.
Finally, think about the top of the arm's travel. Wobble at standing height is a desk problem as much as an arm problem, so if you are mounting onto a standing desk, raise the desk to its tallest setting and check how it behaves before you trust the arm to hold a position all day.
Clamp, grommet, and freestanding mounts: what each one asks of your desk
Clamp base. The C-clamp grips the front or back edge of the desktop. It needs a flat edge, enough thickness for the jaws to bite, and a clear path underneath so the clamp can close. On a thin hollow-core top, spread the load with a block of wood. On a glass top, do not clamp at all.
Grommet base. The bolt passes through an existing cable hole. It is the most stable of the three when a hole exists, because the load sits over the desktop instead of on its edge. It needs a hole of the right diameter and access underneath to tighten the nut.
Freestanding base. The arm stands on a weighted foot. No modification, no edge thickness limit, no hole. The cost is footprint: the base occupies depth behind the screens, and the whole assembly can slide if it is bumped hard.
The practical rule: a clamp or grommet mount on a desk you do not own deserves a look at the underside before you buy. Cable trays, drawers, and center support bars are the three things that most often stop a clamp from closing.
- Weigh the monitor with the VESA plate attached, and note the VESA pattern on the back of the panel.
- Measure desktop thickness at the edge, and check for a grommet hole and its diameter.
- Measure desk depth, decide the monitor distance you want, then check the arm's stated reach against it.
- Set chair height and seat depth first, then desk height, then arm height, then screen distance.
- Set arm tension before loading, re-check it once the screens hang, and tighten every clamp screw again after a week.
Practical guidance for a work from home setup monitor arm
- Cable planning: route monitor cables along the arm's own channel and leave slack at every joint, because a cable that pulls tight will change the monitor angle within a week.
- Power outlet: count the plugs before you mount anything. Two monitors, a dock, a lamp, and a charger usually exceed one wall outlet, and a cord draped across the desk defeats the point of an arm.
- Room layout: leave clear depth in front of the screens, and check that the arm's swing does not hit a wall, a shelf, or a window frame behind you.
- Lighting layers: with the screen floating off the desk, a single overhead light tends to reflect off a glossy panel. Pair ambient light with a task lamp aimed at the wall or the work surface, not at the screen.
- Ventilation: lifting a monitor frees the space underneath, but do not park a laptop or a router in that gap if it blocks airflow from a vent or a fan.
Which option should you choose?
Choose the MOUNTUP Dual Monitor Stand for Desk when you have two 22 to 32 inch panels under 17.6 pounds each and want clamp or grommet mounting without a premium price bracket. Choose the Vari Dual Monitor Arm when both screens are 27 inches or under, you want 360 degree adjustment at the joints, and you rotate or swing them often. Choose the Mount-It! Dual Monitor Arm Desk Mount Sit-Stand Workstation with Keyboard Tray when the screens and keyboard need to rise together and the desk is deep enough to carry a tray. Choose the Mount-It! Freestanding Single Monitor Arm when you have one screen and a desk you cannot clamp, drill, or modify.
The limits here are the ones stated in the listings, not measurements taken in a room. The right home workspace setup monitor arm is the one whose stated range contains your panel, your desk thickness, and your mounting situation. If your monitor falls outside a stated weight or screen-size range, that mount is the wrong mount, no matter how the price looks.
The bottom line
A home office setup monitor arm is a measurement problem before it is a shopping problem. Write down three numbers: the weight of one monitor with its VESA plate, the thickness and edge condition of your desktop, and the depth you have between the screen and your eyes. Those three numbers eliminate most of the catalog on their own. Then decide between clamp, grommet, and freestanding, and let adjustment type settle the rest. The cheapest correct setup beats the most expensive wrong one, and a mount that fits your desk height, your chair pairing, and your monitor distance will outlast two that were chosen by looks.