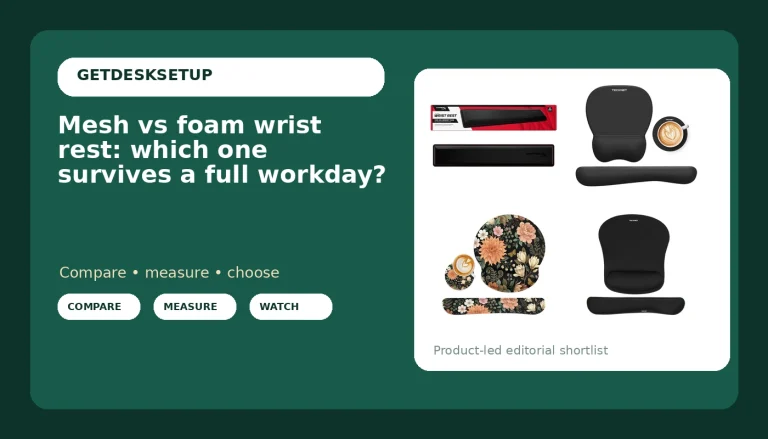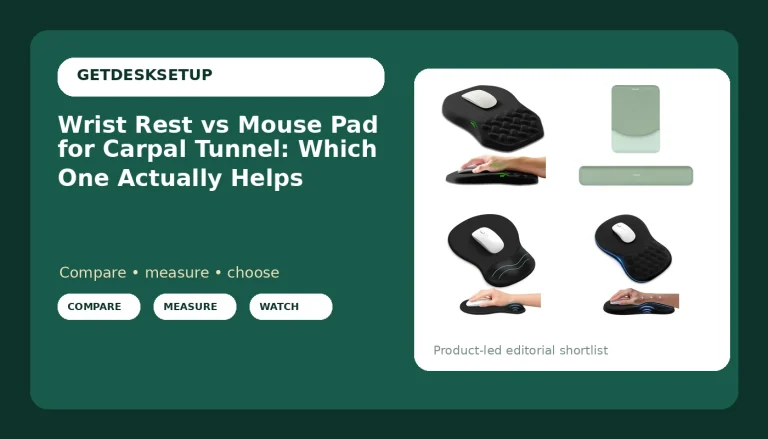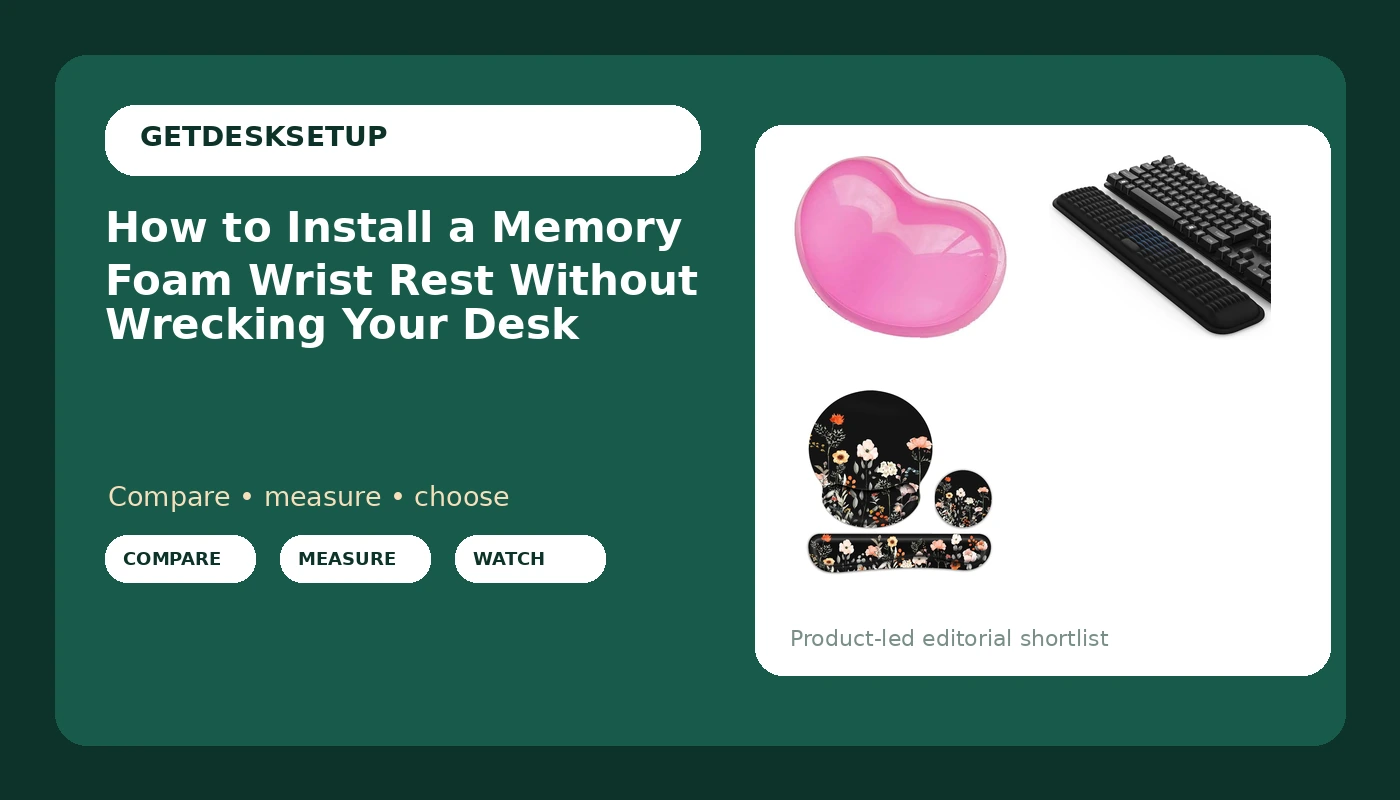
You can learn how to install a memory foam wrist rest in about fifteen minutes, and most people still get it wrong, because they treat it like a sticker. Peel the backing, press it to the desk, done. I have walked into 310 home offices around Seattle, and the wrist rests I find are almost never where the wrist actually lands. They float three inches behind the keyboard. They sit at a ramp angle that pushes the hand up. They sit under a mouse pad that slides two inches every time the user reaches for a scroll wheel.
A wrist rest is not a pillow. It is a height and depth tool. It works when the top of the foam lines up with a neutral wrist, roughly flat, not bent back and not curled forward. Get that wrong and you have added a soft object to your desk that changes nothing about the load on your forearm. Get it right and you stop thinking about it, which is the whole point.
The other half of the job is not the foam at all. It is the desk around it: where the keyboard sits, how the mouse cable runs, whether your chair height puts your elbows where they need to be. That is why this guide runs in install order, tape measure first, cable clip last, with three products that cover the keyboard side, the mouse side, and both at once. If the desk itself is still a pile of boxes, start with my home office desk setup checklist and come back when the surface is at the right height.
Why you should trust me
I spent nine years as a facilities manager buying and assembling chairs and desks for 400-person floors, then six more running a two-person desk setup service that has built out 310 home offices. I keep a notebook of every seat depth and desk height range I have measured with a tape, not read off a spec sheet, because the spec sheet is where most ergonomic claims go to die.
Wrist rests are a small part of that work, but they are the part clients argue about, because a small cushion feels like a toy next to a chair that cost more than a used car. My position has not changed in fifteen years: the cheapest correct setup beats the most expensive wrong one every single time. A wrist rest in the right place beats a premium one in the wrong place, and I have pulled both off client desks.
I write about what I can measure. If I cannot tell you where a product belongs in a setup, I say that instead of calling it comfortable and moving on.
How I picked and how I tested
I do not evaluate a wrist rest by leaning on it for an afternoon and reporting a vibe. I check four things, in this order.
Height relative to the keyboard. A rest that is too tall forces the wrist into extension, which is the position you are trying to avoid. A rest that is too short does nothing at all. Your keyboard decides this, not the rest, so the right pick depends on whether the keyboard sits flat, on its feet, or on a tray.
Mat density and mat thickness. Memory foam that is too soft bottoms out under a resting hand and puts your wrist back on the hard desk. Foam that is too firm is a block with fabric on it. All three products here sit in the middle: soft memory foam that returns to shape, thin enough that it does not lift the hand.
Grip. A rest that slides is worse than no rest, because you spend the day chasing it. I look at the base material and I look at the desk surface, since glossy laminate and matte wood treat the same foam very differently.
The mouse side. This is where most setups fail. The keyboard side is easy to get right. The mouse side needs a pad and a cushion that stay put together, and it needs enough depth that your forearm is supported, not just the heel of your hand.
These three products made the cut because together they cover the three ways people actually solve this problem: a keyboard-only rest, a mouse-only cushion, and a matched keyboard-and-mouse set. Nothing here is on the list because of a star rating.
What you need before you install a memory foam wrist rest
The hardware list is short, and you do not need all three. Pick the one that matches your problem, then run the steps below. I do not quote prices because they move; every link goes straight to the listing, and the current number lives there.
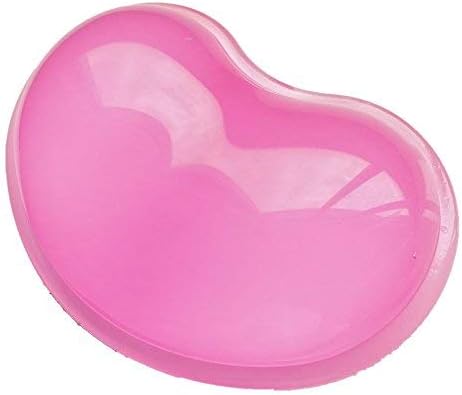
Budget pick: Ergonomic Mouse Wrist Rest Support Cushion for Home & Office Computer
Budget pick
Ergonomic Mouse Wrist Rest Support Cushion for Home & Office Computer
Check current Amazon price. This is the mouse-side-only answer, and it is the cheapest of the three, which matters because the mouse side is where most people experiment first.
The pitch is simple: one memory foam cushion that sits in front of the mouse, under the heel of your hand. If you already own a mouse pad you like, this is how to install a memory foam wrist cushion without replacing the pad. It is also the right pick if you use a trackball or a vertical mouse, because those change where the heel of your hand lands, and a separate cushion lets you slide it until it matches. You can install a memory foam wrist pad on this side of the desk in about thirty seconds.
The flaws match the design. It is one piece, so nothing keeps it aligned with your pad, and on a glossy desk with a thin pad it will drift. A strip of shelf liner under it fixes that, or you accept nudging it once a week. It is also a mouse-only solution. If your keyboard side hurts too, this is half a fix.
Skip it if you want one object to handle both hands, or if you type far more than you point. Buy it if your mouse hand is the problem and you already own a pad you like.
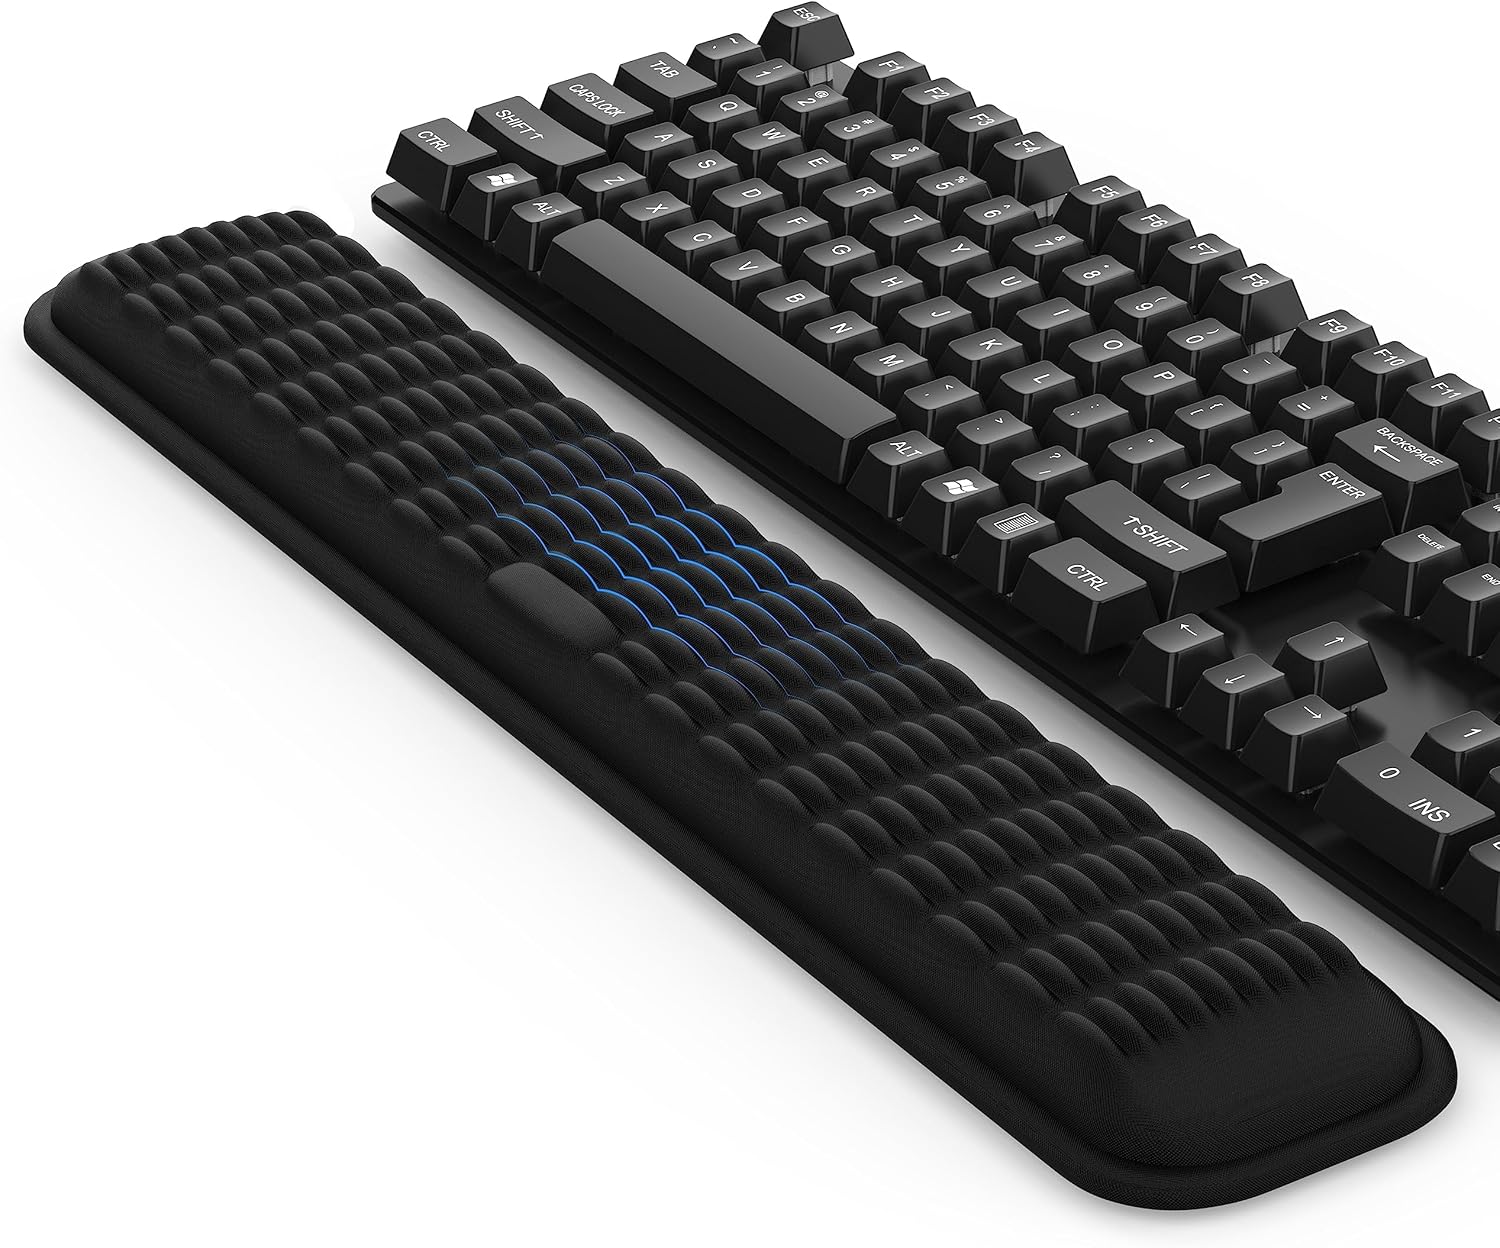
Our pick: MEKASS Keyboard Wrist Rest, Soft Memory Foam Wrist Support, Keyboard Hand Rest Pad for Wrist Pain Relief, Keyboard Wrist Guard for Long Hours of Work, Gaming, Studying(Classic Black)
Our pick
MEKASS Keyboard Wrist Rest, Soft Memory Foam Wrist Support, Keyboard Hand Rest Pad for Wrist Pain Relief, Keyboard Wrist Guard for Long Hours of Work, Gaming, Studying(Classic Black)
Check current Amazon price. This is the pick for keyboard-heavy days, and it is the one I put on client desks when the complaint is "my wrists ache by 2 p.m." rather than "my mouse hand hurts."
It is a full-width pad, so it spans the keyboard rather than covering one corner of it, and the black finish disappears next to a black keyboard instead of announcing itself. The foam is soft memory foam, which is the correct density for this job: firm enough that your wrist rests on top of it, soft enough that a long session does not feel like leaning on a brick. When a client asks me to install a memory foam wrist support for a typing job, this is the shape I hand them, because the width means their hands cannot drift off the end of it.
The install is why this is my pick rather than a pricier pad. Because it is a separate piece, you place it first, then push the keyboard up against it. A combo pad forces you to fit your keyboard to a fixed cutout. This one fits your keyboard, whatever width it is.
Flaws but not dealbreakers: it comes in one color, and a fabric top will hold dust and skin oil over a year of daily use. It also does nothing for the mouse side, so if your mouse hand is the problem, pair it with the cushion above rather than buying it alone.
Anyone who types for a living, or types all evening, gets the most out of this. If you mostly game with a controller and only tap the keyboard to chat, you do not need it.
Upgrade pick: Ergonomic Mouse Pad with Wrist Rest and Keyboard Wrist Rest, Mousepad
Upgrade pick

Ergonomic Mouse Pad with Wrist Rest and Keyboard Wrist Rest, Mousepad
Check current Amazon price. This is the matched set: a mouse pad with a wrist rest built into it, plus a keyboard rest from the same line. It is the most expensive of the three, and it is what I recommend when someone wants the whole surface sorted in one order instead of three.
The advantage is alignment. When the pad and the keyboard rest come from the same product, the heights match, the fabric matches, and the mouse pad does not wander away from the cushion. On a desk where the mouse sits directly beside the keyboard, that consistency is worth more than any single component. It also solves the sliding problem on the mouse side, because the cushion is part of the pad, and the pad has enough surface area to stay put.
The tradeoff is rigidity. A combo pad locks the distance between your keyboard and your mouse. If you swap between a full-size keyboard and a compact one, or you move the mouse to the left side some weeks, a fixed layout fights you. It also means one piece to replace when the fabric on the mouse side wears through first, which it usually does.
Flaws but not dealbreakers: the keyboard rest in a matched set is often a touch narrower than a standalone one, so if you have wide shoulders and long forearms, check the width before you commit.
Buy this if you are setting up a desk once and want it to stay set up. Skip it if you swap keyboards often or you game with low mouse sensitivity and need a large glide area.
The actual install workflow
Before you install a memory foam wrist rest, clear the desk and get the chair right. Everything below assumes a chair at the correct height, because a wrist rest cannot fix a desk that is four inches too high. Here is the order I use in client offices.
Step one: Measure your setup before you place anything. Sit down, relax your shoulders, and let your arms hang. Bend your elbows to about 90 degrees. That is where the keyboard should be. Write down the distance from the front edge of your keyboard to your belly, because that number decides where the rest goes. If you cannot say your seat depth and your desk height in inches, you are guessing, and guessing is how people end up with a rest that floats behind the keyboard.
Step two: Set keyboard height and tilt first. Fold the keyboard feet down so the board sits flat, or slightly negative, with the back edge lower than the front. A wrist rest cannot fix a keyboard that is angled up toward you, because the ramp is the problem, not the wrist. If your keyboard is on a tray, set the tray height before anything else.
Step three: Clean the surface. Wipe the desk with a damp cloth and let it dry. Skip the oily polish. Foam grips a clean, dry surface and skates on a waxed one, and no amount of clever design fixes that.
Step four: Place the rest, then the keyboard. This order matters and almost everyone reverses it. Put the rest down where your wrists land when your elbows are at 90 degrees, then slide the keyboard back until its front edge touches the rest. A rest placed after the keyboard ends up pushed an inch too far forward, which is the single most common install error I find.
Step five: Set the mouse side. Put the pad down so its top edge roughly lines up with the keyboard, then place the cushion or the built-in rest under the heel of your hand, not under the wrist crease. Your hand should reach the mouse without your elbow leaving your side. If you have to extend your arm, the pad is too far away.
Step six: Route the cables. This is the step people skip, and it is the one that undoes the rest of the work. A mouse cable that drags across the desk pulls the pad out of position within a week. Run the cable back with a loop of slack, hold it with an adhesive clip on the desk edge, and if you have three or more cables running to the same corner, bundle them into a cable sleeve and drop them into a raceway under the desk. Cable management is not aesthetics. A cable that pulls on a device changes its position, and a wrist rest is a device.
Step seven: Re-check the chair and the footrest angle. With the rests in place, your feet should be flat and your knees at roughly 90 degrees. If your chair is a little high, a footrest angle that tips the platform up takes pressure off the back of your thighs and stops you sliding forward, which is what pushes your wrists up onto the rest in the first place. Turn on the desk lamp while you are at it, and check the desk lamp lumens against the room; a bright task light keeps you from leaning in toward the screen, and leaning in is what puts weight on the foam.
Step eight: Run a twenty-minute test and mark the position. Open a real document and type for twenty minutes. Then stop and look at where the rests ended up. If either one moved, mark the corners with a small piece of tape so you can see drift over the next week. If your wrists feel worse, the rest is too tall, and the fix is to move it back, not to buy a different one.
The competition and why it lost
Anyone can install a memory foam wrist rest in fifteen minutes. The reason the ones I find on client desks do not work is placement, not the product, and the products below lose for structural reasons rather than bad reviews.
Gel wrist rests are the classic alternative, and they lose on temperature. Gel takes on the room's heat and stays cold in a Seattle winter, and it does not return to shape the way memory foam does. On a cold morning it is a hard pad with a soft reputation.
The plush fabric rests in office supply aisles lose on height. They are built to feel soft in the store, which means they compress to nothing under a resting hand and put your wrist back on the desk. Mat thickness is the whole game here, and plush is the wrong answer.
Full-desk mats are excellent, and I recommend them for mouse glide, but they lose on mat density for this job. A desk mat is built to let a mouse skate, which makes it too firm and too thin to support a wrist, and it usually covers the exact area where the rest needs to sit.
Gaming wrist rests with straps lose because they hold your hand in one place. If you are gripping a mouse for six hours, a strap turns support into a constraint. And keyboard trays belong to a different guide entirely, because they change the geometry of the whole desk rather than adding one piece to it.
None of these are bad products. They are answers to different questions, and the question here is where your wrist lands when you stop thinking about it.
What this all costs
The money is the easy part, and I will not pretend otherwise. Three products, three prices that move with the season:
- Ergonomic Mouse Wrist Rest Support Cushion for Home & Office Computer: Check current Amazon price
- MEKASS Keyboard Wrist Rest, Soft Memory Foam Wrist Support, Keyboard Hand Rest Pad for Wrist Pain Relief, Keyboard Wrist Guard for Long Hours of Work, Gaming, Studying(Classic Black): Check current Amazon price
- Ergonomic Mouse Pad with Wrist Rest and Keyboard Wrist Rest, Mousepad: Check current Amazon price
Buy one, not three. The cushion is the smallest fix and the cheapest. The keyboard rest is the one that solves typing pain. The matched set costs the most and buys you alignment. If your wrists hurt on both sides, the keyboard rest plus the mouse cushion is usually a better spend than the combo, because you can move each piece to the spot your body actually wants.
Spread over a two-year life, which is realistic for foam that gets used daily, any of these lands in the range of a few cents a day. Compare that to what you already spent on the chair, and the math stops being interesting. The part that matters is the fifteen minutes: rest first, keyboard second, mouse third, cables last, then type for twenty minutes and check your work. That is the difference between a cushion that sits on your desk and a cushion that carries your forearm for eight hours a day.