Most monitor arms fail for one reason, and it is never the arm itself. It is a monitor that weighs more than the arm's stated weight capacity, or a panel so light that the gas spring cannot hold tension and the whole assembly drifts upward overnight. If you want to get this right the first time, you need to know how to measure monitor weight for an arm before you put anything in a cart.
I have built out 310 home offices in and around Seattle, and I have never once trusted a listing for a weight. I put the panel on a scale. Manufacturers usually publish shipping weight, which includes the stand, the foam, the cardboard, and the manual, and that figure often runs four to six pounds heavier than the part that actually hangs on your arm. Other listings publish bare panel weight and quietly leave out the VESA adapter plate you have to bolt on before the arm will attach.
The good news is that you can measure monitor weight for an arm in about fifteen minutes with one bathroom scale and one tape measure, and those numbers answer three questions at once: whether the arm you like can hold your panel, whether that arm is too strong for your panel, and whether you need to add load to keep the screen where you put it.
The same method works if you want to measure monitor weight for a monitor mount of any kind, whether that is a desk arm, a wall bracket, or a pole mount. The physics does not change. Only the hardware at the desk end changes. And if your goal is to measure monitor weight for a monitor arm that uses a gas spring, the load is the same load, plus anything else you strap to the arm.
Why you should trust me
I spent nine years as an office facilities manager, buying and assembling desks and monitor arms for 400 person floors. Since then I have run a two person desk setup service that has built out 310 home offices, and I keep a notebook with every measurement I have taken with a tape and a scale, never read off a spec sheet.
When a client tells me their arm sags, I ask for two numbers: the weight of the panel with everything attached to it, and the weight capacity printed in the manual. Nine times out of ten the mismatch is obvious. It is usually a twelve pound panel on an arm rated from eight to twelve, sitting at the very top of its range where the spring has the least room left to work.
I also return a lot of arms. My own office has had four different single arms on the same desk in three years, and I keep the boxes for two weeks, because a week of real use is when drift shows up.
How I picked and how I tested
Everything below is about the measuring and mounting side of the job, not about which panel to buy. If you are still choosing a screen, start with the best monitors for a home office desk and come back here with a model number in hand.
For this piece I ran the same sequence on five setups: a 24 inch panel on a single desk arm, a 27 inch panel on a heavier stacked mount, a pair of 22 inch panels side by side, a tablet arm that needed extra load to stop floating, and a borrowed 32 inch panel that pushed one arm past its limit. On each one I weighed the panel bare, weighed it again with the VESA plate and the cables, mounted it, and checked where the arm sat at the top and bottom of its height range after seven days.
The numbers I trust are simple. Under eight pounds is light, and most gas spring arms in the small class will hold it, but only with the tension screw turned almost all the way down. From eight to twenty pounds is the sweet spot for a single desk arm. Past twenty two pounds per arm you are into heavy duty territory, and you should be looking at a mount that states its rating per arm, not per mount. If you cannot find a stated rating at all, skip the product, because there is nothing to measure against.
I also checked the desk end of every mount: the clamp mount range for desktop thickness, the grommet mount hole diameter, and whether the cable channel has room for a DisplayPort cable plus a power cord without pinching either one.
Mounts you'll need before you start
You cannot test a weight limit without something to hang the panel on. These three items cover the whole range of the job: a plain single arm for a normal panel, a heavier mount for people running several screens, and the counterweight that fixes the one failure mode nobody plans for.
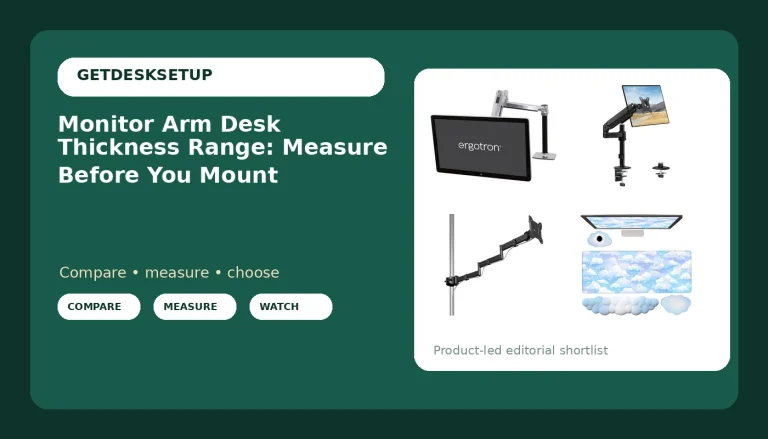
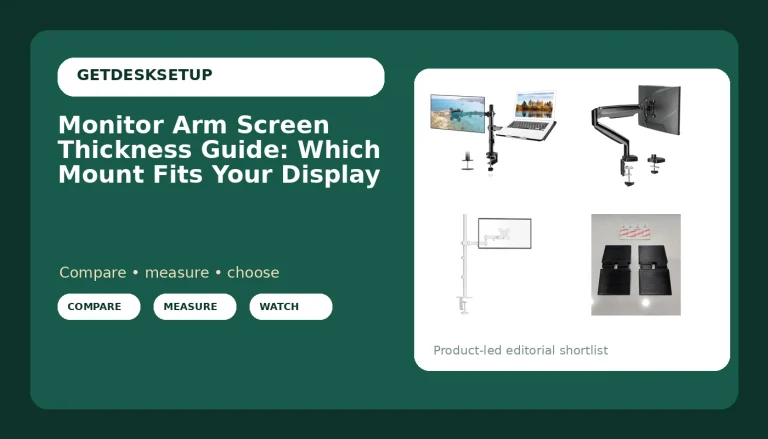
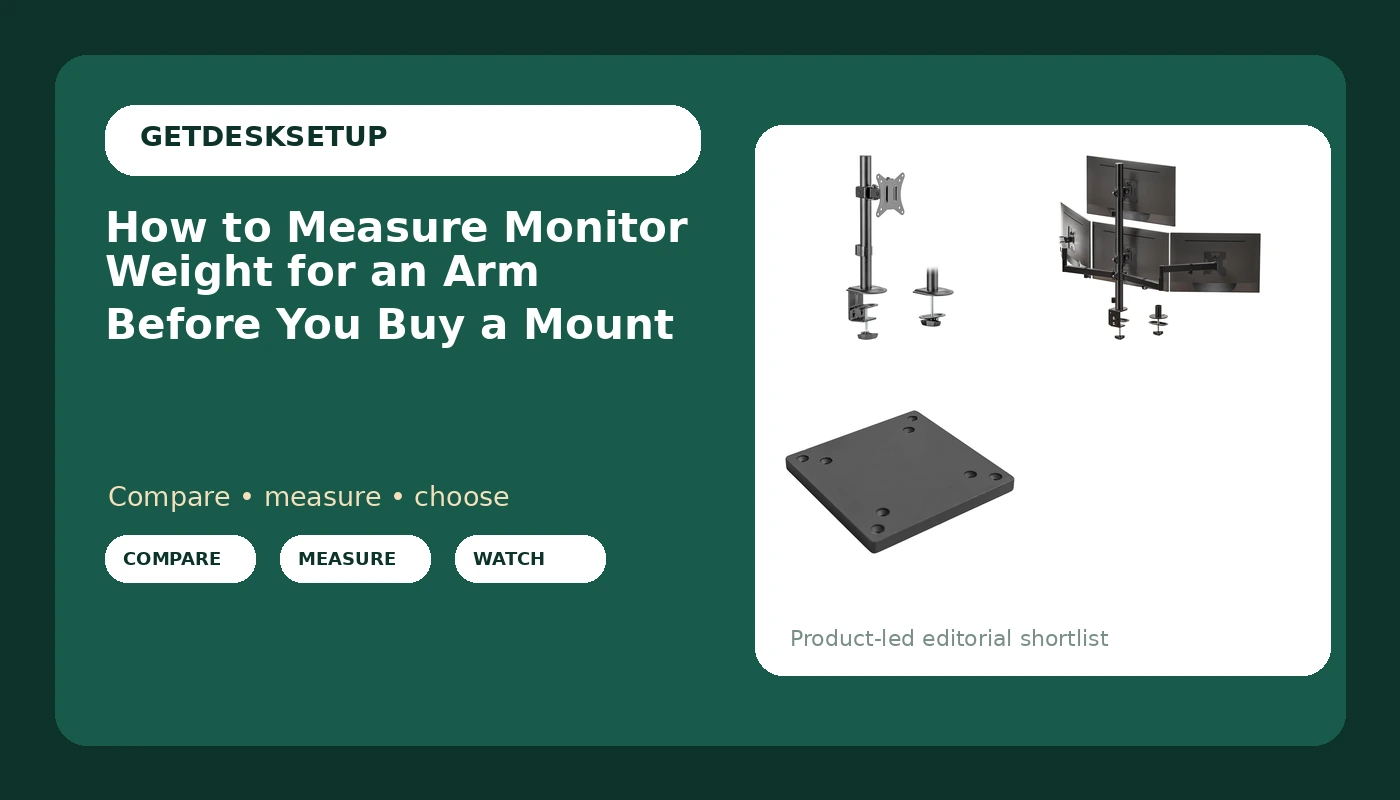
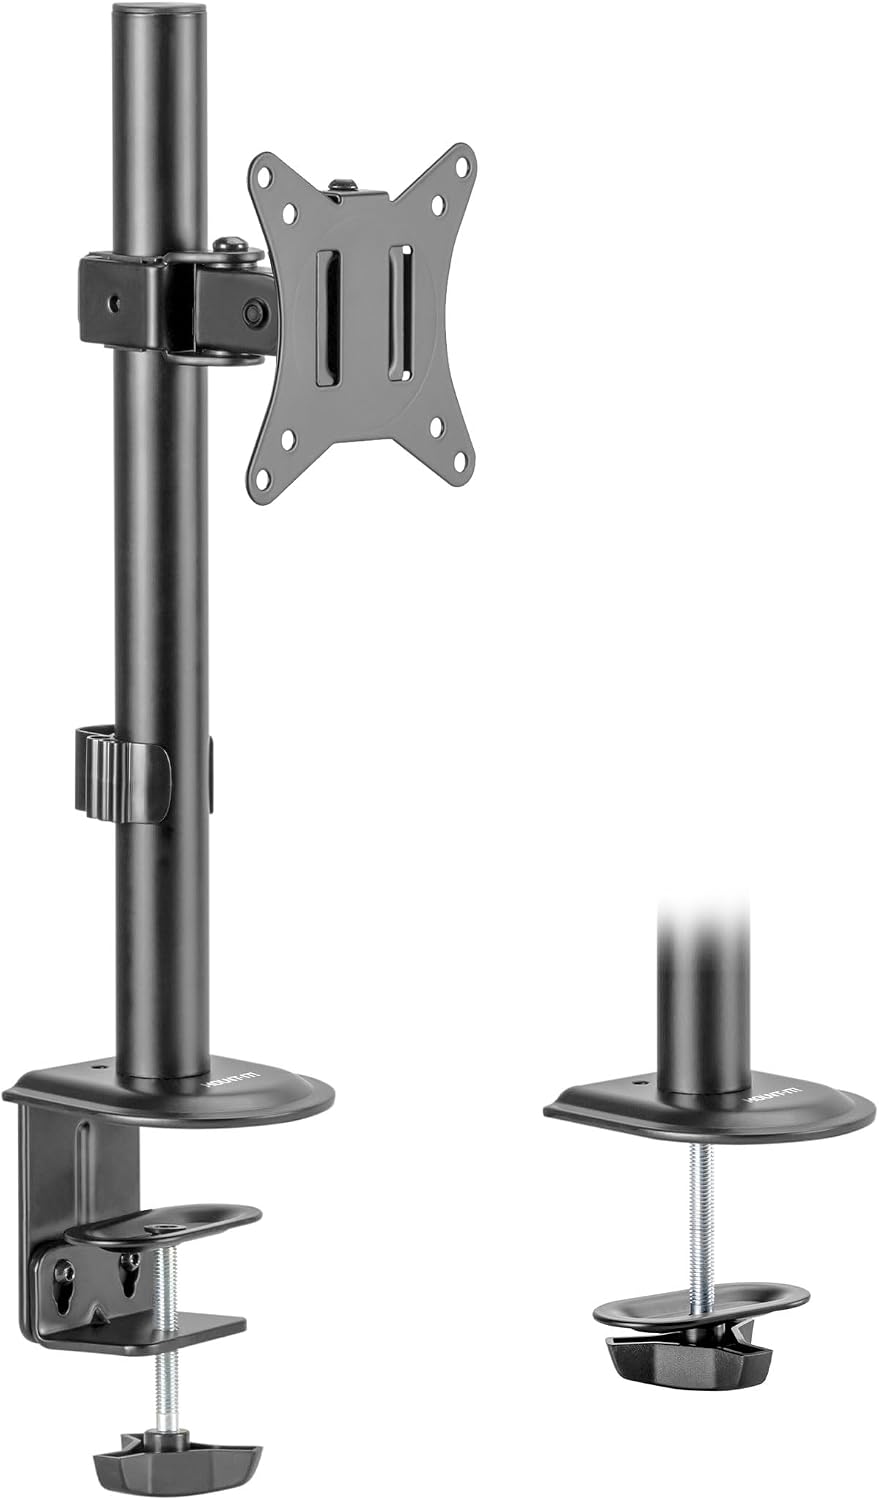
Budget pick: Mount-It! Single Monitor Desk Mount, Full Motion Arm, Fits 17-32" Screens
Budget pick
Mount-It! Single Monitor Desk Mount, Full Motion Arm, Fits 17-32" Screens
Check current Amazon price.
This is the arm I put on a client desk when the panel is a 24 or 27 inch and the budget is tight. The listing covers 17 to 32 inch screens with a full motion arm, which means tilt and swivel at the panel and a desk clamp at the bottom. Full motion arms are where weight errors show up fastest, because every degree of tilt moves the load on the joint. If your panel sits at fourteen pounds and this arm holds it level but droops the moment you tilt it down, you have your answer about where the real limit is, regardless of what the box claims.
The desk end is where I would spend my attention before ordering. Measure your desktop thickness first, because a clamp mount that is one eighth of an inch too narrow is a clamp mount that will not close, and a clamp that will not close is a monitor on the floor. Also check the depth of your desk edge and whether there is a steel frame running under it.
Flaws but not dealbreakers: The tradeoff with any single arm in this class is that you will re-tension the joint after the first week. That is normal, not a defect.
Anyone with a 34 inch ultrawide or a panel over twenty pounds should skip this class entirely and go straight to a heavy duty arm. This one is for the normal 17 to 32 inch desk panel.
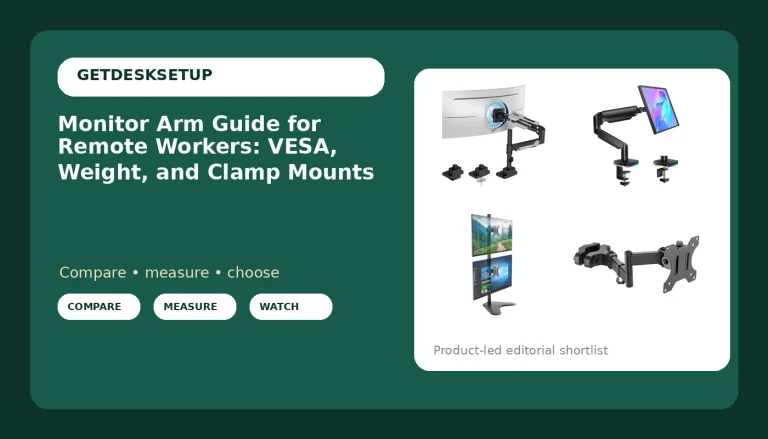
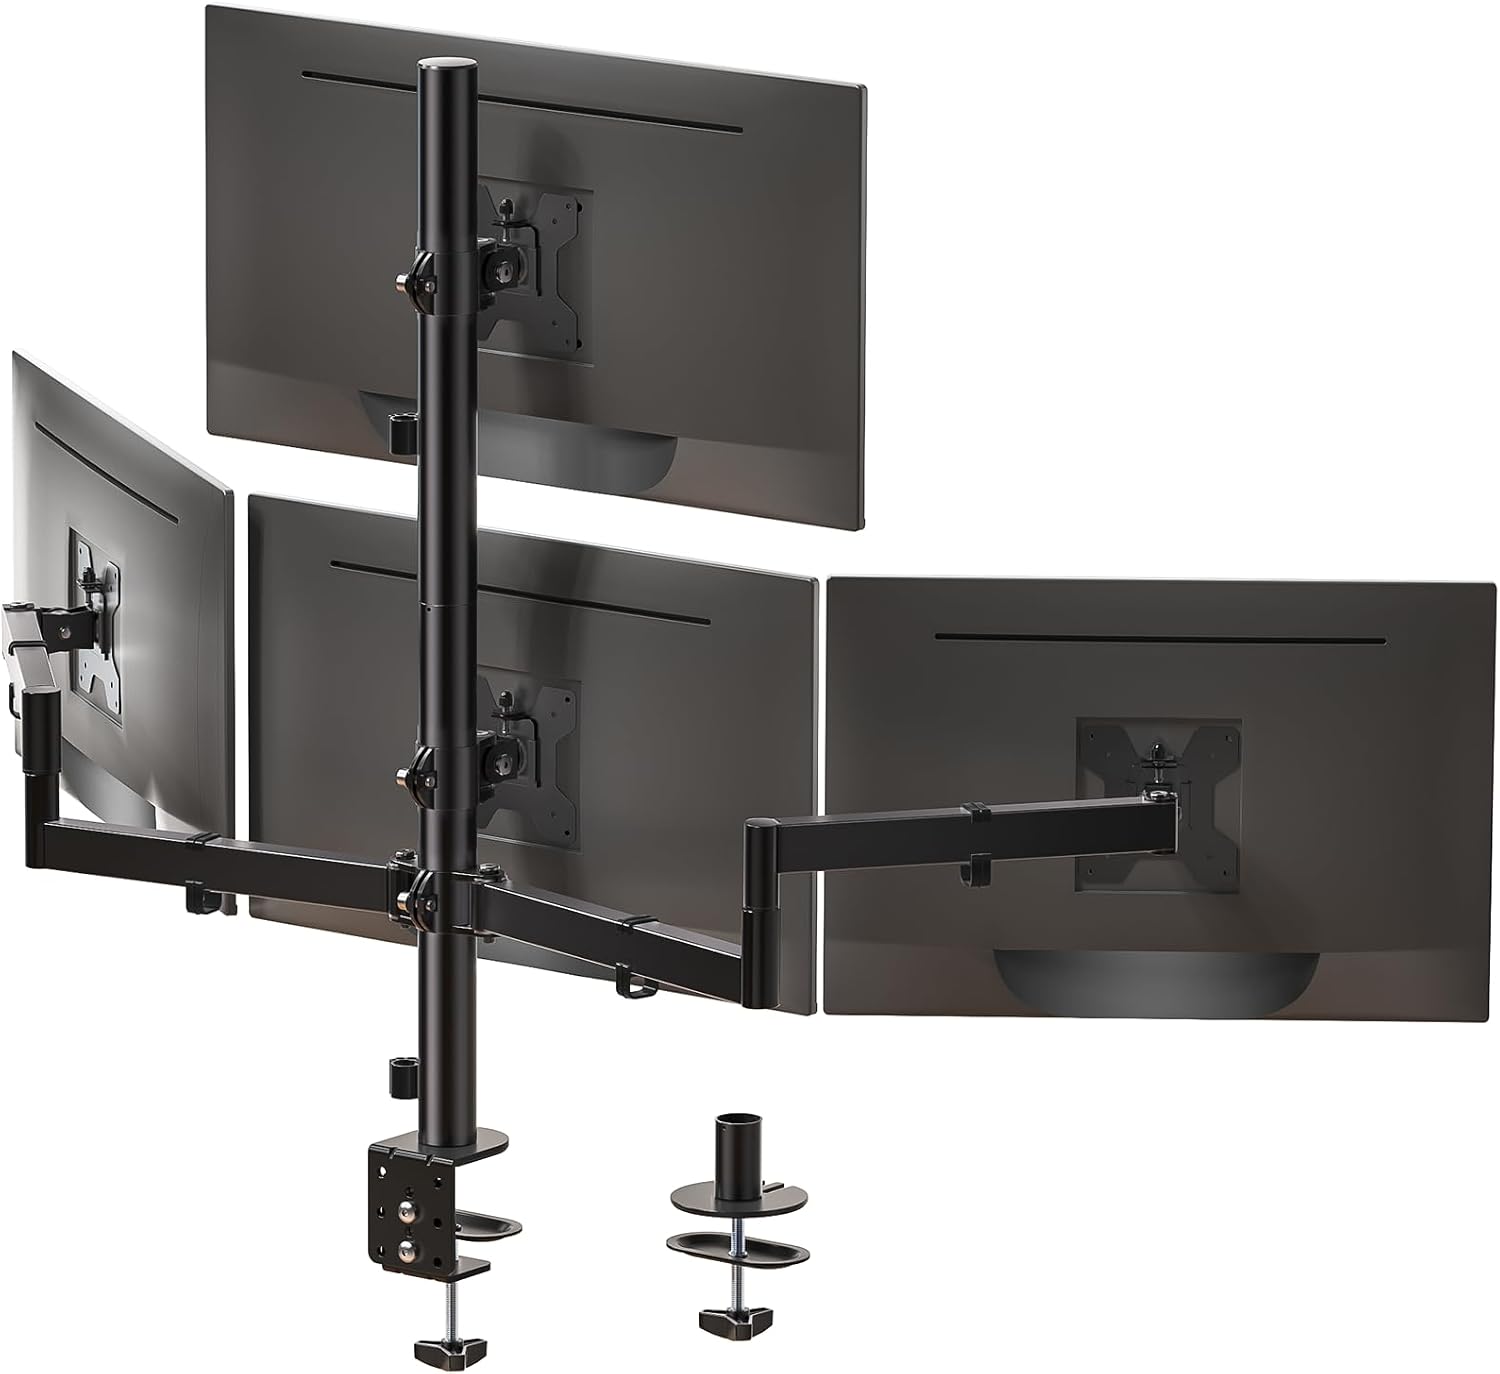
Upgrade pick: WALI Stacked 4 Monitor Mount for 13-27 inch Screens, up to 22 lbs per Arm
Upgrade pick
WALI Stacked 4 Monitor Mount for 13-27 inch Screens, up to 22 lbs per Arm
Check current Amazon price.
The reason I keep this one in the guide is the wording in its name: up to 22 lbs per arm. That is the phrasing you want, stated per arm rather than per mount, because a four screen mount with a single total rating tells you nothing about the load on the arm that is holding your heaviest panel.
When you measure monitor weight for an arm on a stacked mount, you do the math four times, not once. Each panel gets its own number with its own VESA plate and its own cable, and each arm has to sit inside that 22 pound figure on its own. It also means the vertical spacing matters more than on a single arm, because a stack of 13 to 27 inch screens climbs fast, and the higher the panel sits, the more leverage it puts on the joint.
Flaws but not dealbreakers: If you run 32 inch panels, this mount is outside its stated range, and no amount of careful weighing fixes that. Buy the right size class instead of pushing a mount past its design.
Anyone running three or four smaller panels who wants them on one clamp and one pole should look here first.
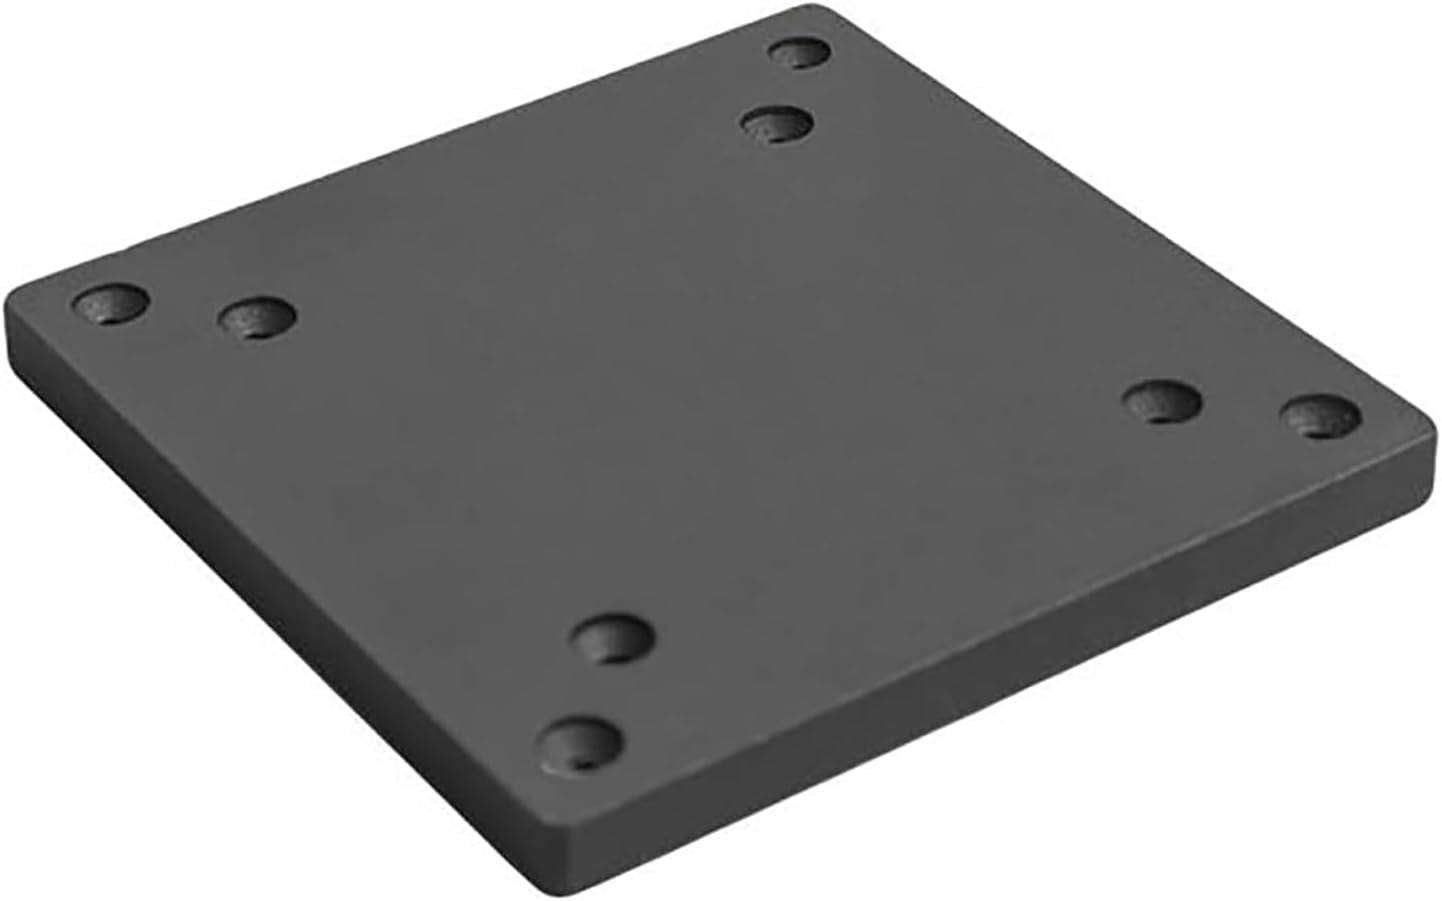
The drift fix: Weight Block for Monitor Arm, Cold-Rolled Steel Counterweight for Tablet and Smartphone, VESA 75x100mm Compatible, Stabilizes Display Arm for Hover Function, Black and White (Black,4.4IB)
The drift fix
Weight Block for Monitor Arm, Cold-Rolled Steel Counterweight for Tablet and Smartphone, VESA 75x100mm Compatible, Stabilizes Display Arm for Hover Function, Black and White (Black,4.4IB)
Check current Amazon price.
This is the item almost nobody buys and half the people who complain about a floating arm actually need. It is 4.4 pounds of cold rolled steel that bolts between the arm and the display using the VESA 75x100mm pattern, and it exists because a light tablet or phone on a full motion arm sits below the arm's minimum tension. The arm does not hold it down. It pushes it up.
Here is how you know you need it. Mount the display, set the angle you want, and walk away for an hour. If the screen has crept upward when you come back, your load is under the arm's floor, and no amount of adjusting will fix a spring that is stronger than your panel. Adding 4.4 pounds of counterweight brings the total into the range the arm was designed for.
Flaws but not dealbreakers: It adds depth behind the panel, so check your clearance to the wall before you commit, and it will not rescue an arm that is over capacity. It only fixes the too light case.
Anyone mounting a tablet, a small portable monitor, or a very light panel on a full motion arm should buy this at the same time as the arm, not after the drift starts.
The actual workflow: how to measure monitor weight for an arm
Now the part you came for. This sequence works on any panel and any arm, and it takes one trip to the bathroom scale plus one to the desk.
Step one: Weigh the panel itself. Stand on the bathroom scale holding the monitor, note the number, put the monitor down, weigh yourself alone, and subtract. Do it twice, because a difference of half a pound means you shifted your grip. For panels under fifteen pounds, a kitchen scale with a cutting board on top gives you a cleaner number. Take the monitor's own stand off first, since it does not travel with the arm.
Step two: Weigh everything that moves with the panel. That means the VESA adapter plate, the four screws, a DisplayPort or HDMI cable if you route it along the arm, a webcam, and a small soundbar if you plan to hang one off the arm. Add it all to the panel number. On a light panel, a steel adapter plate alone can be four pounds, which is the difference between inside the range and outside it.
Step three: Find the arm's weight capacity and read the units. Is the rating per arm or per mount? Is it a range like 4.4 to 15 pounds, or a single maximum? Does it include the VESA plate, or does it assume the bare panel? Write the number down next to your measured total and circle both. This is the comparison that decides the purchase.
Step four: Measure the VESA pattern on the back of the panel. Measure hole center to hole center in both directions and write down both numbers, because a 75×100 pattern is not the same as a 100×100 pattern, and an adapter that fits one will not fit the other. If the back of the panel is recessed, you may need spacers, and spacers add standoff and a little weight.
Step five: Measure the desk end. For a clamp mount, measure your desktop thickness at the exact spot where the clamp will sit, and check for a frame or a drawer rail underneath. For a grommet mount, measure the hole diameter and confirm the hole is clear of the desk frame. An arm that passes every weight test can still fail here, and it fails on the first afternoon.
Step six: Check tilt range and swivel against your eye height. The load on the joint changes with angle. If you need the panel tilted down for a tall seated user or tilted up for standing work, the arm has to hold your measured weight at that angle, not just level. This is why I test at the extremes rather than at the neutral position.
Step seven: Mount it, then test the top and bottom of the range. Clamp first, then load, then tighten, in that order. Reversing it cracks the desktop. Once the panel is on, raise the arm to its highest point and drop it to its lowest, then leave it there for a week. Real use, not a two minute wiggle test, is what reveals drift.
Step eight: Re-measure after seven days and log the numbers. If the panel crept upward, your total is under the arm's floor and you add a counterweight. If it sagged, you are over capacity and you change the arm. Write both numbers in a notebook so the next purchase is a two minute decision instead of an afternoon of reading listings.
If you can say out loud that your panel weighs 11.4 pounds with the plate and the cables, and the arm is rated 8 to 20, you are done guessing. That sentence is the whole job.
The competition and why it lost
Heavy duty gas spring arms for 34 inch ultrawides and 40 inch panels are excellent products, but they solve a problem this guide does not cover. They are for loads above the 22 pound per arm line, and if you are shopping in that range you already know your panel is heavy. The measuring question there is about desk thickness and pole diameter, not about whether the arm can take the weight.
Wall mounts and pole mounts lose here for a different reason: they remove the desk from the equation, which is a real advantage in a small room, but they also remove the clamp mount and grommet mount decision that most people are actually making. If your desk has a steel frame under the edge or a glass top, a wall mount may be the correct answer, and that is a separate article.
Laptop tray arms and tablet stands are the closest competitors to the counterweight above, and they work fine until you want the tablet hovering at eye level over the desk. At that point you are back to a full motion arm with too little load on it, and the counterweight is the cheaper fix than buying a second arm with a lower spring rating.
The one thing I will not recommend is buying a four screen mount when you own one monitor, or a single arm when you know you are adding a second panel in six months. Both are the wrong tool, and no measurement rescues the wrong tool.
What this all costs
The measuring itself costs nothing. You already own a tape measure and a bathroom scale, and a notebook is optional but the reason I can quote numbers from installs three years ago. The money goes into the hardware, and the links above carry the current figures.
In rough order, the single desk arm is the cheapest of the three, the stacked four screen mount is the most expensive, and the counterweight sits between them. None of the three is a luxury purchase at the scale of a desk build. Spread over the three years you will realistically keep a mount, the difference between the cheap arm and the good one is pennies a day, and the cost of buying the wrong arm twice is larger than the cost of measuring once.
Where people actually lose money is in the returns. An arm that arrives, mounts, and then sags under a panel that was two pounds over its rating is an afternoon of disassembly, a box, a label, and a second wait. Fifteen minutes with a scale prevents all of it.
The math is the easy part. The hard part is resisting the urge to trust a screen size range, because a 32 inch panel can weigh nine pounds or twenty, and the arm does not care how big the panel is. It cares how heavy it is. Measure the panel, add the plate and the cables, compare that number to the rating, and then buy once. That is the job, and it is a smaller job than you think.