Monitor arm materials are the part of the spec sheet most people skip, and they are the reason two arms with the same weight capacity can behave nothing alike on the same desk. A VESA pattern tells you where four screws go. It says nothing about whether the elbow joint will hold its angle after six months, whether the spring will creep under a heavy panel, or whether the clamp plate will bite into a hollow-core top. If you have ever tightened an arm, watched the screen drift down, and tightened it again a week later, the material and the mechanism were the problem, not the monitor. This page covers what the metal and the spring actually change, and which of four listed options fits which desk.
Related: Monitor Arm Weight Capacity: What Your Desk Can Actually Hold →
Quick answer
Monitor arm materials and mechanism decide almost everything that matters in daily use. The metal in the column, the elbow, and the clamp plate sets how much the arm flexes under a given screen weight, and the spring inside sets whether the screen stays where you put it. Match three numbers before you compare anything else: your monitor's weight, its VESA pattern, and your desktop thickness. A 19.8 lb weight capacity and a 100x100mm VESA plate mean nothing if the surface under the clamp is a thin particle-board top that crushes the first time you tighten the bolt.
Four useful options
| Model | Best fit | What stands out |
|---|---|---|
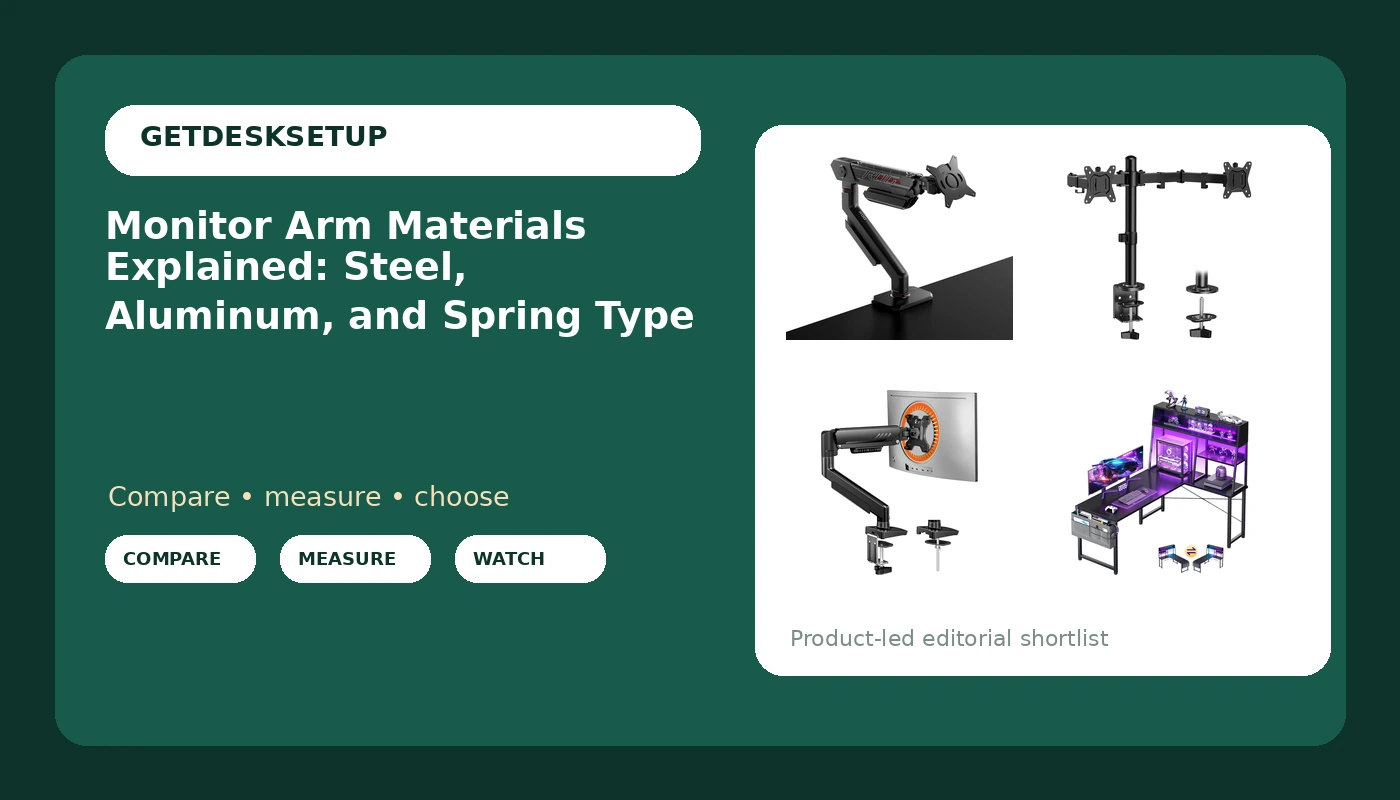
| ASUS ROG Ergo Monitor Arm (AAS01) | Large or heavy displays | Listed for screens up to 39 inches and 23 lbs, mechanical spring, VESA 100×100 |
| ErGear Dual Monitor Stand | Two-screen desks | Two arms at 17.6 lbs each, screens up to 32 inches, tilt and swivel |
| ErGear Single Monitor Arm | One screen, smaller desks | Tool-free VESA plate, 19.8 lb capacity, cable management |
| AODK 51 Inch L Shaped Gaming Desk | The surface the clamp grabs | 51-inch L-shaped top with display shelves and LED lighting |
The heavy-display pick: ASUS ROG Ergo Monitor Arm (AAS01)
A mechanical spring arm is tuned with a tension screw, so you set it once for the weight of your panel and it holds. That is the practical difference between a spring arm and a plain friction arm: friction joints rely on bolt tension alone and tend to creep under a heavy screen. The trade-off is desk load. A panel near the top of this arm's stated range puts real leverage on the clamp, so the desktop and the clamp plate matter as much as the arm itself. If your top is thin or hollow, this is the moment to think about a grommet mount or a steel plate under the clamp.
The two-screen pick: ErGear Dual Monitor Stand
Two monitors on one clamp concentrates load in a single spot on the desktop, which is why dual arms are the most common place people crack a cheap top. Add up both panels plus any VESA adapter before you commit. Independent tilt and swivel on each arm is what lets you angle a portrait panel next to a landscape one without fighting the joint. If your two screens are very different weights, a dual arm is harder to balance than two single arms, because one column carries both.
The single-screen pick: ErGear Single Monitor Arm
A single arm puts less torque on the desktop than a dual, so it is the safer choice on a narrow or lightweight desk. It also frees the whole area under the screen, which matters if you use that space for a keyboard or a laptop. The trade-off is that a single clamp cannot hold a second panel later without a second mount. Weigh your monitor with the stand removed, since the stand is usually the heaviest single part and it is not going back on.
The surface underneath: AODK 51 Inch L Shaped Gaming Desk
An L-shaped desk changes where an arm makes sense. The corner gives you a natural spot for a clamp, but a display shelf can block the vertical travel of a tall arm, so check clearance above the shelf before you mount anything. If the shelf is where you want the screen, the shelf is already doing the job and an arm may be the wrong tool. If you want the panel floating over the open run of the desk, a corner clamp plus a single arm is the cleaner arrangement.
Prices and availability may change. Product images, names, and retailer links are matched to verified listings. No current price, rating, stock status, or measured result is stated here without current evidence.
What monitor arm materials actually change
Monitor mount materials fall into three practical groups: steel, aluminum, and the plastics used for covers, cable clips, and plate faces. Steel is stiffer for a given thickness, which is why heavy-duty arms often use it in the column and the clamp plate. Aluminum is lighter and does not rust, but it needs more thickness to match steel's stiffness, so a slim aluminum arm and a chunky steel arm can carry the same load with very different weights on the desk. Plastic is fine for a VESA plate face or a cable channel and wrong for a load-bearing joint.
Screen arm materials show up in four places you can check with your hands: the column, the elbow joint, the clamp plate, and the VESA plate. Flex at the column shows up as a screen that dips when you type. Play at the elbow shows up as a screen that drifts down over an afternoon. A clamp plate that deforms shows up as an arm that will not stay tight no matter how hard you turn the bolt. There is no separate standard for VESA monitor arm materials: the VESA pattern fixes bolt spacing at 75x75mm or 100x100mm, and the material decides how that plate behaves under load.
If you want monitor arm materials explained in one sentence, it is this: the metal decides how much the arm flexes, and the spring decides whether the screen stays put.
Steel, aluminum, and the spring inside
The spring is the part that decides how the arm feels. A gas spring uses a pressurized cylinder and moves smoothly, but the pressure is set at the factory for a weight band, and a screen far outside that band will either sink or float. A mechanical spring uses a coil and a tension screw, so you can dial it to the panel you own. Neither is better in the abstract: a gas spring arm is quicker to set up if your screen sits in the middle of its band, and a mechanical spring arm is easier to correct if your screen is near the edge of the range.
Weight capacity is a claim about the whole assembly, not one part. The number on the listing describes the load the joint and the spring are built to hold, and it assumes the clamp is attached to a solid surface.
- Weigh the monitor without its stand and add any VESA adapter or aftermarket plate.
- Check the VESA pattern on the back of the panel and confirm the arm's maximum, usually 75x75mm or 100x100mm.
- Measure desktop thickness at the clamp point, including any bevel or edge profile.
- Match the spring type to the screen weight: mechanical springs adjust with a tension screw, gas springs are built for a weight band.
- Plan the cable route through the cable channel before the arm goes up, and leave slack at every joint.
Mounting hardware and desk compatibility
- Measure the desktop at the clamp point, not in the middle of the desk. Beveled edges and laminate overhangs change how much surface the clamp actually grips.
- A grommet mount spreads load through a hole in the top and is the steadier option on thin or hollow desktops, but it needs an existing hole or a drill.
- Keep the tilt range and swivel in mind when you place the arm. A screen pushed to the end of its tilt range needs more spring tension to stay put.
- Route cables through the cable channel with slack at the elbow. A tight cable pulls the arm out of angle within a week, which is the most common reason a correctly installed arm starts to droop.
- Check the weight capacity against the monitor plus everything else on the arm, including a VESA adapter, a webcam mount, or a laptop tray.
If the desk is height adjustable, routing matters even more because the cable run changes length as the desk moves; our notes on standing desk cable management cover that in detail.
Which option should you choose?
Choose the ASUS ROG Ergo Monitor Arm (AAS01) when your screen is large or heavy and you want the widest stated range here, with a mechanical spring you can tune to the panel. Choose the ErGear Dual Monitor Stand when you run two screens and want a single clamp point, provided both panel weights added together stay inside 17.6 lbs per arm. Choose the ErGear Single Monitor Arm when one screen is enough and you want a tool-free VESA plate, a 19.8 lb capacity, and a smaller footprint on the desk. Choose the AODK 51 Inch L Shaped Gaming Desk when the surface itself is the problem and you want an L-shaped top with display shelves and LED lighting.
One caveat applies to all four: the listed figures come from the manufacturers, not from measurements taken here. Screen size ranges, weight limits, and the asterisked figures on the ASUS listing should be confirmed against the current product page before you buy, because an arm that misses its weight band by a few pounds is worse than no arm at all.
The bottom line
Monitor arm materials and mechanism are the whole story. The metal decides how much the arm flexes, the spring decides whether the screen stays where you put it, and the clamp decides whether any of it holds. Get the weight, the VESA pattern, and the desktop thickness right and almost any arm in the correct class will do the job. Get them wrong and a heavy-duty arm will sag just as fast as a light one. Measure first, then buy.