I have hung a lot of monitors. Nine years running facilities for 400-person floors, then six years building out 310 home offices, and the notebook has a page for nearly every arm shape sold in that time. The 32 inch vs 34 inch ultrawide on a monitor arm question comes up in about a third of those builds, and it almost never resolves the way people expect. It is not really about the diagonal. It is about what the panel weighs without its stand, the vesa pattern on the back of it, and how much leverage a wider screen puts on a joint the size of your thumb.
Related: Monitor Arm Weight Capacity: How Much Do You Actually Need?
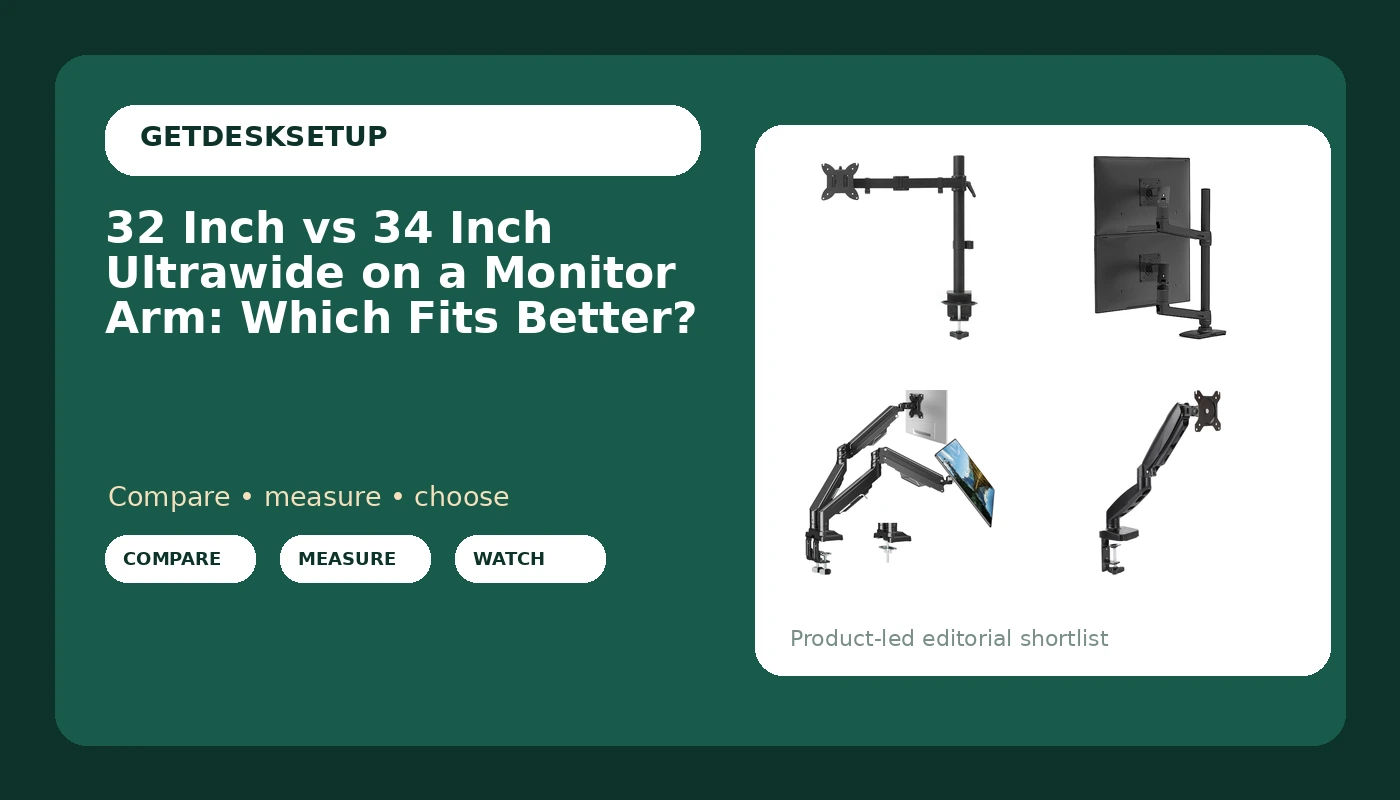
For most desks, the Amazon Basics Adjustable Single Monitor Arm is the one I would buy for either panel size, because it is the only single-screen mount in this group that lists support up to a 32-inch screen and a 38-inch ultrawide at a 22 lb weight capacity. If two screens need to share one pole, the Ergotron LX Vertical Stacking Dual Monitor Arm is the mount I would put in a client's office and leave there. The gas spring Amazon Basics arm is a good mount for the wrong panel, and the heavy duty dual arm is more mount than a single 32 or 34 needs.
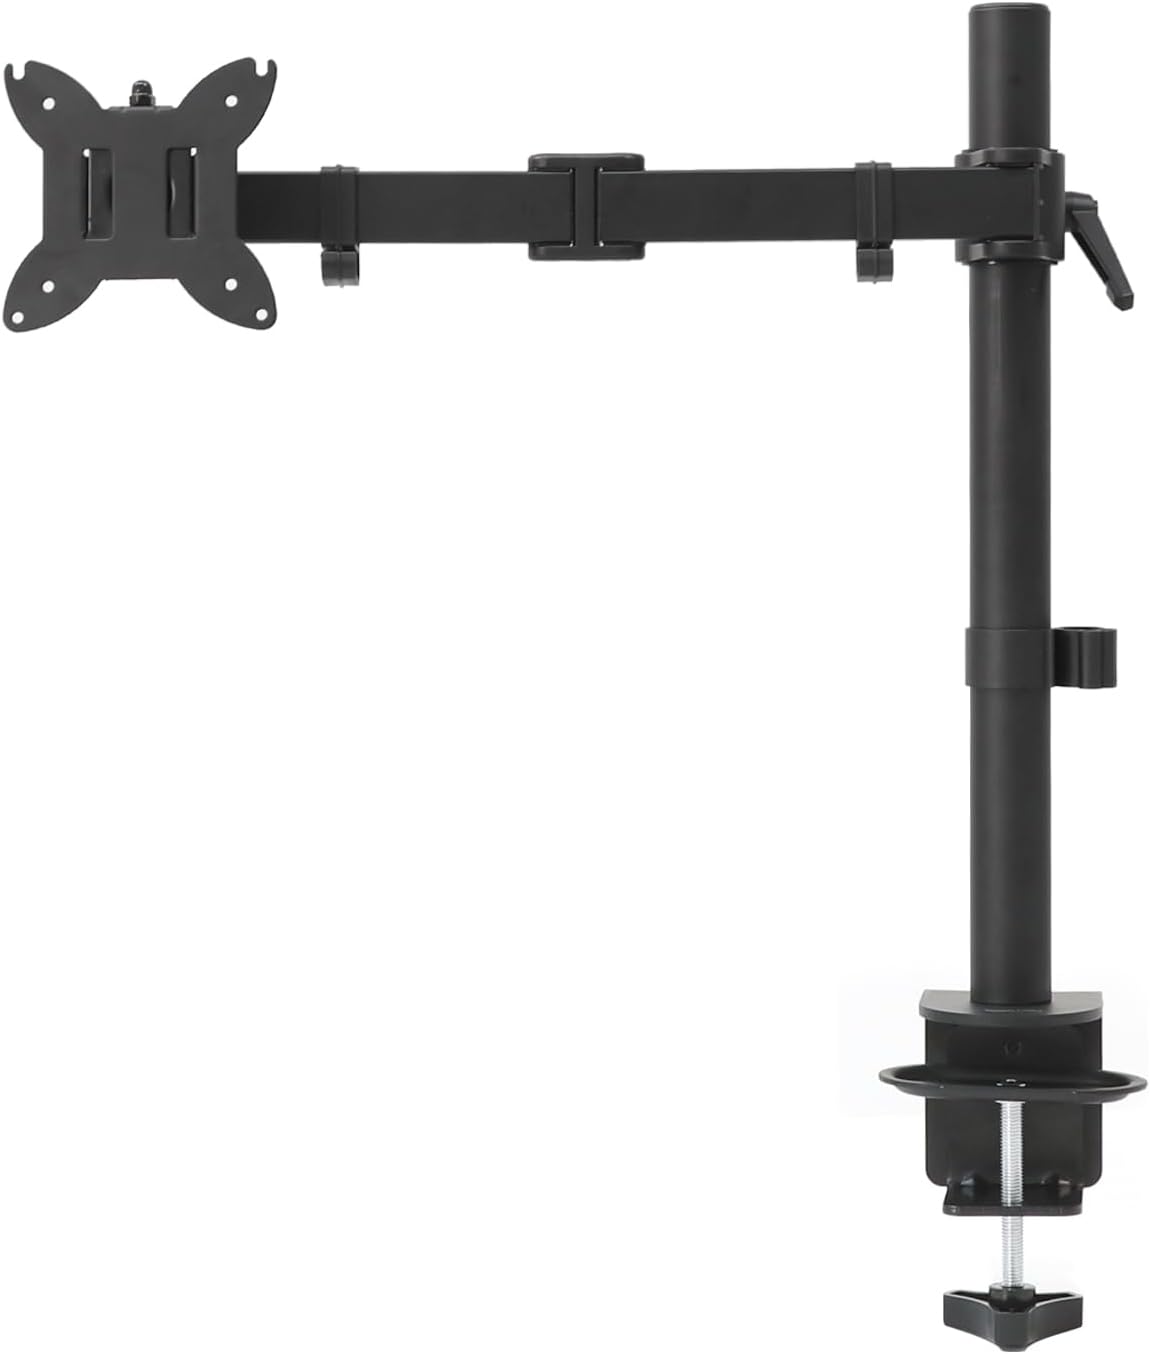
Amazon Basics Adjustable Single Monitor Arm Desk Mount, Holds up to 32" (38" Ultrawide) and 22 lbs
The only single arm here rated for a 32-inch panel and a 38-inch ultrawide at 22 lbs, with 75×75 and 100×100 vesa pattern
One screen only, and the tension has to be reset if you swap panels
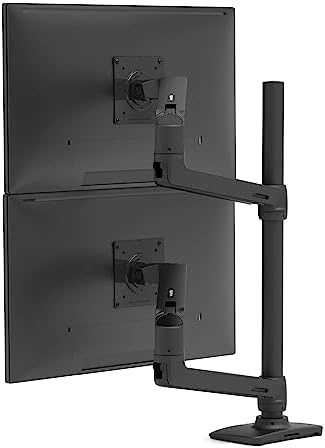
Ergotron – LX Vertical Stacking Dual Monitor Arm, VESA Desk Mount – for 2 Monitors Up to 40 Inches, 7 to 22 lbs Each – Tall Pole, Matte Black
Two monitors up to 40 inches at 7 to 22 lbs each on one tall pole, and the stacked layout fits a narrow desk
Costs more than the single arms here, and the tall pole needs vertical clearance above the desk
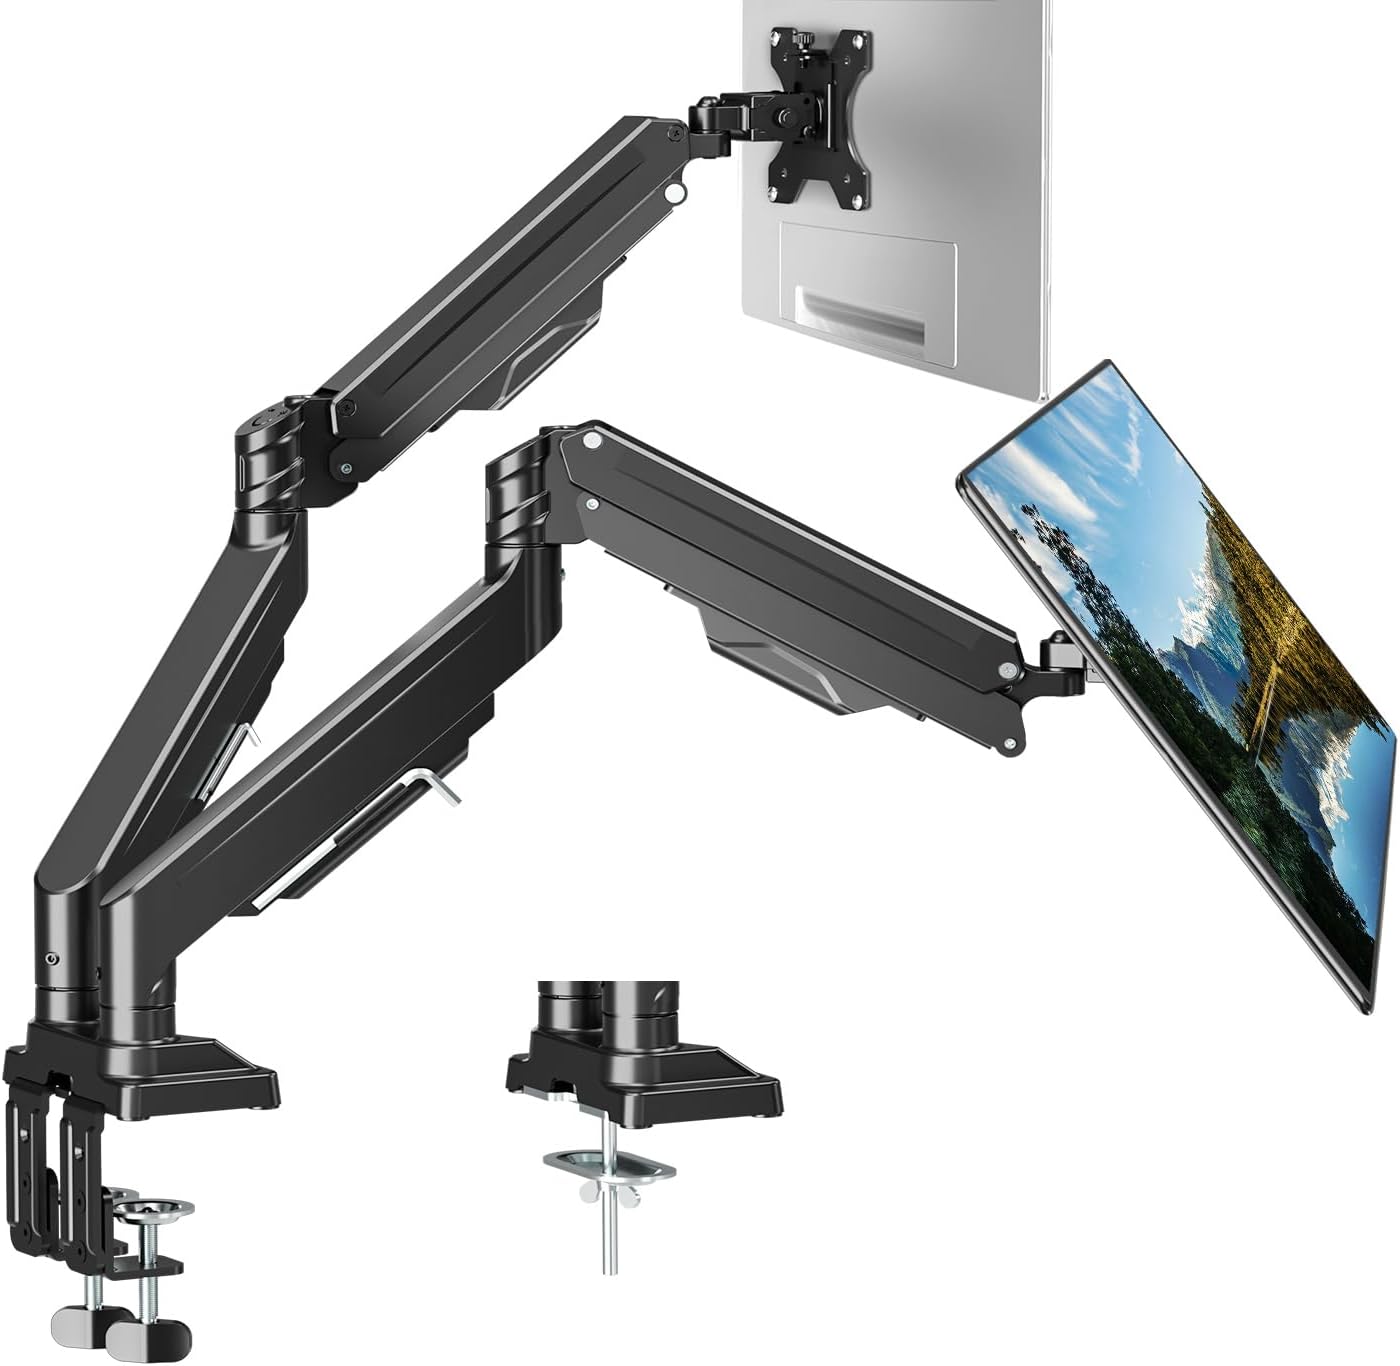
Dual Monitor Mount for Screens up to 43", Heavy Duty Monitor Arm
Heavy duty dual mount rated for screens up to 43 inches, so a pair of 32s sits well inside its size range
The listing states no weight capacity range, and a side-by-side pair needs a wide desk
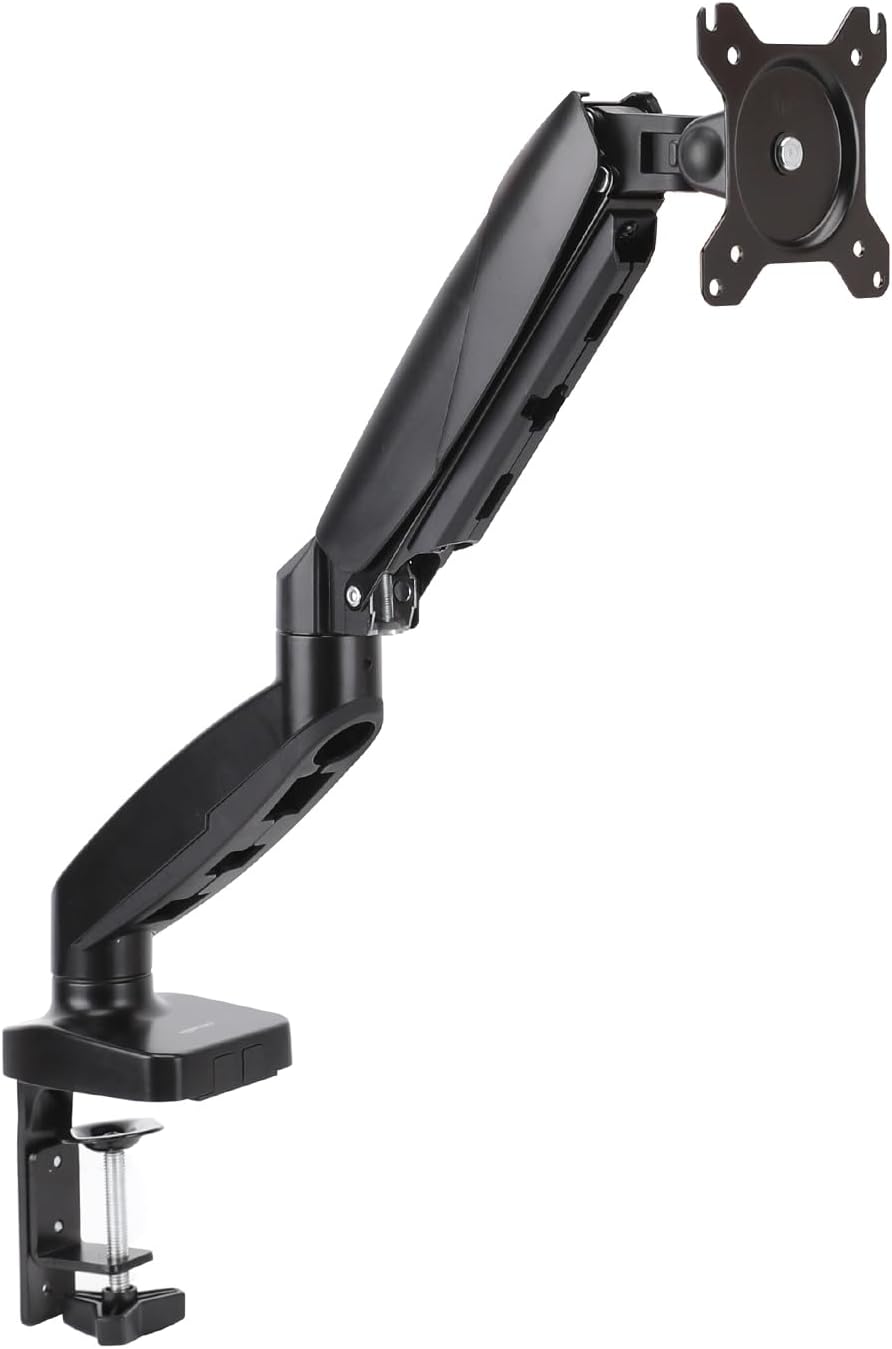
Amazon Basics Gas Spring Single Monitor Arm Desk Mount, Fits 15-27 Inch Monitors, Supports 4.4-15.4 lbs
Gas spring tension makes a light 15 to 27-inch panel easy to reposition with one hand
Its 4.4 to 15.4 lb range and 27-inch ceiling rule out most 32-inch panels and every 34-inch ultrawide
Prices and availability may change.
32 inch vs 34 inch ultrawide on a monitor arm: what actually changes
A 34-inch ultrawide is a 21:9 panel. A 32-inch is 16:9. For the same diagonal, the ultrawide is wider and shorter, and that geometry is the whole story. The panel's mass sits further out from the pole, so the same weight produces more torque at the tilt joint. The far edges of the screen also sit further from the center of rotation, so a millimeter of slack at the joint shows up as a visible droop at the corner of the panel rather than the middle. A mount that feels solid with a 27-inch screen can feel loose with a 34-inch ultrawide at the same listed weight.
Comparing a 34 inch ultrawide on a monitor arm vs 32 inch 16:9 panel at identical weight, the ultrawide is the harder load. Not by a lot. By enough that I check the weight capacity first and the screen size rating second, which is the reverse of how most people shop. When I work through the 32 inch vs 34 inch ultrawide on a monitor arm trade-off with a client, I write the panel weight on one side of the page and the arm's stated capacity on the other.
What does not change is the vesa pattern. Almost every panel in both sizes uses a 100×100 mount on the back, and the mounting plate does not care about the diagonal. What changes is the weight capacity you need and the screen size the listing says it will hold.
Weight capacity decides more than screen size
Here is the number that removes an arm from your shortlist. The Amazon Basics gas spring single arm lists 4.4 to 15.4 lbs. The Amazon Basics adjustable single arm lists 22 lbs. The Ergotron LX stacking arm lists 7 to 22 lbs per monitor. That is a wide spread, and the spread is the decision.
Weigh the panel, not the box. The shipping weight on a listing includes the stand, the cables, and the foam, and it is usually a few pounds heavier than the panel you are actually hanging. The number you want is the panel weight without the stand, and every manufacturer publishes it on the spec sheet.
If your panel is above 15.4 lbs, the gas spring arm is out, no matter how good the deal looks. If it lands between 15.4 and 22 lbs, you need one of the other three. If it is under 15.4 lbs, the gas spring arm is a legitimate pick for a 32-inch panel, and I would say so out loud, but be honest with the scale.
One more thing about capacity. An arm holds best in the middle of its range. At the very top, the tension spring is cranked to its limit, and every adjustment after that is a fight. A 21 lb panel on a 22 lb arm works, but only if you set the tension with the panel already mounted. Set it empty, then load the arm, and you will be back under the desk with a hex key.
Vesa pattern, adapter plates, and the back of your panel
The two Amazon Basics arms in this group state their pattern plainly: 75×75 and 100×100. The Ergotron LX is a VESA desk mount, and 100×100 is the standard for panels at this size, but the listing title I have does not spell out the pattern, so confirm it on the product page before you order. The heavy duty dual arm's title lists screen sizes up to 43 inches and no pattern at all, so the same advice applies.
Now check your panel. Turn it around and look at the four holes. Most 32-inch and 34-inch panels are 100×100, which is a 100 mm square. A few budget panels use 75×75. Some panels recess the mount into a pocket in the back of the housing, and a recessed mount can need longer screws or standoffs so the plate clears the plastic. If the plate touches the housing before the screws are tight, you are loading the plastic shell instead of the metal frame.
Also check the screws. The hardware that ships with a panel is often too short for a mount plate that is a few millimeters thick. A mount that ships with its own screw assortment is worth more than one that does not, and a hardware store run for four M4 screws is a stupid reason to stall a setup.
Gas spring or friction tension: how you will actually move the screen
A gas spring arm uses a pressurized cylinder to counterbalance the panel. You grab the screen, move it, and it stays. No tools. A friction arm uses a tension screw at the joint, and you adjust it with a hex key.
For a 34-inch ultrawide, this matters less than the marketing suggests. You are going to set the screen once and leave it, because moving a 34-inch panel around all day is not something anyone does. Set the tension, set the tilt range, and forget it. The gas spring advantage is real for a light 24-inch panel you swing out of the way for video calls, and that is exactly the panel size the gas spring arm is rated for.
For a 32-inch or a 34-inch panel, I would rather have a friction joint with a wide tension range than a gas spring that is at the edge of its cylinder's ability to hold the load. Gas springs lose pressure over years of use. Tension screws do not.
Clamp mount or grommet mount: decide before you buy
Every arm in this group is a desk mount, and the ones I can verify from the listings are clamp style. A clamp mount grabs the back edge of the desktop with a C-shaped jaw. A grommet mount passes a bolt through an existing cable hole in the desk.
Clamp first, then load, then tighten. Reversing that order cracks the desktop, and I have watched it happen twice on particle board tops.
Before you buy, measure three things: the desk thickness at the rear edge, the flat lip available behind the edge, and what is under the desk. A clamp needs a clear, flat rear edge and enough lip for the jaw to bite. A support brace, a drawer housing, or a rounded edge will block the clamp, and no amount of force fixes that.
Grommet mounting is the fallback when the edge is unusable or when the desk is glass. If the mount does not include a grommet plate in the box, you buy one separately, and you need an existing hole to use it. None of the four listings here promise a grommet plate, so plan on a clamp mount and check the edge of your desk first.
Tilt range, swivel, and the adjustment people get wrong
Tilt range is how far the screen can angle up or down. Swivel is how far it rotates left and right on the joint. Both matter more on an ultrawide than on a 16:9 panel, for the leverage reason above.
On a 34-inch ultrawide, the far edges are the tell. Set the height first, then the tilt. If you set tilt before height, you will redo it. A wider panel that is level in the middle can look tilted at the corner, and the fix is usually a quarter turn on the tilt bolt, not a new arm.
Swivel earns its keep when you need to reach the ports on the back of the panel or angle the screen toward someone sitting at the end of the desk. A single-monitor arm with a decent swivel joint lets you pull the panel around for cable work without unmounting it, which is the difference between a five-minute change and a twenty-minute one.
Cable channel and the pull problem
A cable channel is the plastic or metal trough that runs along the arm. It is not decoration. A cable that is zip-tied tight to an arm pulls on the joint every time the arm moves, and within a week the monitor angle has changed on its own.
Route the cables through the cable channel with a service loop at each joint, so the cable has slack to travel. Leave the last six inches before the panel loose, and use the strain relief built into the panel or the mounting plate. If you feel tension in the cable when the arm is at its highest position, you have already made the mistake.
Cable management on an arm is a mechanical decision, not an aesthetic one. Get it wrong and you will be re-tightening a tilt bolt every month for the life of the mount.
The difference between 32 inch and 34 inch ultrawide on a monitor arm, in one line
The difference between 32 inch and 34 inch ultrawide on a monitor arm is leverage, not size. The ultrawide is wider and shorter, so the same weight pulls harder on the joint and shows slack at the edges first. Pick the arm by weight capacity and vesa pattern, then by layout.
Related: Dual Monitor Arm vs Two Single Arms: Which Is Better for a Small Desk?
Two screens: stacking beats side by side on a narrow desk
If you are hanging two panels, the choice is side by side or stacked, and the answer depends on desk width.
For two 32-inch panels side by side, plan on a desk at least 60 inches wide before you buy a dual arm. Two panels at roughly 28 inches wide each, plus a gap between them, is a 58-inch footprint at minimum, and you still want room for a keyboard and a lamp.
The Ergotron LX Vertical Stacking arm solves that by putting one panel above the other on a tall pole. It holds two monitors up to 40 inches and 7 to 22 lbs each, and it keeps the whole setup inside the width of a single panel plus a few inches. The trade-off is vertical clearance: a tall pole needs room above the desk, and a low shelf or a cabinet overhang will end that plan.
The heavy duty dual arm takes the side-by-side route and lists support for screens up to 43 inches. That is more arm than a pair of 32s needs, and the listing states no weight capacity range, so I would verify that number on the product page before hanging anything heavy on it. If a number is not published, it is not a number you can plan around.
Who should skip each arm
Skip the gas spring single arm if your panel is larger than 27 inches or heavier than 15.4 lbs. That is most 32-inch panels and nearly every 34-inch ultrawide. It is a good mount for a 24 or 27-inch screen you move often, and the wrong mount for the two sizes in this comparison.
Skip the heavy duty dual arm if you are hanging one screen. A dual arm with a 43-inch rating carrying a single 32-inch panel is a lot of metal doing nothing, and it will eat desk depth behind the screen.
Skip the Ergotron LX stacking arm if you have one monitor, or if you have no vertical clearance above the desk. It is the pick when two screens must share one pole and the desk is narrow.
Skip the Amazon Basics adjustable single arm if you need two screens on one mount, or if your panel is past a 38-inch ultrawide or 22 lbs. For everything in between, it is the arm I would order first.
What I would tell a client
The 32 inch vs 34 inch ultrawide on a monitor arm answer I give is always the same, and it takes two minutes. Pull the panel weight without the stand off the spec sheet. Compare it to the stated weight capacity, and leave headroom. Confirm the vesa pattern. Then decide how many screens you are hanging and how wide the desk actually is.
If you are hanging one 32-inch or one 34-inch ultrawide and the panel is under 22 lbs, the Amazon Basics adjustable single arm covers it. If you are hanging two panels and the desk is narrow, the Ergotron LX stacking arm is the one that keeps the setup inside the desk instead of hanging off both ends. Everything else is a preference about how often you move the screen.
32 inch or 34 inch ultrawide on a monitor arm: the decision, in order
Whether you land on 32 inch or 34 inch ultrawide on a monitor arm, the order of operations does not change.
- Find the panel weight without the stand on the spec sheet, and write it down.
- Compare that number to the arm's stated weight capacity, and leave headroom.
- Confirm the vesa pattern, 75×75 or 100×100, and check for a recessed mount.
- Measure the desk thickness and the flat lip at the rear edge for the clamp mount.
- Decide one screen or two, then side by side or stacked.
- Clamp first, load the arm, set height, set tilt, and set tension last.
- Route cables through the cable channel with slack at every joint.
That sequence takes twenty minutes and saves a return shipment. It is also the difference between an arm that holds its angle for years and one that sags by the end of the month.
If you want the short version: the Amazon Basics adjustable single arm for one panel, and the Ergotron LX stacking arm for two. Visit on Amazon for the single arm, or Visit on Amazon for the Ergotron if you are stacking two screens on one pole.