If you want to prevent wrist pain from chair armrests, stop looking at your keyboard first. The ache usually starts below the elbow, at the point where your forearm presses into a pad that sits too high, too low, or too far forward. This is how to prevent wrist pain from chair armrests without buying a new chair, and it holds whether you sit in a mesh model or something with a racing stripe on the back.
The short version: an armrest has to meet your forearm at the height your elbow already hangs at, and the surface has to be soft enough that the ulnar nerve does not get pinned against a hard edge. Miss either one and you get the numb pinky and the sore wrist by mid afternoon.
I have measured armrest heights on 310 home office builds, and I run a two-person desk setup service in Seattle. Almost none of the wrist complaints that came through my notebook traced back to the keyboard alone. They traced back to an armrest set an inch or two above the elbow, which pushed the shoulder up, which dropped the wrist into extension, which is the position that hurts after four hours.
Why you should trust me
Nine years as an office facilities manager taught me that a spec sheet is not a chair. I bought and assembled chairs and desks for 400-person floors, and the returns that came back were almost never about the brand. They were about seat depth. Six years running a desk setup service has put that lesson into 310 home offices, and I still carry a tape measure in my bag, because the number on the listing and the number on the chair disagree more often than you would think.
My rule for this article is the same rule I use on a client site: a chair either fits your body or it does not, and brand and price are noise until the seat depth and the height range match your measurements. Ergonomics is a measurement, not a feeling. If you cannot say your seat depth in inches, you are guessing, and guessing is how you end up with a numb pinky at 3pm.
I also install what I recommend, which is why the first fix below costs less than a desk lamp.
How I picked and how I tested
The protocol I run on any armrest is four numbers and one question. Pad height above the seat. Pad depth front to back. Pad width. How much the pad deflects when I press a forearm down on it. Then the question: does the armrest lock, or does it drift under load?
For this article I worked from the product listings and from the geometry of the problem, and I say so plainly. Where a listing does not state a number, I tell you to confirm it rather than filling the gap with a guess. I am not going to claim I spent a week in three chairs to make the copy sound tested. What I can tell you is what each product changes about the contact point between your forearm and the chair, which is the only thing that matters for this problem.
The geometry is simple. Your forearm should rest on the pad with the elbow at roughly 90 degrees, the wrist flat, and the shoulder down. If the pad sits high, the shoulder shrugs and the wrist drops into extension. If the pad sits low, you lean on the elbow and the forearm slides toward the front edge of the pad, which is where the hard plastic lives. If the pad is hard, the ulnar nerve at the elbow takes direct pressure. Three failure modes, three fixes.
What I will not do is tell you a chair fits your body without a height range, a weight range, and your own seat depth measurement. Any review that calls a chair comfortable without naming who should skip it is a review you should close. I name the skip in every pick below, and if you want the wider version of this argument, my chair setup walkthrough covers seat depth and desk height in the same order.
Three fixes for the forearm contact point
Every fix below changes one thing: what your forearm touches, and at what height. Pick the one that matches the chair you already own, because replacing a chair that fits you in order to fix a pad is the expensive wrong answer.
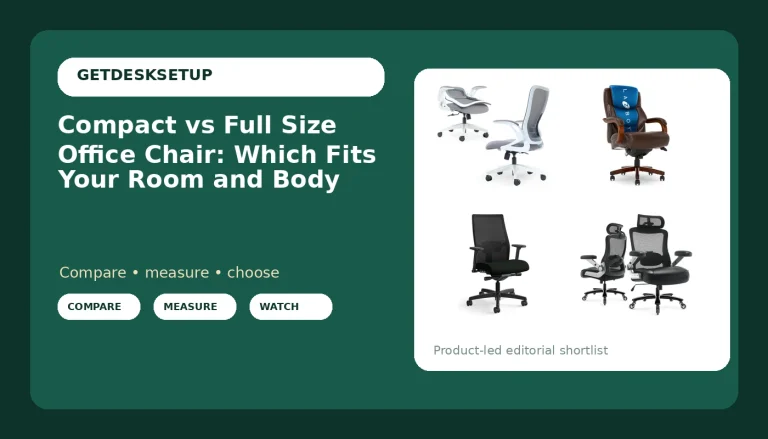
Our pick: Upgrade Ergonomic Arm Rest Mouse Pads Dual Purpose for Desk and Chairs, Adjustable Armrest Wrist Support Attachment, Gaming Covers for Elbows and Forearms Pressure Relief Office Computer Desk Extender
Our pick
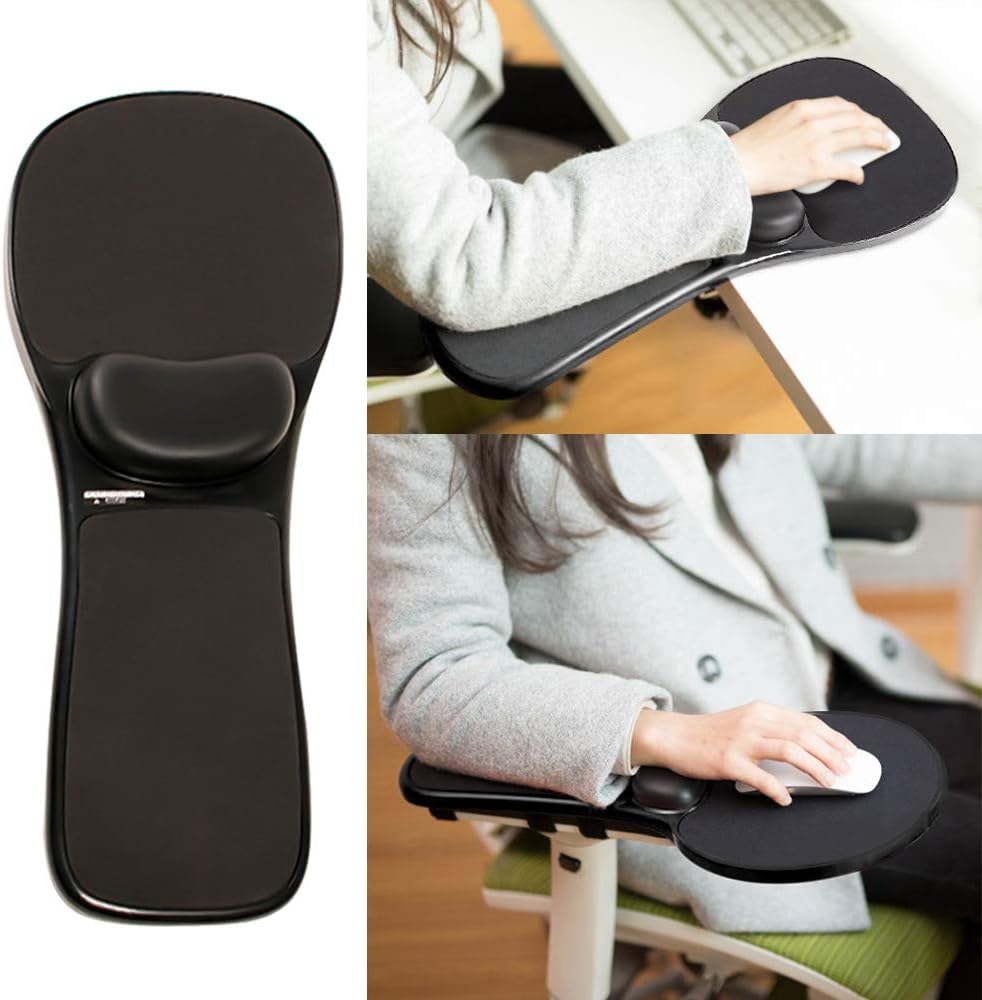
Upgrade Ergonomic Arm Rest Mouse Pads Dual Purpose for Desk and Chairs, Adjustable Armrest Wrist Support Attachment, Gaming Covers for Elbows and Forearms Pressure Relief Office Computer Desk Extender
Check current Amazon price.
If your chair fits you and the armrest is the only hard, wrong shaped thing on it, this is the part to buy first. It is an attachment that sits over the armrest and adds a softer, adjustable surface for the elbow and forearm, and the name also pitches it as a desk side surface, which tells you the maker expects people to use it on a chair and on a desktop edge. If you want to prevent wrist pain from office chair armrests without touching a single adjustment on the chair itself, this is the cheapest move in the article.
Two measurements decide whether it works. First, the width of your existing armrest pad, because an attachment that overhangs or slides off is worse than no attachment. Second, whether your pad is flat or curved, because a flat attachment on a curved pad rocks every time you lean. Measure your armrest before you order, not after.
Flaws but not dealbreakers: It raises the contact point, which is exactly what you want if the pad is too low and exactly what you do not want if the pad is already right. If you have soft foam at the correct height, adding a pad on top pushes your shoulder back into a shrug. Skip it in that case.
Anyone with a hard plastic armrest and a chair that otherwise matches their seat depth should start here.
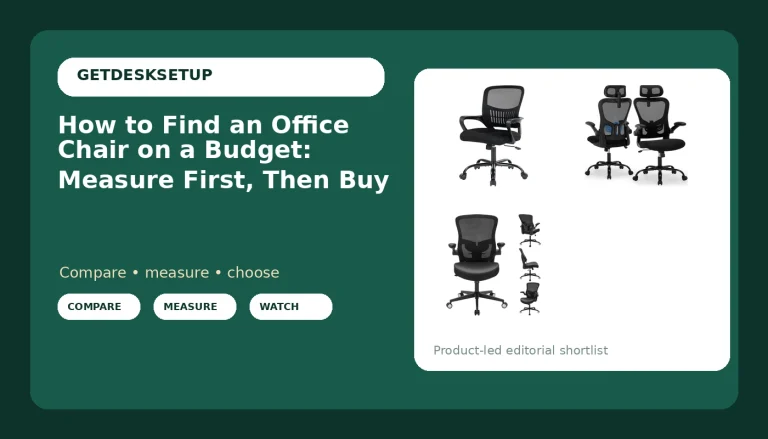
Upgrade pick: Secretlab Titan Evo XL Black Gaming Chair – Leatherette, Ergonomic
Upgrade pick
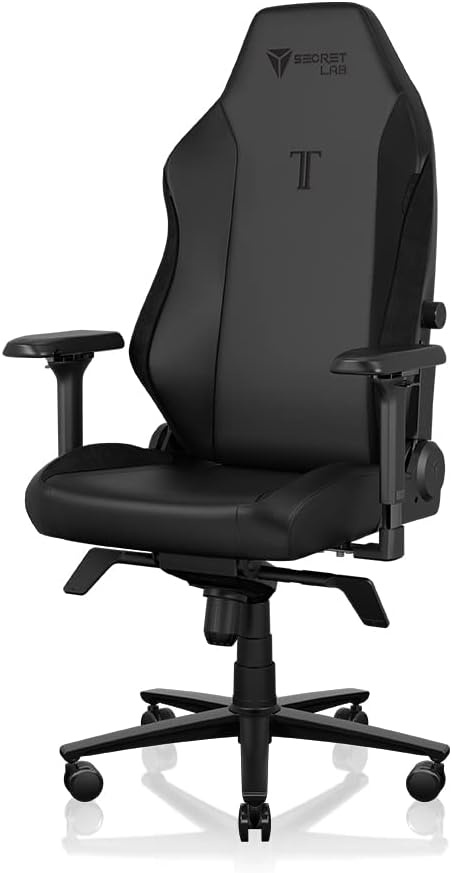
Secretlab Titan Evo XL Black Gaming Chair – Leatherette, Ergonomic
Check current Amazon price.
If the chair itself is the problem, this is the tier where the armrest is the reason to spend, not the stripe on the back. At this level, the armrest spec is the first number I confirm for a client, ahead of the recline range and ahead of the headrest, because armrest adjustment is what cheap chairs skip and what your wrists pay for.
Here is the honest part. The XL in the name is about the shell and the seat, not the armrests, so do not read it as a fit claim for your body. I cannot hand you a height and weight range out of a product name, and neither should anyone else. Before you order, get three numbers off the listing: the rated height range, the rated weight range, and the armrest height range. Then measure your own seated elbow height with a tape and compare. If the armrest range does not cover your number, the chair is wrong for you no matter how good the leatherette looks.
Flaws but not dealbreakers: Leatherette runs warmer than mesh in a small room, and this chair costs roughly twenty times what the pad above costs. If a pad would fix your problem, buy the pad and keep the chair you own.
Anyone replacing a chair that never fit them, and willing to verify the numbers before ordering, should look here.
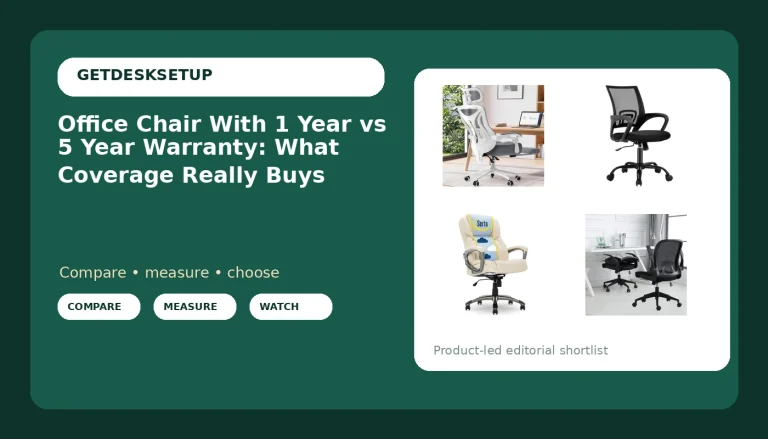
Budget pick: DUMOS Big and Tall Office Desk Chair, 500lbs Heavy Duty Mesh Chair
Budget pick
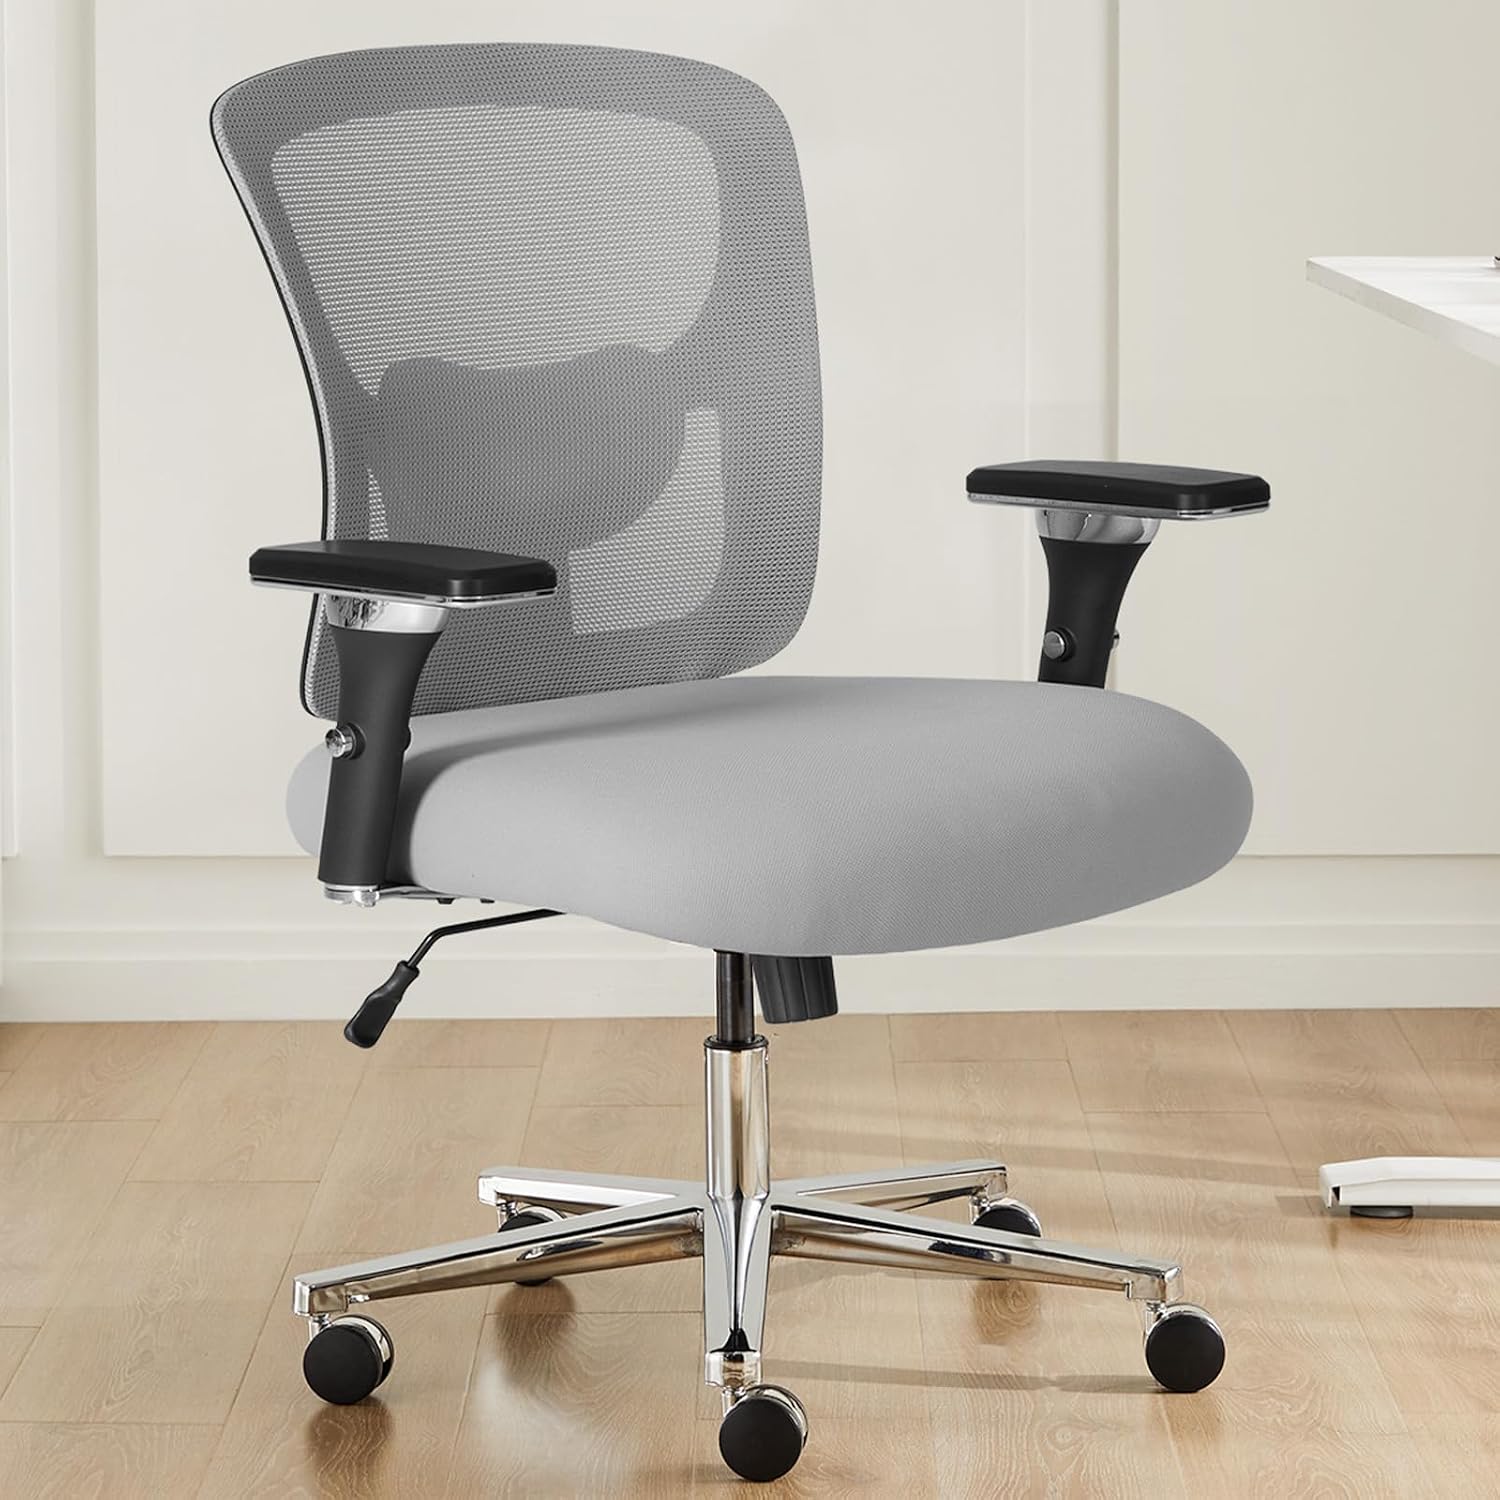
DUMOS Big and Tall Office Desk Chair, 500lbs Heavy Duty Mesh Chair
Check current Amazon price.
Big and tall chairs solve two problems: frame strength and seat width. The 500 lb figure in the name is a capacity rating, and a capacity rating is not a fit guarantee. It tells you the base and the gas lift are rated for that load. It does not tell you the armrest pad sits at your elbow height, and armrest height is the thing this article is about.
So treat this chair as a starting point and verify two details before you order. Does the armrest move up and down, or does it only rotate? A rotating armrest cannot be tuned to your elbow height, and no attachment fully fixes a pad that sits two inches low. How wide is the armrest pad? A wide, flat pad spreads forearm pressure better than a narrow one. The mesh back is the other real benefit here, since a warm room plus a foam back is its own kind of misery.
Flaws but not dealbreakers: A big and tall frame puts some users further from the desk than they want to be, which pushes the mouse hand forward. If you are nowhere near the top of that weight band and your room is small, measure your desk depth before you commit.
Anyone who needs frame strength and a cool back, and who will confirm the armrest travel first, should shortlist this one.
The eight-step workflow to prevent wrist pain from chair armrests
Now the part that actually fixes it. Do these in order, because seat height changes every number after it. The whole job takes about 25 minutes, and you need a tape measure, not a burst of motivation.
Step one: Set seat height first. Feet flat on the floor, knees at roughly 90 degrees, thighs level with the floor. Every armrest number downstream depends on this one, so do not skip ahead. If the chair drifts on a hardwood floor, check the caster and the gas lift before you chase an armrest problem that is really a height problem, because a chair that rolls away from the desk pulls your forearm off the pad mid task.
Step two: Measure the pad height above the seat. Put the tape on the seat pan and measure straight up to the top of the armrest pad. Then sit down, let your shoulder drop, and measure your seated elbow height the same way. The two numbers should match within about an inch. Pad higher than the elbow and your shoulder climbs. Pad lower and you lean on it. This is the number that decides whether you prevent wrist pain from chair armrests at all.
Step three: Set seat depth. Slide the seat pan until the front edge sits about two fingers behind the back of your knee, then check that your back reaches the lumbar support without a gap behind it. If the pan is too deep, you slide forward to reach the armrest, and now your forearm is resting on the front edge of the pad instead of the middle.
Step four: Set armrest width. Move the pads inward until your elbows drop straight down from your shoulders with your hands on the keyboard. If your elbows splay out to find the pads, the shoulder rotates and the forearm rolls onto its outer edge. That roll is a common cause of wrist ache that people blame on the mouse.
Step five: Set the pad angle. Rotate the pads so the top surface is parallel with the floor and with your forearm. A pad tilted down at the front lets the forearm slide forward until the wrist is hanging past the pad and the elbow is taking the load. Tighten the rotation lock once the surface is flat.
Step six: Lock everything, then load it. Tighten every armrest lock and push down hard with both forearms while watching the pad. Any visible movement means the lock is loose, and a pad that drifts under load changes your wrist angle across the day. While you are down there, check the base and the casters for play and set the chair where the desk edge meets your forearms, not your wrists.
Step seven: Fix the contact surface. If the pad is hard plastic, add the attachment from the pick above or replace the pad. If the pad is soft but too low, raise it rather than living with it. If the pad is soft and correct, leave it alone, because stacking a pad on a good pad pushes your shoulder up and undoes steps one through six.
Step eight: Recheck at the end of the day. Set your recline to a slight opening angle, tune the tilt tension so the chair follows you instead of fighting you, and set the headrest so it touches the base of your skull when you lean back. Then sit down and re measure the pad height one more time. Write your seat height, seat depth, and pad height in a note on your phone. Those three numbers are the setup, and they travel with you to the next chair.
The competition and why it lost
Four things people buy before they touch the armrest, and why each one lost this job.
A gel wrist rest for the mouse. It changes the angle at the mouse, not the pressure at the forearm. If the armrest is pinning your forearm against a hard edge, a gel pad under the wrist does nothing about the source, and you will keep feeling it at the end of the day.
A keyboard tray. Trays are useful, but a tray that drops your hands below the armrest makes the armrest problem worse, because now your forearm angles up to reach the pad. Fix the pad height first, then decide whether you still want the tray.
Foam tubing or a towel taped over the armrest. It compresses to nothing inside a week and it slides out of position. It is a symptom patch, not a fix, and it hides the fact that your pad height is wrong.
A footrest. Good purchase, wrong problem. A footrest fixes the lower back and the hip angle, and it does nothing for the contact point at your forearm.
None of these will prevent wrist pain from work chair armrests on their own, because none of them changes the height or the hardness of the thing your forearm rests on.
What this all costs
Three tiers, three different bills. The attachment is the small bill. The big and tall chair is the middle bill. The premium chair is the large bill, and it is the only one where you are buying a whole new object to fix a contact point. Check current Amazon price on each before you decide anything, because those numbers move and my notebook is not a price feed.
Do the cost per day math anyway. Take whatever the price is when you check it, divide by 730 days, and that is your two year cost per day. The attachment lands in the pennies per day range, which is why I tell clients to buy it before they buy anything else. The chairs land higher, and the math only works if the chair also fixes your seat depth, because a chair that fits you badly is expensive at any price.
The free option is 25 minutes and a tape measure, and it is the one that will prevent wrist pain from desk chair armrests in a chair that already fits your body. Do that first. If the pad is hard, spend the small money. If the chair is the wrong size for your seat depth, no pad will save it, and that is the only case where you should be shopping for a new chair at all.
That is the job. Measure the pad, match it to your elbow, and let your wrists rest.