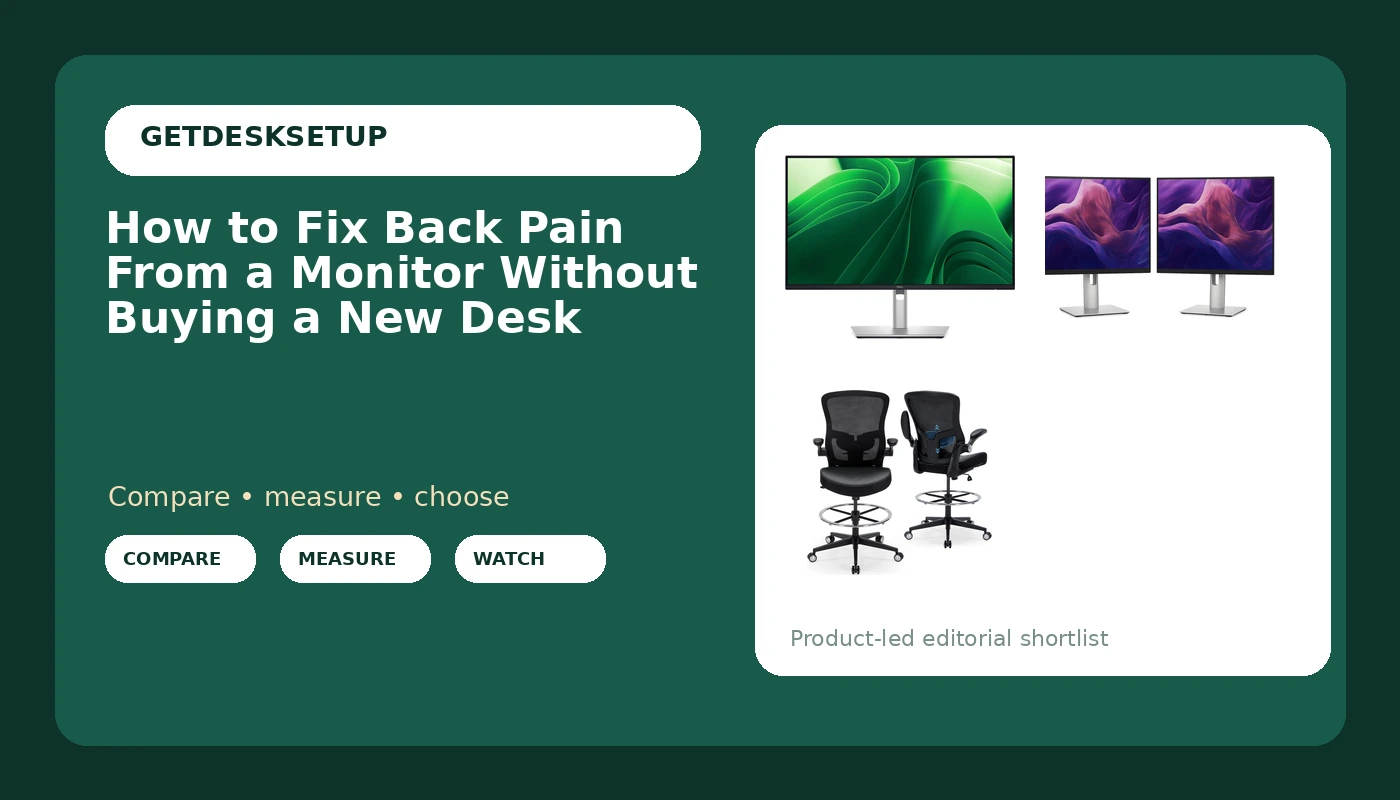
If you want to fix back pain from a monitor, start with the part nobody wants to hear: the screen is usually not the problem. The chair is, or more precisely the relationship between the two. Almost every home office I measure has the same two faults stacked on top of each other. The panel sits low enough that the head tips forward, and the seat sits high enough that the feet dangle. Both push the lower back into a rounded, unsupported shape, and eight hours a day of that is what you feel at four in the afternoon.
Ergonomics is a measurement, not a feeling. If you cannot say your seated eye height in inches, or the distance from the floor to the top of your seat pan, you are guessing. Guessing is how people end up with an expensive chair that fits somebody else's body, and a monitor arm bolted to a desk that was never the problem. Order matters too. Raise the screen before you fix the seat and you will simply lean back further to look up.
What follows is the order of operations I use in client offices: measure, fix the seat, fix the panel, mount it properly, then re-measure a week later. Three pieces of gear do most of the work. Everything else is adjustment, and adjustments are free.
Why you should trust me
I spent nine years as an office facilities manager, buying and assembling chairs and desks for 400-person floors, and the last six running a two-person desk setup service that has built out 310 home offices. I keep a notebook of every chair seat depth and desk height range I have measured with a tape, not read off a spec sheet. That notebook is why I can tell you that a lot of the chairs sold as ergonomic are the wrong size for the person sitting in them, and why I do not give a fit verdict without naming who should skip the product.
When I look at a new chair or a new panel, I ask four questions. What height and weight range does it actually fit? What does it do at the top of its range? Who should skip it? Would I put it in a client's office for a year? That is the test every pick below passed, and it is the test I would run on anything you are considering.
How I picked and how I tested
Everything here was shortlisted on numbers rather than vibes: seat height range, weight capacity, VESA pattern, and how far a panel actually moves through its tilt range and swivel. I did not spend a year sitting in each of these three items, and I am not going to pretend otherwise. What I did was check the published numbers against the tape measurements from my own desk and from the client setups I have built, then write down who each one fits and who should walk away.
Where a listing does not publish a number I care about, I say so instead of filling in the gap. That is the honest version of a buying guide, and it is more useful than a paragraph about how a chair feels premium.
The three picks cover the three fixes. One panel that can sit at eye level with a USB-C hub built in, one matched pair for people who twist toward a second screen all day, and one chair that gets your feet flat so your pelvis can stop doing work the chair should be doing. If you only have budget for one, buy the one your measurements say is wrong.
The gear that helps fix back pain from a monitor
Three items, three jobs, and none of them will fix back pain from a monitor on its own. Buy only the one your tape measure says you need, because the cheapest correct setup beats the most expensive wrong one every single time.
Our pick: Dell Pro 24 Plus QHD USB-C Hub Monitor – P2425DE
Our pick
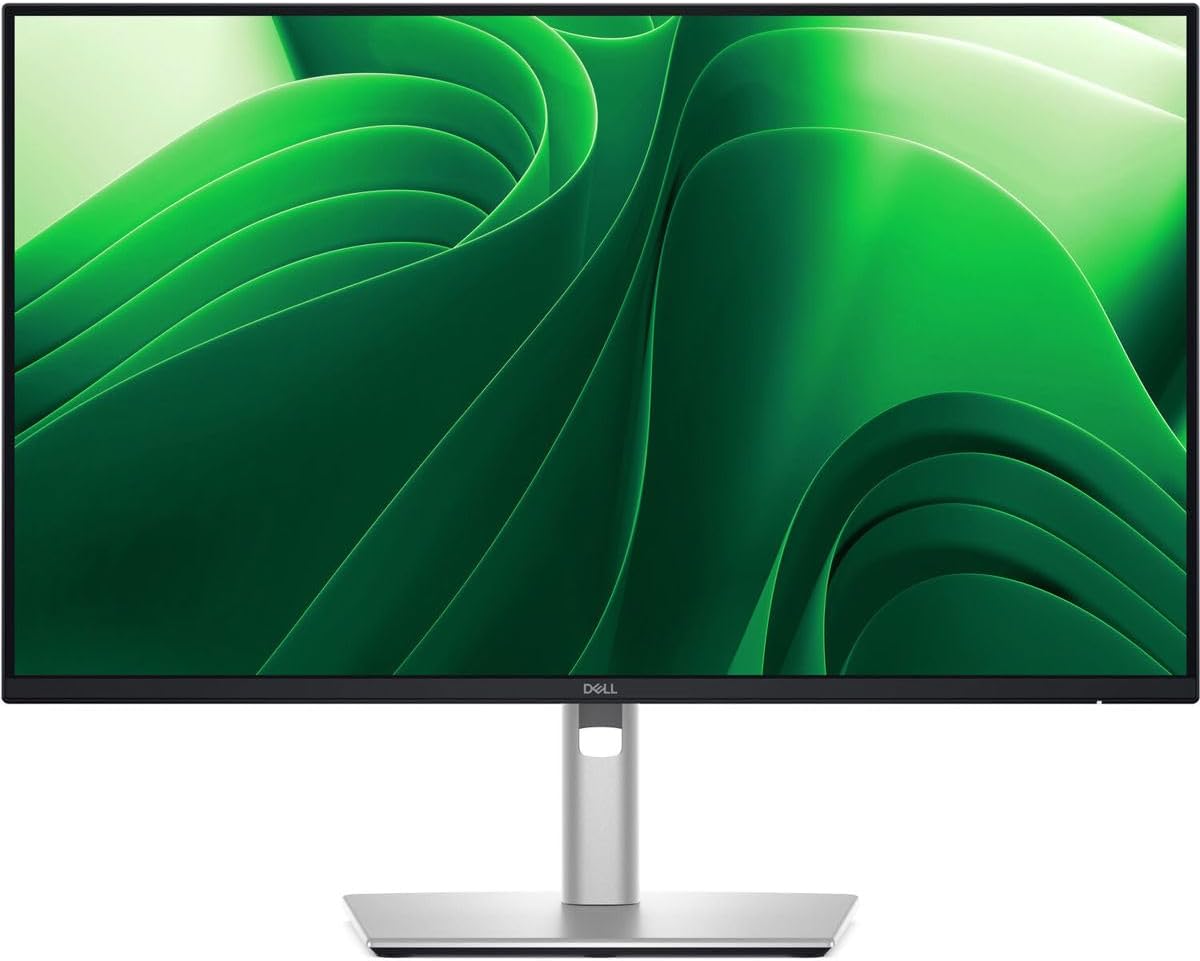
Dell Pro 24 Plus QHD USB-C Hub Monitor – P2425DE
Check current Amazon price. A 24-inch QHD panel with the USB-C hub built into the monitor is the piece most one-screen home offices should start with. The hub matters more than it sounds. It takes the dock, and the dock's cable nest, off the desktop, which gives you back the desk depth you need to sit the panel at a viewing distance your eyes can relax at instead of jammed against the wall. Depth is the part people ignore. A panel that is too close is a panel you cannot focus on without leaning in, and leaning in is the start of the upper back ache people blame on the screen itself.
Before you order, confirm two numbers on the listing: the stand's height range and the VESA pattern on the back of the panel. If the top of the stand does not put the top edge of the screen at or below your seated eye level, you will be buying a mount anyway, and you want to know the pattern before you are standing in the return line.
Who should skip it: anyone who already works on two screens and wants them matched. Two panels from different product lines never line up at the same height, and a mismatched pair is exactly what makes people tilt one screen down and lean toward the other. If that is you, the pair below is the better buy.
The dual-screen pick: Dell P2425H 24" FHD 100Hz Monitor Bundle (2 Pack)
The dual-screen pick
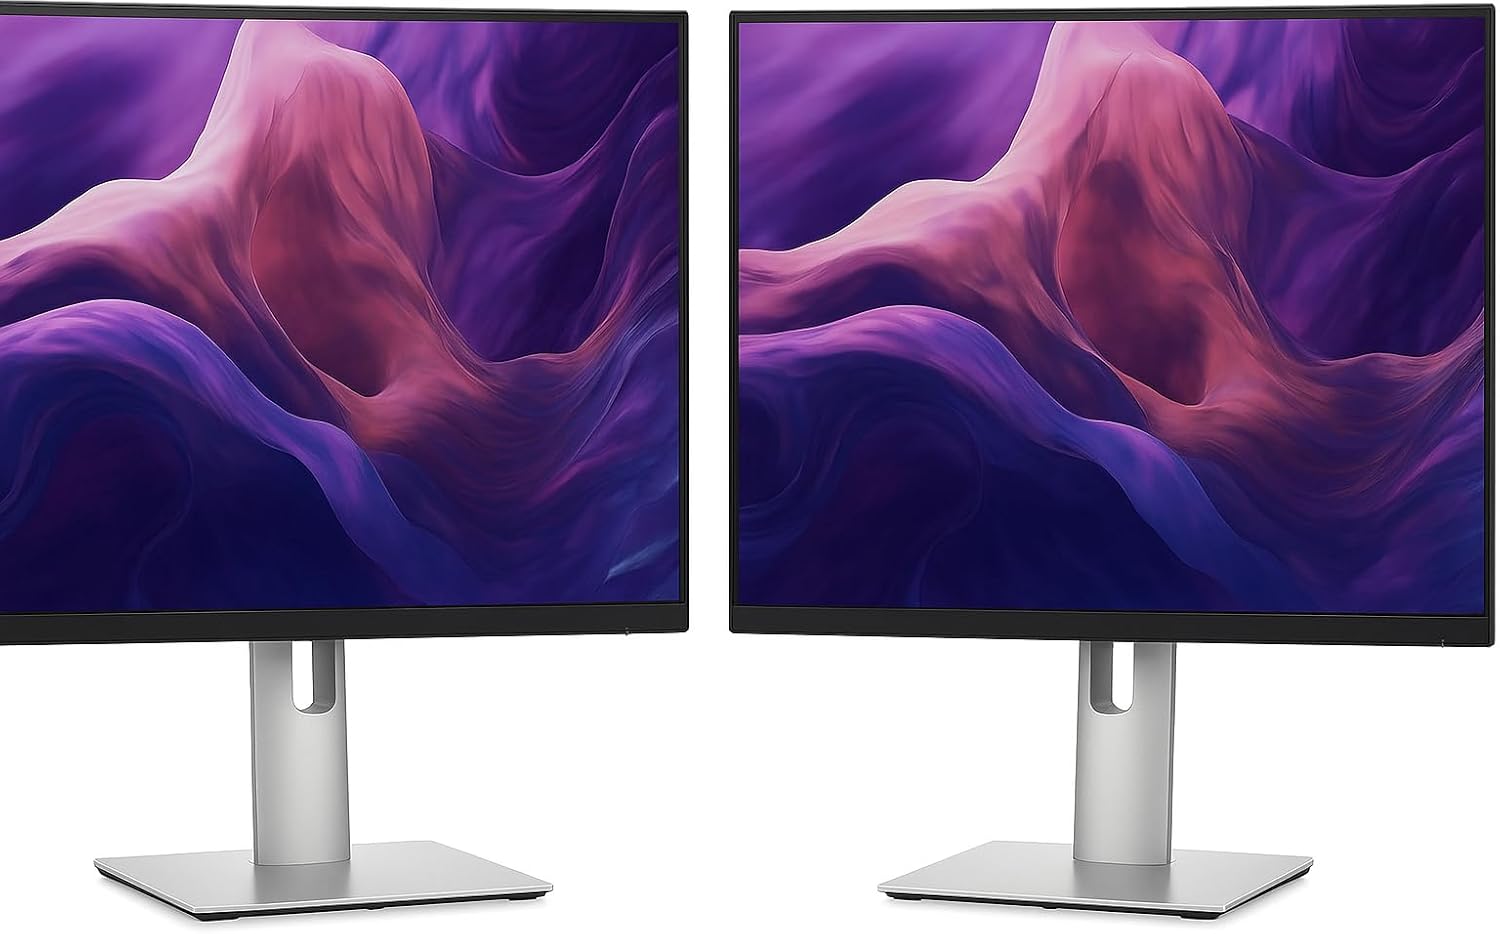
Dell P2425H 24" FHD 100Hz Monitor Bundle (2 Pack)
Check current Amazon price. Two identical 24-inch FHD panels at 100 Hz, sold as a pair. The reason a matched bundle matters for back pain is not the refresh rate, it is the symmetry. If you want to fix back support from a monitor and you currently work on a laptop plus one screen, your torso rotates toward whichever display sits lower. That rotation, held for three hours at a time, is what shows up as one-sided lower back pain, and no amount of stretching at lunch undoes it.
Matched panels also solve the height problem in pairs. When both screens share the same stand geometry, you set the height once and both are right. With mismatched panels you compromise: one at eye level, one a couple of inches low, and you drop your chin for half the day without noticing you are doing it.
Who should skip it: anyone with less than about 50 inches of clear desk width. Two 24-inch panels side by side need that much before you have room for a keyboard, and a narrower desk pushes the screens into your face, which trades a back problem for a neck problem. If your desk is tighter than that, buy the single panel above and keep the laptop closed. If you are mounting a pair like this, read how to pick a monitor arm that does not sag before you drill anything.
The root-cause pick: Drafting Chair 400lbs Heavy Duty Tall Office Chair Big and Tall Ergonomic Standing Desk Chair with Lumbar Support and Adjustable Footrest Ring, Comfy Mesh Wide Chair with Flip-up Armrests, Black
The root-cause pick
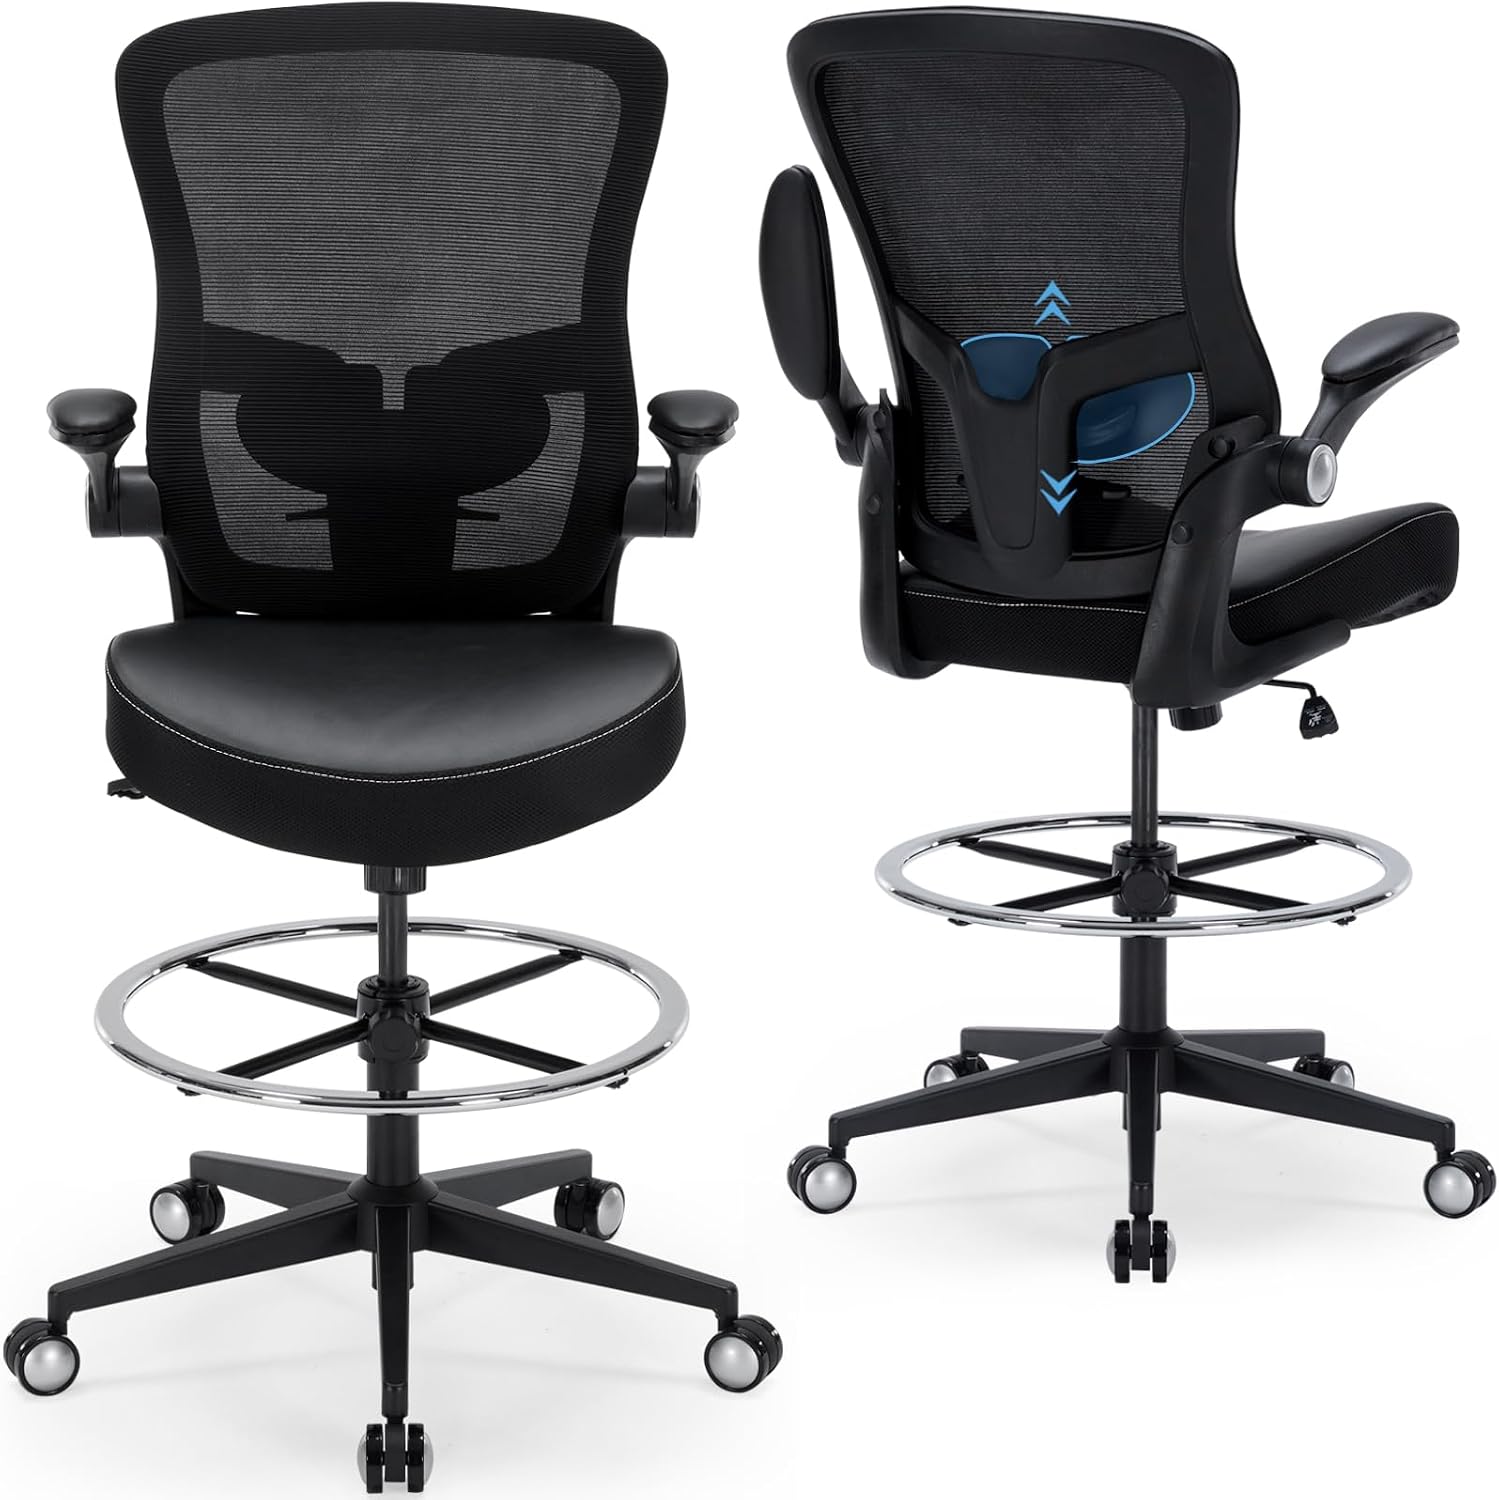
Drafting Chair 400lbs Heavy Duty Tall Office Chair Big and Tall Ergonomic Standing Desk Chair with Lumbar Support and Adjustable Footrest Ring, Comfy Mesh Wide Chair with Flip-up Armrests, Black
Check current Amazon price. This is a drafting chair with a 400-pound weight capacity, a footrest ring, flip-up armrests, a mesh back and lumbar support. Two details put it on this list. The weight capacity tells you the gas lift is built for a heavier body and is less likely to creep downward through the afternoon, and the footrest ring is the feature most people skip right past.
Here is the thing about standing desks that nobody tells you. When you raise the desk to a perch height, a standard office chair cannot follow. So you either stand all day, which is its own problem, or you perch with your feet hanging. Feet hanging means nothing supports the pelvis, and the lower back absorbs the whole load. A drafting chair with a ring puts your feet back on something solid at that height, which is the cheapest fix for the seated half of this whole problem.
Who should skip it: if your desk only adjusts to a standard seated height and you are not tall, a drafting chair will sit you too high relative to the desktop, and that turns into a wrist and shoulder problem. Fix the desk height first, or skip this one.
The workflow, in the order that matters
This is the short version of how to fix back pain from a monitor: measure, seat, screen, mount, re-measure. Do not skip ahead, because each step changes the numbers for the next one.
Step one: Measure before you shop. Three numbers: floor to your seated eye level, floor to the top of your seat pan with your feet flat, and the height of the top edge of your current screen. Write them down. Every decision below comes out of those three numbers, and without them you are shopping for a body that is not yours.
Step two: Fix the seat before the screen. Set seat height so your feet rest flat, on the floor or on a footrest ring, with knees level with the hips or slightly below. If you want to fix lower back support from a monitor and you have not touched your seat height yet, you are working on the wrong end of the problem. The chair sets the pelvis. The screen only sets the neck.
Step three: Then set the panel. Top edge of the visible area at or slightly below eye level, screen about arm's length away. Most setups I measure have the panel sitting below the person's eye line, and the tell is that you slide down in the chair to look up at it. If you are sliding, stop and raise the screen before you do anything else.
Step four: Check the tilt range and the swivel before you buy anything. Tilt range is what lets you angle the panel away from a window or an overhead light without dropping the whole screen, and swivel is what lets you angle it without rotating your torso to follow. A panel with a stingy tilt range is a panel you will compensate for with your neck, all day, without realizing it.
Step five: Mount it if the stand will not reach. Two numbers first: the VESA pattern on the back of the panel and the weight capacity of the arm. Then pick your attachment. A clamp mount works if your desktop has a clear back edge and you can reach underneath it. A grommet mount works if you already have a hole in the desk, or if the desk has to sit flush against a wall. A gas spring arm holds the panel exactly where you put it. A friction arm drifts down over a week and you re-tighten it forever.
Step six: Clamp first, then load, then tighten. Reversing that order is how desktops crack. Once the arm is on, run the cables through the cable channel and leave slack at both ends. A cable that pulls on the arm changes the monitor angle within a week, and it will keep doing it no matter how many times you straighten the screen.
Step seven: Kill the twist. If you work on a laptop plus one screen, the twist toward the lower display is what torques the lower back. Either add a matched second panel at the same height, or raise the laptop on a stand and use it as the second screen at eye level. Never leave a laptop flat on the desk beside a raised monitor and call it a two-screen setup.
Step eight: Re-measure in a week. Ergonomics is a measurement, not a feeling. Put the tape on the seat and the panel again after seven days of real work. If the numbers moved, the mount or the gas lift is the problem, not your posture, and the fix is a part rather than a habit.
The competition and why it lost
A few things that did not make the list, and why.
Laptop stands. A riser that lifts a laptop a few inches fixes the neck and does nothing for the lower back, because you still cannot get that screen to eye level without a keyboard and mouse down at desk height. Fine as a second screen, wrong as the only screen.
Monitor risers and desk shelves. A shelf under the panel does the same job as a taller stand and costs less, but it eats desk depth, and depth is what keeps the screen far enough away for your eyes to relax. On a shallow desk it trades one problem for another.
Gaming chairs with a lumbar pillow. A pillow that slides down the backrest is not lumbar adjustment. If the support moves when you shift your weight, it is decoration, and you will be adjusting it every hour.
Ultrawide panels. A big curved screen is a great tool, but a wide panel at the wrong height is still the wrong height, and most home desks cannot push it far enough away. Fix the height on the screen you already own before you buy a wider one. Same logic applies to a standing desk that wobbles at the height tall users need: it looks like an upgrade and it is really a new problem.
Cheap friction monitor arms. They hold for a month and drift after that. If you are going to mount a panel, spend for a gas spring and be done with it.
What this all costs
No prices here, on purpose. Listings move, and a number I print today is wrong next month, so Check current Amazon price on whichever pick matches your measurements.
The math that matters is not the sticker, it is which of the three you actually need. If your seat height is wrong, no monitor fixes it, and the chair is the piece you sit in every hour of the day. If your seat is right and the panel is low, you may need a mount and nothing else. If you are twisting toward a laptop all day, the matched pair is the fix that stops the twist. The cheapest correct setup beats the most expensive wrong one, and if you want to fix back pain from a monitor the order never changes: seat, screen, mount.
Over a year, the difference between the right setup and the wrong one is not money. It is whether you can sit through a Tuesday afternoon without your lower back announcing itself. Buy the one item your tape measure says is wrong, set it up in the order above, and re-measure in a week. That is the whole job, and it is a lot cheaper than the chair you were about to buy by guessing.