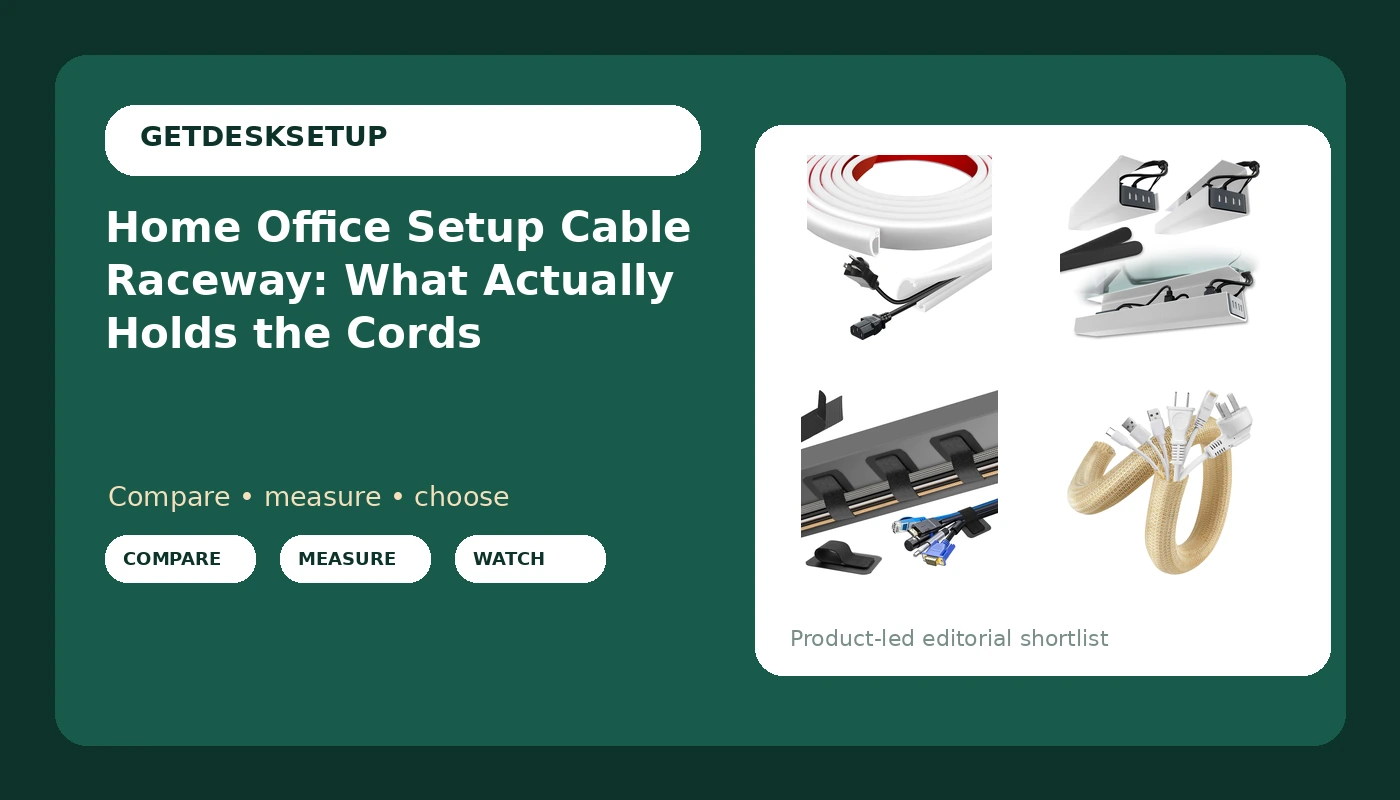
A home office setup cable raceway is not one product you buy once and forget. It is a short system: a channel on the wall, a tray under the desktop, a sleeve around the loose bundle, and clips that hold the last few inches. Get the order right and every cord stays where you put it. Get it wrong and the same three problems come back. The charger drags across the keyboard. The monitor cable pulls the arm a few degrees off center. The power strip sits on the floor where a heel finds it.
Cable work is not the last step of a build. It belongs in cable planning, the same stage where you settle desk height range, monitor distance, and where the power outlet actually sits. A cable that pulls on a monitor arm changes the monitor angle within a week, and a channel mounted before you know the standing height range gets torn out the first time the desk rises.
Related: Standing desk cable slack: how much to leave behind the desktop →
Quick answer
Use a wall channel for the vertical run between the desktop and the outlet, an under-desk tray for the power strip and the bricks, a sleeve for the bundle that travels with a standing desk, and clips for the final inches behind the monitor. Buy the channel after you count the cables, not before. The Silicone Cord Hider for Wall kit covers a 236-inch run in a side-open channel with a listed cavity of about 0.63 inch wide by 0.31 inch tall. The Scanfield tray carries the heavy items under a 17-inch span and ships as a 2-pack. The black organizer kit is listed for up to 15 cords with 20 pairs in the pack. The AGPTEK sleeve turns a loose bundle into one 1.2-inch run in a wood color. None of these is a complete solution alone, and none of the listings states a load rating, so treat capacity figures as the manufacturer's own.
Four useful options
| Model | Best fit | What stands out |
|---|---|---|
| Silicone Cord Hider for Wall,236" Self-Adhesive Wire Hider for Cords,Side Open Cable Raceway Kit for Mounted TV,Flexible Cord Cover Cable Concealer Channel for Home & Office,Cavity 0.63" W x 0.31" H | The visible vertical drop from desk to outlet | 236 inches, side-open, self-adhesive |
| Scanfield Under Desk Cable Management Tray, No-Screw, 17-Inch, 2-Pack White | Power strip and bricks under a fixed desktop | 17-inch tray, two in the pack, no-screw mounting |
| Cable Management Under Desk, Enhanced up to 15 Cord Organizer 20 Pair-Black | Many thin cables that need separating | Listed for up to 15 cords, 20 pairs |
| AGPTEK Cable Management Sleeve, 2 Pack 5ft – 1.2 inch Cord Hider,Wood Color | One bundle that moves with a standing desk | Two 5 ft sleeves, 1.2 inch, wood color |
Wall channel: Silicone Cord Hider for Wall
The cavity is the whole story here. A little over half an inch wide and under a third of an inch tall fits a couple of USB cables, an HDMI lead, and a thin power cord. A laptop brick or a chunky three-prong plug will not go inside it, and that is fine, because those belong in a tray. Where this earns its place is the wall between the desk and the floor outlet, the one run a visitor actually sees. Two cautions. Self-adhesive behaves differently on textured paint and on fresh paint than it does on smooth drywall, and removing it later can lift paint with it, so test on a hidden patch first. And mount the channel after you know your desk height range, because a fixed channel wants a fixed top and a fixed bottom.
Under-desk tray: Scanfield Under Desk Cable Management Tray
The trap with any tray is knee space. Mount it behind the front edge and check the lowest seated desk height you use, because a loaded tray and your thighs compete for the same few inches. Then check the top of the range. A tray carrying a strip and two bricks adds weight to the underside, and on a two-leg desk the underside is where flex shows up first. No load rating is stated on the listing, so keep the strip and the bricks in it and leave the heavy hardware out.
Clip kit: Cable Management Under Desk, Enhanced up to 15 Cord Organizer
What clips do not do is hide anything. If the desk faces the room, the tray and the channel do the visual work and the clips do the structural work underneath. Use them where cables cross, and keep them loose enough that a cable can slide when the desk moves. A clip that pins a cable tight turns the travel of a standing desk into tension at the connector, which is exactly the failure you are trying to avoid.
Cord sleeve: AGPTEK Cable Management Sleeve
A sleeve is a bundle, not a channel. It hides by combining, and that has one real trade-off: everything inside shares the same bend radius, and the stiffest cable in the group sets how the whole bundle behaves. Add cables before you wrap, not after, because redoing a bundle is the job people postpone for six months. Leave slack at both ends so the sleeve never becomes the thing that limits the desk's travel.
Prices and availability may change. Product images, names, and retailer links are matched to verified listings. No current price, rating, stock status, or measured result is stated here without current evidence.
How a home office setup cable raceway is planned
Planning a home office setup cable raceway starts with a count, not a shopping cart. Walk the room and list every cable that has to end up at the desk: power for the monitor, power for the laptop or dock, video, USB peripherals, speakers, a lamp, a phone charger. Mark which ones carry power and which carry data, because that split decides where a channel can go and how tight a clip can be.
Then break the run into zones, because no single product covers all of them.
- The wall zone. Everything between the desktop and the floor or wall outlet. This is the visible run, and it is where a channel belongs.
- The under-desk zone. The power strip, the bricks, the slack you need for the desk to travel. This is where a tray belongs.
- The moving zone. On a standing desk, the segment between the desktop and the point where the run becomes fixed. This is where a sleeve belongs.
- The last inch. Behind the monitor, at the dock, at the laptop. This is where clips belong.
Room layout sets how much of that you can hide. A desk against a wall hides more than a desk floating in the middle of the room, where the back of the desktop is part of the view. Power outlet position sets where the run has to land, and it is worth counting sockets before you hide a strip inside a tray. Lighting layers belong in the same plan, since a floor lamp or a strip light adds its own cord to the floor run. So does ventilation: a dock or a charging brick that runs warm should not be boxed in tight with no air around it. A work from home setup cable raceway usually has one long wall run and one short desk run, and most of the cost sits in the long one.
This is the home office setup cable raceway explained in the order the work actually happens: count, route, mount, load, test. A home office workstation cable raceway is really three short runs wearing one name, and once you see it that way, the shopping list gets shorter rather than longer.
Matching the channel to what you actually run
- Count the cables and note the connector sizes at both ends, since a plug is always wider than the cable it sits on.
- Measure the two fixed points: your seated and standing desk height, and the height of the outlet or the point where the run leaves the desk.
- Pick the route before the product. Wall, under-desk, floor, or a mix, and decide how much of it must stay flexible.
- Mount the fixed parts first, then the moving parts, then tighten anything that clamps.
- Load the cables, then test at both extremes of the desk height range before you call it done.
Step five is the one people skip. A home workspace setup cable raceway that looks clean at seated height can still be wrong at standing height, and you only find that out by running the desk up with everything connected.
What to check before you mount anything
- Desk height range: run the desk to its lowest and highest setting and watch the underside, not the top.
- Chair pairing: casters and floor runs do not mix, so keep the final drop behind the chair's travel path.
- Monitor distance: leave enough slack that the arm can still reach your working position without the cable going taut.
- Power outlet: count sockets before you commit a strip to a tray, and leave room to unplug one brick.
- Ventilation: give a dock or a power brick open air rather than a closed box.
- Lighting layers: a lamp cord is part of the run, so route it now rather than draping it later.
Which option should you choose?
Choose the Silicone Cord Hider for Wall when the problem is the visible drop between the desktop and the outlet and you want a side-open channel you can add to later. Choose the Scanfield Under Desk Cable Management Tray when a power strip and one or two bricks need to leave the floor and you would rather not drill a desktop. Choose the Cable Management Under Desk, Enhanced up to 15 Cord Organizer when you have a high cable count, thin cords, and a need to separate power from data without spending much. Choose the AGPTEK Cable Management Sleeve when the desk moves and the bundle between the desktop and the fixed run has to travel as one piece.
Most builds use two of the four, not one. A home office setup cable raceway that is chosen by cable count and desk height range usually ends up being a channel plus a tray, with clips filling the gaps behind the monitor.
Two caveats worth stating plainly. Adhesive performance depends on your wall surface and on how long the product has been stuck there, and none of these listings states a load rating or a tested holding force, so any capacity figure should be read as the manufacturer's claim rather than a measurement. Nothing here was weighed, pulled, or timed for this article.
The bottom line
Buy the parts in the order the cables run. Fixed wall channel first, because that run does not move. Tray second, because the strip and the bricks are the weight. Sleeve third, only if the desk travels. Clips last, to keep the final inches honest. Check the cavity size against your thickest connector before you order, check the tray against your knee space at seated height, and test the whole thing with the desk at standing height before you decide it is finished. A home office setup cable raceway is a measurement job, not a shopping spree, and the cheapest correct combination beats the most expensive wrong one every time.