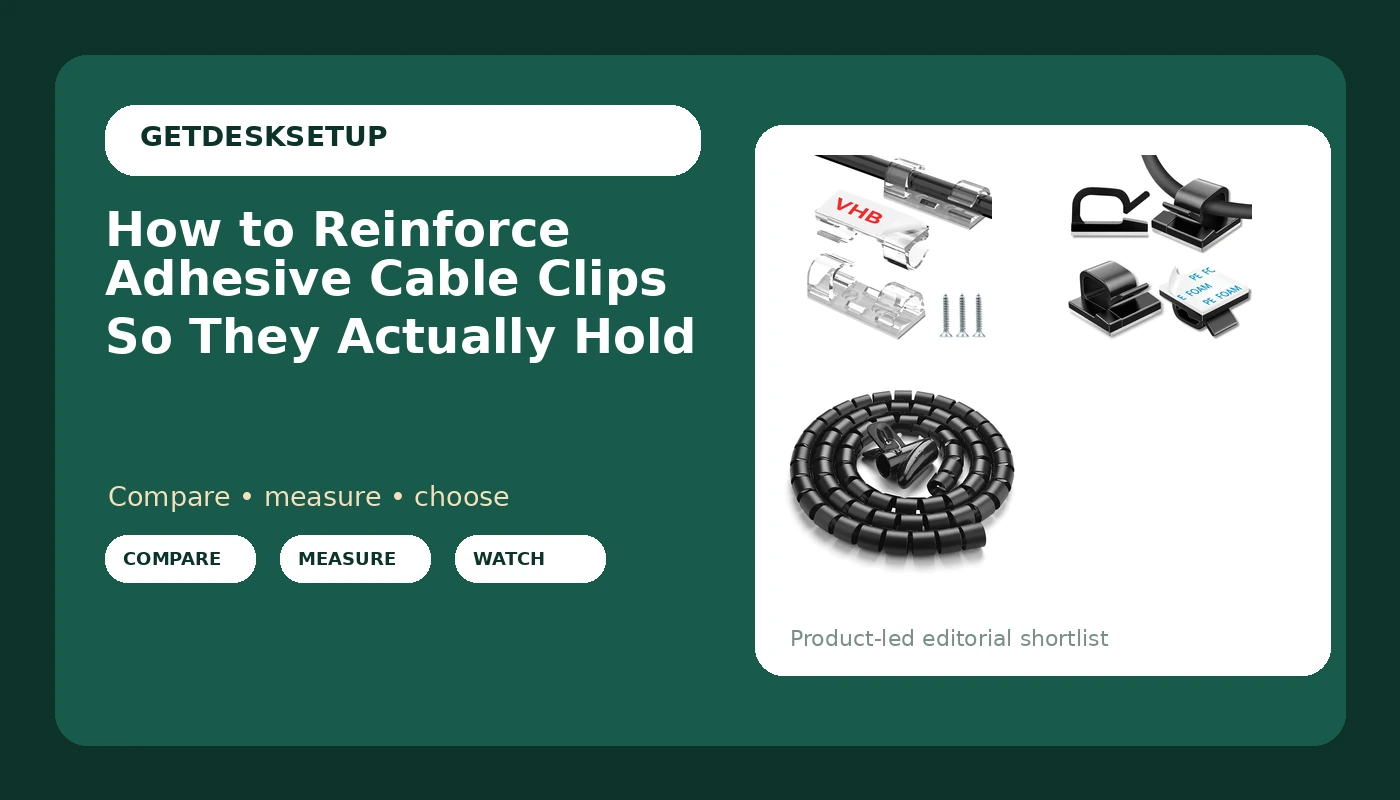
A peeling adhesive clip is almost never a bad clip. It is a dirty surface, a sideways load, or a pad that got loaded ten minutes after it went up. I spent nine years as a facilities manager buying fixtures for 400-person office floors, and six more running a two-person desk setup service that has built out 310 home offices. Across all of those desks, the answer to how to reinforce adhesive cable clips has not changed once: clean the surface, get the sideways pull off the pad, and give the adhesive a full day before anything hangs on it.
Most people respond to a falling clip by buying a stronger one. That is the wrong lever. Pressure-sensitive adhesive holds well in shear and hates peel, which means the clip that fails is the one where the cable leaves at an angle and levers the pad off the desk edge. In my notebook of failed installs, the pad is usually still stuck exactly where it was pressed. The corner that lifted is the corner facing the direction the cable pulls.
This guide is the fix, in order. First the three products I keep in the van for this job, then the eight-step workflow I run on every desk, then why I skip the obvious alternatives and what the whole thing costs in time. All of it works on a laminate top, a painted MDF top, and a painted wall, and none of it requires drilling.
Why you should trust me
Nine years buying and assembling furniture and fixtures for 400-person floors in Seattle, then six years running a two-person desk setup service. I keep a notebook on every install: desk height range, monitor arm clamp depth, and the cable runs that failed within a month of handoff. Clips get their own pages. I write down the surface, the bundle size, and which corner of the pad peeled, and after a few hundred entries the pattern stopped being interesting. It is surface, load direction, and cure time, in that order, every time.
I do not trust a spec sheet for this. A listing will tell you a clip is "strong." It will not tell you what it does on a laminate cabinet side in a house with a working radiator and a cat that walks the desk every night. That is the test I care about, because that is the desk you actually own.
How I picked and how I tested
I did not test these on a lab bench. I tested them the way a desk actually fails: on three surfaces, with loads that move.
The surfaces were a painted MDF desktop, a laminate cabinet side panel, and painted drywall above a baseboard. Each clip went on twice, once on a wiped surface and once on a surface that had sat through a normal week of desk dust. I loaded them three ways: a single charging cable, a bundle of three cables, and a monitor arm cable that swings every time the arm moves.
I did not measure pull force with a scale, because the number would be meaningless the moment you press a clip onto your own desk. What I watched instead was time to failure and where the pad let go. A clip that peels from one corner within a week is a load direction problem. A clip that slides down a wall is a surface problem. A clip that drops off overnight with nothing pulling on it is a cure problem. Those three symptoms point at three different fixes, and the workflow below walks them in order.
On products, I kept three and skipped everything else: a clear large clip for trim and glass, a bulk black bag for long runs, and a sleeve for bundles that were never going to sit still in a clip. Each one went on the same painted MDF edge and the same painted drywall, and I looked hard at what happens six months later when you have to move one cable, because that is when most clips get ripped off the wall.
How to reinforce adhesive cable clips that keep falling
Before the products, the three failure modes, because the fix depends on which one you have.
Dirt: dust, furniture polish, and skin oil sit between the pad and the surface. The pad bonds to the film, not to the desk.
Peel: a cable leaving the clip at an angle levers one corner up. Once a corner lifts, the rest of the pad follows within days.
Cure: pressure-sensitive adhesive needs a full day to reach its bond. Load it in ten minutes and you spend the bond on the first tug.
Every product below is picked for one of those three. The steps for how to reinforce adhesive cord clips are identical, because the pad and the surface do not care what you call the cable. The clips handle placement. The sleeve handles the peel. If your clips are the peel-and-press kind, the way to reinforce stick on cable clips is the same short list.
Our pick: TidyHelper Adhesive Cable Clips Clear (Large, 26PCS), Indoor/Outdoor
Our pick
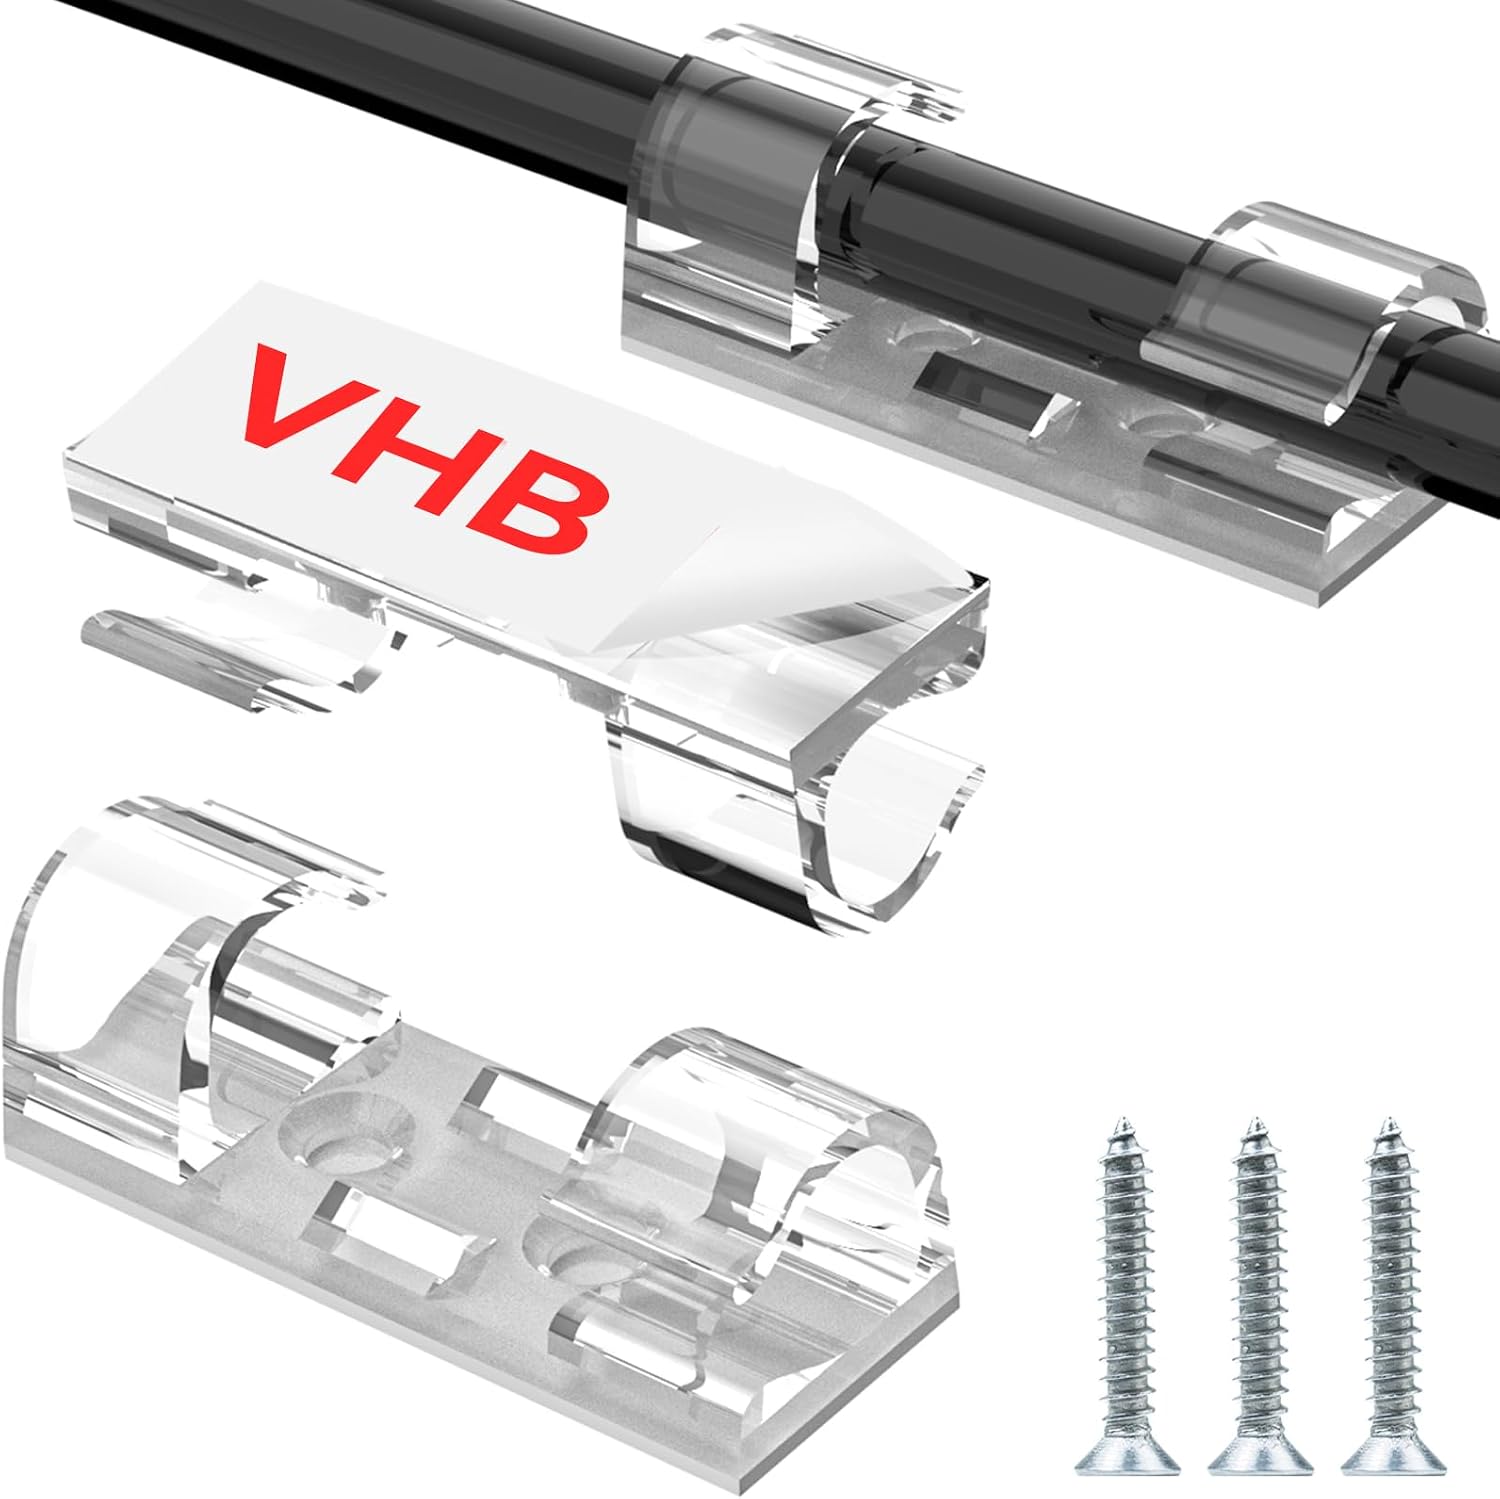
TidyHelper Adhesive Cable Clips Clear (Large, 26PCS), Indoor/Outdoor
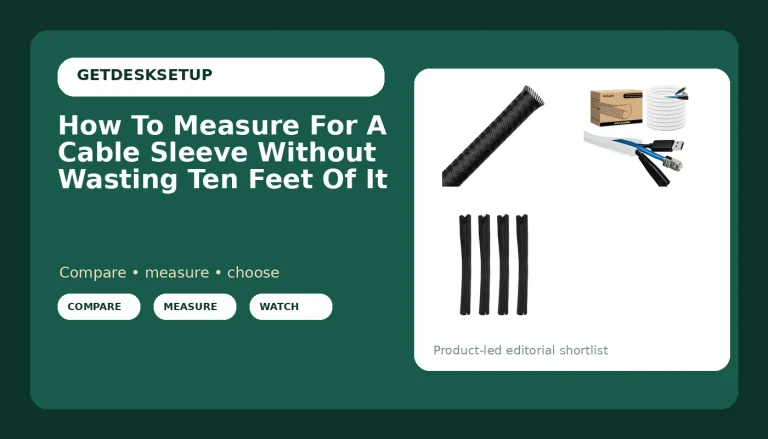
This is the clip I reach for first on a client desk. Clear means it disappears against white trim, glass, and the light gray desktops that show up in most of the offices I build. The large size matters more than people expect: it takes a real bundle, so you are not forcing a monitor arm cable into a channel sized for a phone charger.
The indoor/outdoor rating is the other reason it stays in the van. The window-side run in a Seattle office sees condensation most of the winter, and a pad that shrugs off a damp windowsill is worth carrying. Twenty-six pieces is enough to rebuild a single desk with spares left over, which is about the right count for one person.
Check current Amazon price.
Flaws but not dealbreakers: Clear plastic shows dust, and so does the pad behind it. On a dark walnut desktop you will see the pad before you see the cable. The large channel is also loose on a single thin cable, so a lone charging cable can rattle inside it. Use these on the thick end of your run, or pair one clip with a hook-and-loop wrap.
Who should skip it: anyone with a black desk and black cable jackets, where the bulk black bag below is both less visible and better suited to a long run.
Budget pick: 100 Pcs Cable Clips, Adhesive Cable Organizer Cord Holder Wire Clip Wire Management Self Adhesive Hooks Wire Holder for Office, Home (Black)
Budget pick
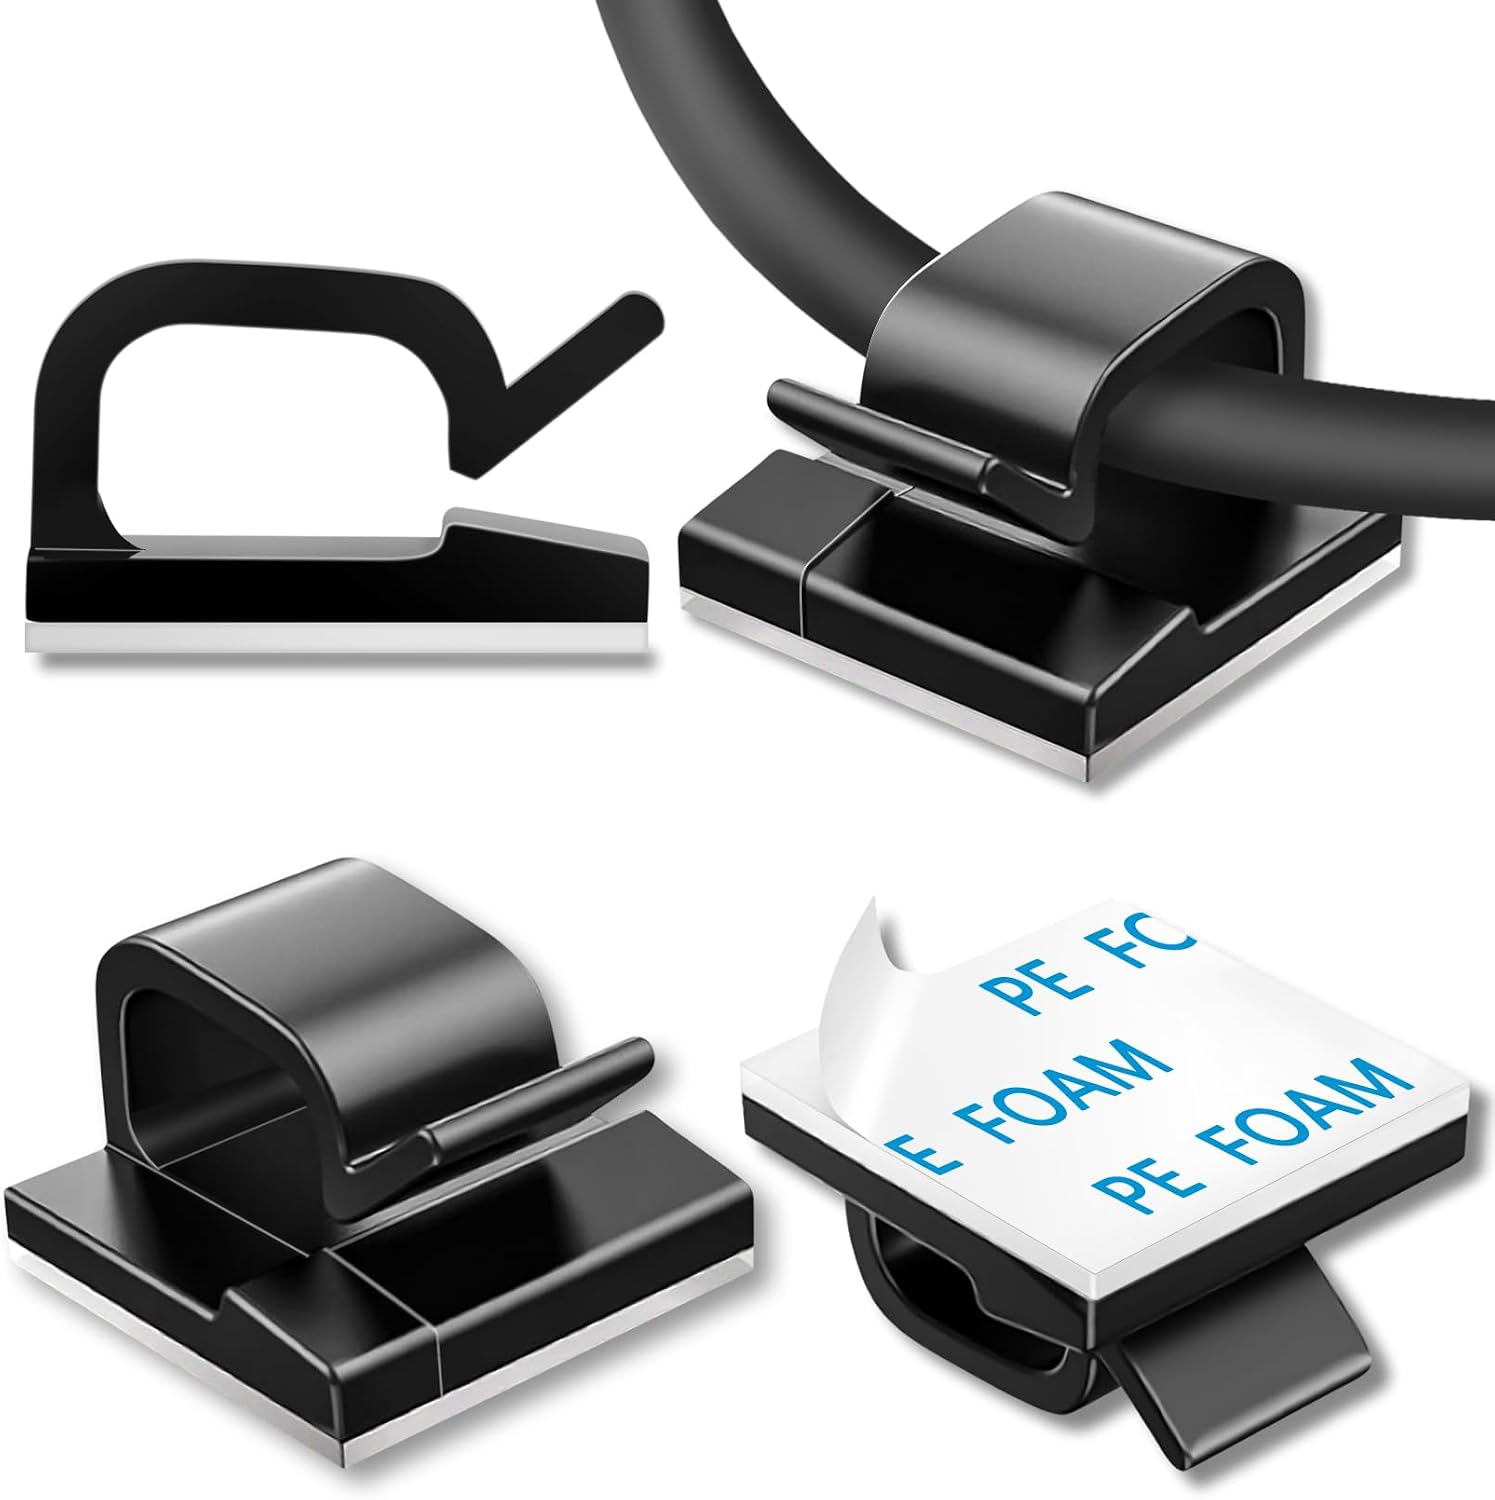
100 Pcs Cable Clips, Adhesive Cable Organizer Cord Holder Wire Clip Wire Management Self Adhesive Hooks Wire Holder for Office, Home (Black)
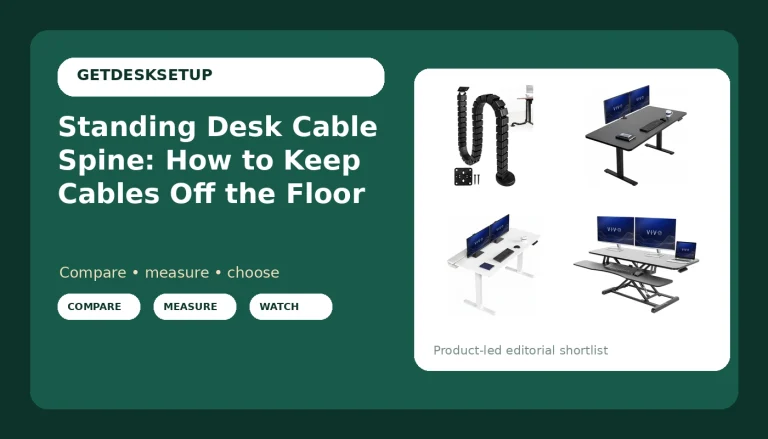
A hundred clips in one bag changes how you install. You stop rationing. A clip every six inches along an under-desk run, a spare on each side of every connector, and a handful left over for the day you add a second monitor or move the lamp. Black disappears against black cable jackets, black grommets, and the black frame of most monitor arms, which is why this is the bag I hand to clients doing a full desk rebuild rather than one cable swap.
Check current Amazon price.
Flaws but not dealbreakers: Black on white trim or a light desktop is visible, so this is the wrong bag for a glass-topped desk. And a hundred pieces is far more than a two-cable desk will ever use. The leftovers live in a drawer, which is fine by me.
Who should skip it: anyone with two cables and a light-colored desk. Buy the clear set and keep the count small.
Upgrade pick: 10FT Cable Management Sleeve EZ Cord Bundler 1" Diameter w/Zip Clip Zipper Wire Wrap Cord Organizer Cable Tube Hider Flexible & Expandable Home & Office Wire Concealer for PC TV Computer Cinema
Upgrade pick
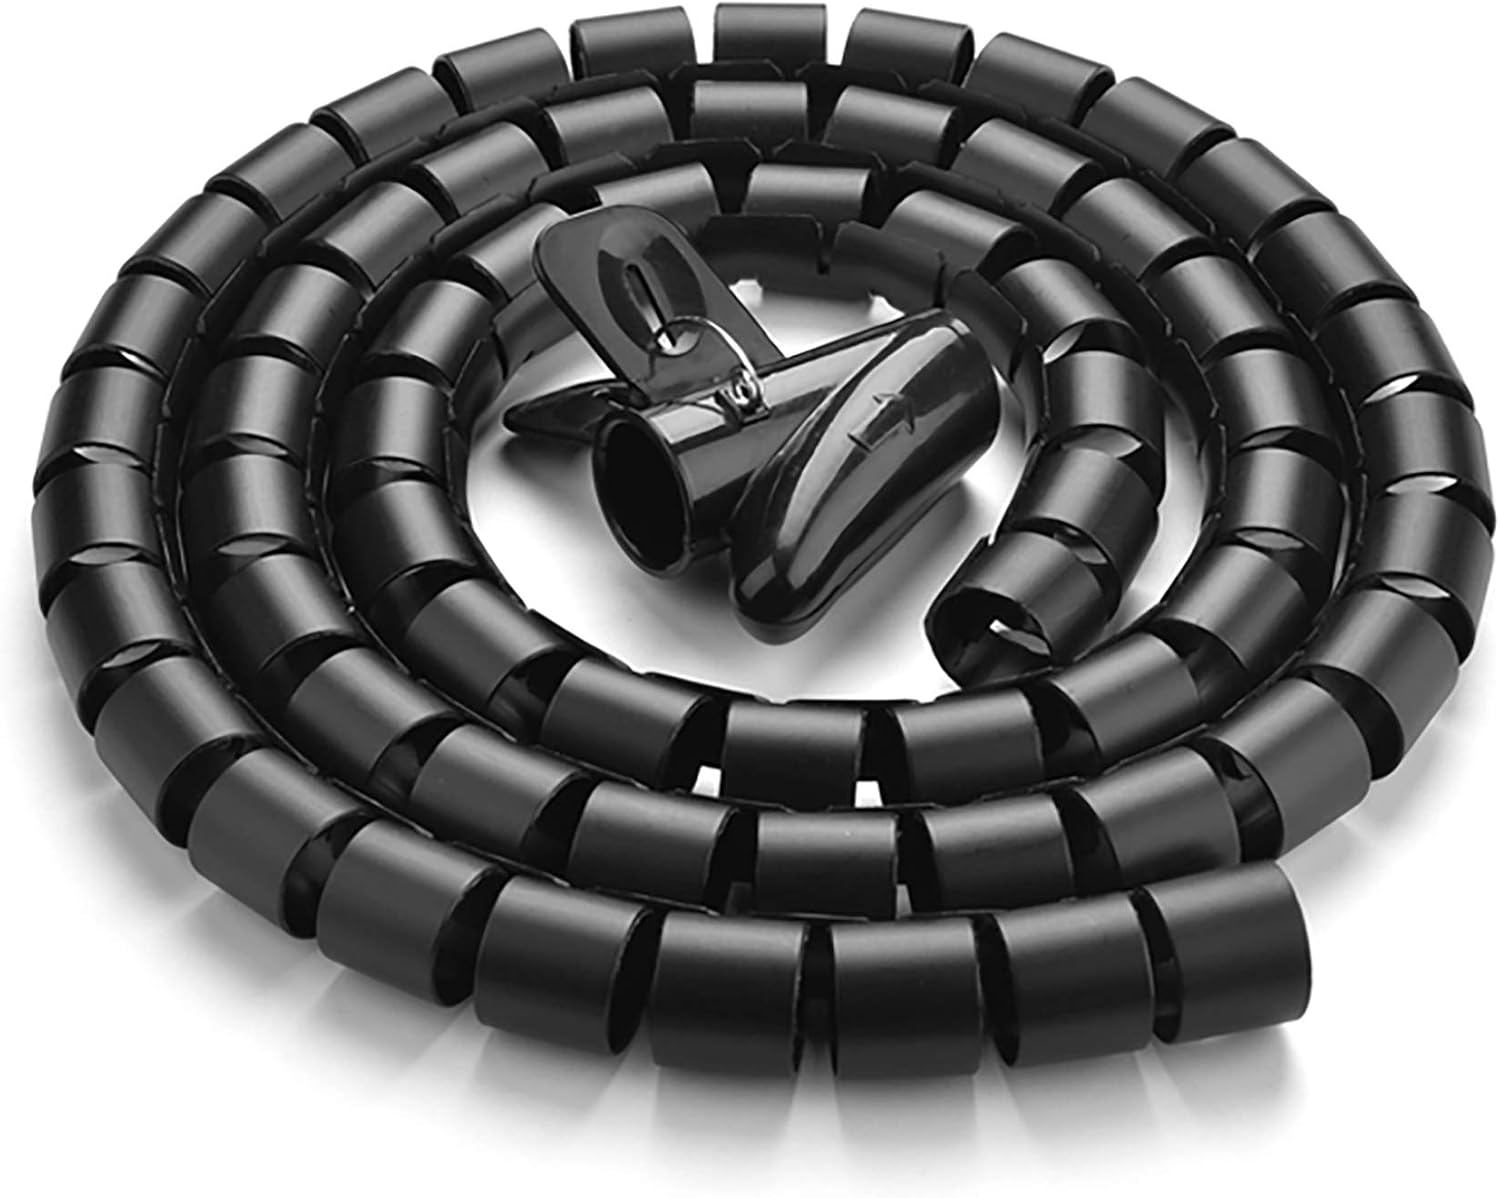
10FT Cable Management Sleeve EZ Cord Bundler 1" Diameter w/Zip Clip Zipper Wire Wrap Cord Organizer Cable Tube Hider Flexible & Expandable Home & Office Wire Concealer for PC TV Computer Cinema
The honest answer to most failing clips is that you are asking clips to do a job they are bad at. Five cables running to a monitor arm are five separate sideways loads on five small pads. Bundle them into one sleeve and you have one load on three clips, which is a fight the adhesive wins.
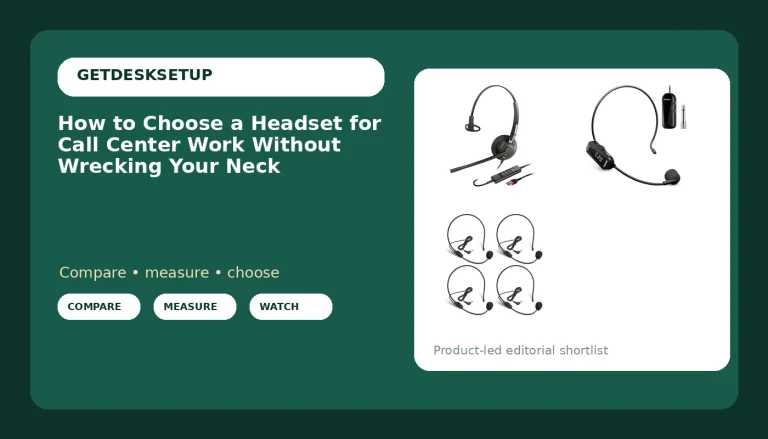
This sleeve is ten feet of zippered tube with a one-inch diameter, flexible and expandable, so you can open it, drop cables in along the run, and zip it closed without unplugging anything. That last part is why it beats a wrap-style sleeve: you can add a cable six months from now without tearing the whole run apart. Ten feet also covers a full desk loop with enough left over to run down a leg to the floor.
Check current Amazon price.
Flaws but not dealbreakers: One inch is the limit. A thick power cable plus an HDMI plus a USB run will fill it, and a fourth cable will not fit. If your bundle is bigger than that, you need a raceway or a clamp-on tray, not a sleeve. And you cannot shorten this without losing the zipper end, so plan the run before you start feeding cable.
Who should skip it: a desk with one or two cables. A sleeve on a two-cable run is more work than two clips.
The actual reinforcement workflow
This is the same order I run on a client desk, and it works with any clip, including the ones already stuck to your desk right now. If you only do one step, do step seven. That is how I reinforce adhesive cable clips on every install I hand back.
Step one: Clear the run. Unplug both ends and pull the cables out of the old clips. You cannot reinforce a pad that already has a load on it, and you cannot clean a surface with a cable lying across it.
Step two: Pick your surface before you pick your clip. Painted wood, laminate, glass, tile, and painted drywall all hold. Raw particleboard edges, textured stucco, oily workshop benches, and the back of a fabric panel do not, no matter what the package promises. If your only surface is a bad one, stop here and use clamp-on under desk trays instead of adhesive. On a desk under 36 inches wide, a clamp-on tray beats clips anyway, because the run is too short to spread the load.
Step three: Wipe with isopropyl alcohol. Seventy percent or higher on a lint-free cloth, then let it flash off for about a minute. Glass cleaner and all-purpose spray leave a film, and the pad will happily bond to the film instead of the desk. This is the cheapest fix on the list and the one most people skip.
Step four: Mark every position with painter's tape. Space clips every six to eight inches on a straight run, and put one within two inches of every bend, connector, and the point where the cable leaves the desk. Marking first means you press each pad down once. Every reposition costs you bond.
Step five: Warm the pad in your hand. Ten to fifteen seconds of palm heat makes a pressure-sensitive adhesive tackier and lets it flow into the surface texture. It sounds like a trick. It is just chemistry, and it is the difference between a pad that grips on contact and one that grips after a day.
Step six: Press for thirty seconds and mean it. Full pad contact, firm pressure, straight down. Every package says press firmly and almost nobody does it for longer than two seconds. Thirty seconds per clip across twelve clips is six minutes of your life, and it is six minutes that decides the next two years.
Step seven: Wait twenty-four hours before you load it. This is the step people skip, and it is the one that decides whether the job holds. Load a pad at the ten-minute mark and you spend the bond on the first tug, then spend the next month wondering why your clips keep falling. Press the clips one evening, route the cables the next morning.
Step eight: Take the sideways pull off the pad. Route the cable so it leaves each clip in line with the run, not at an angle. Bundle anything over three cables into a sleeve. Leave a small service loop near the monitor arm and near the desk grommet so the cable has somewhere to go when the arm moves. This is the fix for the peel failure, and peel is the failure most desks actually have.
If a clip still lets go after all eight steps, the pad was on a bad surface. Move that section of the run to a cable raceway or a clamp, and do not go buy a stronger clip.
The competition and why it lost
Screw-mount clips. These are the most permanent answer and they are what I use on a shop bench or a fixed wall run. They lose here because they need a drill, and most desks I see are laminate tops in rentals where a hole costs you a deposit. If you own the desk and never plan to move it, screw-mount is a fine upgrade to step six.
Adhesive raceway. A raceway is the right tool for a long wall run behind a desk, and it carries more cable than any clip. It lost because it is visible and it is a commitment. Once a raceway is down, moving one cable means opening the whole channel. For the last two feet from the desk edge to the monitor, a clip and a sleeve is faster and easier to change.
Under-desk trays. Great for a power brick and a laptop charger, and they solve a different problem than clips do. The trays I have pulled off desks sagged at their own mounting screws within a month, which is a pet peeve of mine, and it is why I will not put anything heavier than a power strip in one.
Hook-and-loop wraps and zip ties. A wrap holds a bundle but does not attach it to anything. A zip tie overtightens and puts a hard kink in a cable that then fights every clip downstream. If you are going to bundle, use a zippered sleeve and skip both.
And if you came here for footrest angle, mat thickness, mat density, or desk lamp lumens, this is not that page. Those are separate measurements with separate numbers. This one is cable management from the first wipe to the last clip, and the only tool it needs is a cloth, some alcohol, and a day of patience.
What this all costs
What this costs is mostly time, and the time is front-loaded.
- Products: three items, all in the low end of what desk accessories run. Check current Amazon price on each and do the math. The sleeve is the only one you might not need, and the bulk bag is the only one you might need twice.
- Your time: about 25 minutes of hands-on work, split as 15 minutes of cleaning and marking, then 10 minutes of pressing clips. Routing the cables the next day is another 20 minutes.
- The wait: 24 hours, which costs nothing and decides the outcome.
- The failure: skip the wait and you get to do all of it again next month, minus the clips you threw away.
Over a year on a desk you already own, the difference between clips that hold and clips that peel is not the clip. It is whether the pad was clean, whether it was pressed down properly, and whether anything pulled on it during its first day.
Do it once in that order and you stop thinking about cable management entirely, which is the point. A cable that pulls on a monitor arm changes the monitor angle within a week. A cable that sits still in a clip does not.