Your cable bundle is never one cable. It is a monitor's DisplayPort, a laptop's USB-C, a desk lamp cord and a phone charger twisted into a rope that ends up two to three times thicker than any single cable inside it. That is why most people get it wrong when they measure for a cable sleeve: they wrap the tape around one cable, order a sleeve that size, and then find out the bundle will not go through it.
The fix takes five minutes, a piece of string and a ruler. It is the same check I run on client desks before I order anything, because a sleeve that is too tight is worse than no sleeve at all. Too tight and the cables bind, the monitor arm fights you, and the DisplayPort connector takes the load. Too loose and the sleeve bunches at every bend and looks like a deflated balloon under the desk.
Below is how to measure for a cable sleeve, the three sleeves I keep on the shelf, and the eight steps in the order I actually run them. If you want the rest of the routing picture, the desk cable management walkthrough covers clips, trays and where the power brick should live.
Why you should trust me
Nine years as an office facilities manager, then six years running a two-person desk setup service: 310 home offices built, and a notebook with every cable bundle I have ever sized written down in inches. I measure with a tape, not with a spec sheet, and the rejects in that notebook are the reason I trust the method in this article.
Most of what I know about cable management came from being wrong in public. I have ordered a sleeve for a bundle I guessed at and received something that swallowed it whole. I have installed a raceway that came up two inches short of the wall plate. I have watched a bundle pull a monitor arm out of square inside a week because the sleeve had no slack at the joint, which is the failure I now warn every client about before I pick up a screwdriver.
I measure everything else in the room the same way. Seat depth, desk height at the top of its range, mat thickness under a chair, mat density, the footrest angle a shorter client needs, even desk lamp lumens so the monitor is not fighting the room. A cable sleeve gets the same treatment as a chair. If I cannot say the bundle diameter in inches, I do not order.
How I picked and how I tested
Three sleeves, one method, and the method is the only reason the picks mean anything. I ran each sleeve against the same three checks I use on a client desk, because a sleeve is only as good as the bundle you feed it.
First, the opening. A sleeve that opens along its length, whether by zipper or split seam, can be fitted around cables that are already plugged in and routed. A closed braided sleeve has to be slid on over a bare cable end, which means unplugging something. That single difference decides most purchases.
Second, behavior at a bend. Braided PET holds a shape and will cut into a tight radius if you force it. Neoprene folds and recovers. Behind a desk where a bundle turns ninety degrees out of a monitor arm and then drops to the floor, that matters more than how the material looks.
Third, the ends. Every sleeve needs to be anchored within a few inches of where the bundle changes direction, usually with an adhesive clip or a hook-and-loop wrap, or the sleeve walks down the cable over a month and leaves you with a bare bundle and a puddle of fabric at the floor.
If you only remember one thing about how to measure for a cable sleeve, remember this: the number you want is the thickest point of the bundle, not the average. The same method works whether you are trying to measure for a cable wrap, measure for a cord sleeve, or measure for a wire sleeve. The vocabulary changes, the tape does not. Add clearance on top, 15 percent at a minimum, because a sleeve sold as half an inch is a nominal size, not a promise.
Cable sleeves you'll need before you start
Three sleeves cover almost every desk I build, and they cover it three different ways: closed braid, split loom and zippered fabric. Pick the one that matches whether your cables are already plugged in, how long the run is, and how much of it anyone will ever see.
Budget pick: 1/2" 10ft Black Expandable Braided Cable Sleeve PET
Budget pick
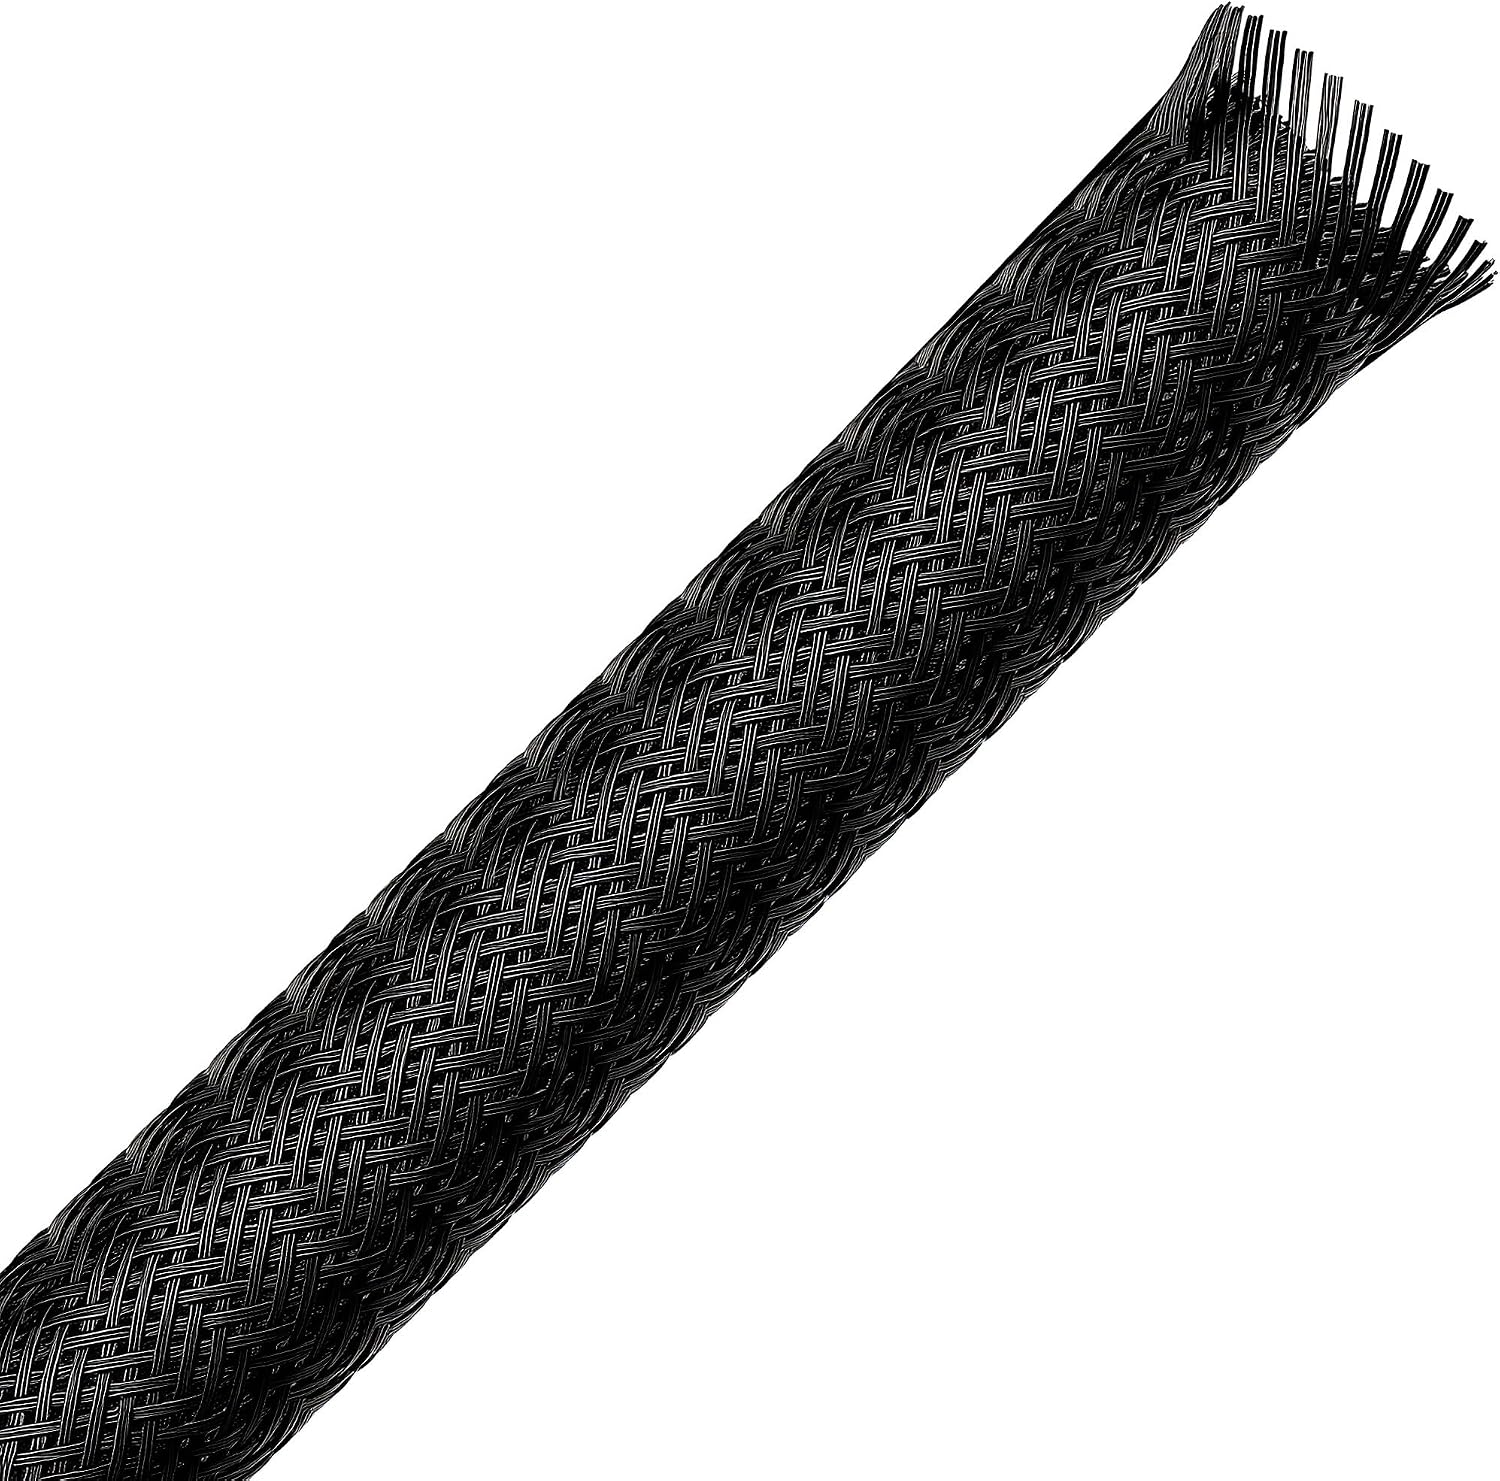
1/2" 10ft Black Expandable Braided Cable Sleeve PET
Check current Amazon price.
This is the sleeve for a run that gets built once and left alone: a fixed line from a wall plate to a desk, or the leg of a standing desk where the cables sit in a channel and nothing gets added later. Ten feet of expandable braid at half an inch nominal covers long runs that a short fabric sleeve cannot reach, and the braid expands enough that a bundle slightly over the nominal size still goes in if you compress it as you feed it.
The catch is the closed construction. You feed cables through from one end, which means the connectors come off first. On a desk where the DisplayPort is already fished through a grommet and the power brick is strapped to the frame, that is a twenty minute job you did not plan for. If that describes your desk, skip this one and read the zippered option below.
Second catch: braid is abrasive against soft cable jackets when the bundle is packed tight. Leave the clearance from the measuring steps and you will not have a problem.
Flaws but not dealbreakers: it is one continuous length, so if you cut it, the cut end frays unless you melt it or tape it. Anyone with a clean, permanent run and a bundle that comes in under the nominal half inch will be happy with it.
Runner-up: Nilight Cable Sleeve, 25ft-1/2inch Cord Management Sleeves White Wire Loom
Runner-up
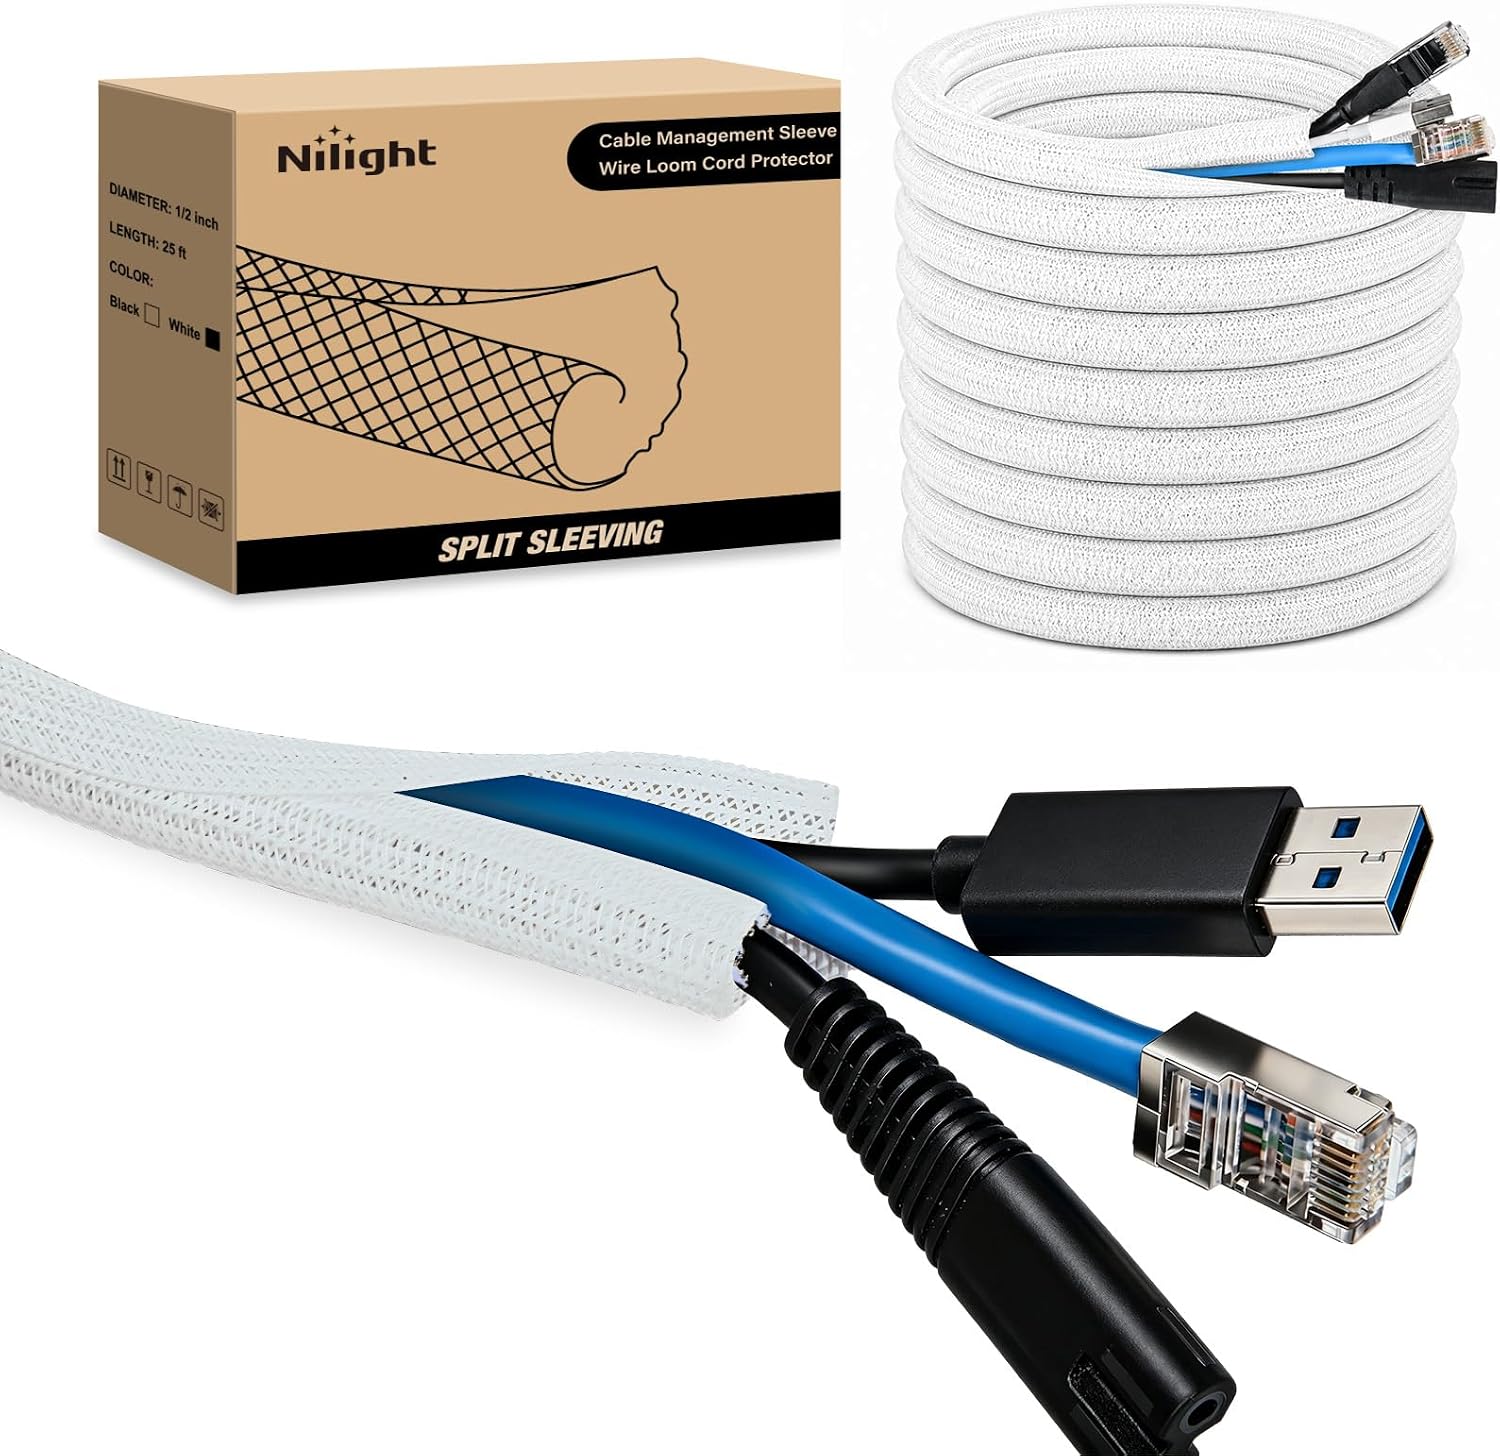
Nilight Cable Sleeve, 25ft-1/2inch Cord Management Sleeves White Wire Loom
Check current Amazon price.
Twenty-five feet of white split loom is the answer when the run is long, the wall is white, and you want the bundle to disappear against baseboard. Split loom opens along one side, so you push cables in through the seam without unplugging anything, which makes it the fastest of the three to fit on a desk that is already built.
The trade is looks and grip. The seam is visible up close, and the corrugated texture reads as industrial rather than furniture. It also holds a coil memory from the roll, so let it relax for a day or warm it slightly before you fight it behind a desk.
White is the other trade. It hides on a white wall and shows every speck of dust against a dark one. If your desk sits against a dark wall, buy the same family in black rather than ordering white and regretting it.
Flaws but not dealbreakers: the seam can pop open at a hard bend if nothing anchors it. Put an adhesive clip on both sides of every sharp turn and it stays shut. Anyone with a twenty foot run along a light wall and cables that are already plugged in should start here.
Our pick: HARFINGTON 4pcs Zipper Cable Sleeve 20"x4.3" Neoprene Cable Protector Wire
Our pick
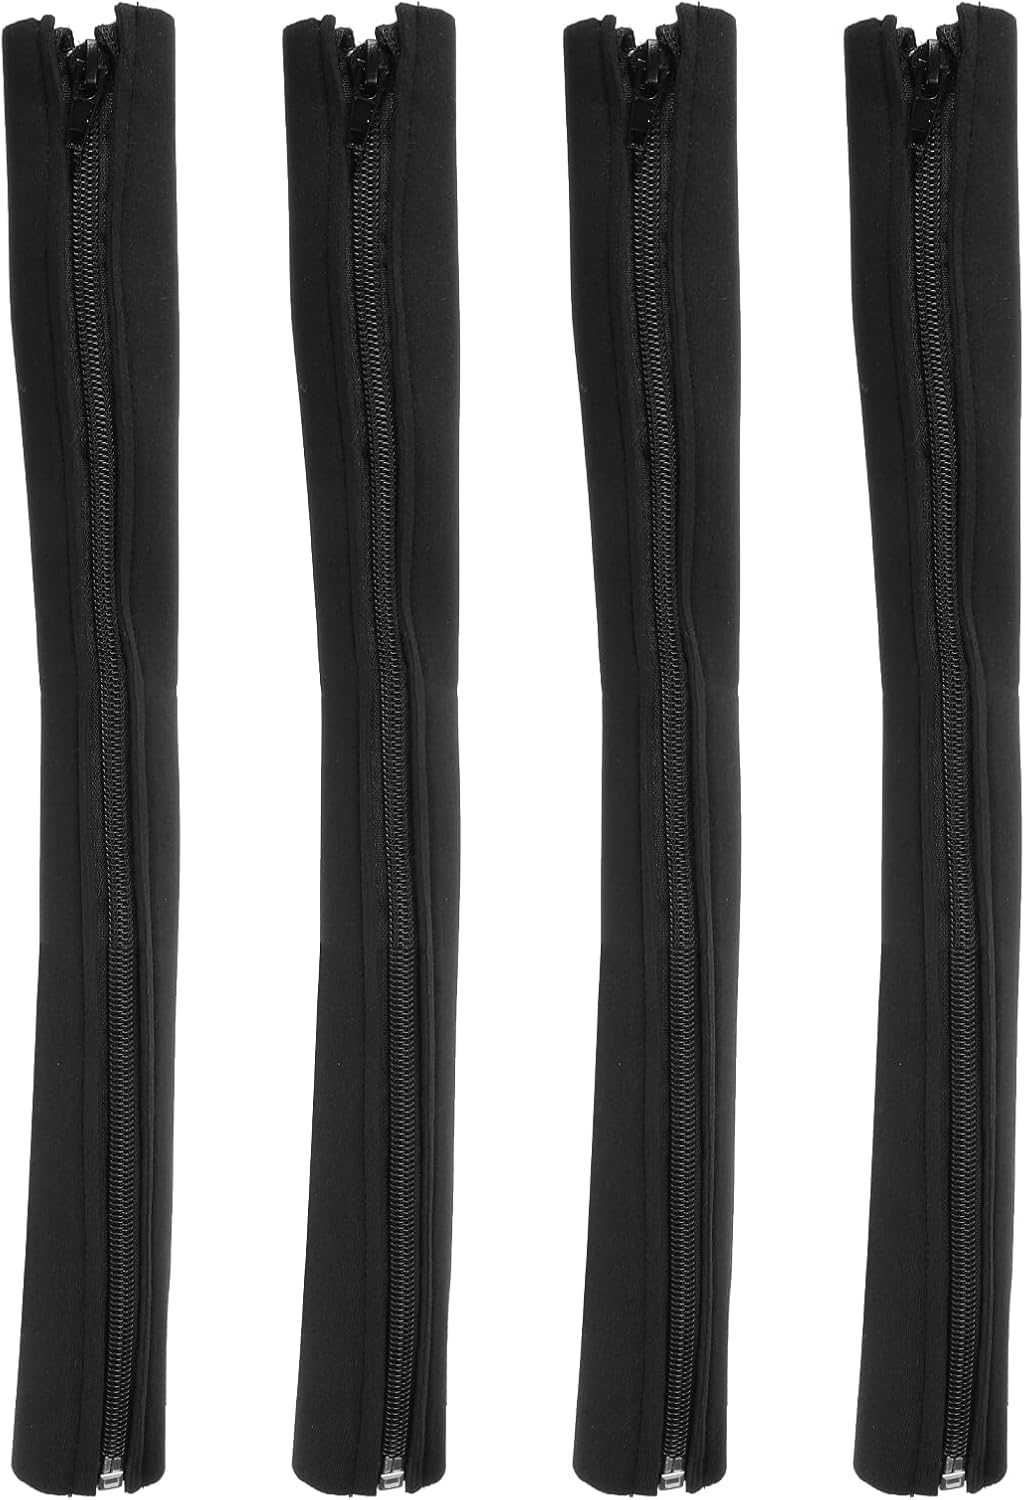
HARFINGTON 4pcs Zipper Cable Sleeve 20"x4.3" Neoprene Cable Protector Wire
Check current Amazon price.
Four zippered neoprene sleeves, each twenty inches long and 4.3 inches wide, and this is the pick that solves the problem the other two cannot: cables that are already plugged in, on a bundle you want to look deliberate rather than industrial. The zipper runs the full length, so you lay the bundle in, close the zip, and you are finished in about ninety seconds. No unplugging, no feeding connectors through a tube.
The width is the number to watch. A 4.3 inch wide sleeve wraps a bundle and closes, so it takes a fatter group than the nominal half inch sleeves, but it also means the sleeve is wider than a tidy two-cable run needs, and a loose zip on a thin bundle looks sloppy. This is the one for a thick bundle: power, DisplayPort, hub feed, headphone cable and a laptop charger in a single jacket.
Neoprene is why I keep these on the van. It folds at a bend instead of cutting into it, it does not fray when you cut it, and it takes a hook-and-loop wrap or an adhesive clip without sliding out from under it. Four sleeves also means you can cut one down for a short run and still have three left for the long ones.
Flaws but not dealbreakers: the zipper is the wear point on any zippered sleeve, so do not run it around a tight radius and expect years of service. Anyone with a thick, already-wired bundle behind a monitor arm or under a desk with a visible gap should start here.
The workflow: how to measure for a cable sleeve
This is the part you came for. It works on any desk, any bundle and any sleeve style, and it takes about five minutes if you do not stop to re-route anything along the way.
Step one: Group the cables by where they are going, not by what they are. Everything running from the desk to the wall is one bundle. Everything running from the monitor arm to the desk is a second bundle. A sleeve is sized per bundle, and a bundle that changes membership halfway down the run is the number one reason a measurement goes wrong.
Step two: Find the thickest point of the bundle, not the average. Squeeze the cables together by hand along the whole run and look for the spot where a chunky connector, a ferrite bead or a strain relief bulges the group. That bulge is what the sleeve has to pass, so that is where you measure.
Step three: Measure the circumference at that thickest point with a piece of string or a soft tailor's tape. A rigid steel tape will not hug a bundle, and a reading taken on a rigid tape usually runs long. Wrap the string snug, mark it with a fingernail, then lay it flat on a ruler.
Step four: Convert circumference to diameter. Divide the circumference by 3.14. A bundle that measures 1.6 inches around is 0.51 inches across. If you need to measure for a cable wrap that only lists a flat width, this is the number you compare against, since most wraps and sleeves are sold by flat width or by the diameter they accept.
Step five: Add clearance. I use 15 percent as a floor and 25 percent if the bundle turns more than two corners or runs through a monitor arm channel. A 0.51 inch bundle wants a sleeve that takes at least 0.59 inches. This is the step that saves you a return, because a sleeve that matches the bundle exactly will fit on the bench and fight you behind the desk. It is also where people get lazy when they measure for a cable sleeve in a hurry.
Step six: Measure the run length, then add slack. Measure from the wall plate or power strip to the far end of the bundle with the desk at sitting height, then add six inches for a fixed desk and twelve to eighteen inches for a standing desk, so the sleeve is never the thing that goes tight at standing height. Use the same habit on anything else you size for the desk: measure at the extreme, not the middle. A mat thickness that feels fine at sitting height can stop a chair caster dead once you stand up.
Step seven: Mark where the sleeve will be anchored. Walk the run and put a finger on every point where the bundle changes direction. Each of those points wants an adhesive clip or a hook-and-loop wrap within three inches, on both sides. Count them before you order, because an unanchored sleeve walks down the cable inside a month, and that is true of every material in this guide.
Step eight: Write the two numbers down and match them to a sleeve. Diameter first, length second, opening style third. Closed braid for a permanent run, split loom for a long run on a light wall, zipper for a bundle that is already plugged in. If a listing gives you only a flat width, remember that a sleeve's usable diameter is roughly two thirds of its flat width once it closes around a bundle. Do not order from memory. The notebook is the whole point.
Then, once it is on: leave the ends long, trim after the first week, and re-check the anchors. Sleeves settle, and a settled sleeve usually needs one more clip.
The competition and why it lost
Spiral wrap is the roll I keep in the drawer and almost never use on a desk. It works on a single cable and it is easy to add to later, but the measuring problem is identical to how you measure for a cable sleeve, and the result looks like a telephone cord wrapped around a hose. It is what I use on one cable that needs protection from a chair caster, not on a bundle.
Hook-and-loop ties are not a sleeve at all, but they solve the same job for someone with three cables and no interest in a jacket. They lose here because they do not stop a bundle from separating, so the run still reads as loose spaghetti from across the room. Use them for the last six inches at the ends of a sleeve, where nothing beats them.
Rigid raceway is the option for a wall run behind a desk where the bundle is fixed and you want the cleanest possible line. It loses on flexibility. The moment you add a cable you are prying the cover off, and the measurement you took is now wrong. It is a permanent-install product, and most desks are not permanent.
Under-desk cable trays answer a different question, which is where the bundle lives when nobody is supposed to see it at all. If you already have a tray, you may not need a sleeve for the horizontal run, only for the vertical drop from the desk to the floor, and my standing desk cable routing guide covers that split.
Split mesh sleeves with a drawstring closure turn up in a lot of buying guides and I left them out for one reason: the closure is less reliable than a zipper when you are pulling a bundle around a monitor arm, and the drawstring end works loose. If your bundle never moves, they are fine. Most desk bundles move.
What this all costs
Three sleeves, three jobs, and most desks need exactly one of them. Check current Amazon price on the braid, on the loom and on the zippered set before you decide, then compare that against what a wrong guess costs: a return, a second order, and a bundle that sits bare for a week.
The math is not really about the sleeve. It is about how many times you want to do this job. Measure once and buy once, and the sleeve is a single line item on a desk you will use for years. Guess, and you pay twice, plus the twenty minutes of unplugging and re-feeding that the second attempt always costs.
What drives the price up is length, not style. A ten foot braided sleeve and a twenty-five foot loom are different products for different runs, and buying the long one for a three foot run just means you cut it, fray the end and tape it. Buy the length of your measured run plus the slack from step six, and nothing more.
The free part is the measuring. A piece of string, a ruler and the arithmetic from step four will tell you how to measure for a cable sleeve on any site, including the ones I did not list. That is the whole method: measure the thickest point, convert to diameter, add clearance, add slack, count your anchors, then order. Do it once, and the next time you add a cable to the bundle you will already know whether it fits.