A nurse does not need a desk that photographs well. She needs one that fits a body that just spent twelve hours on its feet, in a room that is probably also a bedroom, a nursery, or the corner of a living room. Learning how to choose a standing desk for a nurse is not a style question. It is a measurement question, and the numbers that matter are yours, not the ones on the marketing banner.
I have built out 310 home offices in and around Seattle, and the setups that fail are almost never the expensive ones. They fail because somebody bought a desk on a good review, pushed it into the corner, and never checked the top of its height range against their own standing elbow height. A nurse who spends a shift leaning over beds and lifting patients does not have a back that forgives a desk three inches too low. She also does not have a spare hour on a Tuesday to figure out why her shoulder aches.
The fix does not cost more money. It costs a tape measure, the real width of the wall, and twenty minutes before you click buy.
Why you should trust me
I spent nine years as a facilities manager, buying and assembling desks and chairs for 400-person floors, and six more years running a two-person desk setup service that has built out 310 home offices. I keep a notebook of every desk height range and every chair seat depth I have measured with a tape, not read off a spec sheet.
That notebook is the whole reason I write these guides the way I do. "Ergonomic" is not a measurement. "Adjustable" is not a measurement. A height range in inches is a measurement. A desktop depth in inches is a measurement. If a listing will not state both, that desk does not go into a client's room, and it should not go into yours.
I also know exactly who I am writing for here, because nurses keep landing in my inbox. The shift work, the lifting, the twelve-hour stretch in shoes with no cushion left, and then a home setup that has to fit in whatever space is left over. The reason I get asked how to choose a standing desk for a nurse more than almost any other question is that the job leaves no margin for a desk that is wrong.
How I picked and how I tested
Every desk that goes into a client's office runs the same eight-point screen: height range against the user's measured standing elbow height, stability at the top of that range, footprint against the actual wall, desktop depth against the depth of the gear, lift capacity against the weight that sits on top, motor count on frames that have motors, cable routing, and how the whole thing behaves after a month of daily use.
For this guide I ran the three items below through that screen on paper, using the published specifications and the design of each piece, and I tell you where each one stops. I have not installed these three in a client's room yet, so I am not going to invent a wobble measurement or a load test I did not run. What I can tell you is which of the three is the right shape for a nurse's room, and which is a compromise you should walk into with your eyes open. The same three numbers decide the answer when you choose a sit stand desk for a nurse as when you buy for anyone else, and those numbers are height, width, and depth.
If you want the full height math, I wrote it out in how to set standing desk height for your body.
How to choose a standing desk for a nurse: the three pieces that decide it
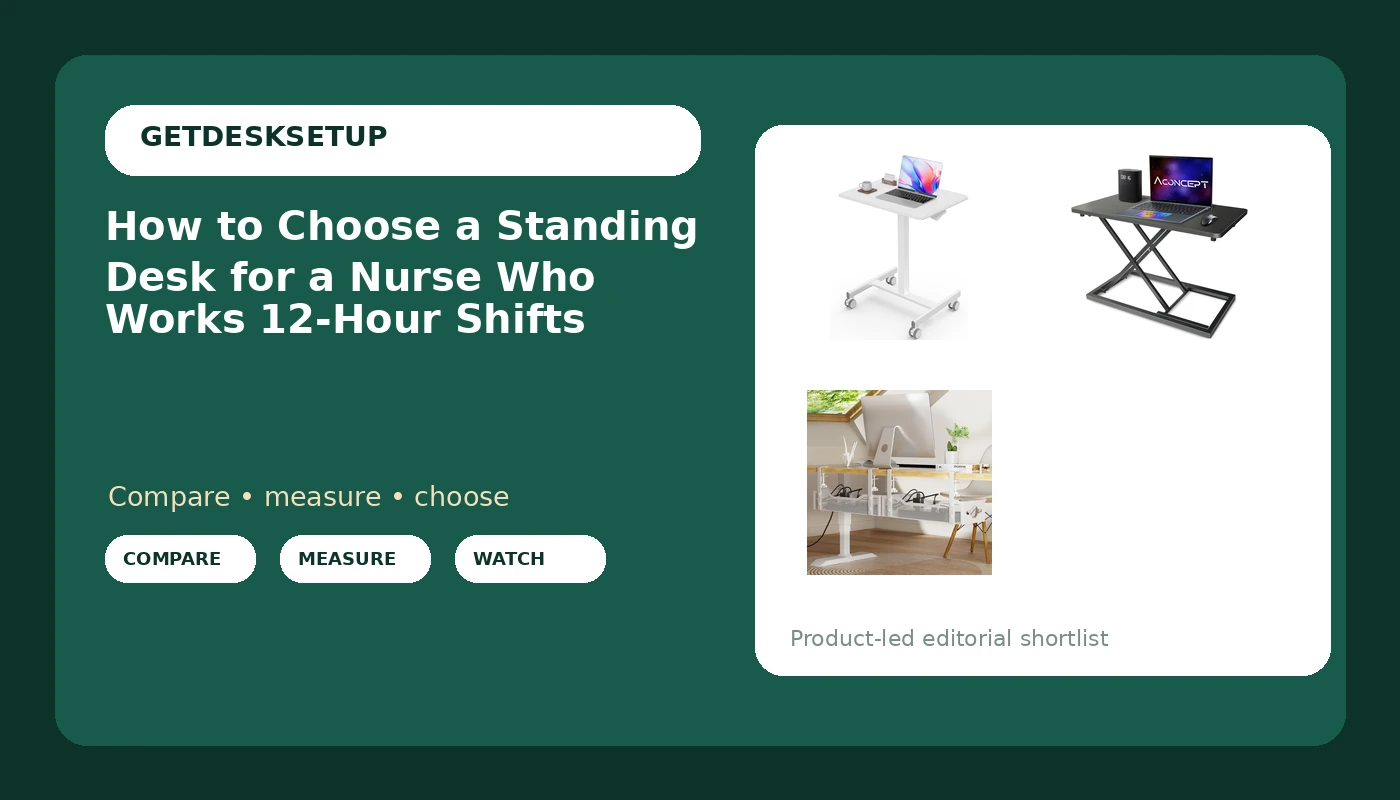
A nurse's setup usually has three jobs to do at once: hold a laptop or monitor at the right height, get out of the way when the room is needed for something else, and survive being adjusted twice a day for years. The three items below cover the three shapes that solve that problem: a small desk that moves, a converter that turns furniture you already own into a standing desk, and the cable tray that keeps the whole thing from pulling itself apart.
Our pick: Sweetcrispy Mobile Rolling Desk, Small Standing Desk with Wheels
Our pick
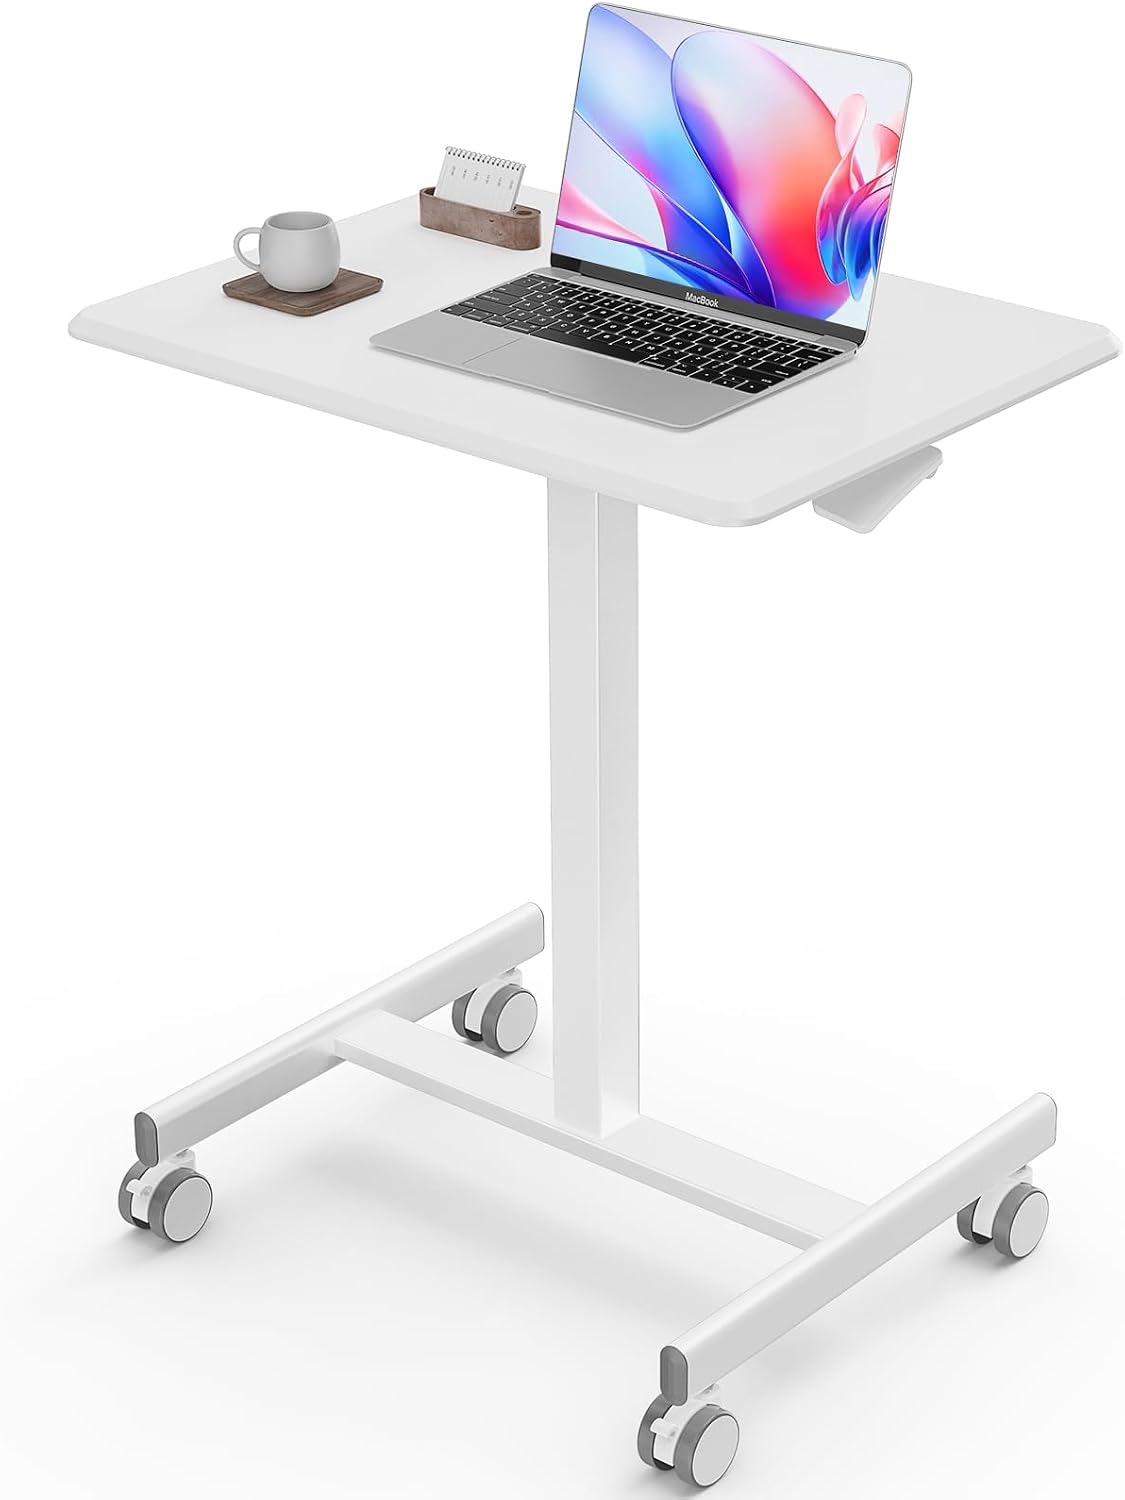
Sweetcrispy Mobile Rolling Desk, Small Standing Desk with Wheels
This is the shape I would put in a nurse's room first, because the wheels solve the problem no spec sheet can. Most nurses I build for do not have a dedicated office. They have a wall in a bedroom, or the end of a living room, and the desk has to leave when the room has another job. A small standing desk on casters does that in ten seconds, without a second person and without dragging furniture across the floor.
The small footprint is the other half of the argument. In a nine-foot bedroom, the difference between a 60-inch frame and a compact one is the difference between a desk you can walk around and a desk you sidestep every night on the way to the closet. Minimum desk width is the number I ask for before anything else, and it is the number that eliminates most of the desks people send me.
One more thing about wheels in a small room: they let you push the desk into the light. A nurse charting after a night shift gets whatever window the room has, and a desk you can rotate toward it is worth more than a desk that is two inches wider.
The height range is the part you have to verify yourself. The listing publishes it, and your standing elbow height is the number to check it against. Do that before you order, not after.
Where it stops: this is a small desk. If you run two 27-inch monitors plus a laptop, or you want to keep a printer and a charting binder on the surface, you are asking a compact footprint to do a full-size job and you will be unhappy with it. And if you need to return to one exact standing height with the push of a button, a wheeled desk with a basic lift is not that product.
Check current Amazon price before you commit, because these listings move.
Runner-up: Aconcept Extra-Slim 24 x 14 inch Black Lift Standing Desk Converter, Manual Adjustable Height Sit Stand up Desk Riser, Compact for Monitor or Laptop Workstation
Runner-up
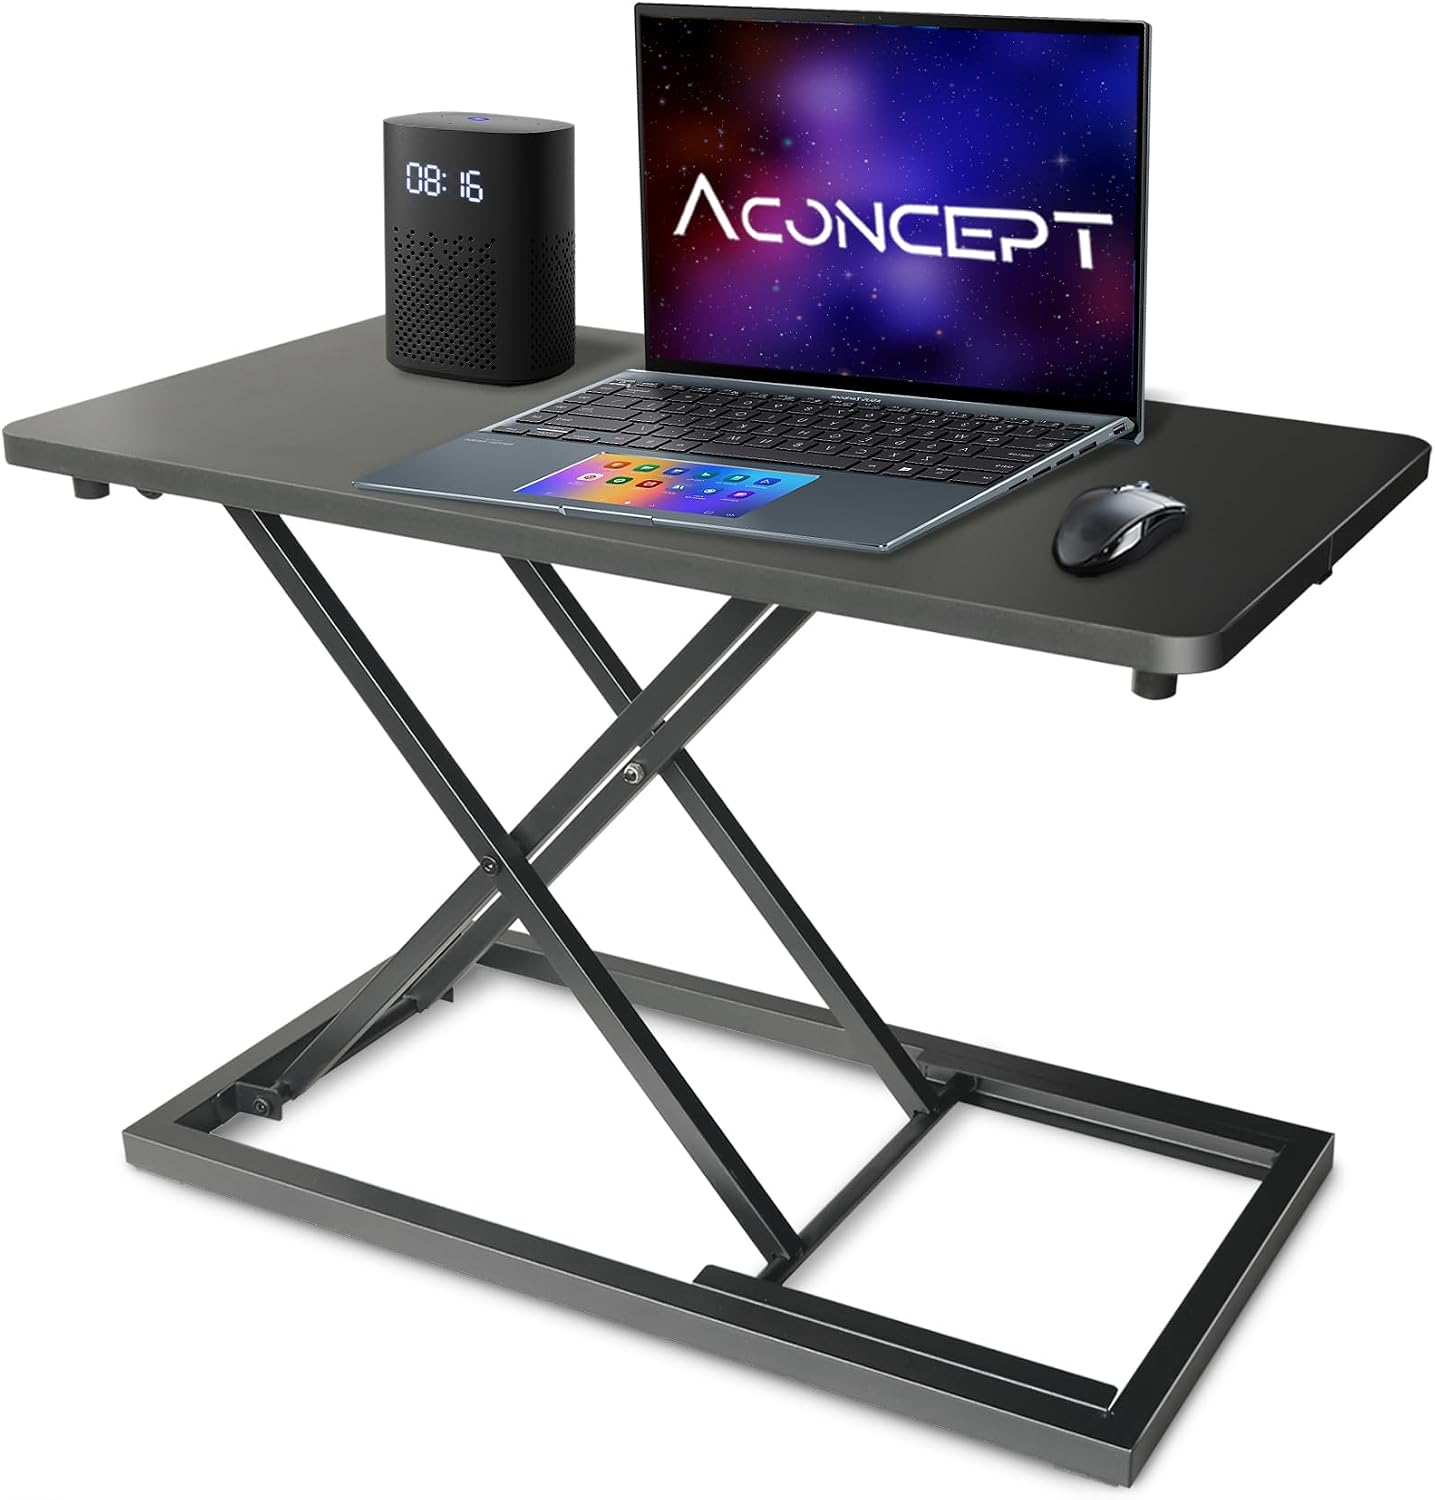
Aconcept Extra-Slim 24 x 14 inch Black Lift Standing Desk Converter, Manual Adjustable Height Sit Stand up Desk Riser, Compact for Monitor or Laptop Workstation
If there is already a table, a dresser, or a kitchen counter doing desk duty in the house, a converter is the cheaper and faster answer than a whole new desk. This one is a manual lift, which means no motor, no power brick, no control box, and nothing electronic to fail in year three. It sits on what you have and raises your work surface when you want to stand.
The 24 by 14 inch top is the number to sit with before you buy. That is a laptop and a mouse, or a single monitor on a stand, and not much more. Desktop depth is the spec people ignore and then complain about, because a 14-inch deep top puts a monitor closer to your face than a 30-inch desk does, and closer is not automatically better for a neck that has already spent a shift looking down.
Where it stops: two monitors will not fit. A keyboard plus a full-size charting binder will not fit. Because the lift is manual, you will not get a memory preset that drops you back to your exact standing height with one push, and that matters more than people expect when you are standing up and sitting down eight times across an evening. Check the weight of your gear against the published lift capacity too, because a converter straining at the top of its travel is a converter that sags.
Check current Amazon price on the listing, then measure the depth and width of the table it will sit on. A converter that overhangs the furniture underneath it is worse than no converter at all.
The add-on: Under Desk Cable Management Tray 2 Pack, No Drill Cable Organizer With Clamp for Standing Desk, Easy to Install Cord Management System, No Damage Wire Organizer
The add-on
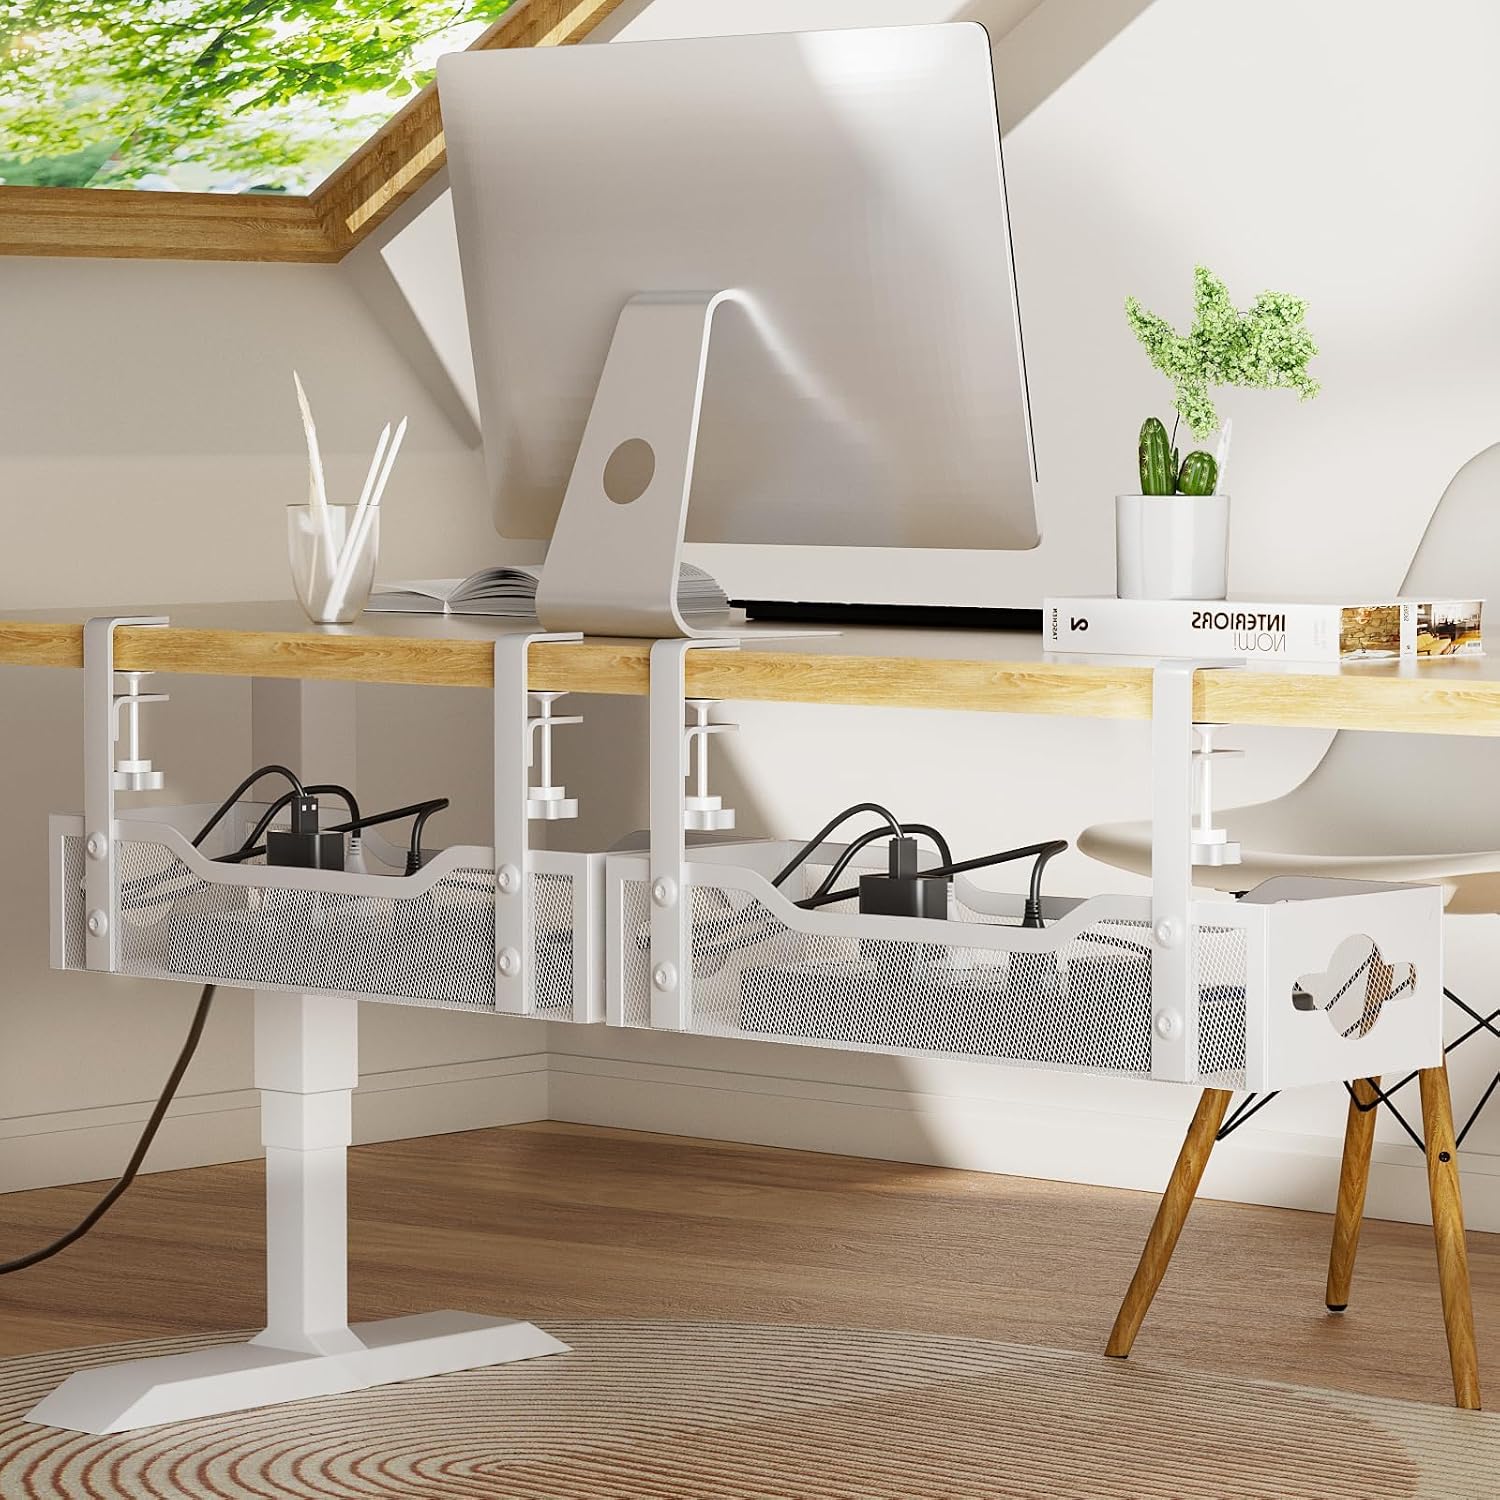
Under Desk Cable Management Tray 2 Pack, No Drill Cable Organizer With Clamp for Standing Desk, Easy to Install Cord Management System, No Damage Wire Organizer
Cable management is not aesthetics. A cable that pulls on a monitor changes the monitor angle within a week, and on a desk that moves up and down twice a day, a loose power brick is a cable that will eventually unplug itself at standing height.
This is a two-pack of clamp-on trays, which is the version I recommend for anyone who is not allowed to drill into the furniture. No drill, no damage, and it comes off when you move. Clamp it to the back edge of the desktop, drop the power brick and the slack of every cable into it, and the desk stops yanking on your monitor every time it rises.
What goes in the tray: the power strip, the laptop brick, the monitor cable, and the slack you keep tripping over. What does not: anything you need to reach while seated, because a tray under the back edge is where things go to be forgotten.
Where it stops: a clamp tray needs a desktop edge it can actually grip, so measure the thickness of your top before you order. If your desk already has a grommet and a built-in channel, you may not need this at all. And two trays is more than a small desk needs, so if you pair this with the compact rolling desk, the second tray goes in a drawer until you have a second surface.
Check current Amazon price. This is the smallest line item in the whole setup and the one that prevents the most annoying failure.
The eight-step workflow
The three items above are the shopping list. This is the order I actually work in, and the order matters.
Step one: Measure your standing elbow height. Stand in the shoes you wear on shift, let your arms hang, and measure from the floor to the crease of your elbow. That number is your working height. If you want to choose a height adjustable desk for a nurse, this is the first number you write down, and it beats every review you will read afterward.
Step two: Measure the wall, not the room. The minimum desk width you can live with is the wall width minus whatever has to stay against it, like a door swing, a radiator, or a dresser. Write that number down. A desk that fits the room but blocks the closet is not a desk that fits. This is also where you settle the width argument, because no height range saves a desk that is two inches too wide for the only free wall in the house.
Step three: Check the height range at the top, not the bottom. Almost every adjustable desk goes low enough. The failure point is the top of the range, which is where tall users stand and where frames wobble. Take your standing elbow height and make sure it sits comfortably inside the published range with room to spare, not right at the ceiling of it. When you choose a standing desk for a nurse, the top of the range is the number that decides the purchase.
Step four: Check desktop depth against your gear. Depth is the spec nobody reads and everybody feels. A shallow top forces the monitor close. A deep top eats the floor space in a small room. Measure the depth of the largest thing that has to sit on the desk, then add room for a keyboard and for your wrists.
Step five: Check lift capacity against the real weight. Add up the monitor, the laptop, the lamp, the binder, and the coffee. Then add a margin, because you will add a second monitor eventually. If the published lift capacity is close to your total, move on to the next desk on the list.
Step six: Ask about the motor before you pay for one. If you are buying a full electric frame, ask whether it is a single motor or a dual motor, and whether it has a memory preset and an anti collision sensor. A dual motor frame lifts more evenly and holds its height better. A memory preset is what makes standing up during a shift realistic. Anti collision is what stops the desk from crushing the chair when you are tired and not paying attention.
Step seven: Plan the cable route before the desk arrives. Decide now where the power strip lives, whether you are using a cable tray, a grommet, or the crossbar of the frame. Every hour spent on this before delivery saves a week of cables hanging in a loop behind the desk, and it saves the monitor from being dragged out of square.
Step eight: Clamp first, load second, tighten last. This is the order that keeps a desktop from cracking. Clamp the tray or the hardware loosely, load it, check the fit, then tighten. Reversing that sequence is how people crack a desktop. Then live with the setup for a week before you decide it is done, and re-measure your standing height once you have actually stood at it for an hour.
The competition and why it lost
I looked at the obvious alternatives before settling on these three, and each one lost for a specific reason. Every one of them failed the same test I use when I choose a standing desk for a nurse: does it leave the room usable and the posture honest?
A full-size 60-inch dual-motor frame is a great desk in a dedicated office. In a nurse's bedroom it is a wall. It also puts the entire budget into a surface that has to move out of the way every night, which is the opposite of what a shared room needs. If you are trying to choose a stand up desk for a nurse in a room that has to stay a bedroom, the width number wins the argument before the motor does.
A fixed-height desk lost on arithmetic. It is cheaper, but it locks you into one posture, and a nurse who sits all day after standing all shift has not solved the problem she came to solve. The whole point of the guide is the stand and the sit, in that order.
A wall-mounted folding desk also lost, and it lost on adjustability. It gets out of the way beautifully and it locks you into one height, which is the same failure as the fixed-height desk with better staging.
An under-desk treadmill lost on honesty. A nurse walks miles on a shift already. Adding a walking pad to the one hour she has at home is a nice idea that turns into a coat rack in three months.
A monitor arm is genuinely useful and it is not a desk. If you go with the converter, one arm is the upgrade that buys back desktop depth. That is a different article.
And a drafting stool or a tall chair is a chair problem, not a desk problem. If your back hurts while you sit, the fix is seat depth and seat height, and I covered that in how to measure yourself for an ergonomic chair.
What this all costs
Here is the honest cost structure, without a single number I cannot verify today.
- The tape measure and the twenty minutes of measuring: free, and the only part that cannot be returned.
- The cable tray: the smallest line item in the build, and the one that keeps the monitor square.
- The converter: the low entry point if you already own a table.
- The compact rolling desk: the middle of the range, and the only one that clears the room.
- A full electric frame: the most expensive answer, and usually the wrong one for a shared bedroom.
The expensive option is buying wrong. A desk that is three inches too low, or too wide for the wall, or too shallow for your monitor, gets returned, repacked, and replaced, and that round trip costs more than the difference between the cheap answer and the right one. Check current Amazon price on all three before you decide, then check your own numbers one more time.
If you want to think about it in daily terms, divide the cost by the 250 or so days a year you will actually use it, and the right desk comes out cheaper per day than the coffee you buy on the way to a shift. The wrong desk is a permanent tax on a back that is already carrying a shift's worth of work. Do the measuring first. The rest is easy.