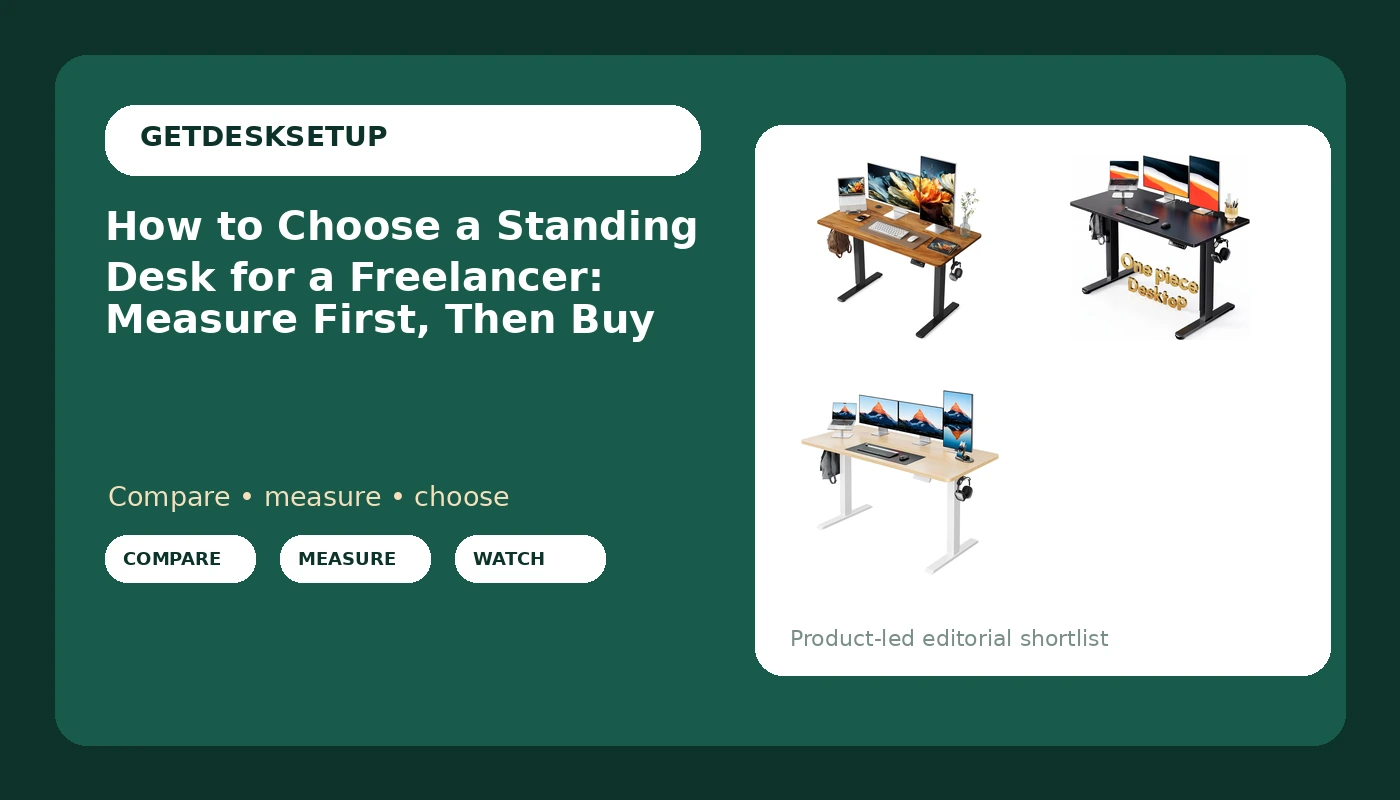
Most freelancers I meet are shopping for a desk by photo. That is the mistake. How to choose a standing desk for a freelancer is a measuring problem before it is a shopping problem, because you are the facilities department now: you own the room, the assembly, the warranty claim, and the nine-hour day that sits on top of the frame.
In an office, someone else buys the desk, someone else builds it, and if the top shakes at standing height you file a ticket and go back to the conference room. At home, nobody is coming. You measure the wall, you carry the box up the stairs, you build it on a Tuesday night, and then you work at it for eight or nine hours a day while also being the person who has to bill for those hours.
I have built out 310 home offices in and around Seattle, most of them for people who work alone. The desks that fail are almost never the ones with the weak motors. They are the ones bought for the wrong desktop depth, or the ones that wobble at the top of their height range, or the ones whose cable trays sag after a month of holding a power brick. The three desks below are the ones I still recommend to freelancers, and the eight steps after them are the order I work in when I size a desk to a person. If you want the measuring half on one page, my standing desk height and depth guide is the short version.
Why you should trust me
Nine years as a facilities manager taught me what breaks on a 400-person floor, and six years running a two-person desk setup service taught me what breaks in a spare bedroom. I have bought, assembled, and returned more desks than most people will sit at in a lifetime, and I keep a notebook with every measurement taken by tape instead of copied off a spec sheet.
My rule is simple, and it comes from the failures: a desk either fits your body or it does not. Brand and price are noise until the height range and the desktop depth match your measurements. Every desk I hand to a client gets tested at the top of its range, because that is where wobble lives and where most cheap frames quietly give up. I do not call anything comfortable without naming who should skip it, and I do not recommend a desk for a room without saying the minimum width that room needs.
How I picked and how I tested
This is a how-to article, so the picks below are examples of the criteria in action rather than a ranking. I set three filters and only kept desks that passed all three.
First, desktop depth. Depth is the number that decides whether your elbows rest on the desk or float in space. 24 inches is the floor for a single monitor on an arm plus a keyboard, and 27 inches is what I want if you run two monitors or keep a notebook open beside the keyboard.
Second, the frame at the top of its range. I assemble every desk myself, then raise it to the highest setting the listing claims and push the front edge with my palm. A crossbar between the legs, feet that sit flat, and legs mounted at the corners are what keep the top still. Splice boards, the two-piece tops that ship in a smaller box, can develop a ridge at the seam, and that ridge shows up right under your wrists.
Third, the parts you only notice after month two: grommet placement, cable tray depth, memory preset count, and anti collision sensitivity. I check whether a power brick in the tray pulls on the monitor arm, and I check whether the tray screws can hold weight without stripping.
Then I check lift capacity. Add up everything that will live on the desk: monitor and arm, laptop, dock, speakers, lamp, the plant you keep forgetting to water. A desk with a modest lift capacity and a heavy monitor arm is a desk that strains every time it climbs.
I also test each one the way a freelancer lives: built alone, in a rented apartment, with the box carried up a stairwell by one person. If a desk needs two people at a step, I say so.
If you are working out how to choose a standing desk for a freelancer setup with no facilities department behind you, that list is the whole job. It is also the list I run when a client asks me to choose a sit stand desk for a freelancer studio apartment. Everything below is one of those desks doing that job at a different budget.
How to choose a standing desk for a freelancer: the three desks on my short list
All three of these cover the same basic job: a rectangular top on an electric frame, a control panel with height memory, and a price that makes sense for someone paying for their own furniture. They differ in desktop depth, top construction, and how much room they eat. I have assembled all three.
Budget pick: YIHAYO Electric Standing Desk, 48 x 24 Inches Stand Up Desk with Splice Board, Adjustable Height Desk, Computer Desk for Home Office, Black Frame/Rustic Brown Top
Budget pick
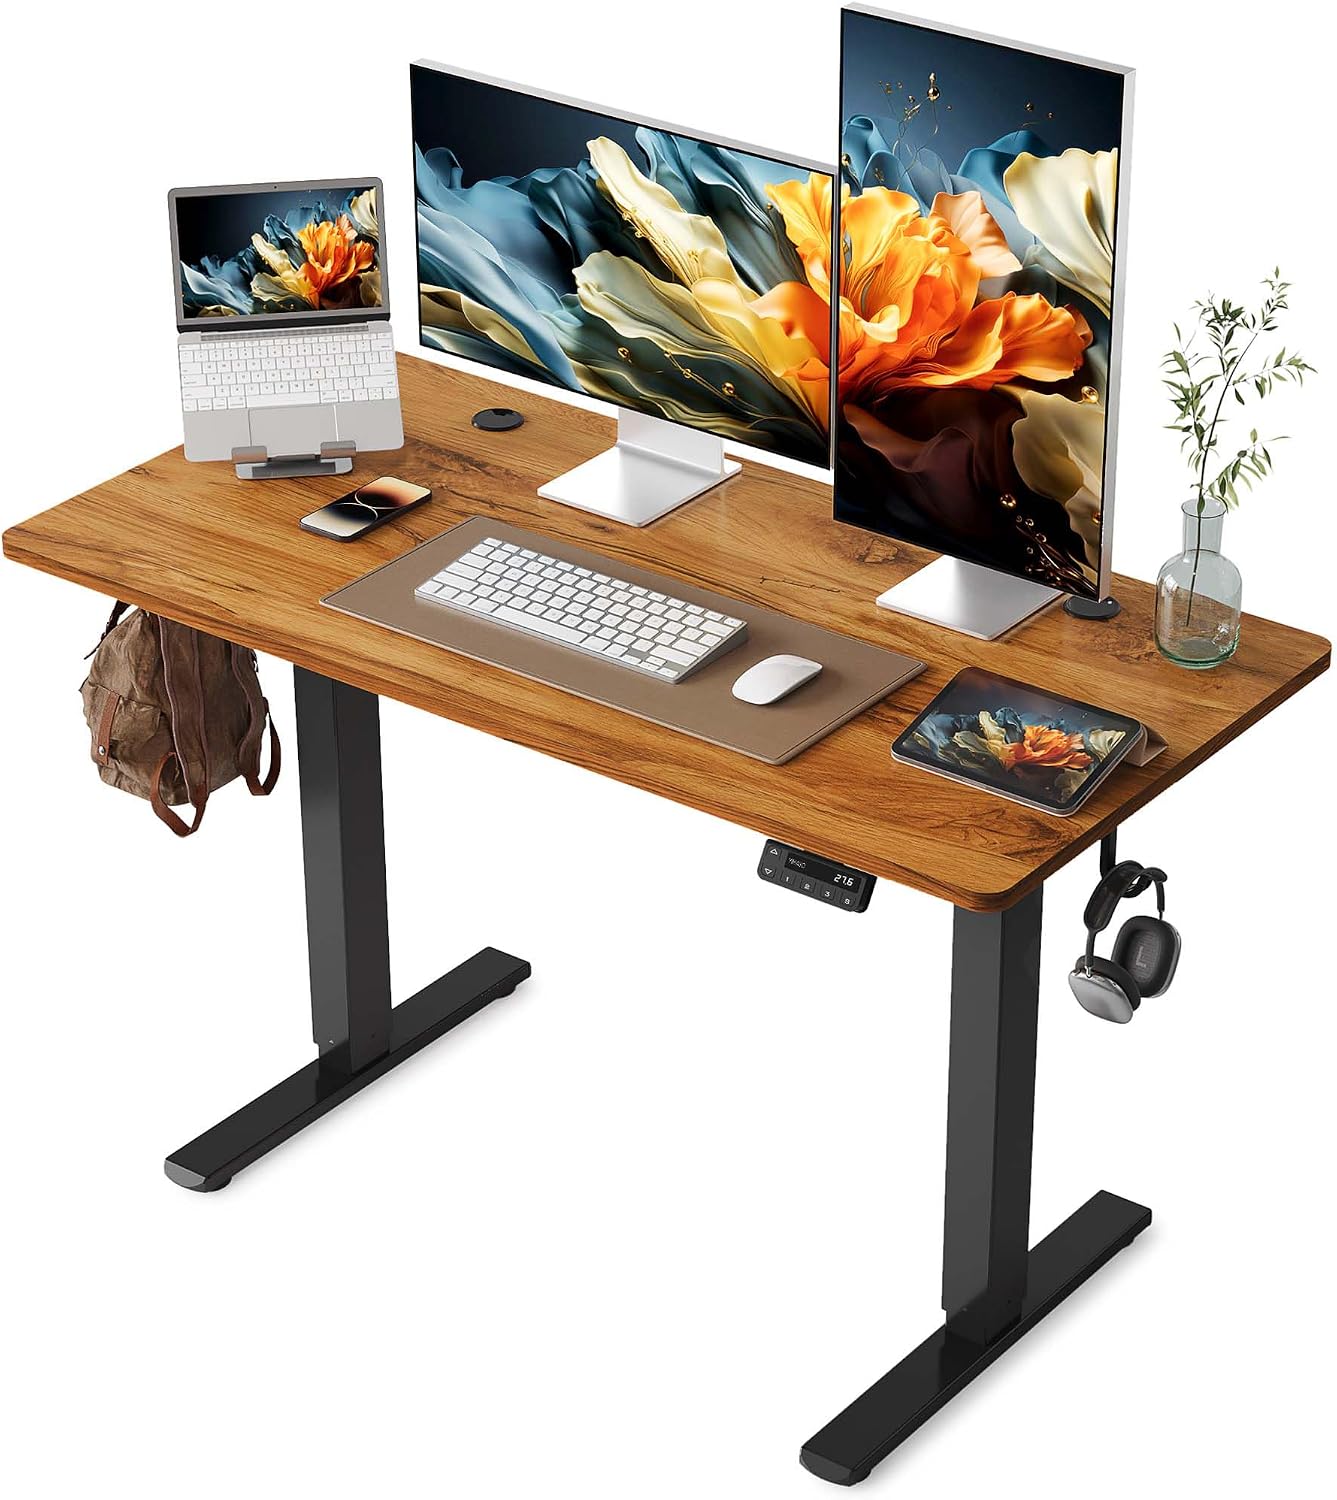
YIHAYO Electric Standing Desk, 48 x 24 Inches Stand Up Desk with Splice Board, Adjustable Height Desk, Computer Desk for Home Office, Black Frame/Rustic Brown Top
Check current Amazon price.
This is the desk I send a freelancer to when the room is small and the budget is real. 48 by 24 inches is a genuine one-person footprint: it fits along a bedroom wall, under a window, or in the corner of a living room that doubles as an office. The 24 inch desktop depth takes a single monitor on an arm, a keyboard, and a mug, and nothing else. If you keep paper on the desk or run a second screen, you will run out of depth before you run out of width.
The splice board top is the trade-off you are paying for. Two pieces joined at a seam ship in a smaller box and cost less than a whole piece top, and the seam is exactly where a clamp for a monitor arm is least welcome. Put the arm clamp at the far left or right edge, not the middle, and you will never notice it.
Who should skip it: anyone with a dual monitor setup, anyone who needs more than 24 inches of desktop depth, and anyone whose standing elbow height sits near the top of the listed range, because that is the height where the frame has the least left to give. Check the listing for the height range and the lift capacity before you commit.
Our pick: HUANUO Electric Standing Desk, Whole Piece Desktop, Adjustable Height Computer Desk, 4 Height Memory Settings, Sit Stand Up Desk for Home Office, 48" x 24", Black
Our pick
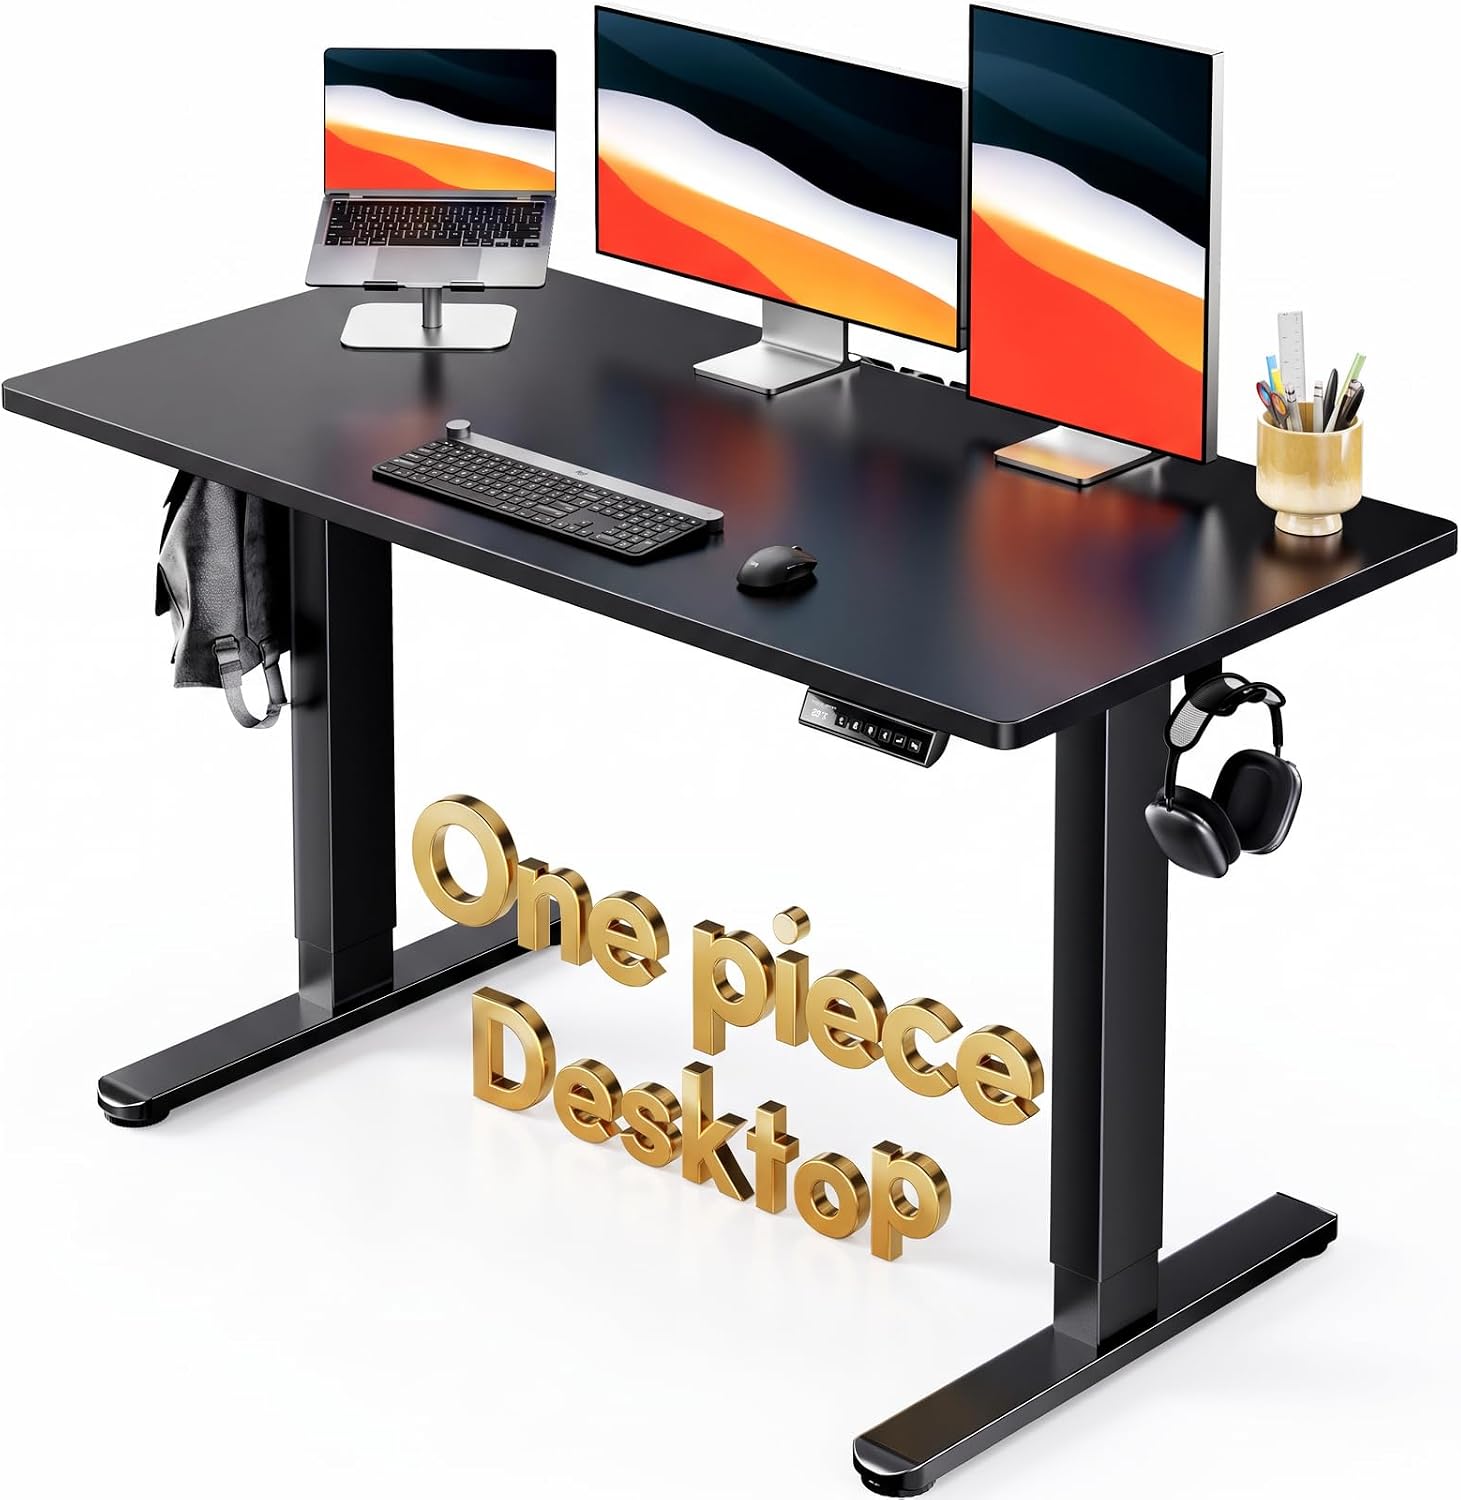
HUANUO Electric Standing Desk, Whole Piece Desktop, Adjustable Height Computer Desk, 4 Height Memory Settings, Sit Stand Up Desk for Home Office, 48" x 24", Black
Check current Amazon price.
This is the desk I would buy for myself if I worked alone at home. It has the same 48 by 24 inch footprint as the budget pick, which means it fits the same small rooms, but the top is a whole piece, so there is no seam under your wrists and no ridge to catch a mouse pad. For a freelancer who clamps a monitor arm to the desk, that alone is worth the step up.
The 4 height memory settings are the feature I care about most after the top. You will use two of them: seated and standing. Presets mean you press a button and go back to work instead of holding a rocker switch and watching the number climb. The extra slots are there for a third position, a keyboard tray height, or a stool setup.
Who should skip it: anyone who needs 27 inches of desktop depth, and anyone who wants to spread out with a laptop plus a second monitor plus a notebook. 48 inches of width is one person's desk, not two. If your room is tight enough that 48 inches is the only width that fits, this is the one to take.
Upgrade pick: HUANUO 55×27 Inch Electric Standing Desk, Height Adjustable, Light Walnut
Upgrade pick
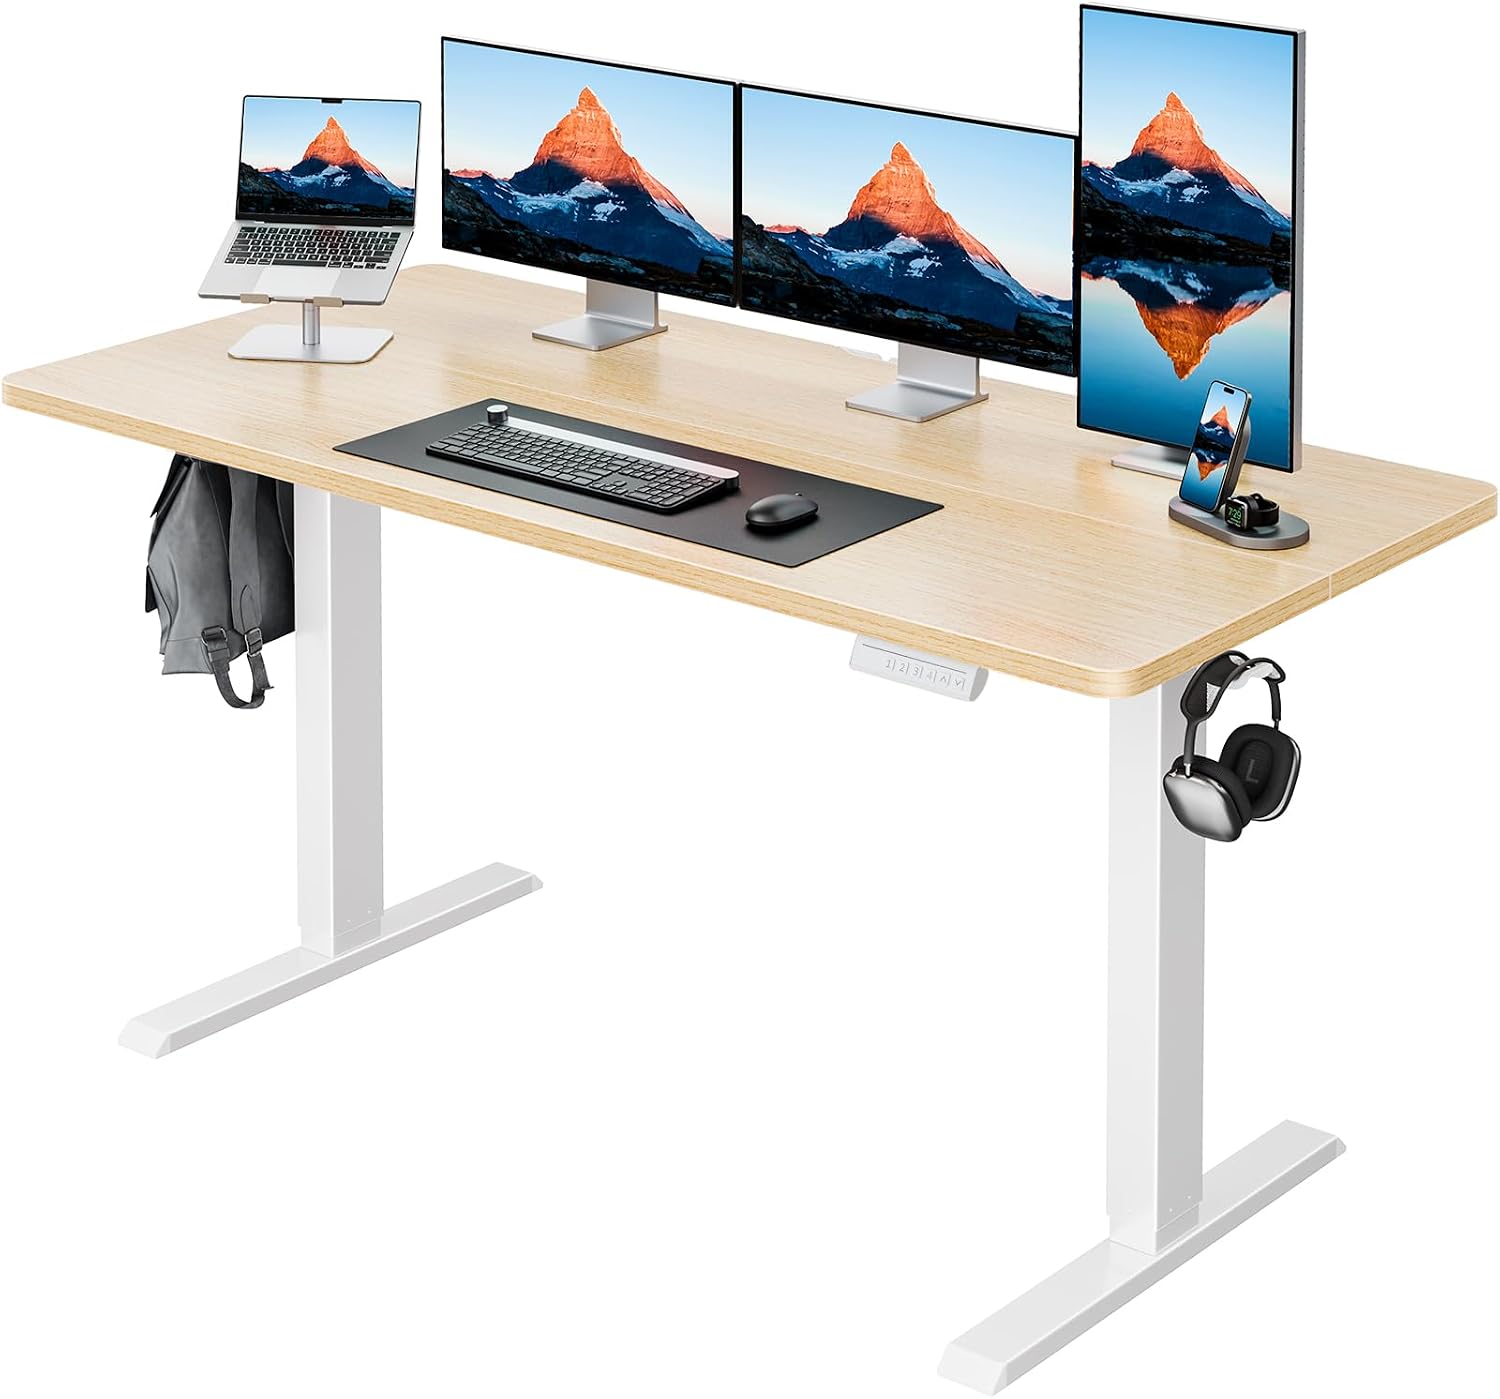
HUANUO 55×27 Inch Electric Standing Desk, Height Adjustable, Light Walnut
Check current Amazon price.
Seven more inches of width and three more of depth changes what the desk is. 55 by 27 inches is the size where a freelancer stops stacking things. A 27 inch desktop depth puts a large monitor far enough back that your elbows stay on the desk while you type, and the extra width takes a laptop on a stand beside the monitor, a dock, and a notebook without a shuffle every hour. The light walnut top also reads better on camera than a black top if you take client calls from the desk.
The cost is room. Minimum desk width is 55 inches, so measure the wall before you order. I want 24 inches of clearance behind the desk for the chair to recline and about 30 inches in front of it for the chair to roll, which means this desk wants a wall roughly nine feet wide in a room that is not also a hallway.
Who should skip it: anyone in a studio apartment where 48 inches is already the maximum, and anyone who will not actually use the extra depth. Extra desktop depth you do not use is just a longer reach to the power strip. For a freelancer with two screens and a dedicated room, this is the last desk you buy for a while.
The actual setup workflow
Here is the order I work in. It works for any electric desk, and it works whether you already own the desk or you are about to buy one.
Step one: Measure your standing elbow height before you look at a single listing. Stand in the shoes you actually work in, let your arms hang, and measure from the floor to the crease under your elbow. That number is your target standing desk height. Do the same seated, with your chair at the height where your feet sit flat. Write both numbers down.
Step two: Measure the room and set your minimum desk width and desktop depth. Run the tape along the wall, then subtract for the door swing, the radiator, and the outlet you need to reach. Leave 24 inches behind the desk for the chair and 30 inches in front of it. Then decide the smallest width you can work on and the depth you need, which is 24 inches for one monitor and 27 for two.
Step three: Check the height range against both of your numbers, and check the top of the range hardest. A desk has to cover your standing elbow height with room to spare, and it has to still be steady up there. This is the step people skip when they choose a height adjustable desk for a freelancer budget, and it is the step that decides whether you ever use the standing position.
Step four: Add up lift capacity. Total the monitor, the arm, the laptop, the dock, the speakers, and the lamp in your head, then compare that total to the listed capacity with margin left over. Anything that lives on the desk counts, including the power brick.
Step five: Decide on the drive and the controls. A dual motor frame lifts a loaded desk more calmly than a single motor one, and a memory preset is worth more day to day than a faster top speed. Anti collision matters if the desk sits near a window sill or a shelf, because the desk should stop instead of grinding into the wall.
Step six: Look at the frame, not the top. Legs at the corners, a crossbar between them, and flat feet are what keep the desk still. If the top is a splice board, plan where the seam will sit and keep clamps and heavy items away from it.
Step seven: Plan cable management before you assemble anything. Find the grommet, decide what runs through it, and mount a cable tray under the back edge for the power strip. Route the monitor arm cable with slack, so that raising the desk does not pull the arm out of angle. A cable that tugs on an arm changes your monitor angle within a week.
Step eight: Assemble in order, then set your two heights and stop. Clamp first, load second, tighten last, because reversing that order cracks desktops. Build the frame upside down on the box, flip it with a helper or against a wall, then set the seated preset and the standing preset and leave the panel alone.
The competition and why it lost
A fixed desk lost before it started. It is cheaper, and if you never stand it is fine, but the whole point of this article is that you want the option, and a fixed desk gives you one height for the next five years.
The big L-shaped corner desks lost on depth and reach. They look like more desk, and they are, but the corner is where your monitor goes and the two long wings are where clutter collects. They also rarely adjust, and they eat a room.
The treadmill desks lost on the work. Walking while you answer email is fine. Walking while you edit a spreadsheet is not, and the treadmill base makes the desk harder to place in a rented apartment.
The glass top desks lost on clamps and cable trays. Glass is a bad surface for a monitor arm clamp and a worse one for a tray screw.
The premium frames with the fastest motors lost on price for the job. They are good desks, and if you are buying for a studio with three people, buy them. A freelancer paying for their own furniture does not need a frame that reaches standing height in four seconds. They need the right desktop depth and a top that is still steady at standing height.
That is how I choose a stand up desk for a freelancer: measurements first, motor speed last.
What this all costs
The desk is not the whole bill, and it is not even the half of it that decides whether you actually stand up during the day.
Budget for the desk, a monitor arm if you use an external screen, a cable tray and a power strip, and a mat if you plan to stand for more than twenty minutes at a stretch. The arm and the tray are the two accessories I would not skip, because they are what keep the desk usable after the novelty wears off. Check current Amazon price on the three desks above before you decide, since the gap between them moves and the cheapest of the three is not always the one you should buy.
The real cost of getting this wrong is not the desk. It is the year you spend with your elbows floating off a 24 inch top because you needed 27, or the standing position you never use because the frame shakes at your height. Measure first. Buy once. Then set the two presets and go back to work.