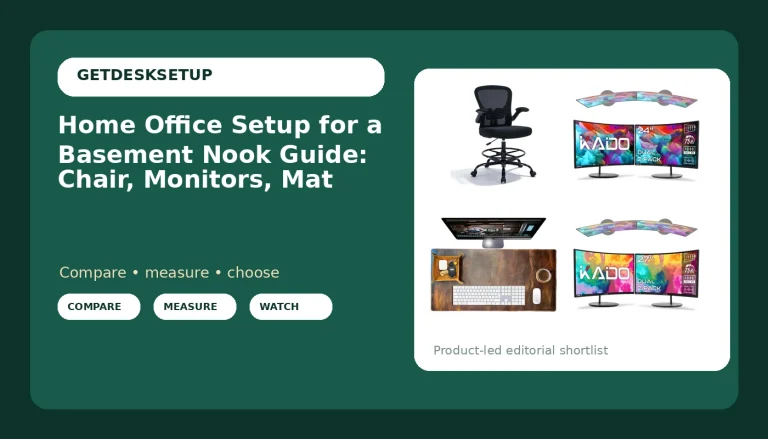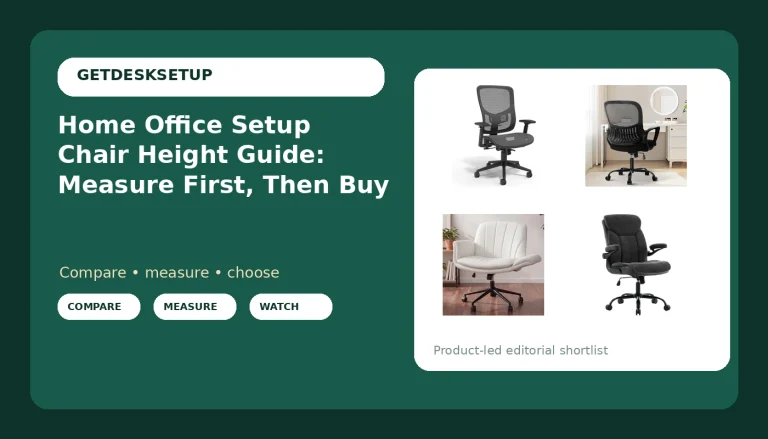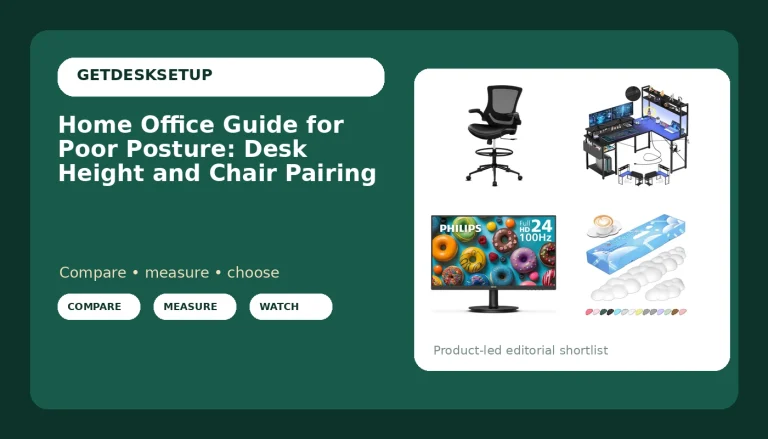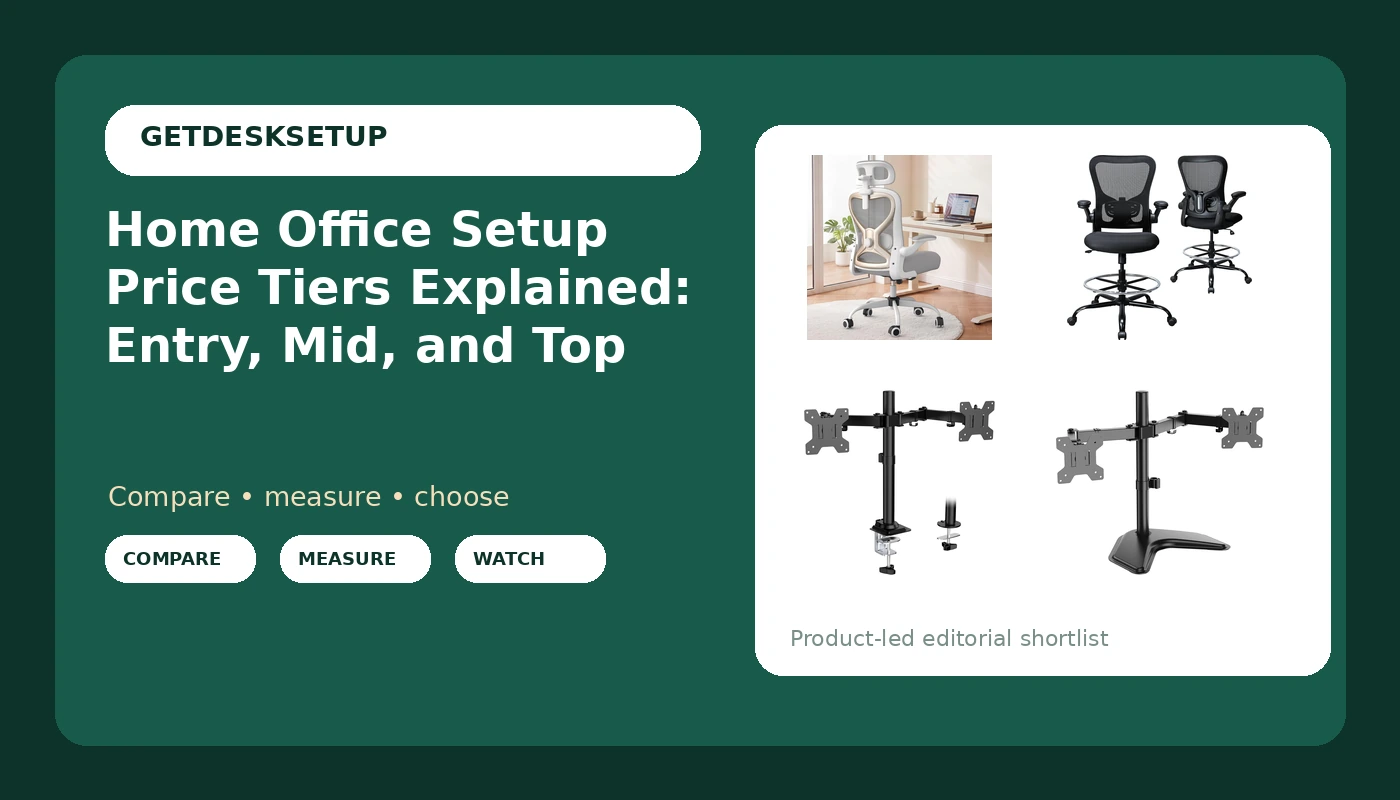
Two people can furnish the same corner of a room for very different amounts and end up with setups that behave nothing alike. That is the useful way to think about home office setup price tiers: the money is not spread evenly across the parts, and the parts most people upgrade first are rarely the parts that decide whether the setup works. A taller seat, a wider screen range, or a different mounting method can matter more than a bigger budget applied to the wrong component.
This guide breaks the tiers down by what actually changes as you move up, which pieces earn an upgrade and which ones are fine at the bottom of the range, and where a tape measure matters more than a credit limit. Think of it as home office setup price tiers explained from the inside: what changes, what does not, and what to measure before you spend.
Related: How to measure seat depth before you buy a chair →
Quick answer
Most home office setups settle into three tiers. The entry tier keeps the desk and chair you already own and spends on the two things that change daily comfort: monitor position and foot support. The mid tier makes the chair adjustable and moves the monitors off the desk surface. The top tier specifies desk height, chair pairing, cable planning, and power outlet placement to your own measurements instead of buying a matched bundle.
The tier that fits you is decided by measurements first and budget second. An adjustable chair with a seat deeper than your own leg measurement is worse than a fixed chair that fits, and a monitor arm rated below the weight of your screens is worse than a stand that never moves.
4 useful options
| Model | Best fit | What stands out |
|---|---|---|
| Ergonomic Office Chair for Long Hours and Back Pain, 3.5" Cushion, 330 LBS | Full days at a fixed-height desk | 3.5 inch cushion and a stated 330 lb capacity |
| Drafting Chair, Ergonomic Tall Office Chair for Standing Desk, Counter Height Desk Chair with Adjustable Padded Armrests and Footrest Ring Standing Desk Chair Adjustable Height with Lumbar Support | Sitting at a standing desk or counter height surface | Footrest ring, adjustable padded armrests, lumbar support |
| WALI Articulating Dual Monitor Stand for 13-32 inch Screens, 22 lbs per Arm | Desks with a usable mounting point | Articulating arms rated 22 lbs each, 13 to 32 inch screens |
| WALI Freestanding Dual Monitor Stand for 13-27 inch Screens, 22 lbs per Arm | Desks that cannot be clamped or drilled | Freestanding base, 22 lbs per arm, 13 to 27 inch screens |
The long-hours seat: Ergonomic Office Chair for Long Hours and Back Pain, 3.5" Cushion, 330 LBS
This is the piece most people buy first and measure last. A stated 330 lb capacity and a 3.5 inch cushion tell you the seat is built for long sessions rather than occasional use, but neither number tells you whether the chair fits your legs. Seat depth is the measurement that decides whether your back actually reaches the backrest, and seat height range decides whether your feet reach the floor. Anyone who needs a seat lower than this chair's lowest setting should confirm that range before buying, and anyone whose knee-to-hip measurement is shorter than the seat pan should skip it. The listing does not state either figure in the product name, so treat both as questions to answer before the chair goes in a cart. As a mid-tier seat for a fixed desk, the shape of the buy is right: pay for the contact point, not the badge.
The tall seat: Drafting Chair, Ergonomic Tall Office Chair for Standing Desk, Counter Height Desk Chair with Adjustable Padded Armrests and Footrest Ring Standing Desk Chair Adjustable Height with Lumbar Support
A tall seat solves a problem no standard office chair solves: a standing desk parked at standing height leaves your feet dangling if you sit at it. The drafting chair is aimed at exactly that, with the footrest ring doing the work that a footrest accessory would otherwise do. The trade-off is that a tall seat is a poor fit for a standard desk. If your desk is fixed at a normal sitting height, a drafting chair lifts your feet off the floor and the footrest ring becomes mandatory rather than optional. This is the one product here that should be chosen by desk height first and budget second, because the chair only makes sense at a surface that sits above sitting height. Check the seat height range against your own elbow measurement before you commit.
The adjustable arm: WALI Articulating Dual Monitor Stand for 13-32 inch Screens, 22 lbs per Arm
Articulating arms are the mid-tier answer to monitor distance. Instead of a fixed base sitting on the desktop, the arms move, which lets you set viewing distance and angle without shifting the whole assembly, and it frees the desktop underneath for a keyboard, a notebook, or nothing at all. The rating to check is the per-arm weight, and this one states 22 lbs per arm across a 13 to 32 inch screen range, which is the widest screen range of the two arms here. The catch is anchoring. An articulating arm has to attach to something, and that something is usually the desk itself rather than a freestanding base. Before buying, confirm the mounting method on the listing and measure the desk edge, the top thickness, and the clearance behind the desk. If your desk has a thin top, a rounded or glass edge, or a frame that blocks a clamp, this is not the right purchase, and the freestanding option below is.
The freestanding base: WALI Freestanding Dual Monitor Stand for 13-27 inch Screens, 22 lbs per Arm
The freestanding base is the entry-tier answer for anyone who cannot or will not modify a desk. Nothing gets clamped, drilled, or bolted, so it works on a thin top, a glass top, or a desk you do not own, and it can move to another table in a minute. The trade-offs are desktop footprint and stability. The base occupies space in front of you, and a freestanding stand moves with the desk rather than with the wall, which makes cable planning more important than it is on a mounted arm. Both arms are rated 22 lbs, with a stated 13 to 27 inch screen range, narrower than the articulating model. If your screens sit near the top of that range, check size and weight together rather than assuming the wider model is always the better buy. If the clamp question is still open, monitor arm versus freestanding stand is the faster read.
Prices and availability may change. Product images, names, and retailer links are matched to verified listings. No current price, rating, stock status, or measured result is stated here without current evidence.
How home office setup price tiers differ
The entry tier is not about cheap parts. It is about spending on contact points. At this level the desk and chair stay as they are, and the money goes to the two or three things you touch or look at every hour: where the screens sit, where your feet land, and whether the light is behind you or in front of you. A freestanding monitor stand and a footrest do more for a fixed desk than a new chair with the wrong seat depth, and neither one forces a decision about desk height.
The mid tier buys adjustability. The chair gains a height range, adjustable armrests, and a footrest ring if the seat is tall. The monitors move onto arms, which changes monitor distance without moving the desk. This is also where cable planning stops being optional, because anything that moves will pull on a cable that has no slack.
The top tier buys specification. Desk height gets verified at the top of its travel, not just at the bottom, because that is where most standing desks wobble. Chair pairing is done by seat depth and seat height against your own measurements rather than against a size chart. Room layout is planned around the power outlet and the ventilation path, and lighting layers get split into overhead, task, and screen-level light instead of one lamp in a corner.
That is the real shape of work from home setup price tiers: the tiers are defined by how much of the setup is measured to you, not by how much of it is branded. A top-tier budget spent on the wrong seat depth produces an entry-tier result.
Sizing any tier to your body and your room
Most home workspace setup price tiers questions come down to the same five measurements and one walk around the room. Get these on paper and the tier usually picks itself.
- Sit with your feet flat and measure from the floor to the crease under your elbow. That number is your target desk height, and it decides whether you are shopping for a standard desk, a standing desk, or a drafting chair.
- Measure from the back of your knee to your hip while seated. That is your seat depth, and any chair pan deeper than it will push you forward until your back leaves the backrest.
- Set monitor distance at roughly an arm's length from your eyes to the screen, then adjust for the size of the display rather than the size of the desk.
- Measure the desk edge, the top thickness, and the space behind the desk before buying any arm that has to be anchored to it.
- Walk the room for the power outlet, the ventilation path, and the window. Room layout and lighting layers are decided by the wall you face, not by the furniture you like.
Practical guidance for any tier
- Clamp first, then load, then tighten. Reversing that order on a clamped arm stresses the desktop before the hardware is seated.
- Leave a service loop of slack at every hinge on a monitor arm. A cable that goes tight when the arm swings will change the monitor angle within a week, slowly enough that you blame your neck instead of the cable.
- Pair a tall seat with foot support. If the seat is high enough for a standing desk, the footrest ring or a separate footrest is the difference between a supported thigh and a dangling one.
- Keep one power outlet reachable at desk height for the things you unplug daily, and route the rest of the cable run behind the desk edge.
- Leave the ventilation path behind the monitor clear. A screen pushed against a wall or a closed shelf warms the air around it, and the room with it.
Which option should you choose?
Choose the Ergonomic Office Chair for Long Hours and Back Pain, 3.5" Cushion, 330 LBS when you work full days at a fixed-height desk and want the seat, not the badge, to carry the money. Choose the Drafting Chair, Ergonomic Tall Office Chair for Standing Desk, Counter Height Desk Chair with Adjustable Padded Armrests and Footrest Ring Standing Desk Chair Adjustable Height with Lumbar Support when your desk goes to standing height and you sit at it, because a standard chair leaves your feet unsupported there. Choose the WALI Articulating Dual Monitor Stand for 13-32 inch Screens, 22 lbs per Arm when your desk offers a solid mounting point and your screens fall inside the stated size and weight range. Choose the WALI Freestanding Dual Monitor Stand for 13-27 inch Screens, 22 lbs per Arm when you cannot clamp or drill, or when the desk may change within the year.
The caveat is measurement data. Neither chair listing states a seat depth or a seat height range in its name, and the arms state weight and screen size but not the desk thickness they need. Treat those as questions for the listing page before you buy, and treat your own numbers as the tiebreaker. Home office workstation price tiers only help once the fit is settled; before that, they are just prices.
The bottom line
The cheapest correct setup beats the most expensive wrong one, and the four products here show why. A freestanding dual monitor stand at the bottom of the range fixes monitor distance for someone who cannot touch the desk. A drafting chair in the middle of the range solves a problem no standard chair solves, but only at a desk that actually goes tall. The long-hours chair carries the money when the desk is fixed and the seat is the only thing you can change. None of that is a budget question until the measurements are on paper.
Start with your elbow height, your seat depth, and the mounting options your desk allows. Then pick the tier. The home office setup price tiers only decide how much you spend, not whether the setup fits, and fit is measured in inches.