Most people set their monitor where it looks right and then wonder why their neck is sore by Thursday. Distance is not a feeling. Learning how to measure monitor distance for a home office is a four-minute job with a tape measure, and the number changes the moment you swap a chair, a desk, or a monitor arm.
You have probably already met the arm's-length rule and found it useless, because arm's length is a different number for a 5-foot-4 person and a 6-foot-2 person. The rule that survives contact with a real room is a range, and you get to the right end of it by measuring three things: your eye height, the depth of the desk, and the footprint of whatever the monitor is standing on.
The fix is not a new monitor. It is a tape measure, a chair you have already set, and eight steps.
Why you should trust me
I spent nine years as an office facilities manager, buying and assembling chairs and desks for 400-person floors. For the last six I have run a two-person desk setup service that has built out 310 home offices, most of them in rentals where I cannot drill into a wall and cannot move a power outlet.
Every one of those 310 got the same treatment: a tape on the seat depth, a tape on the desk height, and a tape from the bridge of the client's nose to the face of the screen while they sat back in the chair. I keep a notebook of those numbers. I do not trust a spec sheet for seat depth, and I do not trust a monitor's on-paper "recommended viewing distance" either, because it was written for a showroom and not for a desk wedged into the corner of a bedroom.
How I picked and how I tested
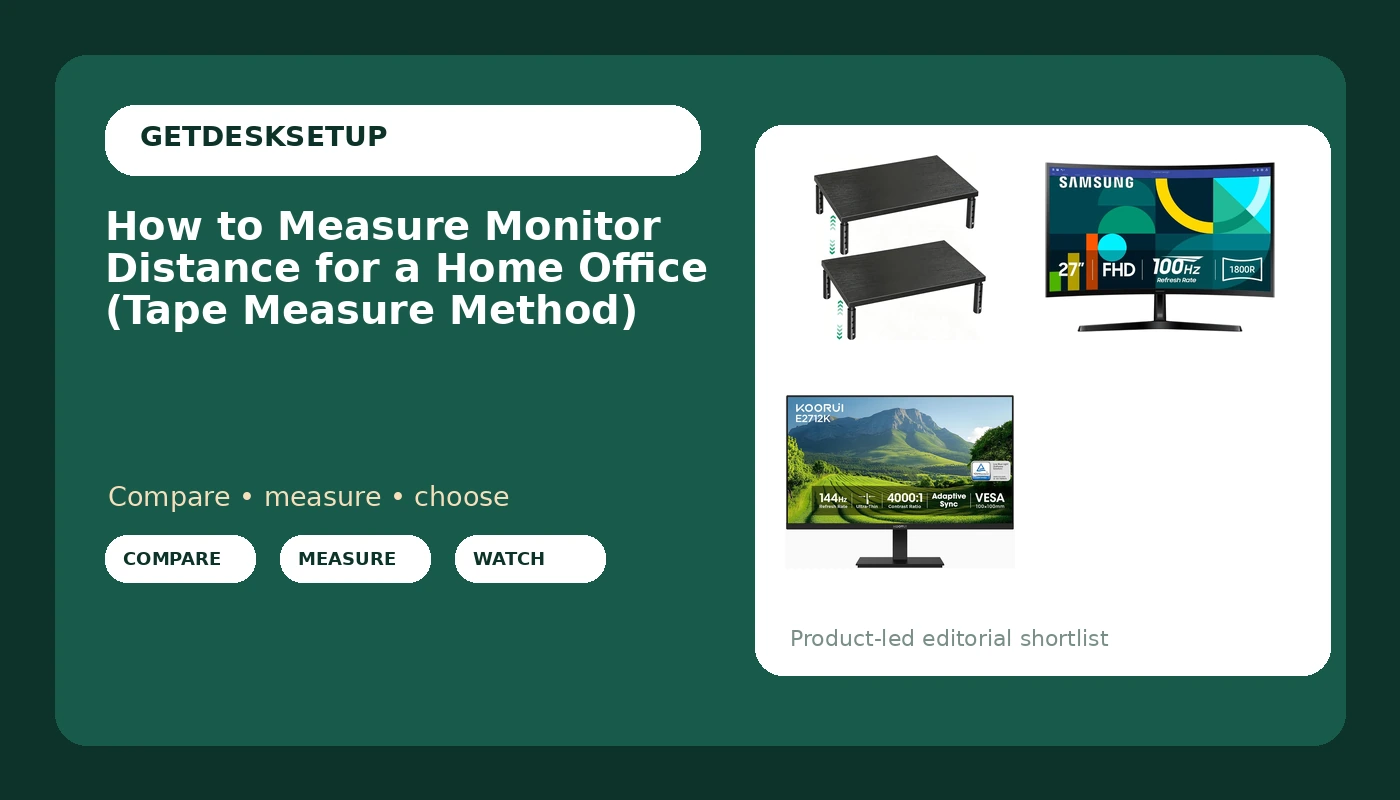
The three products below are not a monitor roundup. They are the pieces that make the measurement possible, which is why there is a riser pair in here next to two 27-inch panels.
The test I run is the same one I run on every client desk: set the chair, sit back, tape from the eye to the screen face, then check the top bezel against a mark on the wall. I picked these three on four numbers. First, can the center of the panel land at or just below eye level for a person between 5-foot-2 and 6-foot-4, because that is the range I build for. Second, does the stand or riser footprint leave at least 20 inches of eye-to-screen room on a 24-inch-deep desk, which is the most common desk depth I see in apartments. Third, what happens at the edges, since a flat 27-inch screen at 24 inches puts the corners farther from your eyes than the center. Fourth, pixel density: 27 inches at 1080p works out to roughly 82 pixels per inch, which is fine for spreadsheets and coarse for 8-point type.
The numbers I trust when I measure monitor distance for a home office: 20 to 30 inches from the eye to the screen face; the top bezel at or just below eye level, which puts your gaze about 15 to 20 degrees down; and at least 1.5 times the diagonal for a 1080p panel, which is about 40 inches on a 27-inch screen. Most people land at 24 to 30 inches once the chair is set properly.
For the riser, the two numbers that matter are the height steps and the footprint, because a riser that lifts the panel but eats four inches of desk depth has cost you four inches of distance. For the curved panel, the radius math matters: 1800R means a radius of 1,800 millimeters, about 71 inches, which is farther back than most people sit.
Monitors and risers you'll need before you start
You cannot measure distance to a screen that is at the wrong height, because the number you get will be wrong in a way you cannot see. Get the screen near eye level, the desk depth known, and the room layout settled first, then measure.
Budget pick: OPNICE Adjustable Monitor Stand Riser for Desk, Wood Computer & Laptop Stand, Desk Organizers and Accessories, Office Desk Accessories & Workspace Organizer for Home Office Supplies, Black 2-Pack
Budget pick
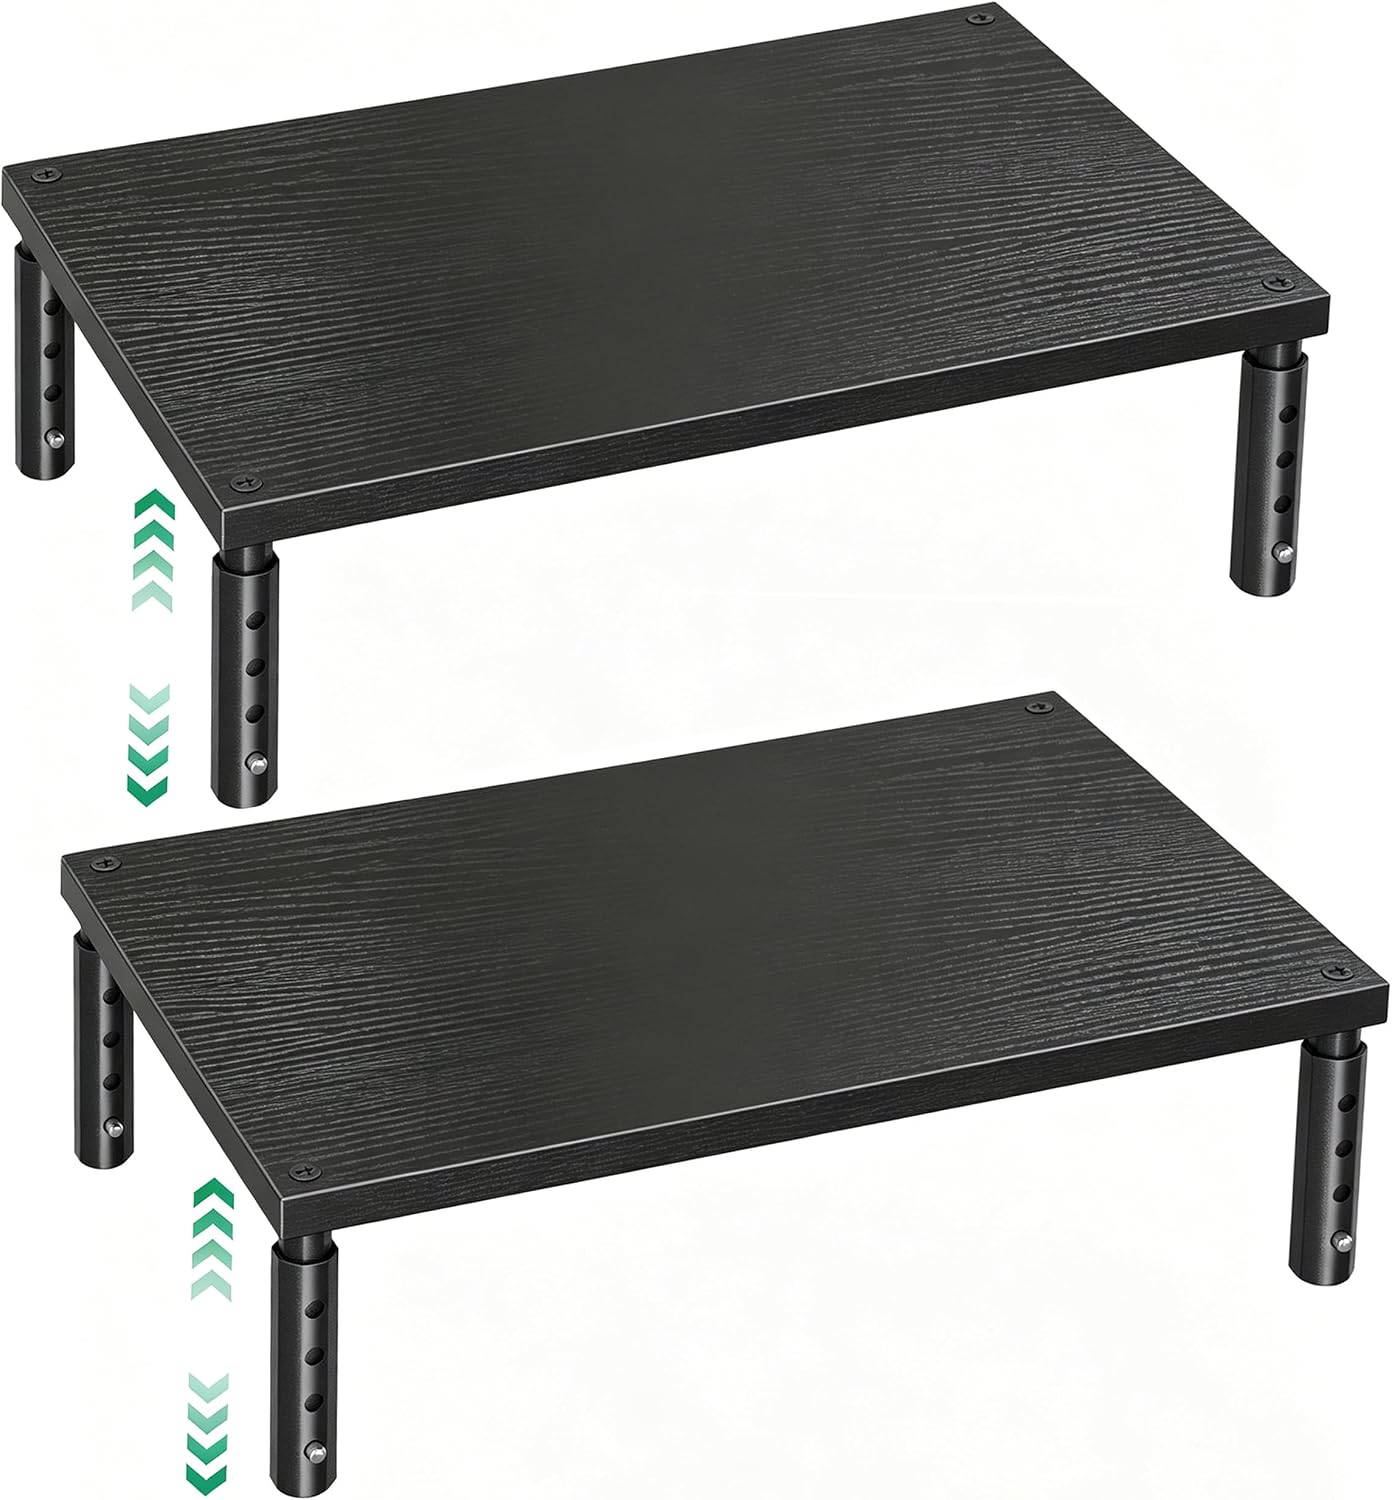
OPNICE Adjustable Monitor Stand Riser for Desk, Wood Computer & Laptop Stand, Desk Organizers and Accessories, Office Desk Accessories & Workspace Organizer for Home Office Supplies, Black 2-Pack
Check current Amazon price
A riser is the cheapest way to fix the vertical half of a distance problem, and it is the piece most people skip. A 27-inch panel on its own stand usually sits low, so you tip your chin down and the neck takes the load. A riser lifts the panel until the top bezel sits at or just below your eye line, which is where it belongs.
The two-pack is the practical part. One riser under the monitor, one under the laptop if you run a side-by-side desk, which keeps both screens in the same vertical band instead of bouncing your gaze between two heights. It is wood, it is black, and it doubles as a shelf for the keyboard when you need the desktop clear.
Flaws but not dealbreakers: A riser adds footprint, and footprint is distance. On a 24-inch-deep desk, measure the riser base before you commit, and check the listing for the exact height steps, because a riser that only gives you one inch will not fix a monitor that sits four inches too low.
Skip it if your monitor already has a height-adjustable stand or you run a monitor arm. Stacking two height solutions costs you desk depth for nothing.
Our pick: Samsung 27" Essential S3 (S36GD) Series FHD 1800R Curved Computer Monitor
Our pick
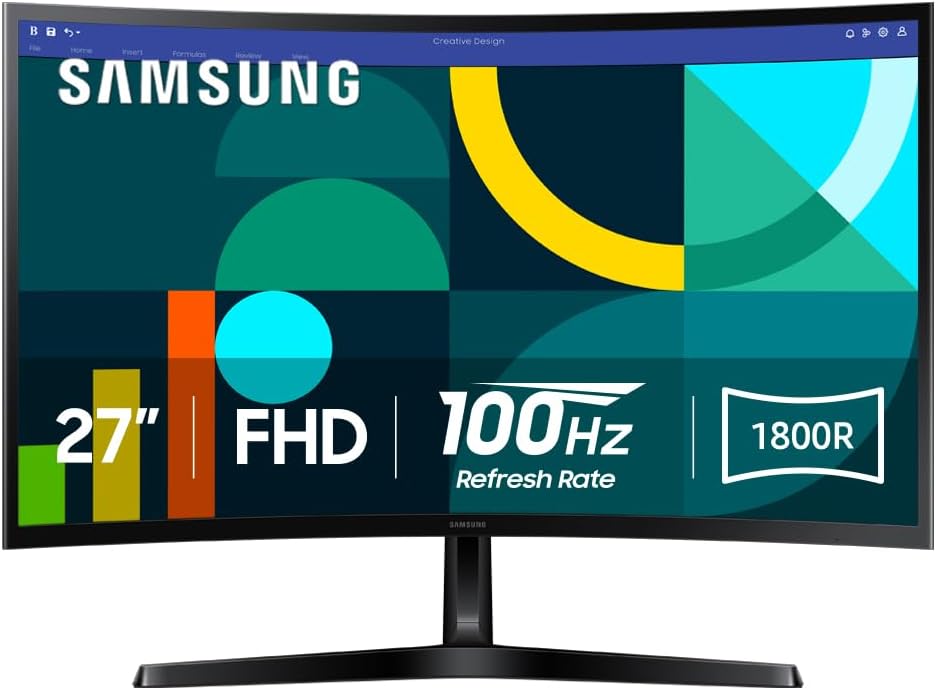
Samsung 27" Essential S3 (S36GD) Series FHD 1800R Curved Computer Monitor
Check current Amazon price
The curve is why this one is here. 1800R is a radius of 1,800 millimeters, about 71 inches. Sit at 71 inches and every point on the panel is the same distance from your eyes. Almost nobody sits at 71 inches, and that is fine: at 24 to 30 inches the curve does something subtler and more useful. It pulls the left and right edges slightly closer to you, so the far corners of the screen stop being the farthest thing you have to focus on. On a flat 27-inch panel at 24 inches, the corners sit a noticeable fraction farther away than the center, and your eyes do that re-focus work every time you glance at the clock in the corner.
FHD on a 27-inch panel is roughly 82 pixels per inch. Fine for email, documents, and browser tabs, which is why this sits in the measure-it-properly tier rather than the pixel-peeping tier.
Flaws but not dealbreakers: The curve is a commitment to a single-user desk. If two people sit side by side, the person off-center gets a worse view of one edge than a flat panel would give them. Check the listing for stand height adjustment before you buy, because if the stand does not move, the riser above is how you fix the height.
Skip it if you do color-critical work or read a lot of small type at arm's length. 82 pixels per inch is not the panel for that.
Upgrade pick: KOORUI 27 Inch Computer Monitor 144Hz FHD 1080p VA Display for Work & Play
Upgrade pick
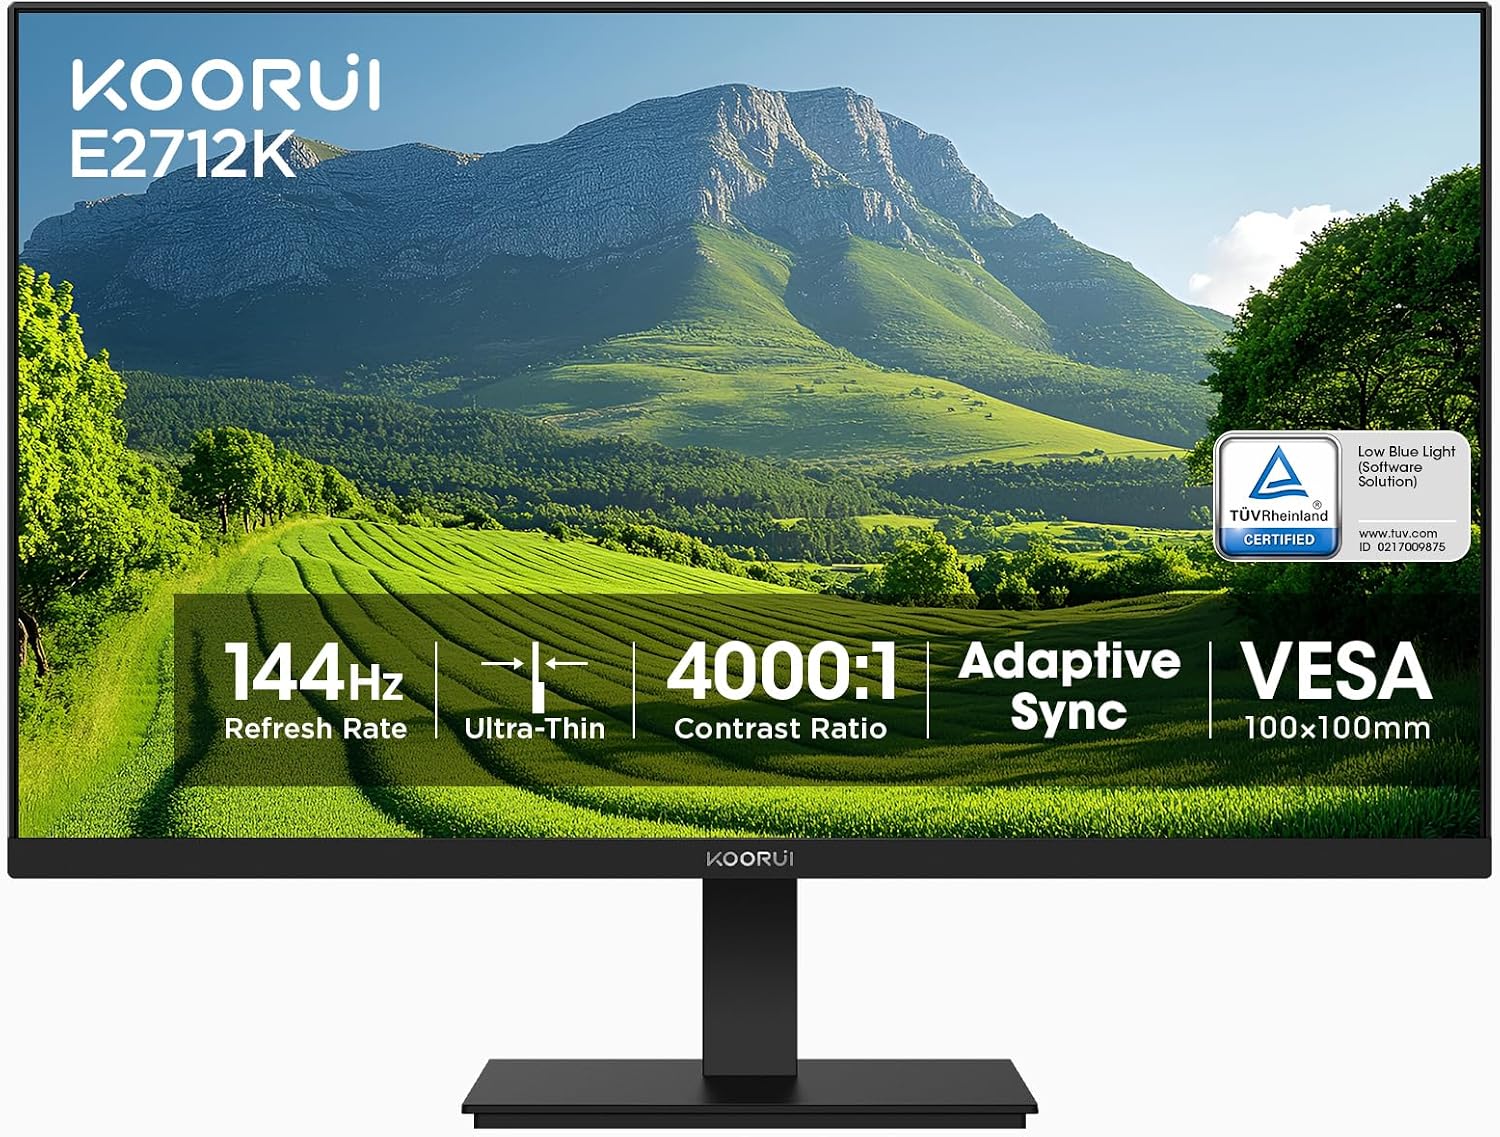
KOORUI 27 Inch Computer Monitor 144Hz FHD 1080p VA Display for Work & Play
Check current Amazon price
144Hz matters more to this measurement than you would think. At 60Hz, scrolling a long document or dragging a window produces a smeared blur that makes people lean in. Leaning in is the most common way a correct distance falls apart: you set the screen at 26 inches in the morning and by 3 p.m. your nose is at 18. A 144Hz VA panel keeps text legible in motion, so there is less reason to drift forward.
Same 27-inch FHD math as the Samsung, so the same distance band applies.
Flaws but not dealbreakers: VA panels trade viewing angles for contrast. That matters if you look at the screen from an angle across the room and does not matter at all if you sit square to the desk. Check the listing for stand adjustment and ports, because the stand decides whether you can hit your eye height without buying a riser.
Skip it if you need calibrated color for print work, or if you want one panel to cover both office hours and photo edits.
How to measure monitor distance for a home office: the eight-step workflow
Now the part you came for. This is the sequence I use to measure monitor distance for a home workspace of any size, from a closet nook to a spare bedroom, and it is the same sequence that works when you measure monitor distance for a work from home setup on a dining table. It runs with any monitor on any desk and takes about four minutes once your chair is set. Do the steps in this order, because reversing steps one and two is what makes every later number wrong.
Step one: Set the chair and the desk height before you touch the monitor. Feet flat on the floor or a footrest, knees near 90 degrees, elbows near 90 degrees with the shoulders relaxed. That desk height drives everything else, and if the desk is too high your chair goes up and your feet leave the floor. Fix the chair pairing first.
Step two: Find your eye height while you sit back. Sit all the way into the backrest, the position you will actually work in and not the one you use for the first ten minutes. Look straight ahead at the wall and have someone mark that spot with a pencil, or hold a finger to the wall at eye level and mark it yourself. That mark is your reference line for the whole job.
Step three: Tape from your eye to the screen face. Hold the end of the tape at the bridge of your nose and run it straight forward to the face of the panel, not to the back of the desk and not to the wall. Read the number with your head in its working position rather than leaned forward. You want 20 to 30 inches. Under 20 and your eyes work too hard to converge; past 30 on a 27-inch 1080p panel and small text starts to squint back at you.
Step four: Subtract the footprint from the desk depth. Measure the desk from the front edge to the back edge, then measure how much of it the stand or riser occupies. The gap between your chair and the panel is the real number, and a deep stand can steal three or four inches of it. A 24-inch desk with a five-inch stand starts you at 19 before you sit down, which is where a riser or an arm has to earn its place.
Step five: Set the top bezel against your eye mark. Move the panel up or down until the top bezel sits at or just below the mark on the wall. That puts your gaze about 15 to 20 degrees down, where the neck muscles rest. Top bezel above the mark and you tilt your head back all day; far below and you roll your chin down. Fix the height before you fine-tune the distance, because the two interact.
Step six: Adjust the number for screen size and resolution. The 20 to 30 inch band is a starting range, not the final answer. On a 1080p panel, stay at or past 1.5 times the diagonal when the room allows, which is about 40 inches for a 27-inch screen. On a higher density panel you can sit closer without seeing pixels. If your desk cannot give you 1.5 times the diagonal, sit at the far end of the band and raise your text size instead of leaning in.
Step seven: Check the curve and the edges. On a flat panel, sit square to the center and notice how far your eyes travel to the corners. On an 1800R curved panel the edges pull toward you and the surface sits at a more even distance. Either way, the center of the panel goes directly in front of your nose. A monitor parked off to one side builds a twist into your neck that no distance number will fix.
Step eight: Lock it in, then re-measure in a week. Tape or mark the stand position on the desk so the panel cannot drift. Then handle the things that quietly break a good measurement: run your cable planning so nothing pulls the monitor forward, confirm the power outlet is reachable without a cord stretched across your feet, check that the ventilation at the back of the panel is not blocked by a wall or a shelf, and look at your lighting layers, because a bright window behind the screen makes you lean in to see past the glare. A week later, tape the eye-to-screen distance again. If it moved, you will know what moved it.
The competition and why it lost
A monitor arm is the better answer for a lot of desks, and it is not in this guide because it changes the measurement rather than sitting inside it. An arm clamps to the desk edge and frees the whole depth of the desktop, which is exactly what you want when the desk is 24 inches deep and the panel is 27 inches wide. If you have a clampable edge and a solid top, an arm beats a riser on distance every time. I go through clamp and top thickness in how to pick a monitor arm for a shallow desk.
A laptop stand is not a monitor solution. It fixes height and does nothing about distance, and a 14-inch laptop screen at 30 inches is a squint. A 32-inch 4K panel is a different measurement problem: the pixel density lets you sit closer, but the panel is wider, so edge distance grows and the case for a curve gets stronger. A television used as a monitor fails the same way, with a deep stand, a huge panel, and a required distance longer than most spare rooms allow.
The three products above lost nothing to those options. They are the ones that fit the measurement on a desk you cannot drill into, in a room where the power outlet is where it is.
What this all costs
I am not going to quote you a price that changes by Tuesday. Check current Amazon price on each of the three listings above and weigh it against what you already own.
In measurement terms, the cost picture is short:
- The tape measure you already have: nothing. A tape is the whole tool. You do not need a laser measure, though one makes step three easier when you are alone.
- The riser pair: the cheapest way to fix monitor height, and the one piece that also fixes the laptop side of a two-screen desk.
- Either 27-inch panel: the bigger line item, and the one where the curve or the refresh rate is doing real work on your posture.
- The monitor arm you might buy instead: more than a riser, and worth it if your desk has a clampable edge, because it hands back the depth a stand eats.
The cheapest correct setup beats the most expensive wrong one. If you already own a monitor, a chair, and a tape, your cost today is zero and your distance is probably wrong by two to four inches. Measure it, fix the height, measure again, and then leave it alone. Once you measure monitor distance for a work from home office and write the numbers on a sticky note, you never have to work it out again.
That is the job. Your neck was built to hold your head over your shoulders. Let it.