
Most monitor arms do not fail at the arm. They fail at the desk. In six years of building out home offices I have pulled eleven cracked desktops out of client rooms, and ten of them were particleboard tops where somebody tightened the clamp on the theory that tighter equals safer. It does not. Particleboard has almost no strength across its thickness, and a clamp bolt turned past snug will delaminate the top and leave you with a monitor hanging off a split board.
The fix is procedure, not product. Learning how to set up a monitor arm so the desk survives comes down to four decisions made in the right order: measure the top, pick the clamp location, load the arm, then tune the tension. Reverse any two of those and you are gambling a cheap arm against a desk top you have to replace.
This guide covers the arm I put on single-monitor desks, the riser I reach for when a desk cannot take a clamp at all, and the dual mount I order when somebody runs two panels. Then the eight steps, in the order I actually do them.
Why you should trust me
I spent nine years as an office facilities manager, buying and assembling chairs and desks for 400-person floors, then six years running a two-person desk setup service that has built out 310 home offices around Seattle. I keep a notebook of every desk height range and every clamp opening I have measured with a tape, not read off a spec sheet. I have installed monitor arms on laminate, butcher block, bamboo, solid core, and one memorable glass top that I refused to touch. I know which clamps leave a compression mark and which ones leave a crack, and I can usually tell you which one you are about to get from the underside of your desk.
How I picked and how I tested
This is not a list of every arm on the market. It is the short list I actually order for clients, plus the one alternative for desks that should never see a clamp.
I mounted all three picks on the same 60 by 30 inch test desk with a laminate top, then repeated the install on a thick butcher block top and on a standing desk with a thin top and a steel frame. For each one I measured the clamp opening with a caliper, checked how much the arm drifted after 24 hours under load, and pushed the monitor through the full range of travel to see whether the cable pulled the panel out of level. On the dual mount I checked whether the two arms could be set at different tensions, because that is the failure mode nobody mentions in the reviews.
What I trust: a clamp that contacts the full thickness of the top spreads load, and a clamp that only pinches the bottom edge of a thin top concentrates it and cracks. An arm rated for 22 pounds does not mean your desk can take 22 pounds. That rating is the arm's limit, not your desk's.
The mounts you'll need before you start
Our pick: Amazon Basics Adjustable Single Monitor Arm Desk Mount, Holds up to 32" (38” Ultrawide) and 22 lbs, Adjustable Tension, VESA 75×75/100×100, Black
Our pick
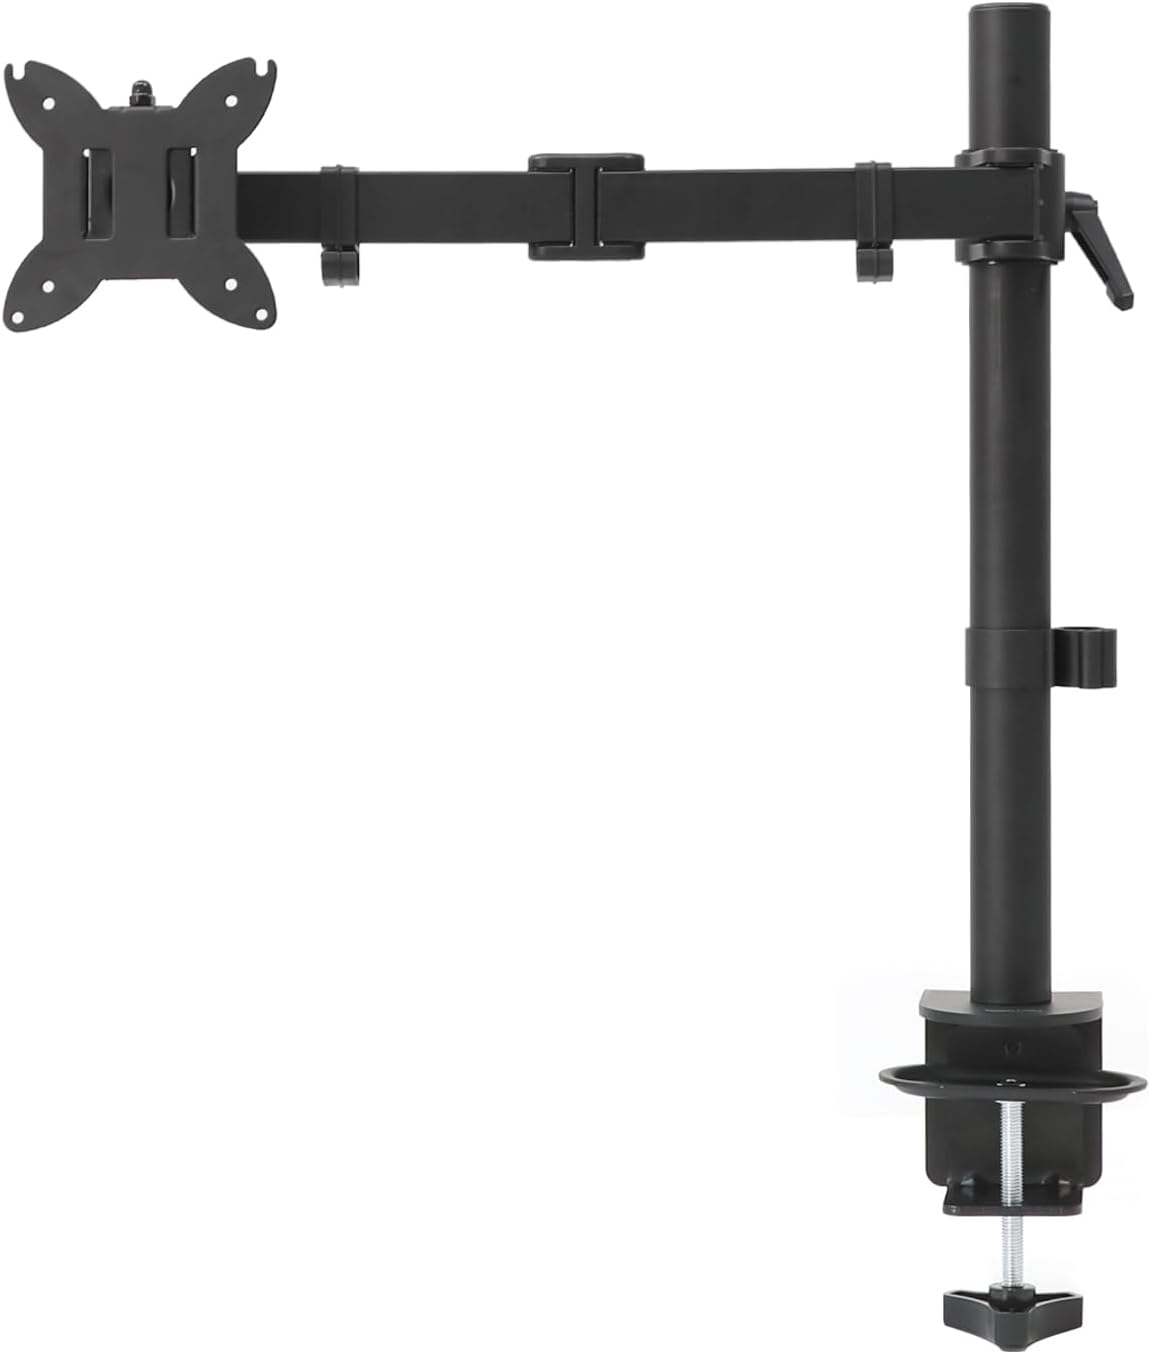
Amazon Basics Adjustable Single Monitor Arm Desk Mount, Holds up to 32" (38” Ultrawide) and 22 lbs, Adjustable Tension, VESA 75×75/100×100, Black
This is the arm on my own desk and on most single-monitor client desks. It carries panels up to 32 inches, or up to 38 inches if the panel is ultrawide, and up to 22 pounds, which covers every 27 inch monitor I have mounted in the last two years. The VESA 75×75 and 100×100 pattern fits anything with a standard bolt layout. If your monitor has a recessed back, you will need the spacers that come in the box, and you should use them rather than cranking the bolts down and hoping.
Check current Amazon price before you order, because the tension hardware is what you are actually paying for here. On a 27 inch panel you set the spring once and the monitor stays where you leave it, including after a week of nudging it around for video calls. Cheaper arms drift, and a drifting arm is how people end up re-tightening the clamp to fix an angle problem, which is exactly how desks crack.
Who should skip it: anyone with a panel over 22 pounds, anyone running an ultrawide bigger than 38 inches, and anyone whose desktop is hollow core, glass, or thinner than the clamp's range. Those desks get the riser below.
The no-clamp alternative: Computer Monitor Stand Riser with Drawer
The no-clamp alternative
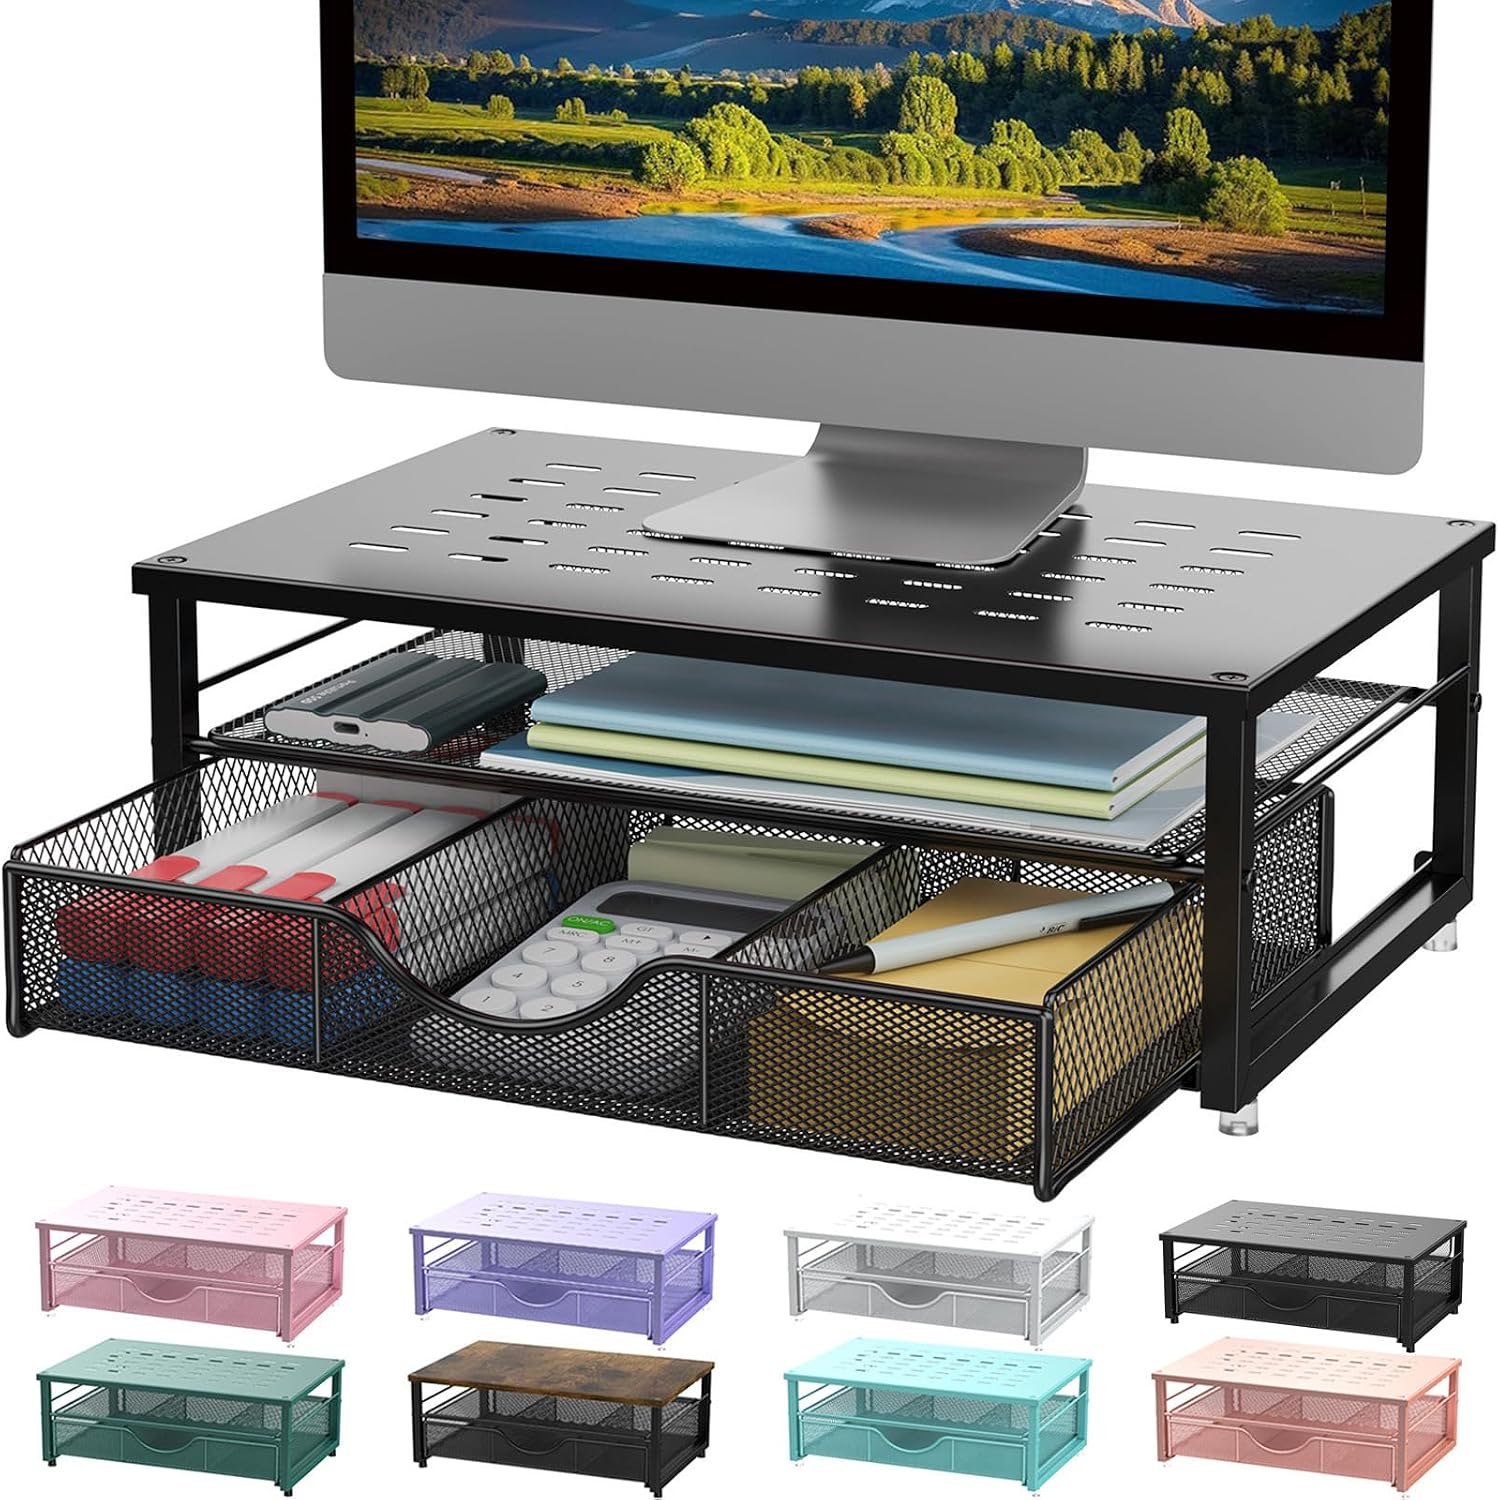
Computer Monitor Stand Riser with Drawer
Not every desk should be clamped. Glass tops, hollow core tops, and anything too thin for the clamp get a riser instead. This one sits on the desktop on its own feet and lifts the monitor toward eye level without a single bolt touching the underside of your top, which means there is nothing to over-tighten and nothing to crack. Check current Amazon price.
The drawer is the part I did not expect to care about and now do. It holds the pens, the dongle, the spare cable, and the small notebook I use for measurements, which keeps the desktop clear without adding a second organizer. It also works on monitors whose mounting pattern is buried or missing entirely, which is more common on budget panels than people realize.
Who should skip it: anyone who needs the monitor to swing, tilt, or rotate, because a riser is fixed once it is set down. Anyone running two monitors gets a wide footprint and loses the center of the desk. And if your desk is solid and your monitor is VESA-ready, an arm gives you back the desktop space the riser occupies, so start there instead.
The dual-monitor upgrade: Mount-It! Dual Monitor Desk Mount, 13-32", 17.6 lbs Each
The dual-monitor upgrade

Mount-It! Dual Monitor Desk Mount, 13-32", 17.6 lbs Each
Two monitors, one clamp. It fits panels from 13 to 32 inches and carries 17.6 pounds each, so a pair of 27 inch panels sits comfortably inside the rating with headroom left over. Check current Amazon price.
One clamp base for two arms is the entire point. You get one point of contact with the desk instead of two, which matters on a 48 inch top where two separate clamp bases fight for the same strip of rear rail and one of them always ends up under a drawer or a leg. The trade-off is that both arms share a base, so both panels want to live at similar heights. If you run one panel landscape and one portrait, check the rotation range before you order, and expect to spend ten minutes getting both heads level rather than two.
Who should skip it: anyone whose panels are heavier than 17.6 pounds each, anyone with a desktop too thin for a clamp, and anyone who wants two clamps in two different spots on the desk, which this cannot do.
The actual setup workflow
Now the part you came for. This works on any clamp-style arm and any desk top that is solid enough to take one.
Step one: Measure the desk top thickness at the exact spot you plan to clamp, and measure the clamp opening with a ruler. If the top is thinner than the clamp's range, or the spot sits over a hollow section, stop and switch to a riser. Do this before you unbox anything.
Step two: Pick the clamp spot. Stay at least two inches in from the front edge and at least four inches away from any seam, drilled hole, or grommet. Put the mount where your monitor needs to be, not where the desk looks balanced. Off-center is fine. Over a seam is not.
Step three: Attach the mounting plate to the monitor while the monitor is face down on a towel, not while it is standing on its stand. Recessed backs need the spacers. Tighten by hand, then a quarter turn with the wrench. Do not use a drill on monitor bolts.
Step four: Clamp the base to the desk and tighten it by hand first. Snug is the target. If you feel the top compress under the pad, stop and back it off. This is the step where desks die, and it is the step everybody rushes.
Step five: Set the arm tension before you hang anything on it. Turn the adjustable tension down to its lightest setting so the arm does not fight you while you load it, and so you are not pushing a stiff joint against a clamp you just installed.
Step six: Hang the monitor. Get a second pair of hands for anything bigger than a 27 inch panel. Seat the plate on the arm head fully, then install the small safety screw that most people skip. Every arm has one. Every arm needs it.
Step seven: Tune the tension with the monitor mounted. Move the panel through its full travel. It should stay where you let go. If it drifts up or sinks down, adjust the tension in the direction that fixes it, a half turn at a time. Then route the cables with slack for the whole range of motion. A cable that goes taut at the top of the travel will pull the monitor out of level within a week, and you will blame the arm.
Step eight: Wait 48 hours, then check the clamp again. New installs settle. Re-snug by hand, look at the underside of the desk for a compression mark or a hairline crack, and re-level the panel. If you see a crack, back the clamp off immediately, add a plywood backer, and re-clamp. Then check the cables again, because they will have moved.
If your top is glass, skip all eight steps and use the riser. No clamp on glass, ever, at any torque.
The competition and why it lost
The fixed riser loses to an arm whenever the desk can take a clamp, because an arm gives you the desktop back and lets you move the panel. That is why the riser is here as the fallback, not the default.
Heavier gas-spring arms are the right call above 22 pounds, but they sit in a different budget tier and they need more clamp depth, which rules them out on a lot of apartment desks. Wall-mounted arms lost because most people rent, and because a wall mount fixes the monitor's distance from the wall, which is the wrong tool when the desk itself moves.
Dual arms with a single shared tension knob lost to the dual mount above, because you cannot set one panel light and one panel heavy on a shared knob. Arms with a plastic clamp plate lost on principle: plastic creeps under load, a creeping clamp gets re-tightened, and re-tightening is what cracks a top.
Desks lose too. A thin hollow core top at 55 inches wide is the most common desk I see in apartments, and it is the one desk I will not clamp without a plywood backer under the base.
What this all costs
Check current Amazon price on each of the three picks, because the numbers move and the tension hardware matters more than the sticker. The structure is the part worth remembering:
- A single arm is the cheapest way to get your desktop back. One clamp, one panel, full range of motion.
- A riser takes zero risk with the desk and works on tops no clamp should touch. It is the right answer for glass and hollow core.
- A dual mount is the cheapest way to run two panels on one base. Two separate single arms eat two clamp spots and cost more in total.
Whatever you pay, divide it by the 1,825 days in five years. That is the honest per-day number, and it is small.
The expensive outcome is the one nobody budgets for: a cracked top. A replacement desktop costs more than the arm that cracked it, plus an afternoon of moving everything off the desk and running the same eight steps again on the new top. The order of operations is free. Measure, clamp, load, tune, and keep the clamp snug rather than heroic.
That's the job. Your desk was never the weak point. The torque was.